


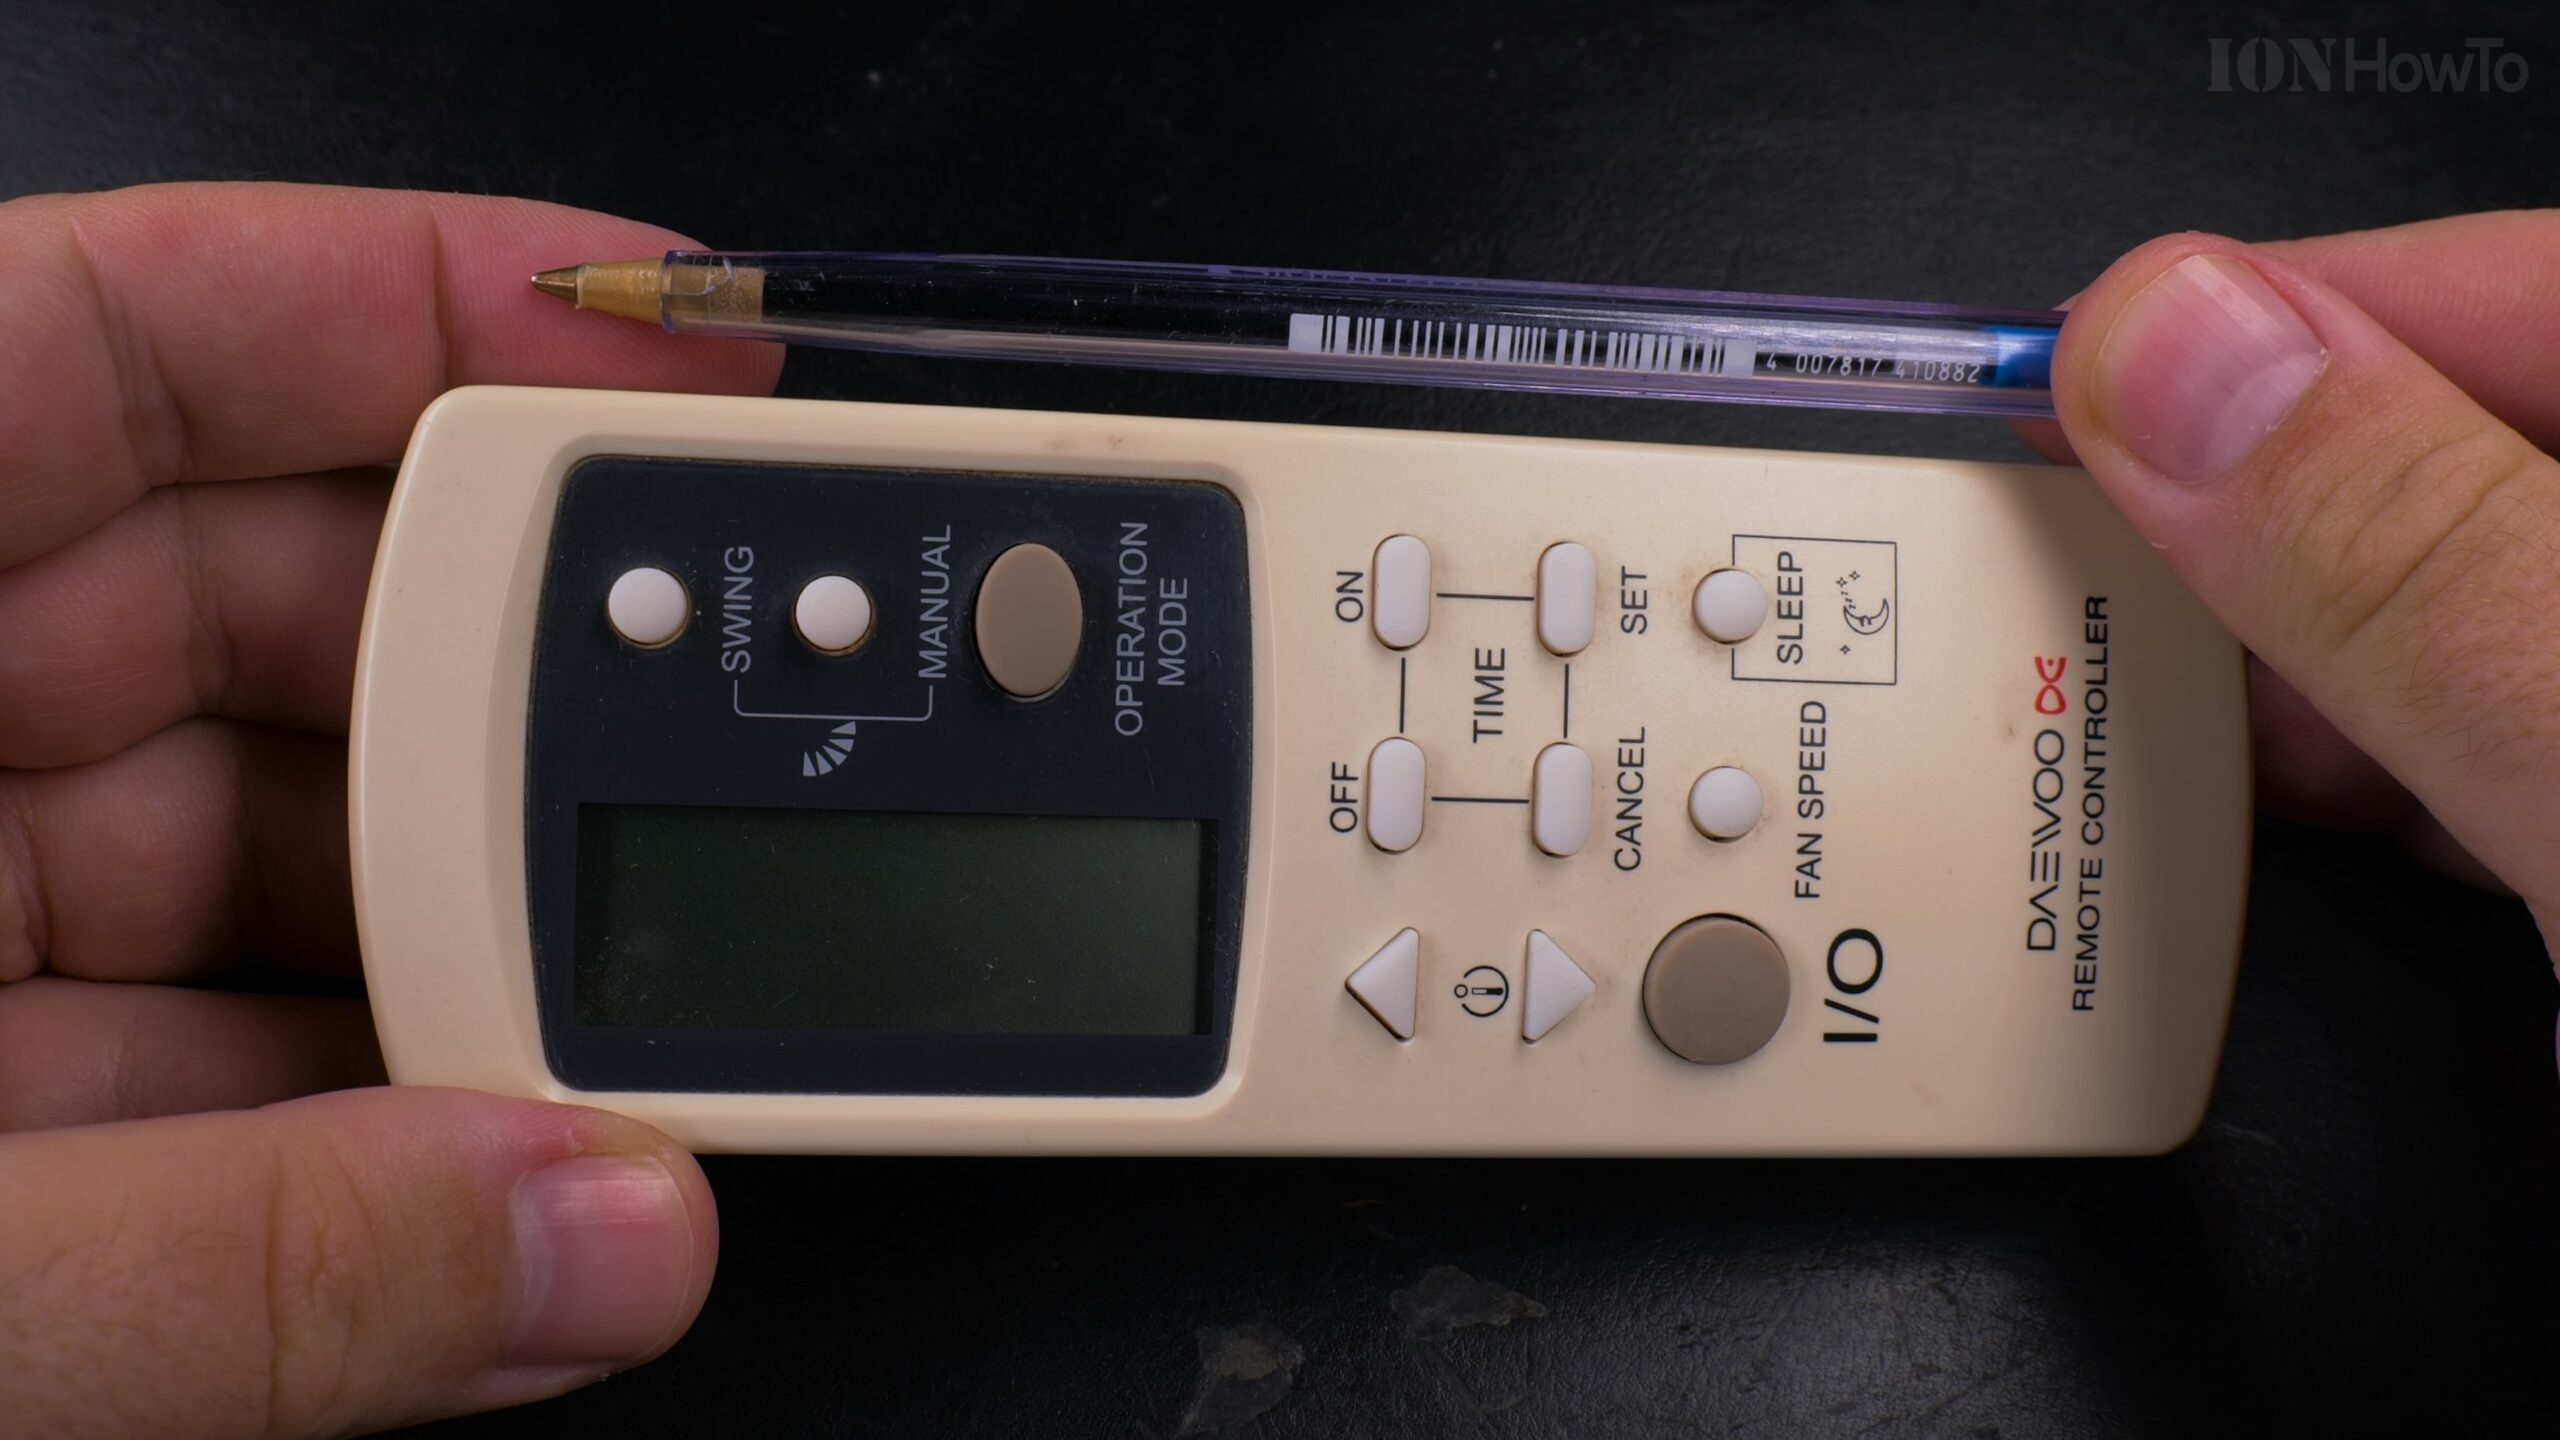
Inside an Old Air Conditioner Remote Control Teardown.
Learn what’s inside a typical, mass-produced air conditioner remote. I opened up an old unit to show you the simple and clever engineering that makes these everyday gadgets work.
What You Find Inside
Taking apart the remote reveals a very basic, cost-effective design. The main goal for manufacturers is to make it as affordable as possible while still being reliable.
The Main Components:
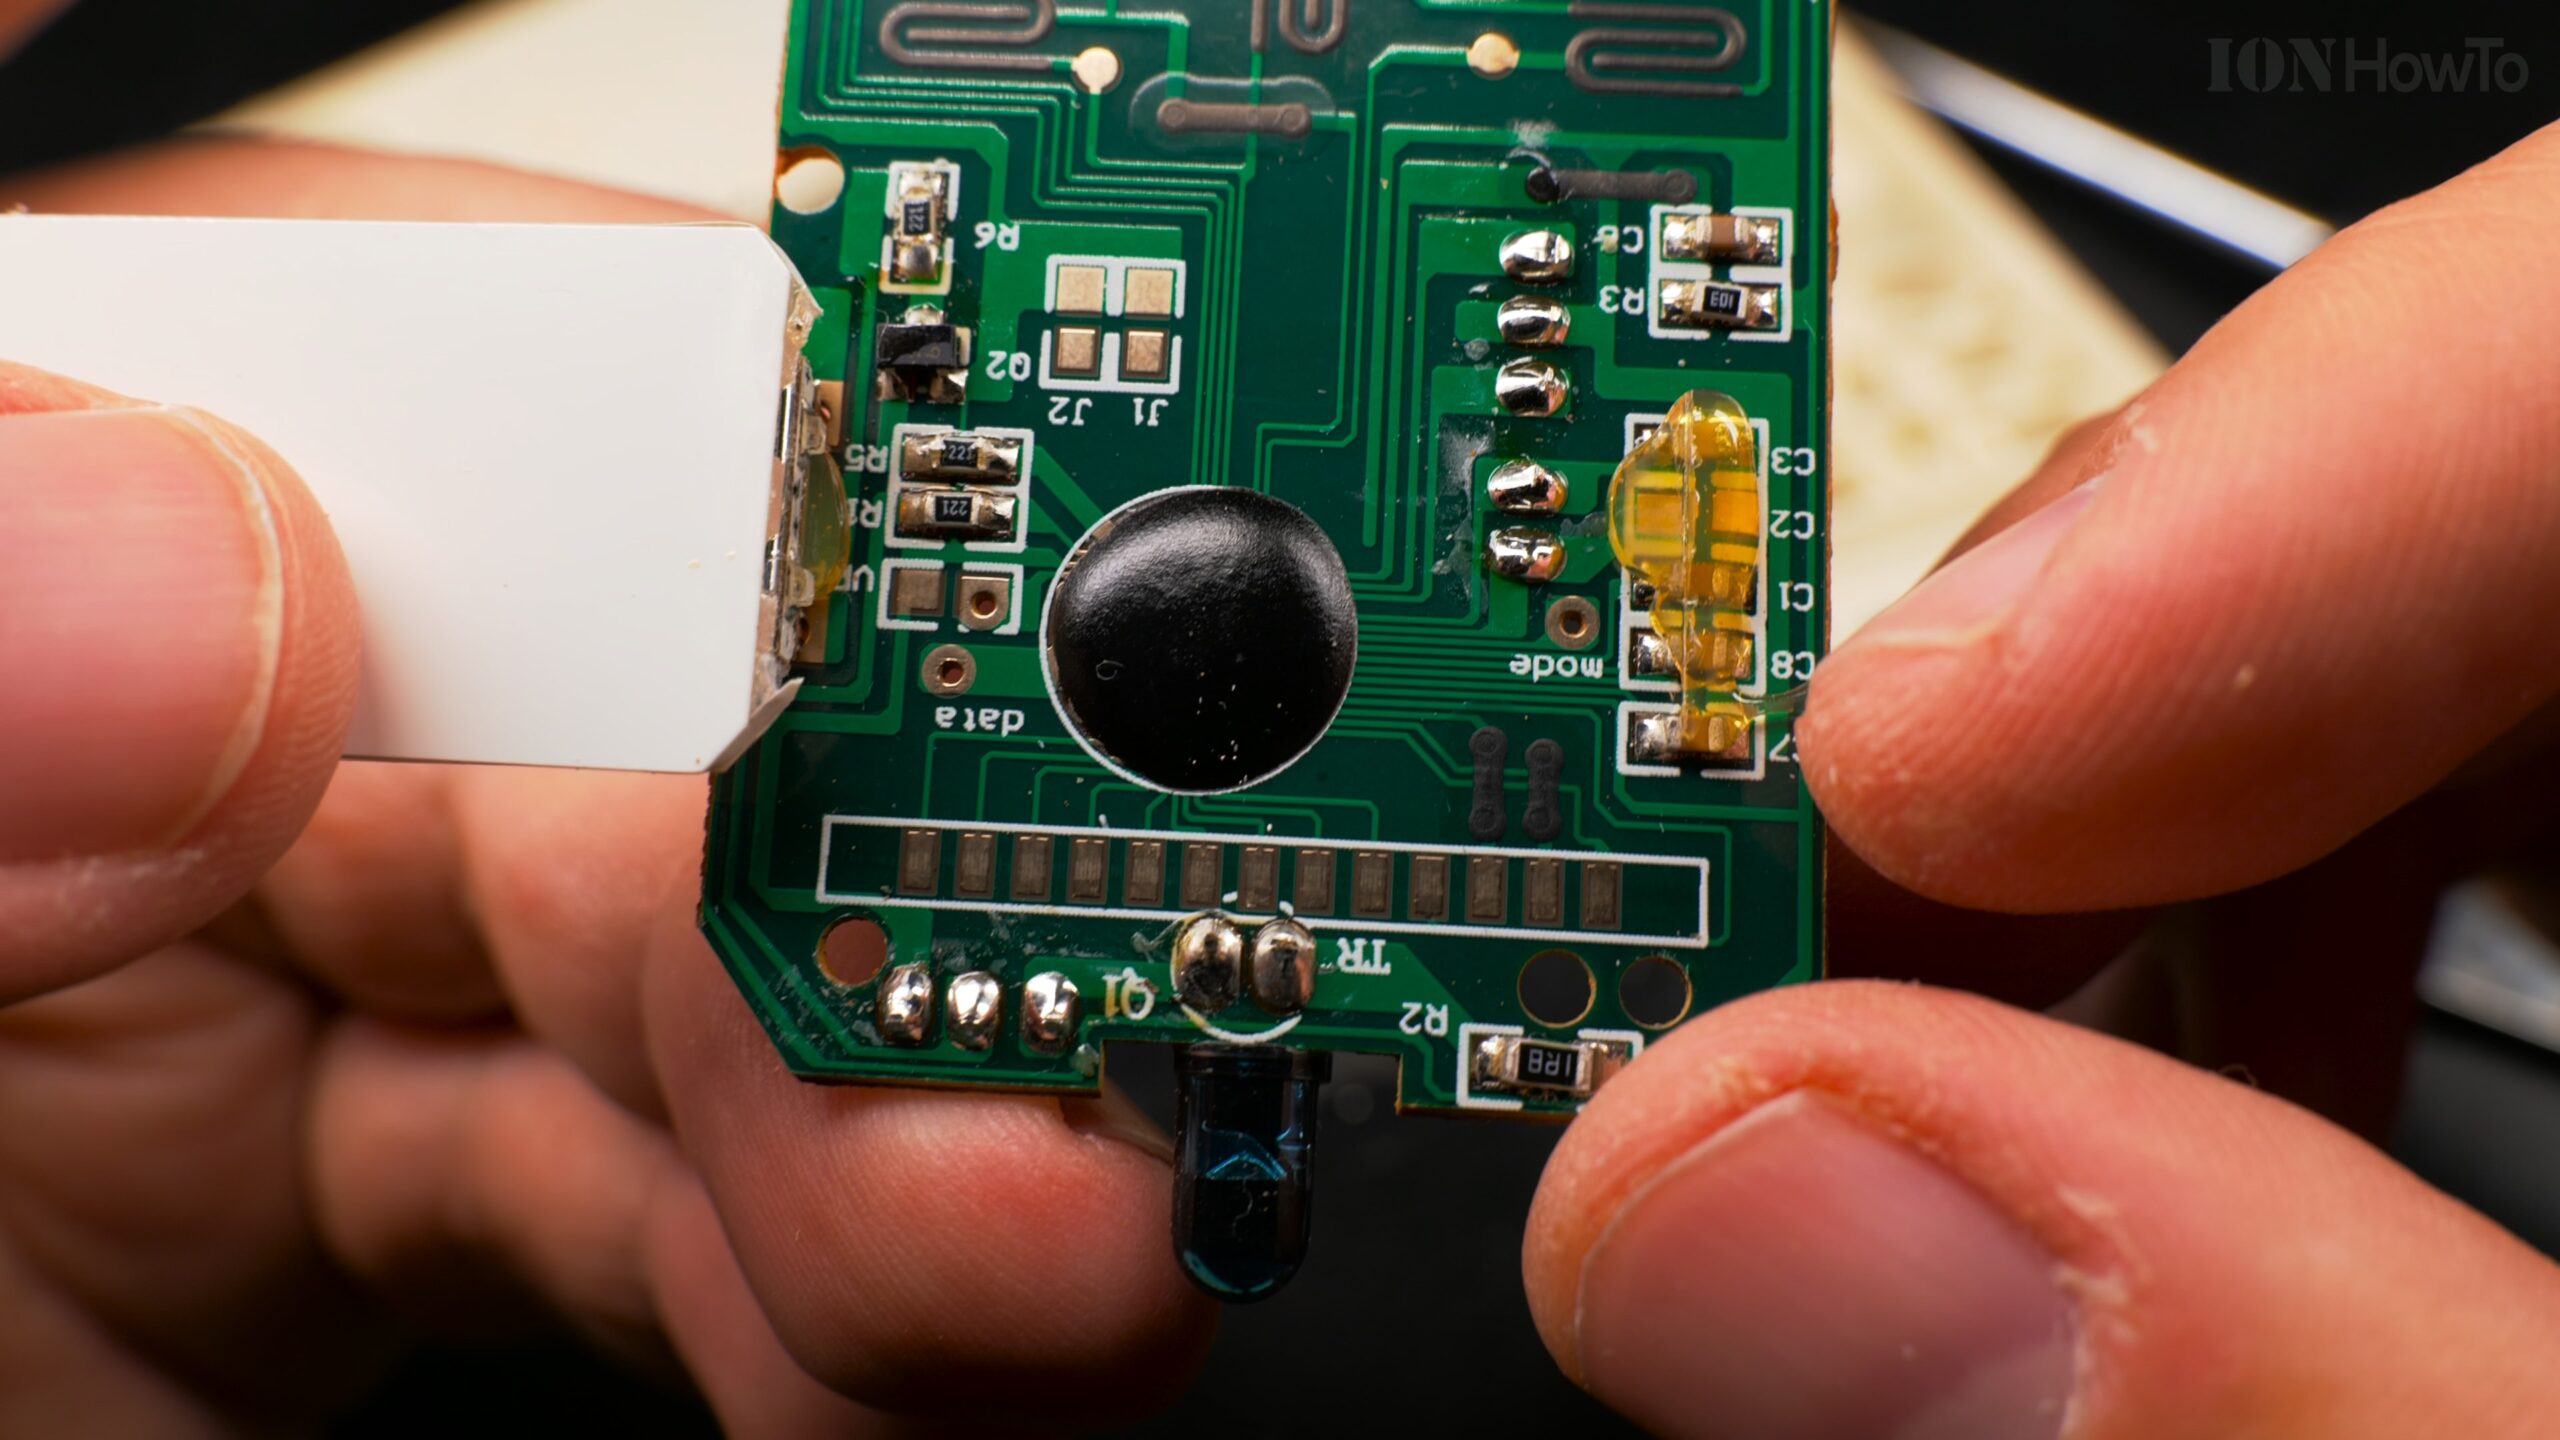
- The Printed Circuit Board (PCB): This is the green board that holds everything together. It’s a single, simple layer.
- The “Chip-on-Board” Microcontroller: Instead of a separate, square microchip, you’ll see a small, black blob of epoxy resin. Underneath this blob is the actual microcontroller chip, directly glued and wired to the board. This is the cheapest way to include the “brain” of the remote.
- The Button Contacts: Under the rubber keypad, the PCB has circular contact points. The back of each rubber button has a conductive carbon pad. When you press a button, this carbon pad bridges two contacts on the PCB, completing a circuit and sending a signal.
- The Infrared LED: A small, clear or dark red LED at the top of the board. This blinks an invisible infrared light signal to your air conditioner.
- The LCD Screen Connector – The “Zebra” Strip: This is the most interesting part.

The Clever Zebra Connector (Elastomeric Connector)
The small LCD screen isn’t soldered directly to the board. Instead, it uses a special connector.
- What it is: It’s a small, rubbery strip, often black or gray. One famous brand for this is called a Zebra connector, but the general type is called an elastomeric connector.
- How it works: Inside this flexible strip are many tiny, parallel conductive lines. The strip is pressed between the contacts on the LCD glass and the contacts on the PCB. These internal lines carry the electrical signals that tell the LCD what segments to light up, creating the numbers and symbols you see.
- Why it’s used: It’s a cheap, reliable, and assembly-friendly way to connect a delicate glass screen without soldering.
How to Fix a Remote with Bad Buttons
If your remote stops responding unless you press very hard, the problem is usually the conductive carbon pads on the rubber keypad. They can wear out.
Here’s a simple fix:
- Open the remote and remove the rubber keypad.
- Look at the black circles on the back of the rubber buttons. If they look worn or shiny, they might not be making good contact.
- Do not clean them with alcohol, as this can sometimes remove the conductive layer.
- A common fix is to carefully glue a tiny piece of aluminum foil onto the worn carbon pad using super glue. This creates a new, conductive surface.
- Reassemble the remote and test it.
The Takeaway
These remotes are marvels of minimalist, cost-effective design. They use the simplest parts—a blob-chip microcontroller, a rubber connector strip, and carbon-painted buttons—to perform a single job reliably for years. It’s a great example of “just enough” engineering.
Leave a Reply Cancel reply