


iPad Ghost Touch Fix: Stop Random Taps and Typing.
Amazon links
As an Amazon Associate I earn from qualifying purchases:
- iPad Pro M5 13 inch
- Apple Pencil Pro
- iPad Pro M5 Folio Case
- iPad Pro M5 Screen Protector
- iPhone Accessories
- iPhone Charger
- iPhone Cases
- iPhone Screen protector
- iPhone Magsafe
- iPhone Wallet
- iPhone Usb c cable
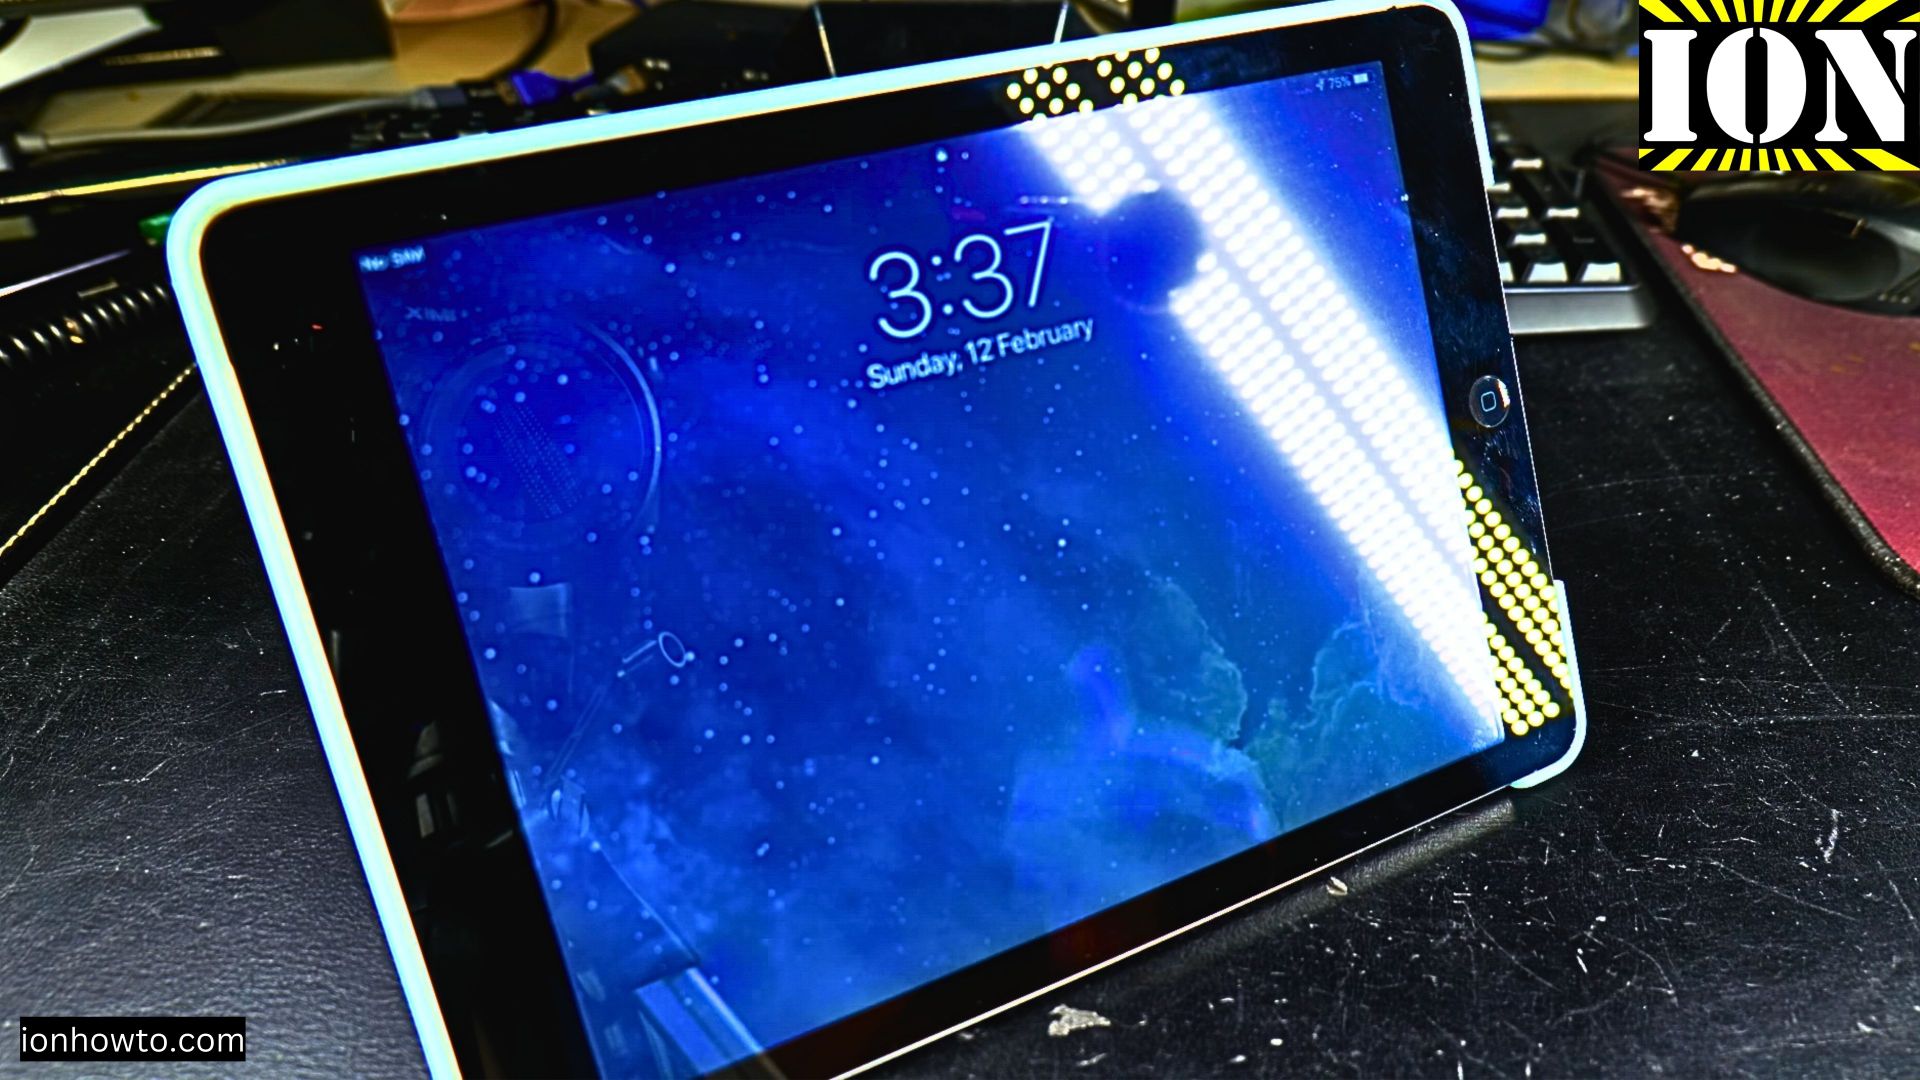
Is your iPad acting like it’s possessed? You’re trying to tap one thing, but it opens apps, types gibberish, or clicks on random parts of the screen all by itself. This frustrating issue is commonly called “ghost touch” or “ghost typing.” Before you decide your iPad is broken for good, I’ll show you a few simple things to try. Often, you can fix it yourself without needing a costly repair shop.
First, Try These Easy Software Fixes
Sometimes, the problem isn’t with the hardware. Let’s start with the easiest solutions that don’t require any tools.

- Clean the Screen Thoroughly: Dirt, oil, or even a small amount of moisture can confuse the touch sensor. Power off your iPad and wipe the screen clean with a soft, slightly damp, lint-free cloth. Dry it completely before turning it back on.
- Restart Your iPad: Just like restarting a computer, this can clear up temporary software glitches. Press and hold the top button (or side button, depending on your model) and either the Home button or a volume button, then slide to power off. Turn it back on after a minute.
- Check for Updates: Make sure your iPadOS is up to date. Go to Settings > General > Software Update. Installing the latest update can fix bugs that might be causing touch issues.
- Back Up and Reset: If the problem persists, back up your important data to iCloud or a computer. Then, try a factory reset by going to Settings > General > Transfer or Reset iPad > Erase All Content and Settings. This is a last resort for software, so make sure your files are safe first.
How to Diagnose a Hardware Problem (Broken Screen)
If the easy fixes don’t work, the issue is likely physical. The most common cause of ghost touch is a damaged digitizer—the thin layer under the glass that registers your touch.
Here’s how to check:
- Look closely at the screen. Do you see any cracks, even hairline ones, especially around the edges? Is the screen lifting up or separating from the frame?
- Press gently around the edges. Does the ghost typing get worse when you press on a specific spot?
- Check for a swollen battery. Look at your iPad from the side. Is the screen bulging or is the case popping open? A swollen battery can press on the internals and cause touch problems. If you see this, stop using the iPad and seek professional repair.
If you see a crack or physical damage, the digitizer is probably broken and needs to be replaced.
Learn How to Replace the iPad Screen (Digitizer)
Replacing the screen/digitizer assembly is the definitive fix for ghost touch caused by a crack. This is a detailed repair for an iPad Air 1st Generation (Model A1474, A1475, A1476). If you have a different model, the steps will vary.
Warning: This repair requires patience, precision tools, and care. If you’re not comfortable, a professional repair service is a good option.
What You’ll Need:
- A replacement digitizer with glass for iPad Air 1.
- A precision screwdriver set (Pentalobe and Phillips #00).
- Plastic opening tools and a metal spudger.
- A heat gun or hair dryer.
- iOpener tool or a hot plate (optional, but very helpful).
- Adhesive strips to reseal the new screen.
The Steps to Replace the Screen:
Step 1: Power Down and Apply Heat
Turn off your iPad completely. Use a heat gun or hair dryer on a low setting to warm the edges of the iPad for 3-5 minutes. This softens the adhesive holding the screen in place. Be careful not to overheat and damage the LCD underneath.
Step 2: Open the iPad
- Use a suction cup on the screen to create a small gap.
- Gently insert a plastic opening tool into the gap and slowly work your way around the edges of the iPad, carefully cutting through the adhesive. Go slow and be patient.
- Open the iPad like a book, starting from the side opposite the home button. Be mindful of the ribbon cables connecting the screen to the logic board at the top.
Step 3: Disconnect the Old Screen
- Once open, you’ll see a metal bracket covering the screen connectors.
- Remove the screws holding this bracket (keep them organized!).
- Use a plastic tool to carefully pop up and disconnect the three ribbon cables: the digitizer cable, the LCD cable, and the home button cable.
Step 4: Install the New Screen
- Carefully clean any old adhesive from the iPad’s frame.
- Connect the new screen’s cables to the logic board.
- Before sealing, do a quick test: turn the iPad on to make sure the new screen works and touches register correctly.
- If it works, power off, apply new adhesive strips around the frame, and lower the new screen into place.
- Press firmly around the edges to secure the adhesive.
What If My Screen Isn’t Cracked?
If your iPad screen has no visible damage but still has ghost touch after a software reset, the problem could be deeper. It might be:
- A faulty digitizer that has failed internally.
- A loose connector inside the iPad.
- A problem with the logic board.
In these cases, especially with older models like the iPad Air 1, it’s worth considering the cost of professional diagnosis versus the value of the device. Sometimes, a DIY screen replacement can still fix an internally faulty digitizer, even without a visible crack.
Ghost typing is a common and annoying problem, but it’s often solvable. Start with the simple cleaning and restart, assess for physical damage, and if you’re feeling handy, a screen replacement can bring your iPad back to life.
Leave a Reply Cancel reply