


How to Cut Aluminum Profiles at Home for Great Results.
Learn how to cut aluminum profiles or extrusions at home using simple hand tools. I’ll show you the steps for getting a clean, straight cut without needing expensive power tools. While the best option is to have the store cut it for you, that’s not always possible. This method works well for DIY projects.
What You’ll Need

Gather these tools before you start:
- A Metal-Cutting Handsaw: A standard hacksaw or a small metal saw with a fine-toothed blade.
- WD-40 or Similar Lubricant: This is crucial. It lubricates the blade to prevent it from overheating and getting stuck in the soft aluminum.
- A Ruler or Straight Edge: For marking your cut line.
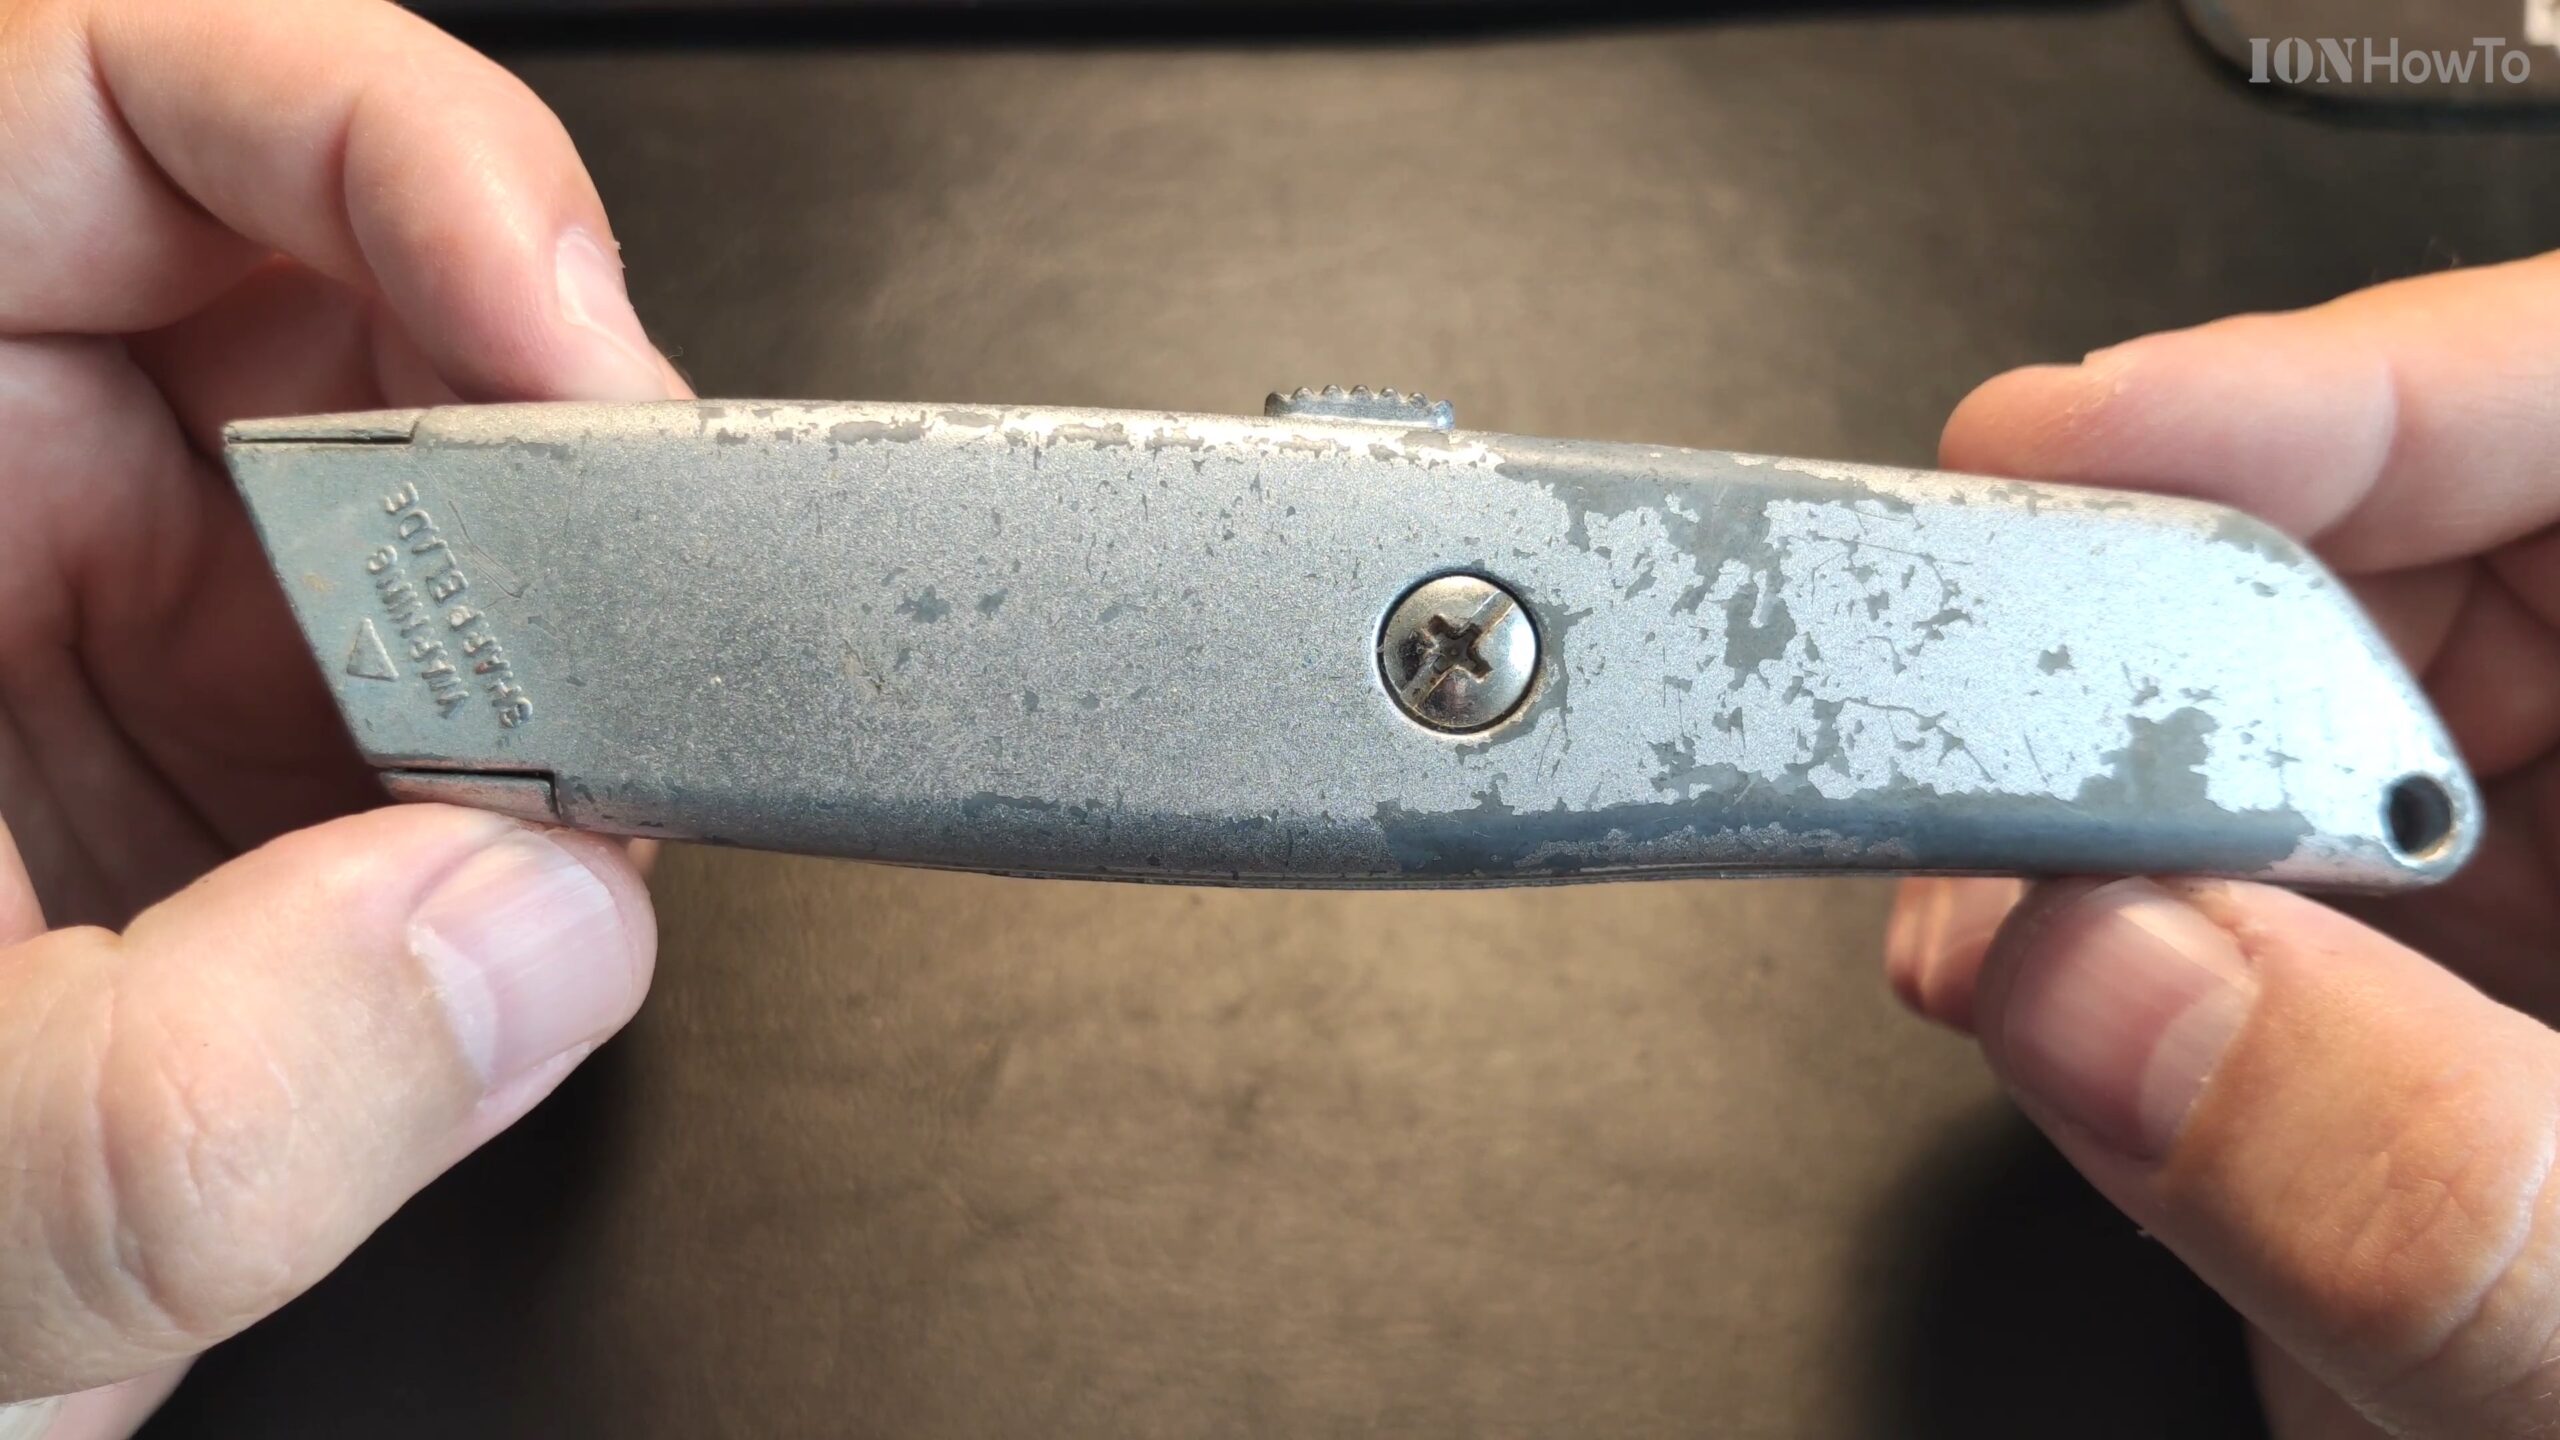
- A Marker or Cutter Knife: To scribe a clear line on the aluminum.
- A Sturdy Work Surface: A table or bench you can clamp the profile to (if possible).
Steps for a Clean Cut
Follow these steps to cut your aluminum profile accurately.
- Measure and Mark Precisely.
- Use your ruler to measure the exact length you need.
- Mark the spot. A pro tip: Instead of drawing a single dash, draw a small “V” where the two lines meet. The point of the “V” is your exact measurement, making it easier to see.
- Use your ruler and marker (or the corner of a cutter knife) to draw a clear, straight cut line all around the profile.
- Secure the Aluminum (If Possible).
- Clamp the aluminum profile to your work surface. If you don’t have a clamp, make sure it’s held firmly and won’t move while you saw.
- Start Your Cut with a Guide.
- The key trick: Place your saw blade directly on your marked line. Before you start sawing back and forth, gently pull the saw towards you along the line to create a small starting groove or “kerf.” This guides the blade and keeps it from jumping.
- You can also use the corner of a cutter knife to create this initial groove for the blade to sit in.
- Saw Slowly with Lubrication.
- Begin sawing with slow, steady strokes. Do not push down hard. Let the sharp teeth of the blade do the work.
- Apply WD-40: After a few strokes, spray a little WD-40 on the blade and the cut area. This keeps the cut smooth and prevents the aluminum from gumming up the teeth.
- Continue sawing with consistent, light pressure until you complete the cut.
- Clean Up the Edge.
- After cutting, the edge will be sharp and have a rough “burr.” For safety and a finished look, use a metal file or sandpaper to smooth down the sharp edges and remove the burr.
Tips for Better Precision and Safety
- Cut Longer First: If you need a very precise length, cut the profile slightly longer than you need. You can then file or sand it down to the exact measurement.
- Use Tape as a Guide: Put a piece of painter’s tape along your cut line. Mark on the tape, and then cut right through it. This can give you a clearer line and protect the aluminum’s surface.
- For Thick Profiles: For very thick aluminum, consider using a power tool like an angle grinder with a metal-cutting disc. The hand saw method is best for standard, thin-walled profiles.
- Wear Safety Glasses: Always protect your eyes from any metal filings or chips.
When to Use a Jig or Template
If you need to make multiple identical cuts or cuts at a specific angle (like 45 degrees), building a simple wooden jig is a great idea. A jig holds the saw at the exact right position and angle every time, guaranteeing perfect, repeatable results. For a one-off cut, the careful marking and guided start method described above will work just fine.
Leave a Reply Cancel reply