


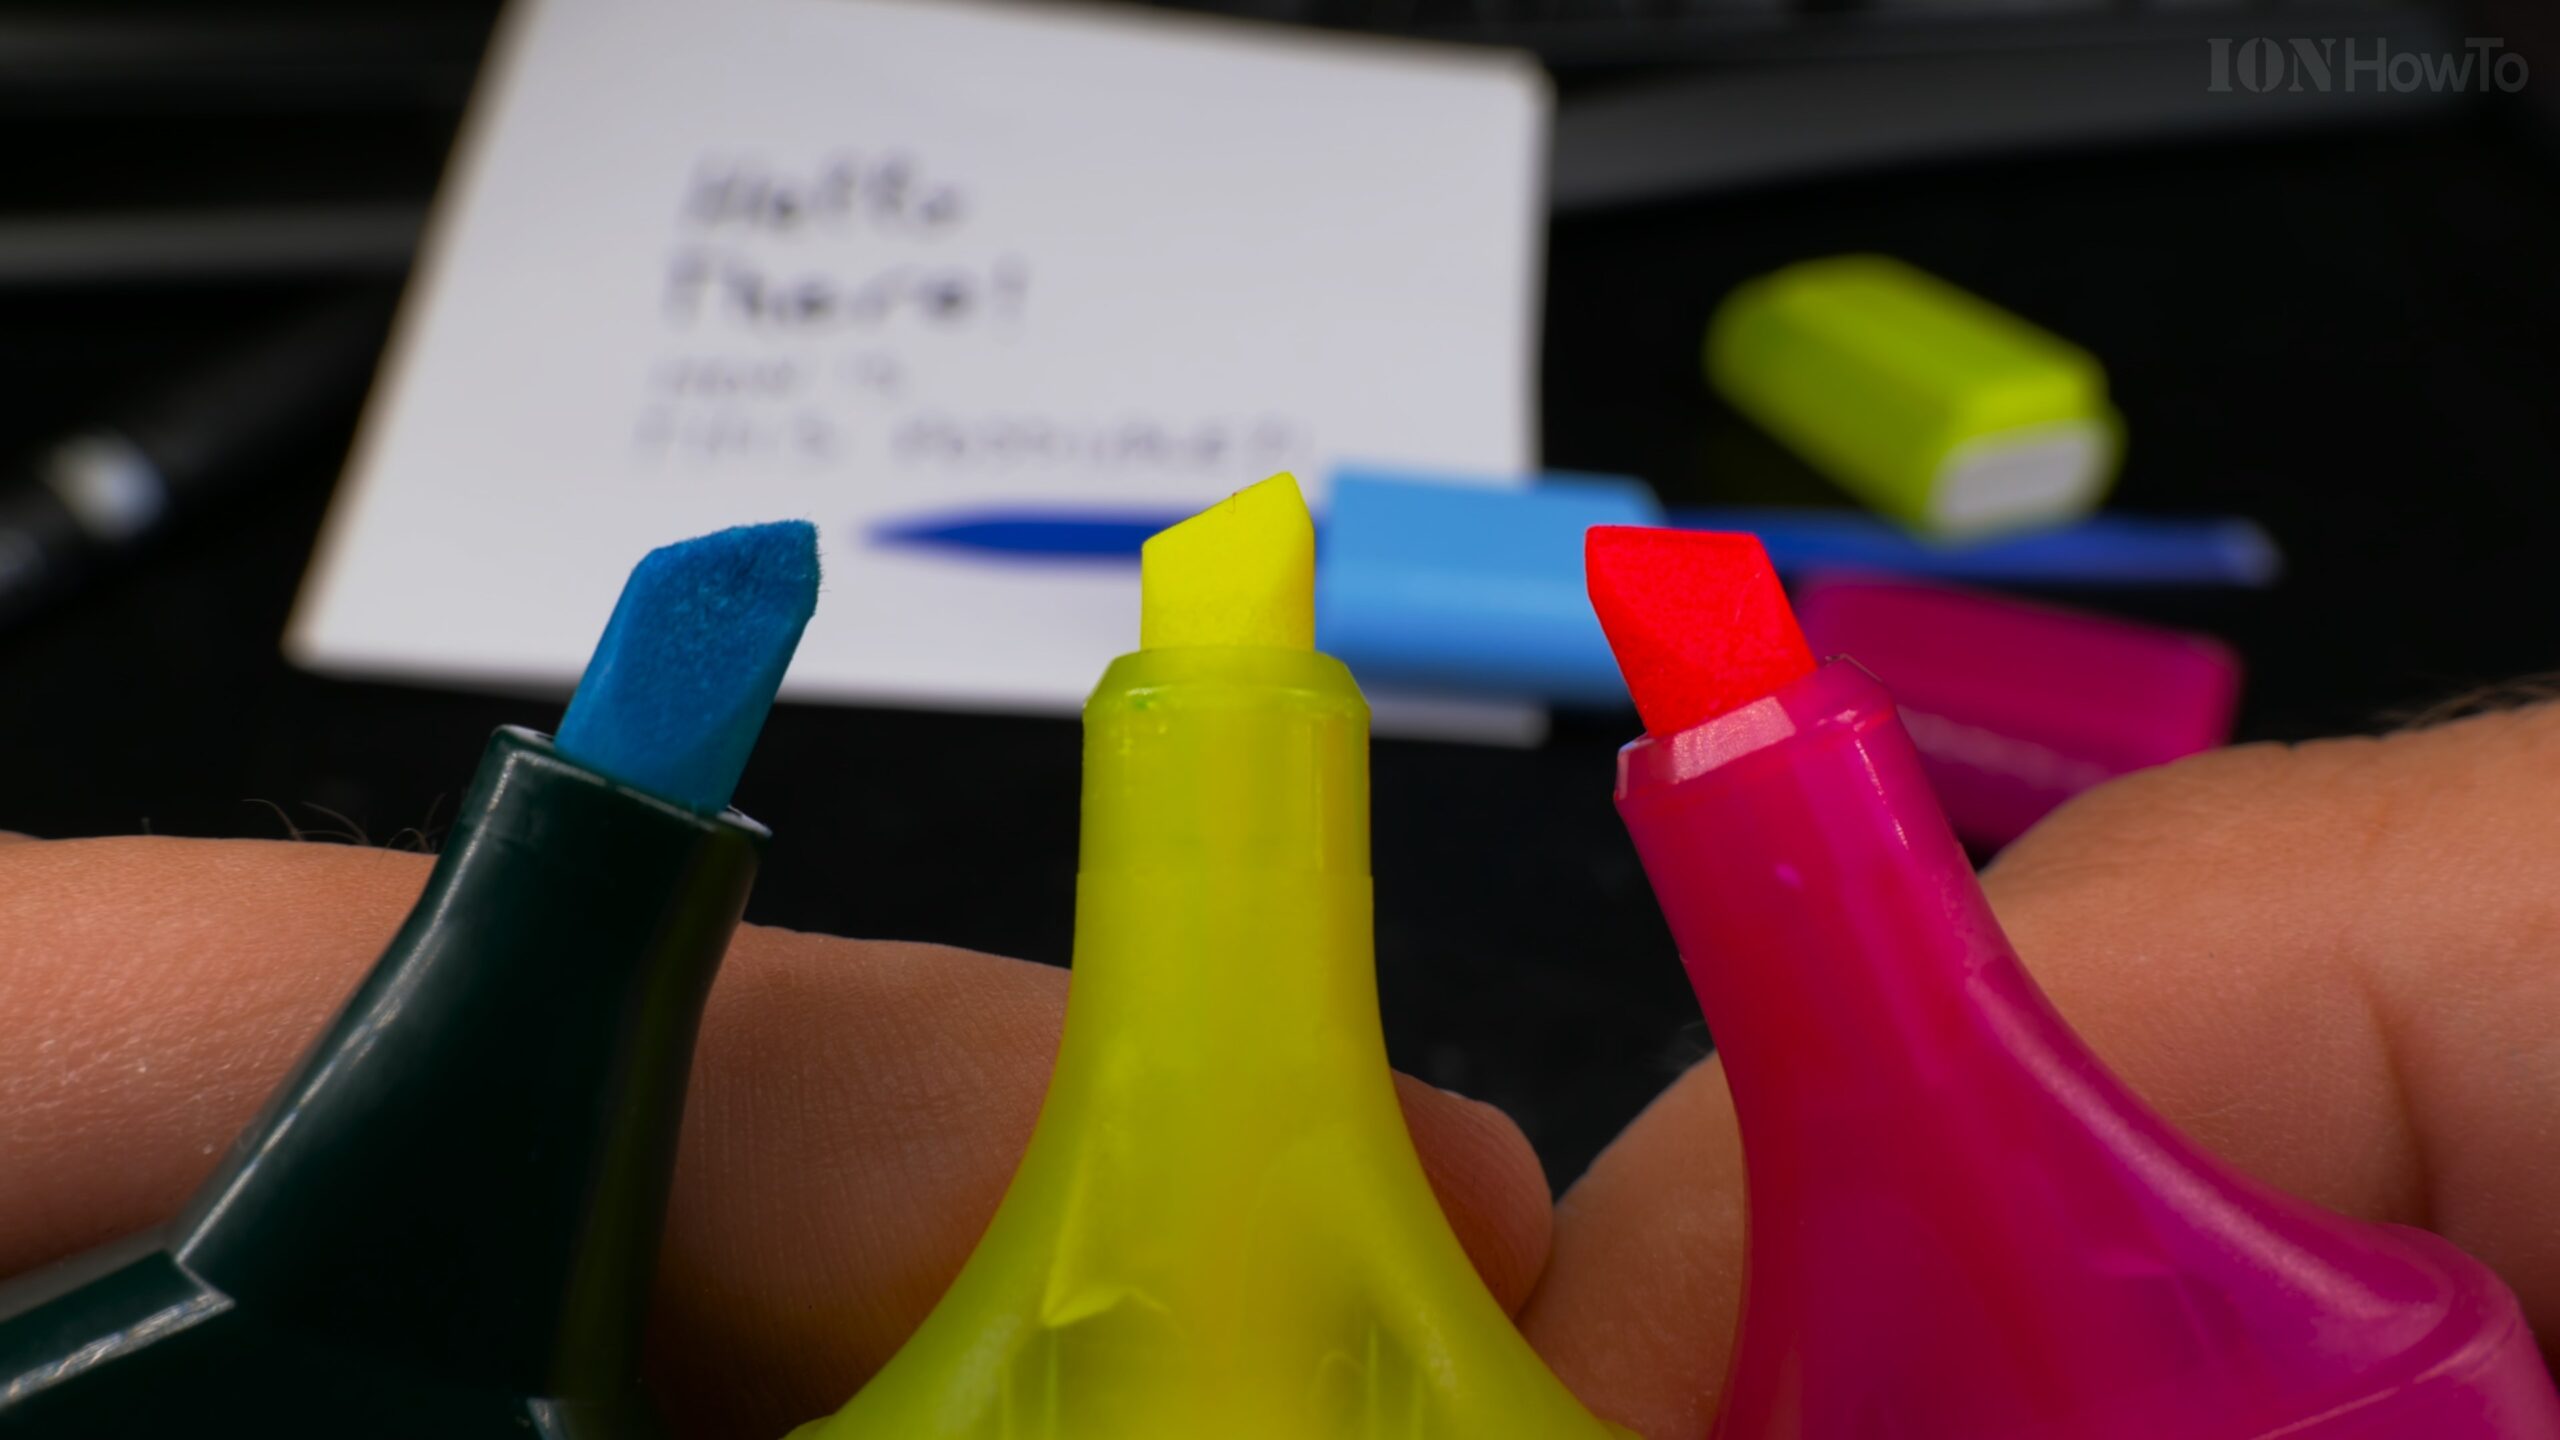
Learn how to fix your highlighter when you press too hard and the tip disappears into the barrel. I’ll show you two methods: an easy pull from the outside and a more involved fix from the inside.
The Quick First Try: Pulling from the Outside
If the tip is still slightly visible, you might be able to fix it without taking the pen apart.

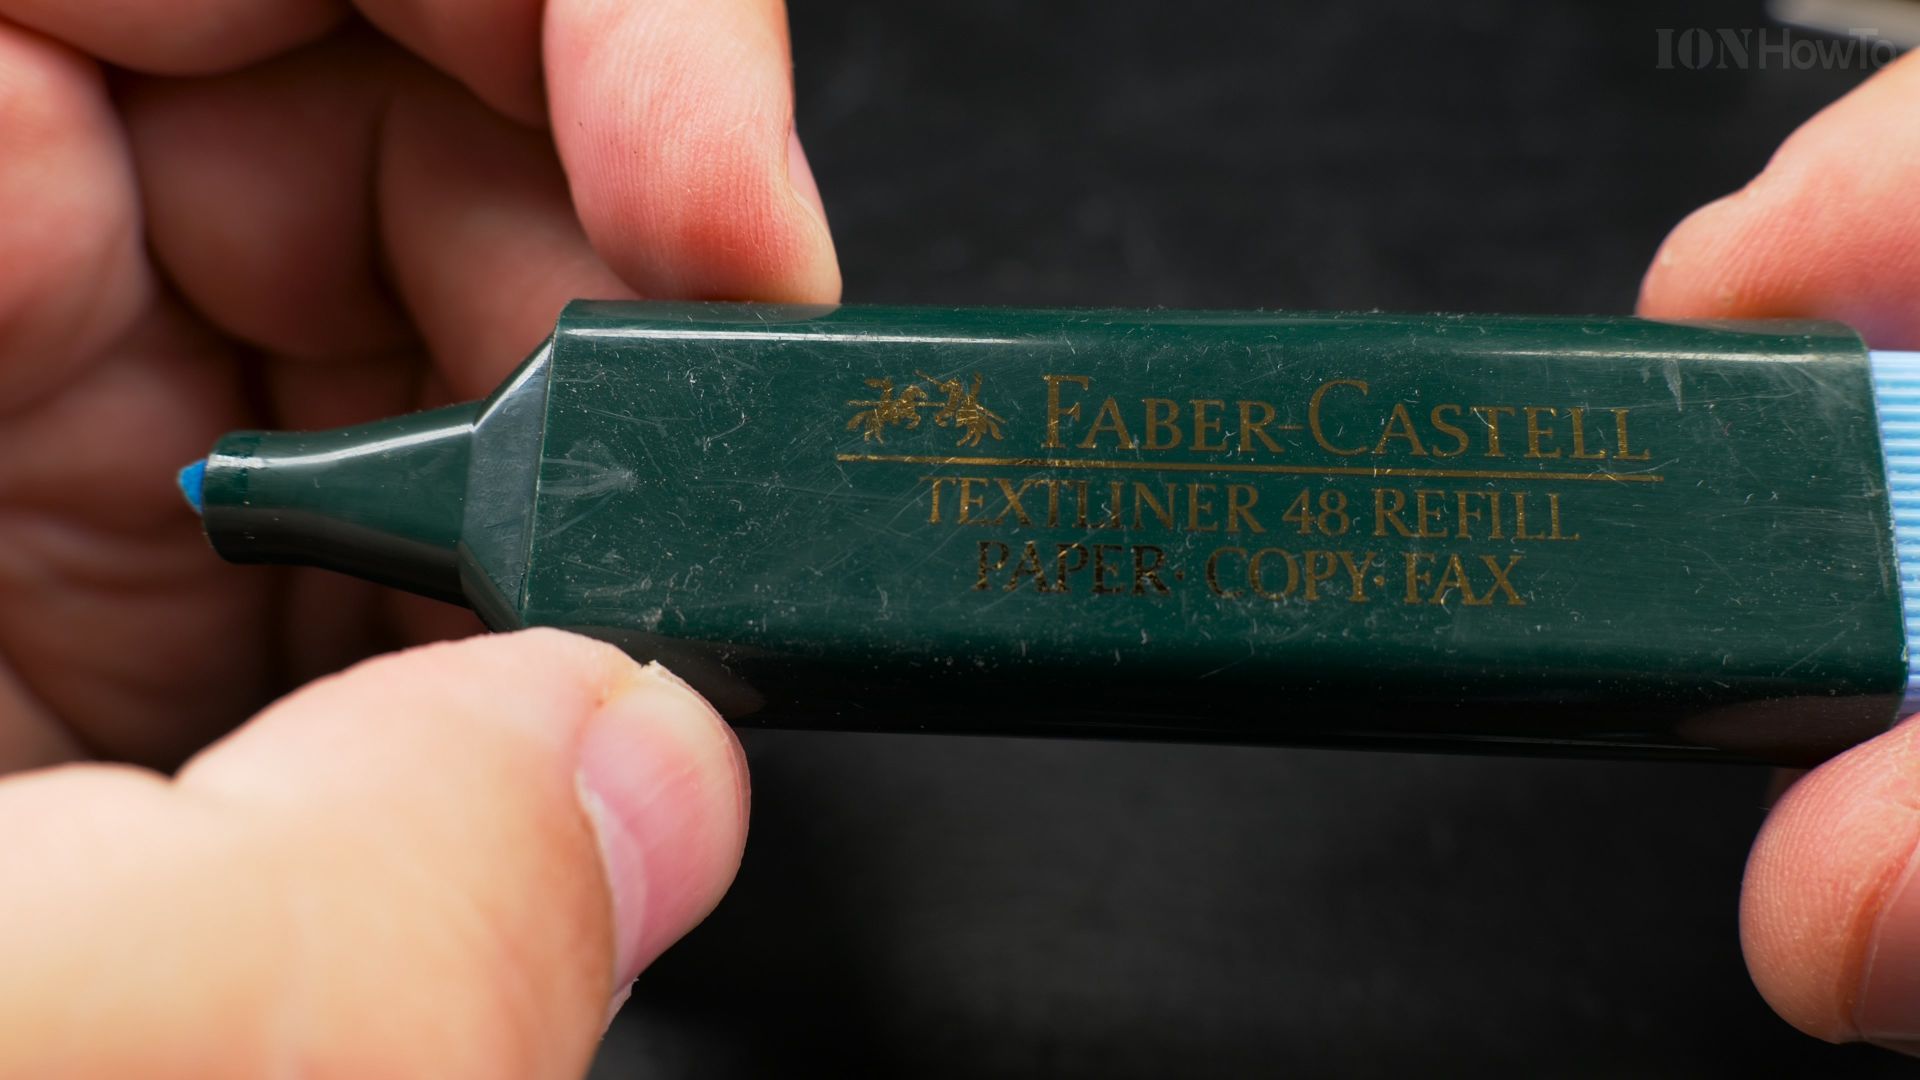
- Get a good grip. Use a pair of needle-nose pliers.
- Pull gently. Carefully grasp the very edge of the highlighter tip that you can see.
- Pull it out. With a slow and steady motion, pull the tip back out to its normal position. Be gentle to avoid tearing the soft tip.

Quick Steps and Scenarios Overview
| What You Need to Do | Quick Jump |
|---|---|
| The Quick First Try: Pulling from the Outside | Jump to Step 1 |
| The Sure-Fix Method: Pushing from the Inside | Jump to Step 2 |
| How to Prevent It from Happening Again | Jump to Step 3 |
| More Highlighter Hacks | Jump to Step 4 |
Recommended Amazon Gear and Accessories
Disclosure: This article contains Amazon affiliate links. As an Amazon Associate, we earn from qualifying purchases at no extra cost to you.
Important: Only try this if enough of the tip is sticking out to get a firm grip. If the tip is too far inside, this method can damage it.
The Sure-Fix Method: Pushing from the Inside
If the tip is too far inside to grab, you’ll need to open the highlighter. This method works every time.

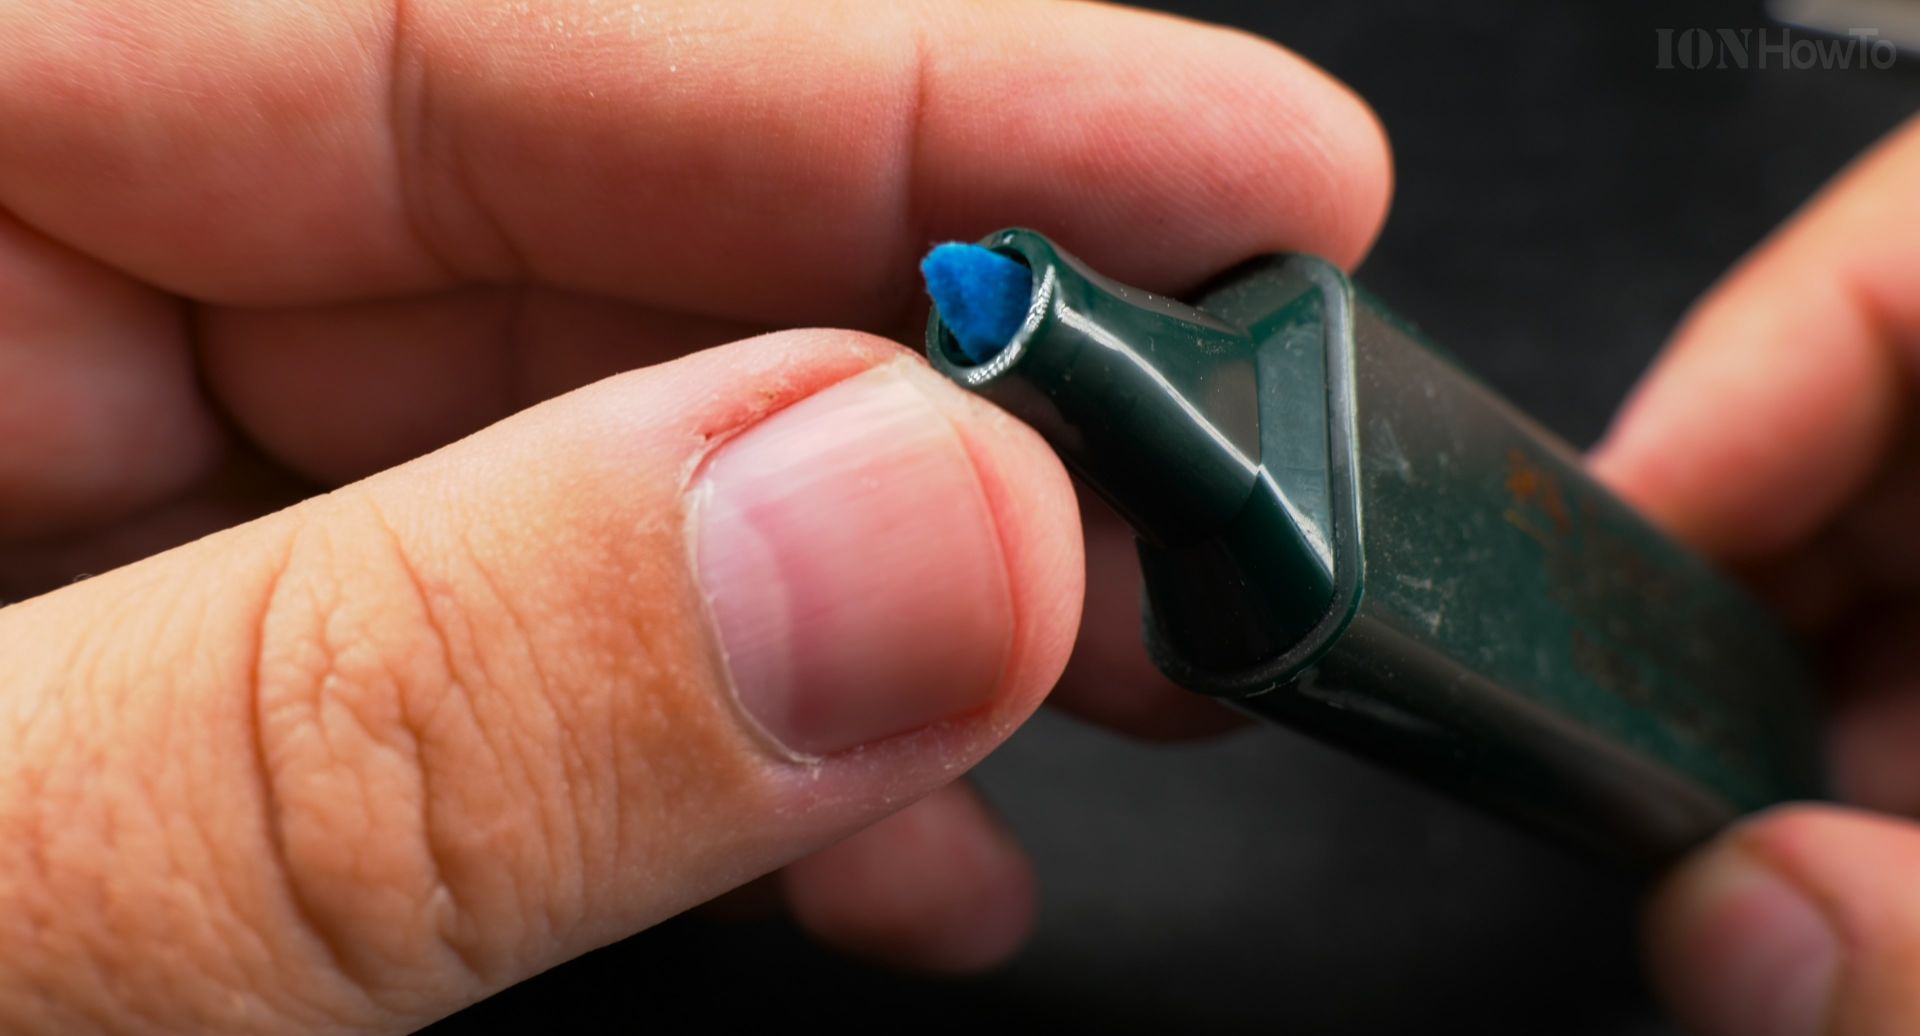
Follow these steps:
- Remove the end cap. Pull off the plastic cap at the back end of the highlighter.
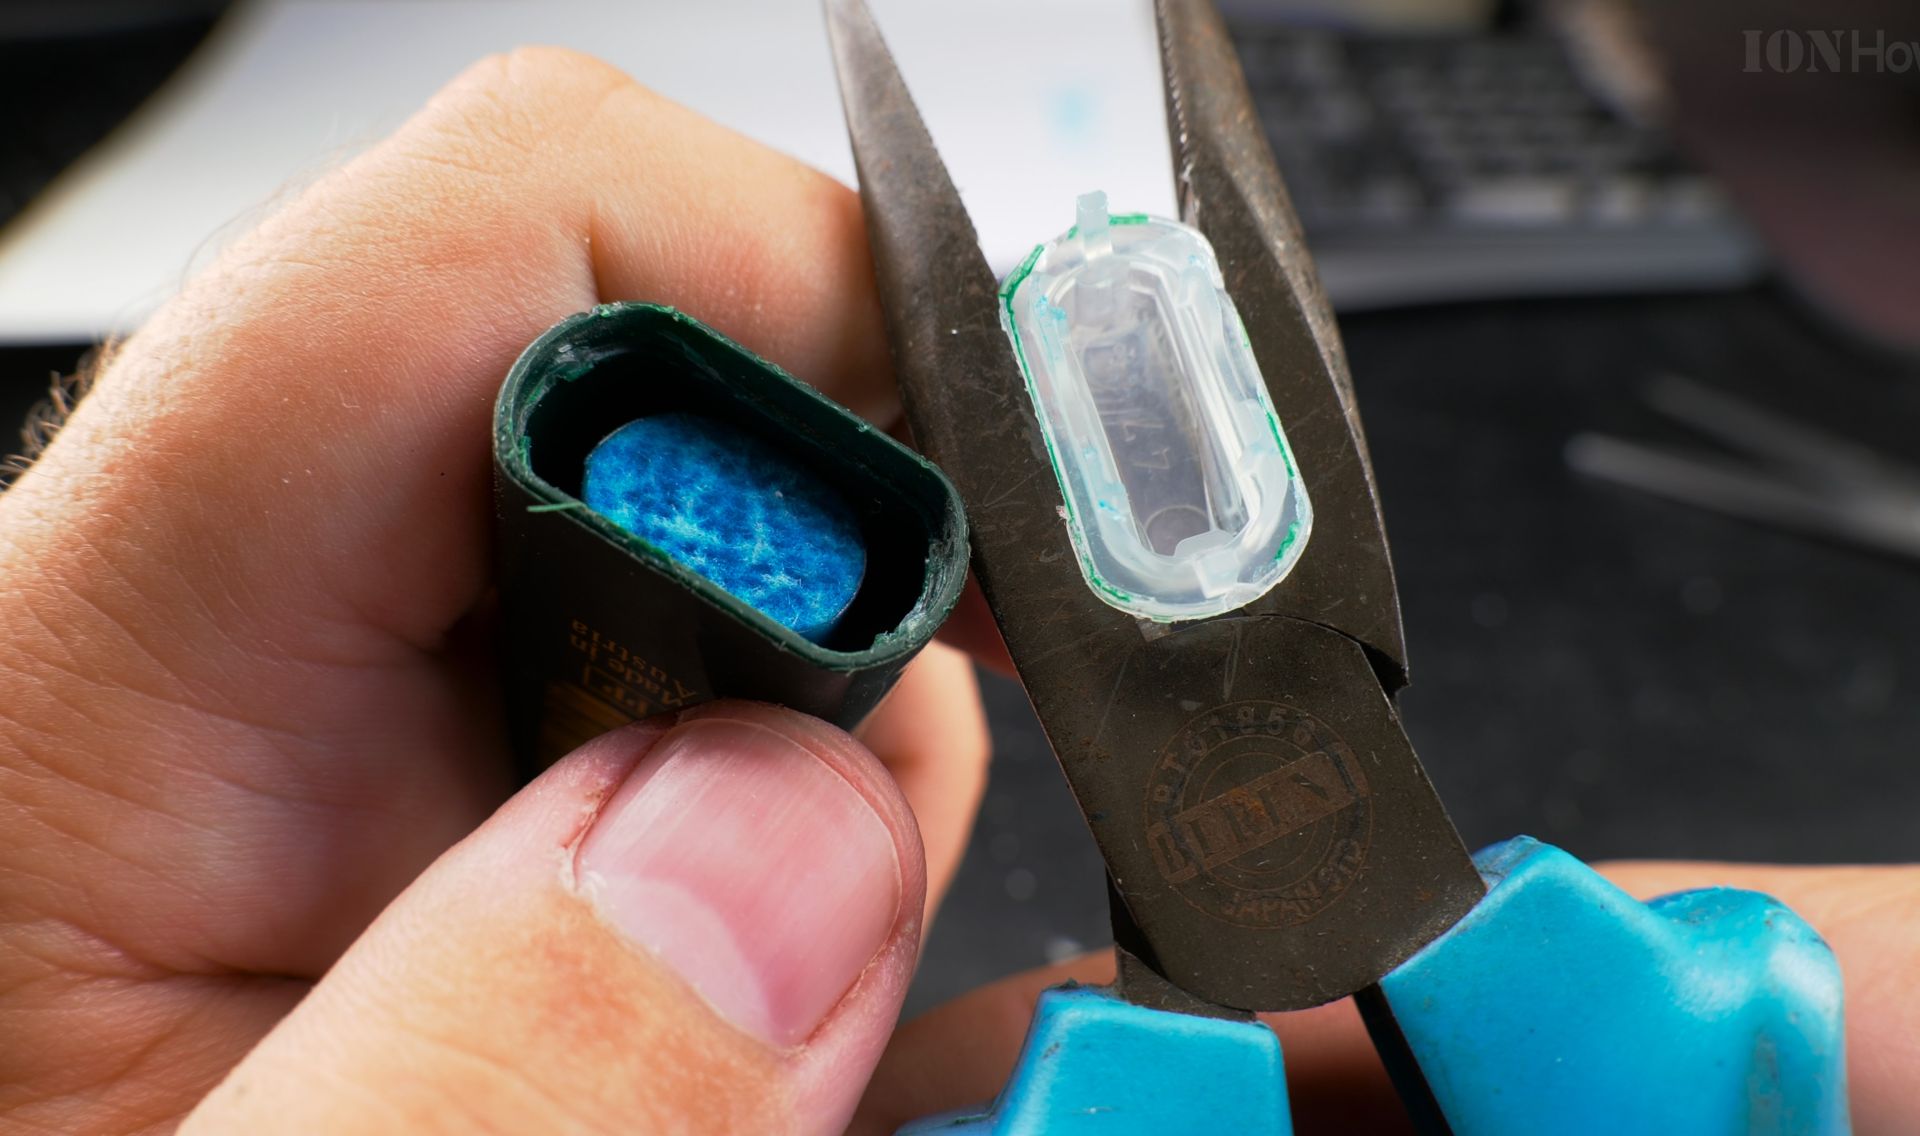
- Pull out the ink sponge. Use a pair of pliers to firmly grip the long, saturated felt sponge inside the barrel. Pull it straight out. Be careful, as ink might get on your fingers.
- Push the tip back out. Now you can see the back of the highlighter tip inside the barrel. Use a small tool, like a pen, a small screwdriver, or the back end of a paintbrush. Gently push the tip from the inside until it pops back out to its correct position at the front.
- Reinsert the sponge. Carefully place the ink sponge back into the barrel. Make sure it slides all the way down so it touches the back of the tip. This contact is how the ink flows.
- Replace the end cap. Put the plastic cap back on the end. Press firmly to seal it. The tip usually stays in place without glue, but if it feels loose, you can add a tiny drop of super glue around the base of the tip (inside the barrel) before reinserting the sponge.
How to Prevent It from Happening Again
The main cause of this problem is pressing down too hard while highlighting.

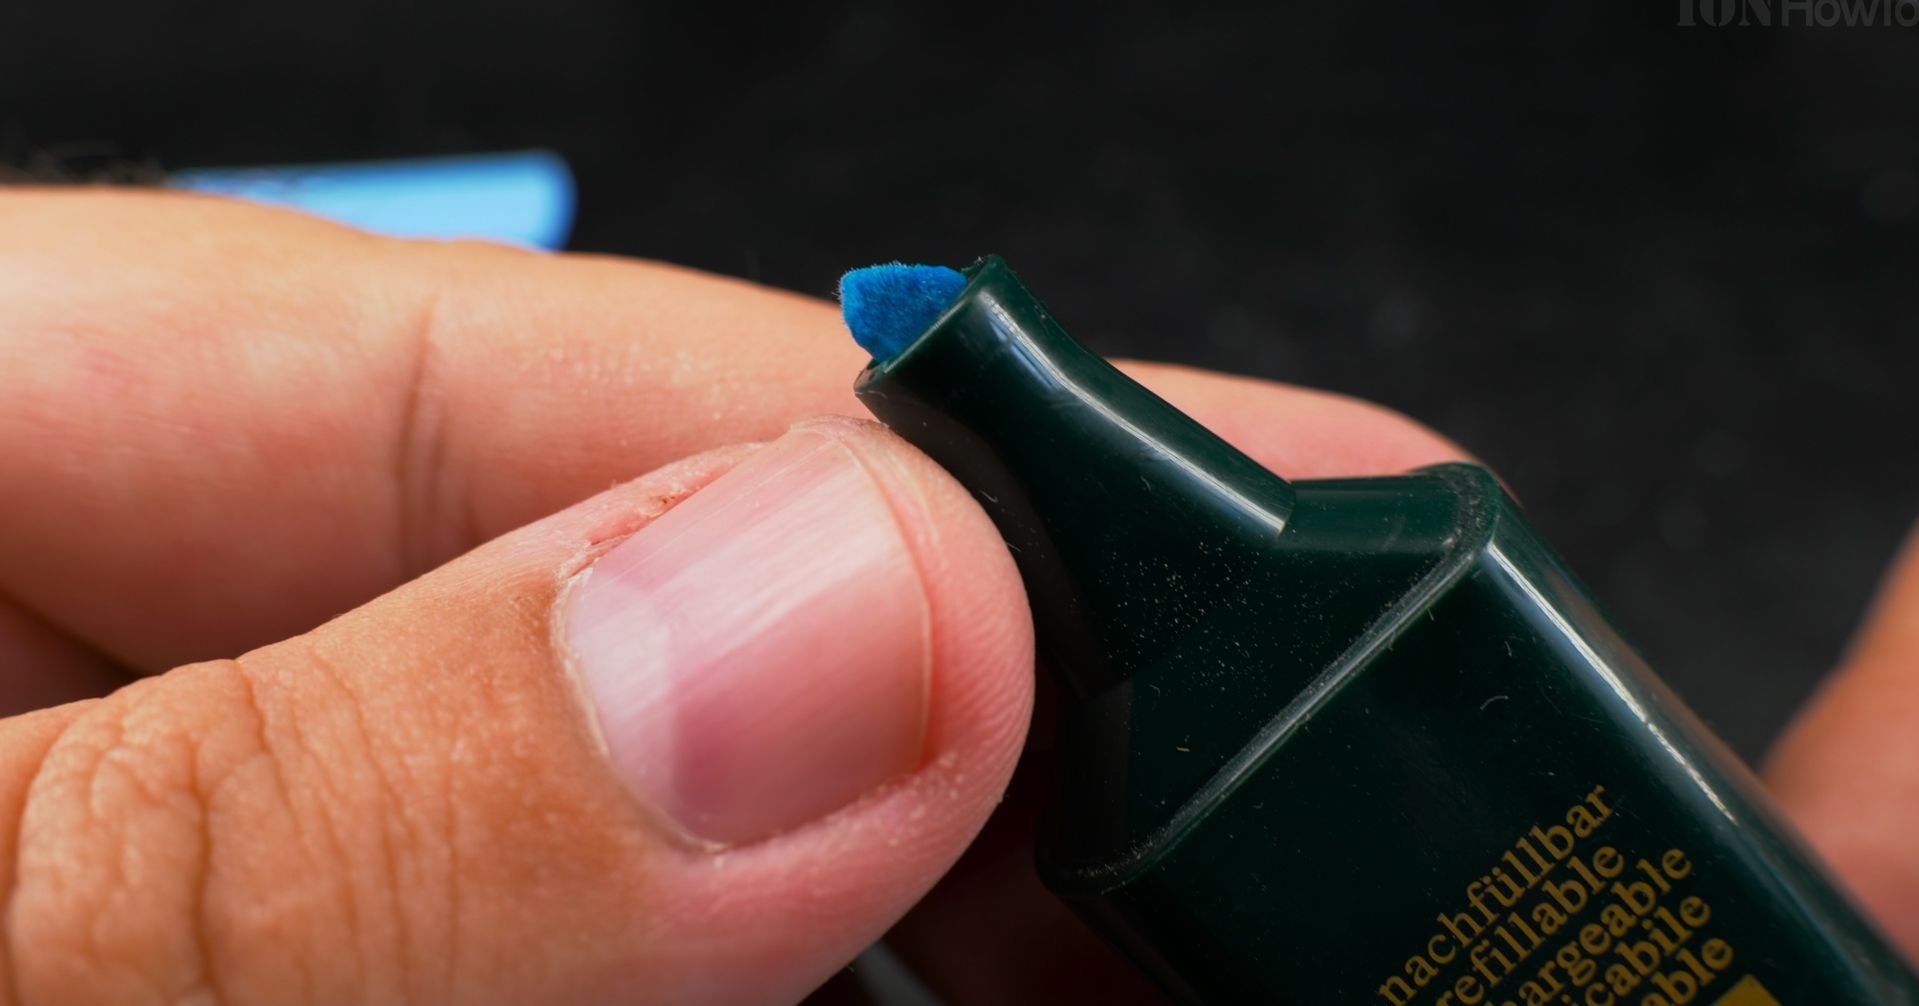
- Use a lighter touch. Let the highlighter glide over the paper. You don’t need to press down.
- Angle the pen. Hold the highlighter at a flatter angle to the paper, not straight up and down.
More Highlighter Hacks
Did you know you can fix a dried-out highlighter or even change its color?

Learn how to refill and revive dry highlighter pens and change their color to anything you want in our full guide: Simple Highlighter Pen Hacks: Fix Dry Markers & Change Colors.
You can even combine inks to create a rainbow highlighter effect!
Helpful Tips
Check all labels, connections, and power ratings before starting so everything fits safely and securely. If any detail looks slightly different on your model, pause the embedded video above for a clear closeup view.
Related Guides
- Pen not working how to fix a BallPoint pen – Pen not working, how to fix a ballpoint pen.
- Simple Highlighter Pen Hacks, Fix Dry Markers Change Colors – Simple highlighter pen hacks.
- Highlighter pen hacks – Browse more tutorials and practical guides in this section.
Leave a Reply Cancel reply