


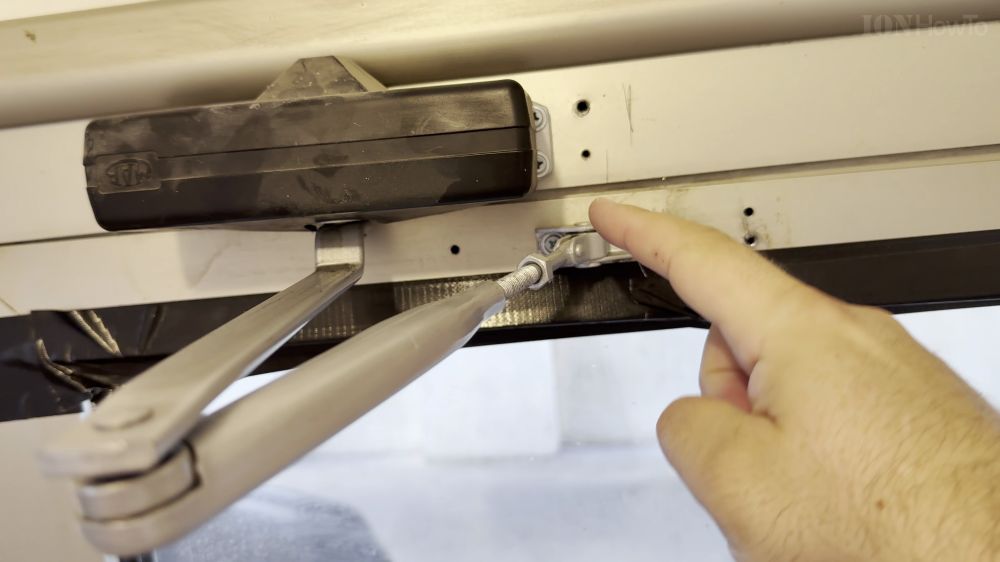
If your interior or storm door slams shut loudly or refuses to latch properly, adjusting the closer mechanism solves the problem in minutes. I’ll show you how to adjust the arm length and regulate closing speeds using a standard screwdriver.

1. Inspect the Closer Arm
Check the articulated metal arm connected between the door closer body and the top jamb bracket.

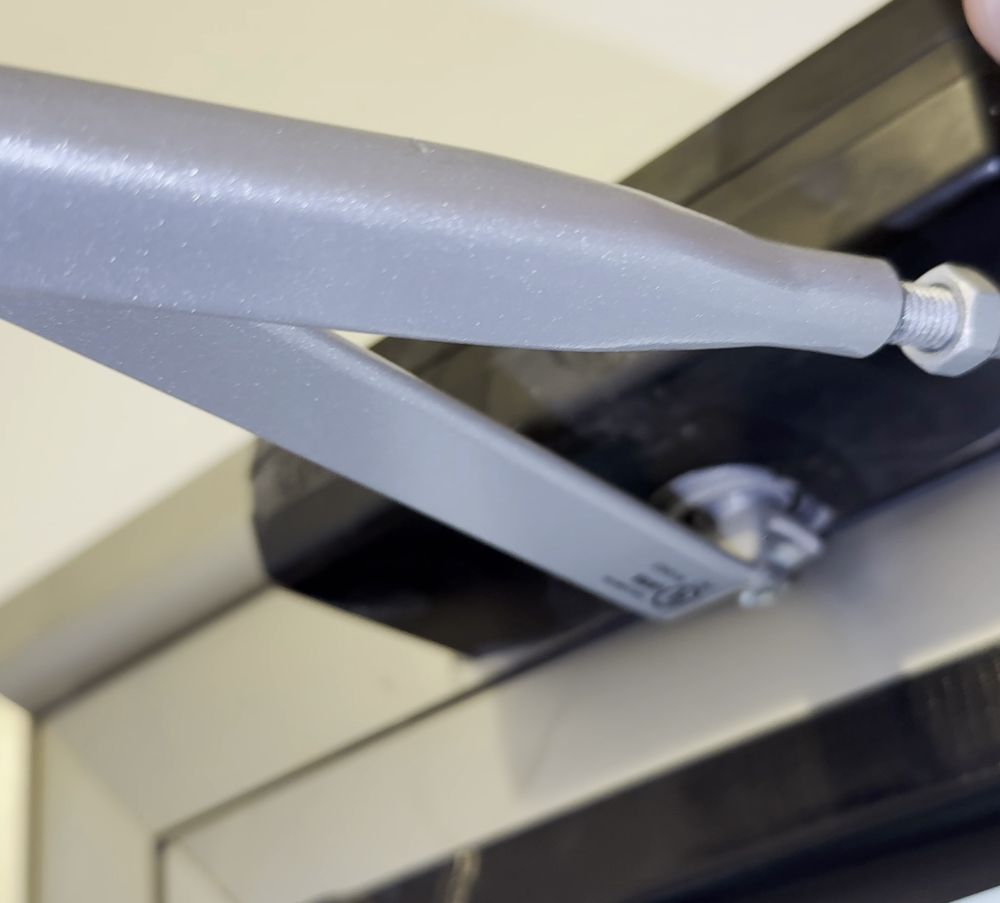
2. Adjust Arm to 90 Degrees
Loosen the arm clamp screw and adjust the threaded arm length so the forearm rests perpendicular (90 degrees) to the door frame when the door is closed.
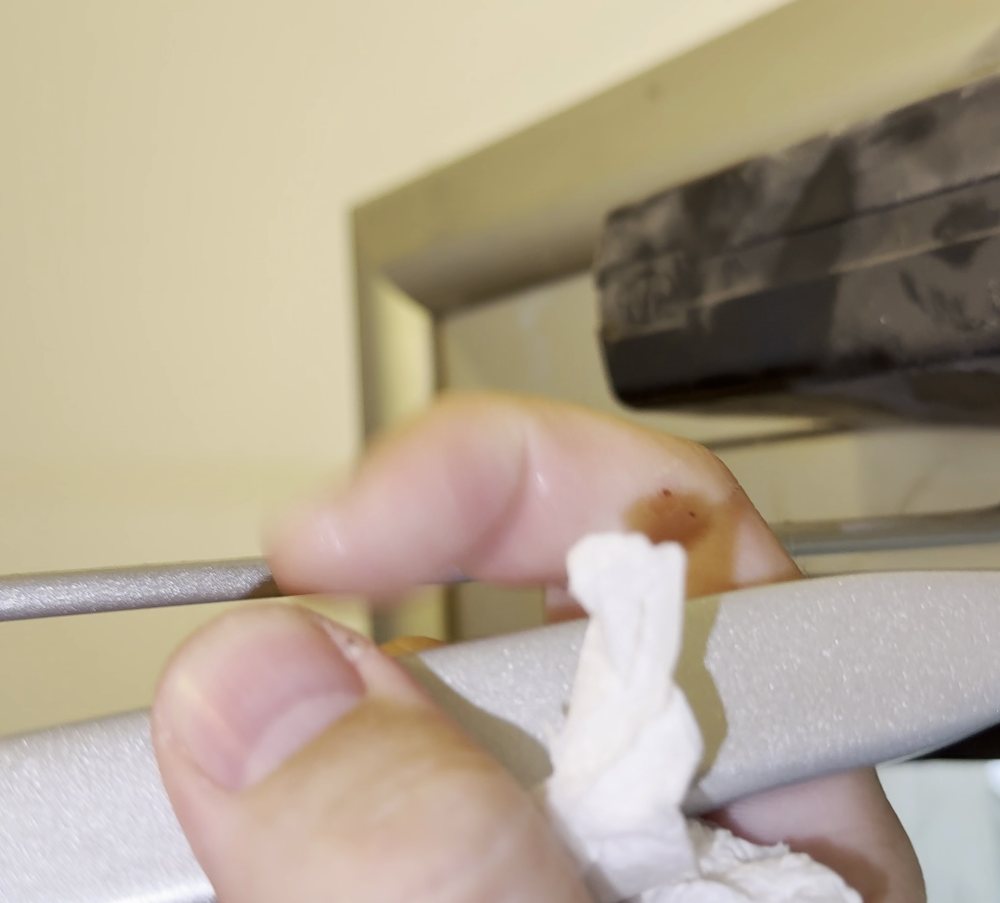
3. Locate the Speed Valves
On the side of the closer body, locate the two adjustment screws marked **1 (Sweep Speed)** and **2 (Latching Speed)**.
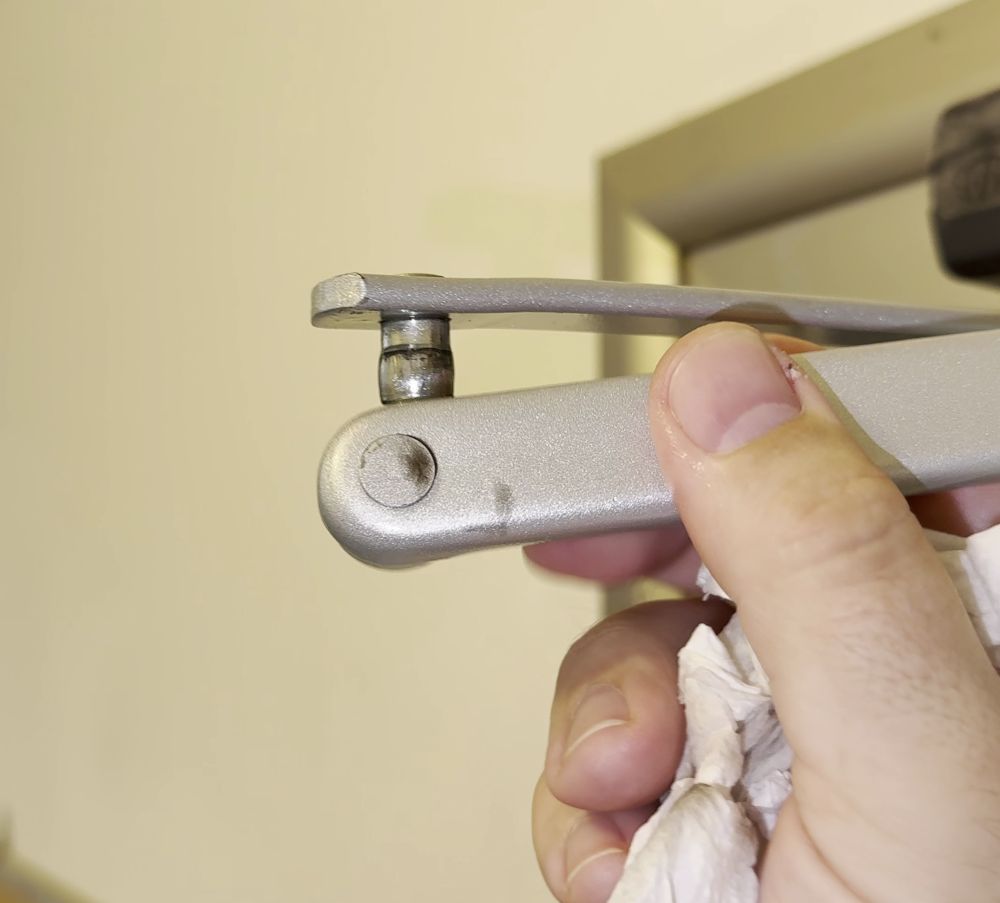
4. Fine-Tune Closing Speed
Turn valve 1 clockwise slightly to slow down the main swing. Turn valve 2 clockwise to soften the final 10 degrees so the door latches gently without slamming.
Helpful Tips
Never unscrew the hydraulic adjustment valves completely out of the closer body, as hydraulic fluid will leak out and destroy the mechanism. For more home repairs, check out our Hardware hub.
Leave a Reply Cancel reply