


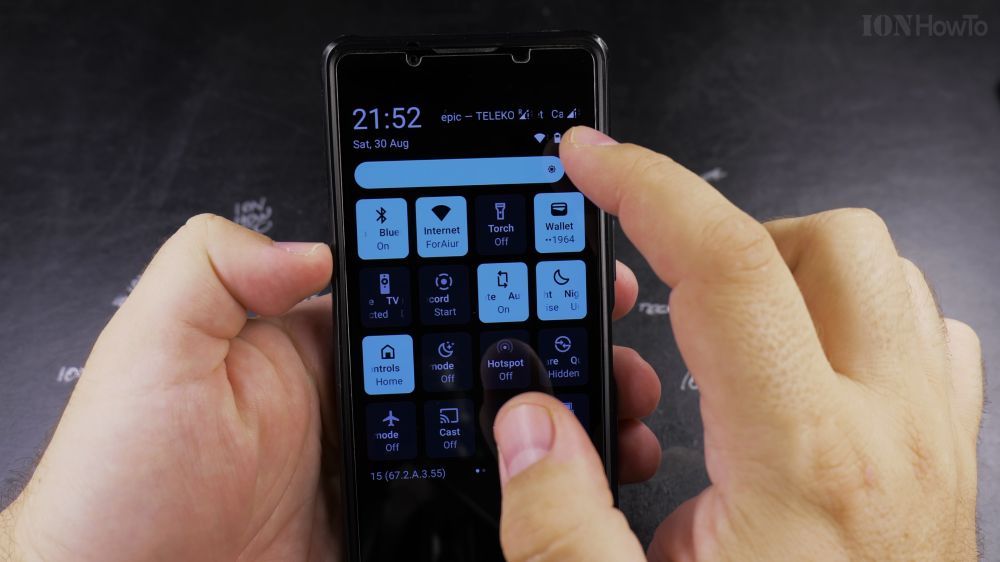
If you travel abroad frequently or manage work and personal phone lines, your phone can store several digital eSIM plans simultaneously. I’ll show you how to scan and install multiple eSIM profiles on your Android phone.

1. Open Settings
Swipe down from the top of your screen and tap the **gear icon**.

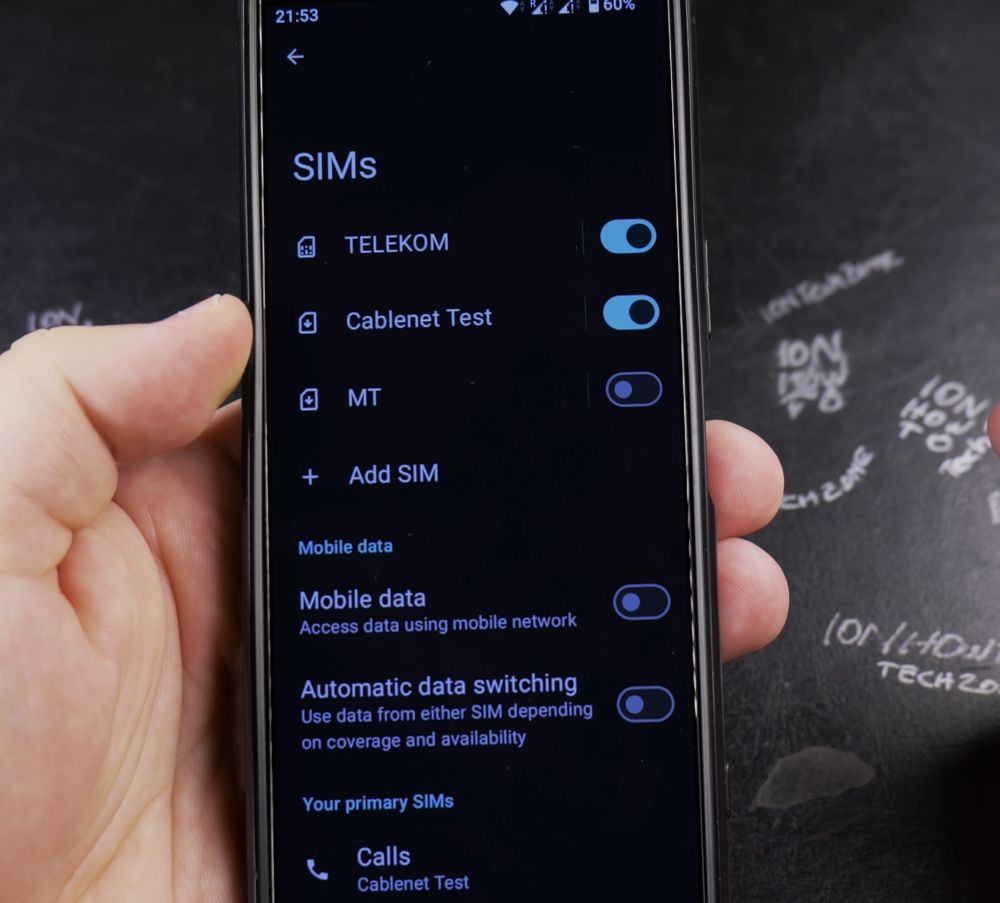
2. Go to SIMs
Tap **Network & internet** (or **Connections**), then tap **SIMs**.
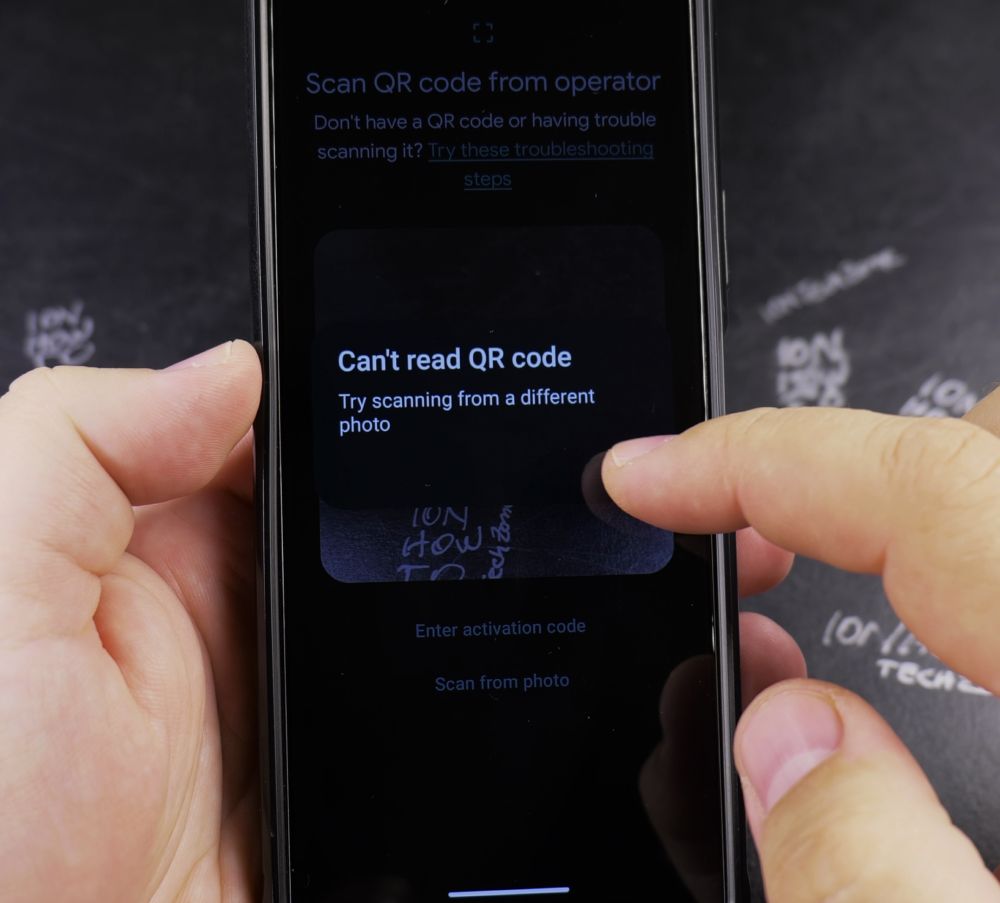
3. Tap Add SIM
Tap the **+** (plus) icon or **Add SIM** at the bottom of the SIM cards list.
4. Select Set Up an eSIM
When prompted, tap **Download a SIM instead** (or **Add eSIM**).
5. Scan Carrier QR Code
Point your phone’s camera at the QR code voucher provided by your mobile carrier. If you do not have a camera code, tap **Need help?** to enter the SM-DP+ address manually.
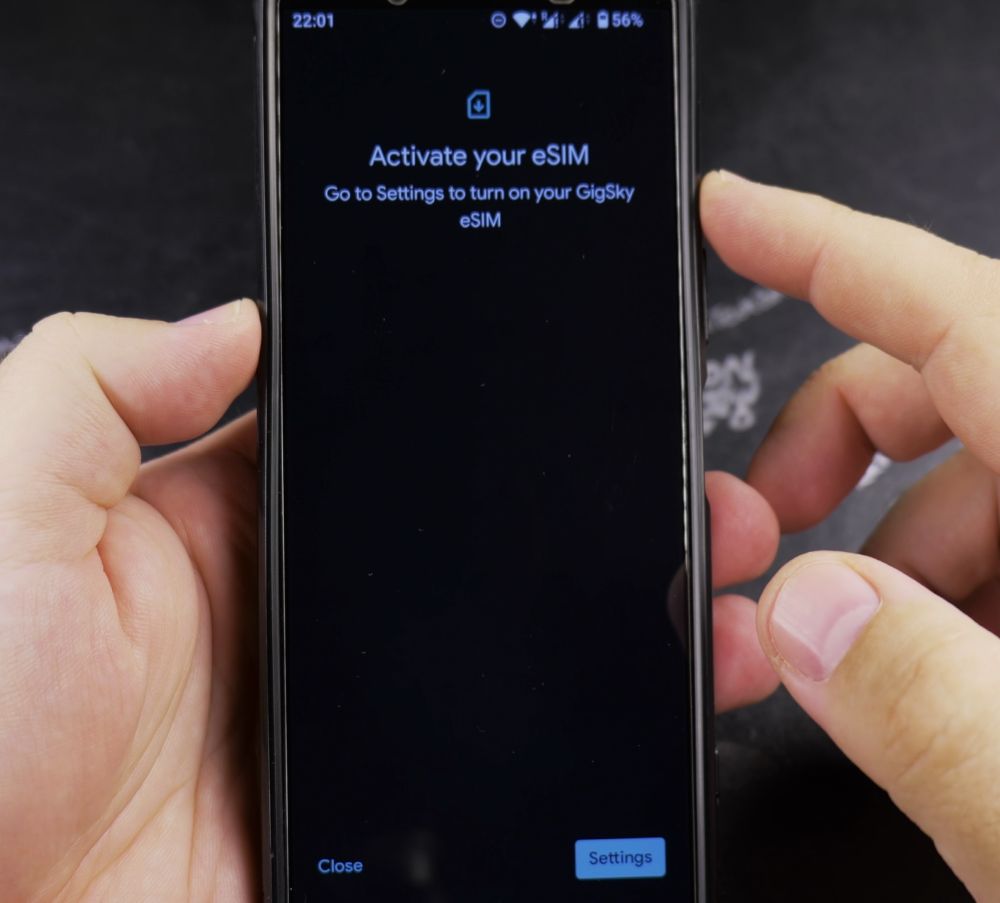
6. Download and Activate
Tap **Download**. Once downloaded, tap **Settings** on the new profile to assign it a clear name (like Work or Travel).
Helpful Tips
Most modern Android phones can store 5 to 10 eSIM profiles in memory, with one or two active simultaneously depending on your hardware. For more cell connectivity tricks, visit our Android Guides hub.
Leave a Reply Cancel reply