


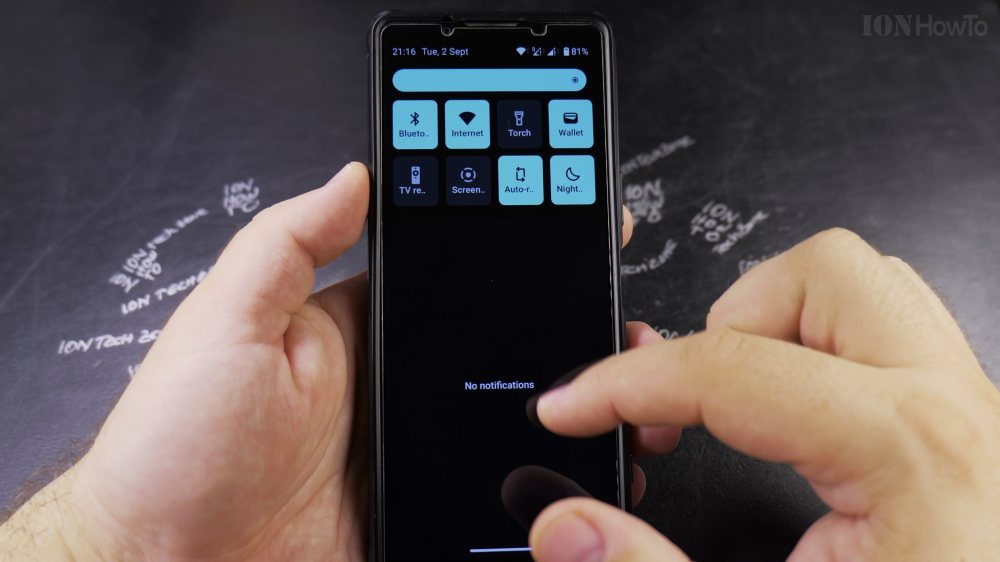
If you want to save a video walkthrough or demonstrate an app problem, Android includes a built-in screen recorder. I’ll show you how to capture your display with clear sound and visible finger taps in a few steps.

1. Open Quick Settings
Swipe down twice from the top of your screen to reveal your full Quick Settings tiles.

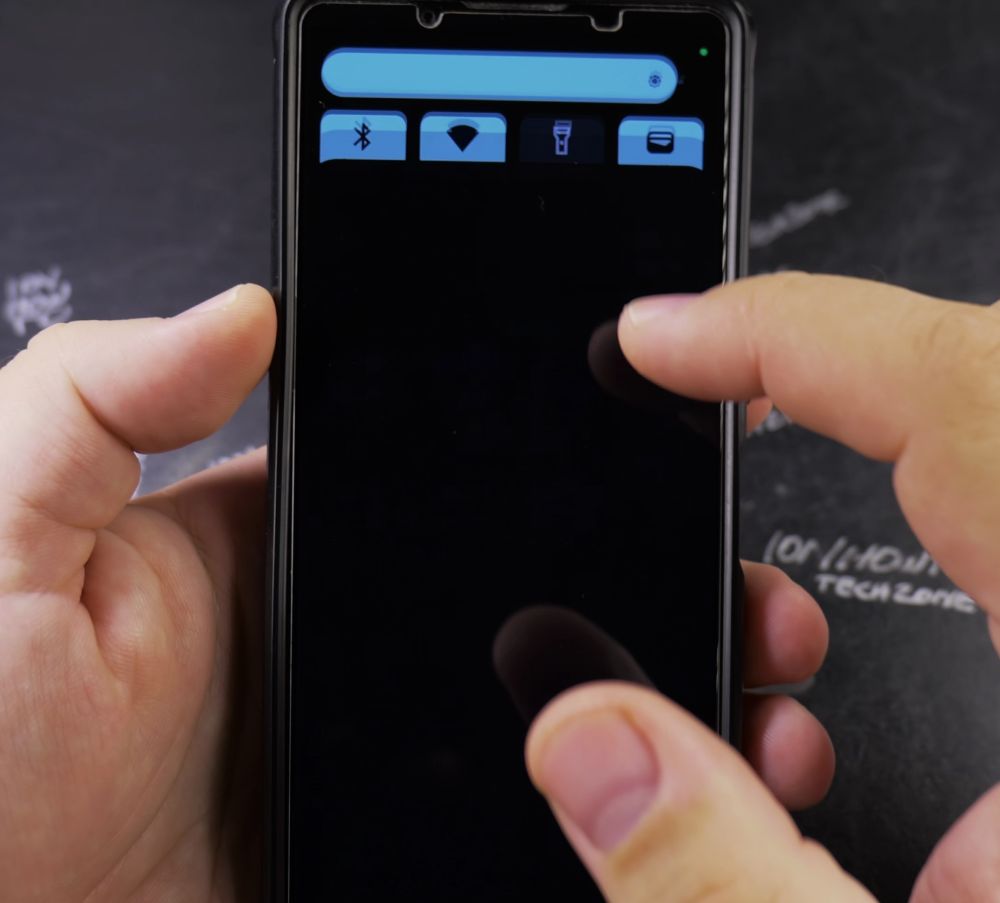
2. Tap Screen Record
Look for the **Screen record** (or **Screen recorder**) icon and tap it. If it is hidden, tap the pencil icon to add it to your active tiles.
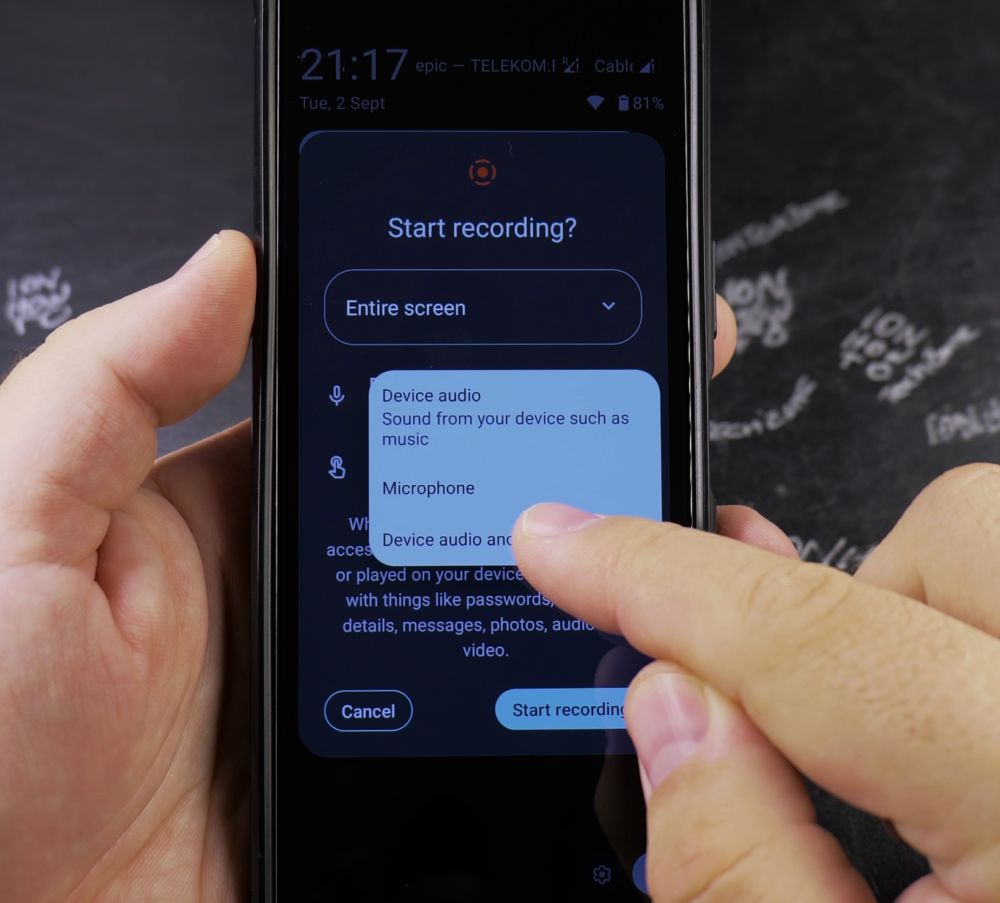
3. Choose Your Audio Source
In the popup dialog, tap the audio menu and choose If you want **Device audio**, **Microphone**, or **Device audio and microphone** to capture both game sound and your voice.
4. Turn On Show Touches on Screen
Toggle the switch next to **Show touches on screen** to **On** so small circles appear wherever you tap.
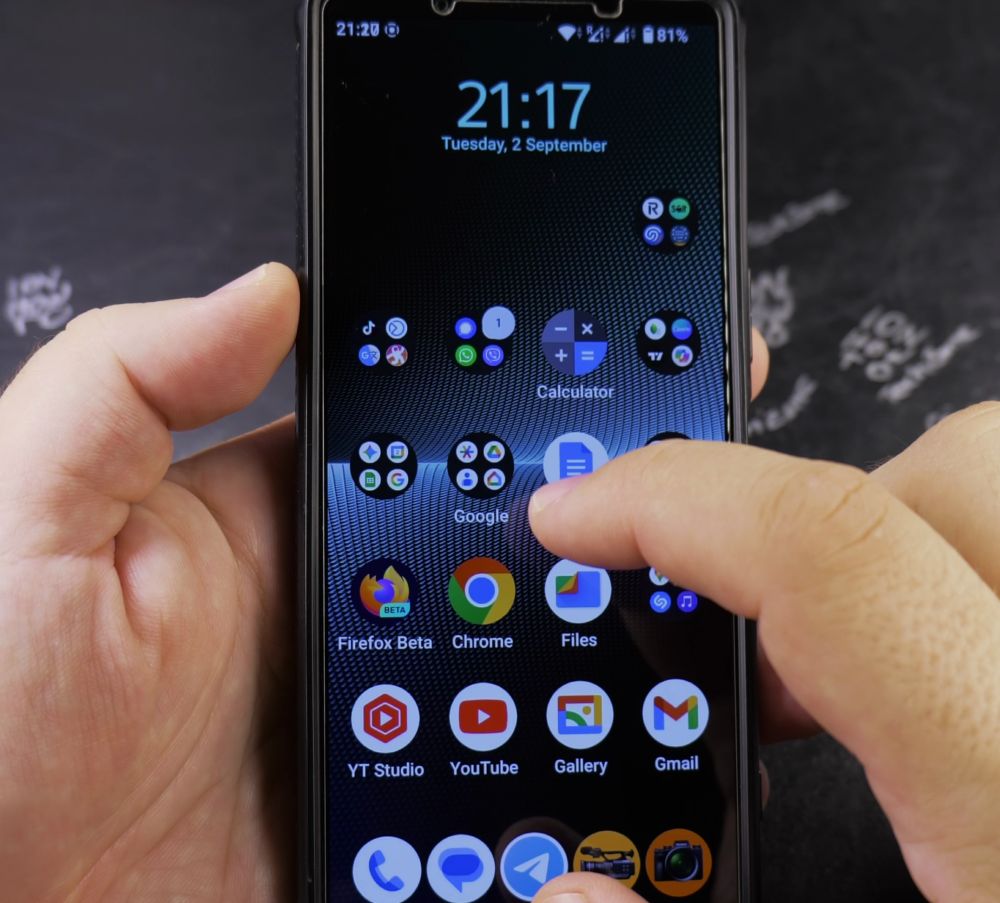
5. Tap Start and Record
Tap **Start**. After a 3-second countdown, your phone records everything on screen.
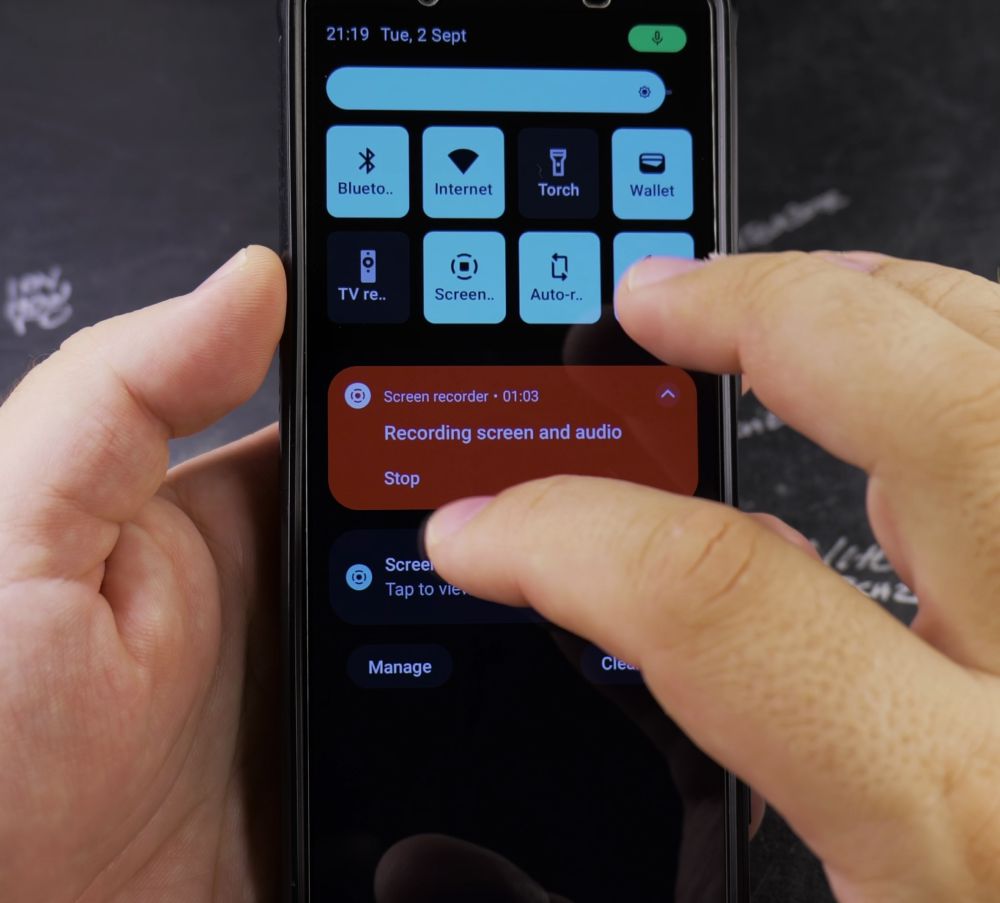
6. Stop Recording
When finished, swipe down from the top of your screen and tap **Tap to stop** in the red notification banner.
Helpful Tips
Your recorded video is automatically saved in your phone’s Gallery or Google Photos app under the Movies or Screen recordings folder. For more helpful phone walkthroughs, visit our Android Guides collection.
Leave a Reply Cancel reply