


Rental Car Inspection Guide: Essential Tips for a Hassle-Free Trip.
Renting a car for your vacation should be exciting, not stressful. The last thing you want is a surprise charge for damage you didn’t cause when you return the car. Spending just 10 minutes on a thorough inspection when you pick up and drop off the car can save you from major headaches. I’ll show you exactly what to check.
Before You Drive Off: The Pick-Up Inspection
This is your most important step. Your goal is to document the car’s condition before you take responsibility for it. Don’t let a busy rental counter rush you through this.

Step 1: Exterior Check (Walk Around)
Grab your phone and start a video, or take clear photos. Do a full walk-around in good light.
- Body: Look for dents, scratches, and paint chips. Pay special attention to bumpers, door edges, and wheel arches.
- Windows and Mirrors: Check for any cracks or chips.
- Lights: Make sure all headlights, taillights, brake lights, and turn signals are working. Have a friend help or press the brakes while you look.
- Tires: Check the tread and look for any cuts, bulges, or obvious damage. Note the tire pressure if a warning light is on.
Step 2: Interior Check (Get Inside)
Now, get inside and look carefully.
- Seats and Upholstery: Check for stains, tears, burns (like cigarette burns), or excessive wear. Move the seats to look underneath.
- Dashboard and Console: Look for scratches, sticky residues, or damage to screens or buttons.
- Floor and Trunk: Check the carpets and trunk lining for stains, sand, or tears.
- Odor: Note any strong smells like smoke or pet odor.
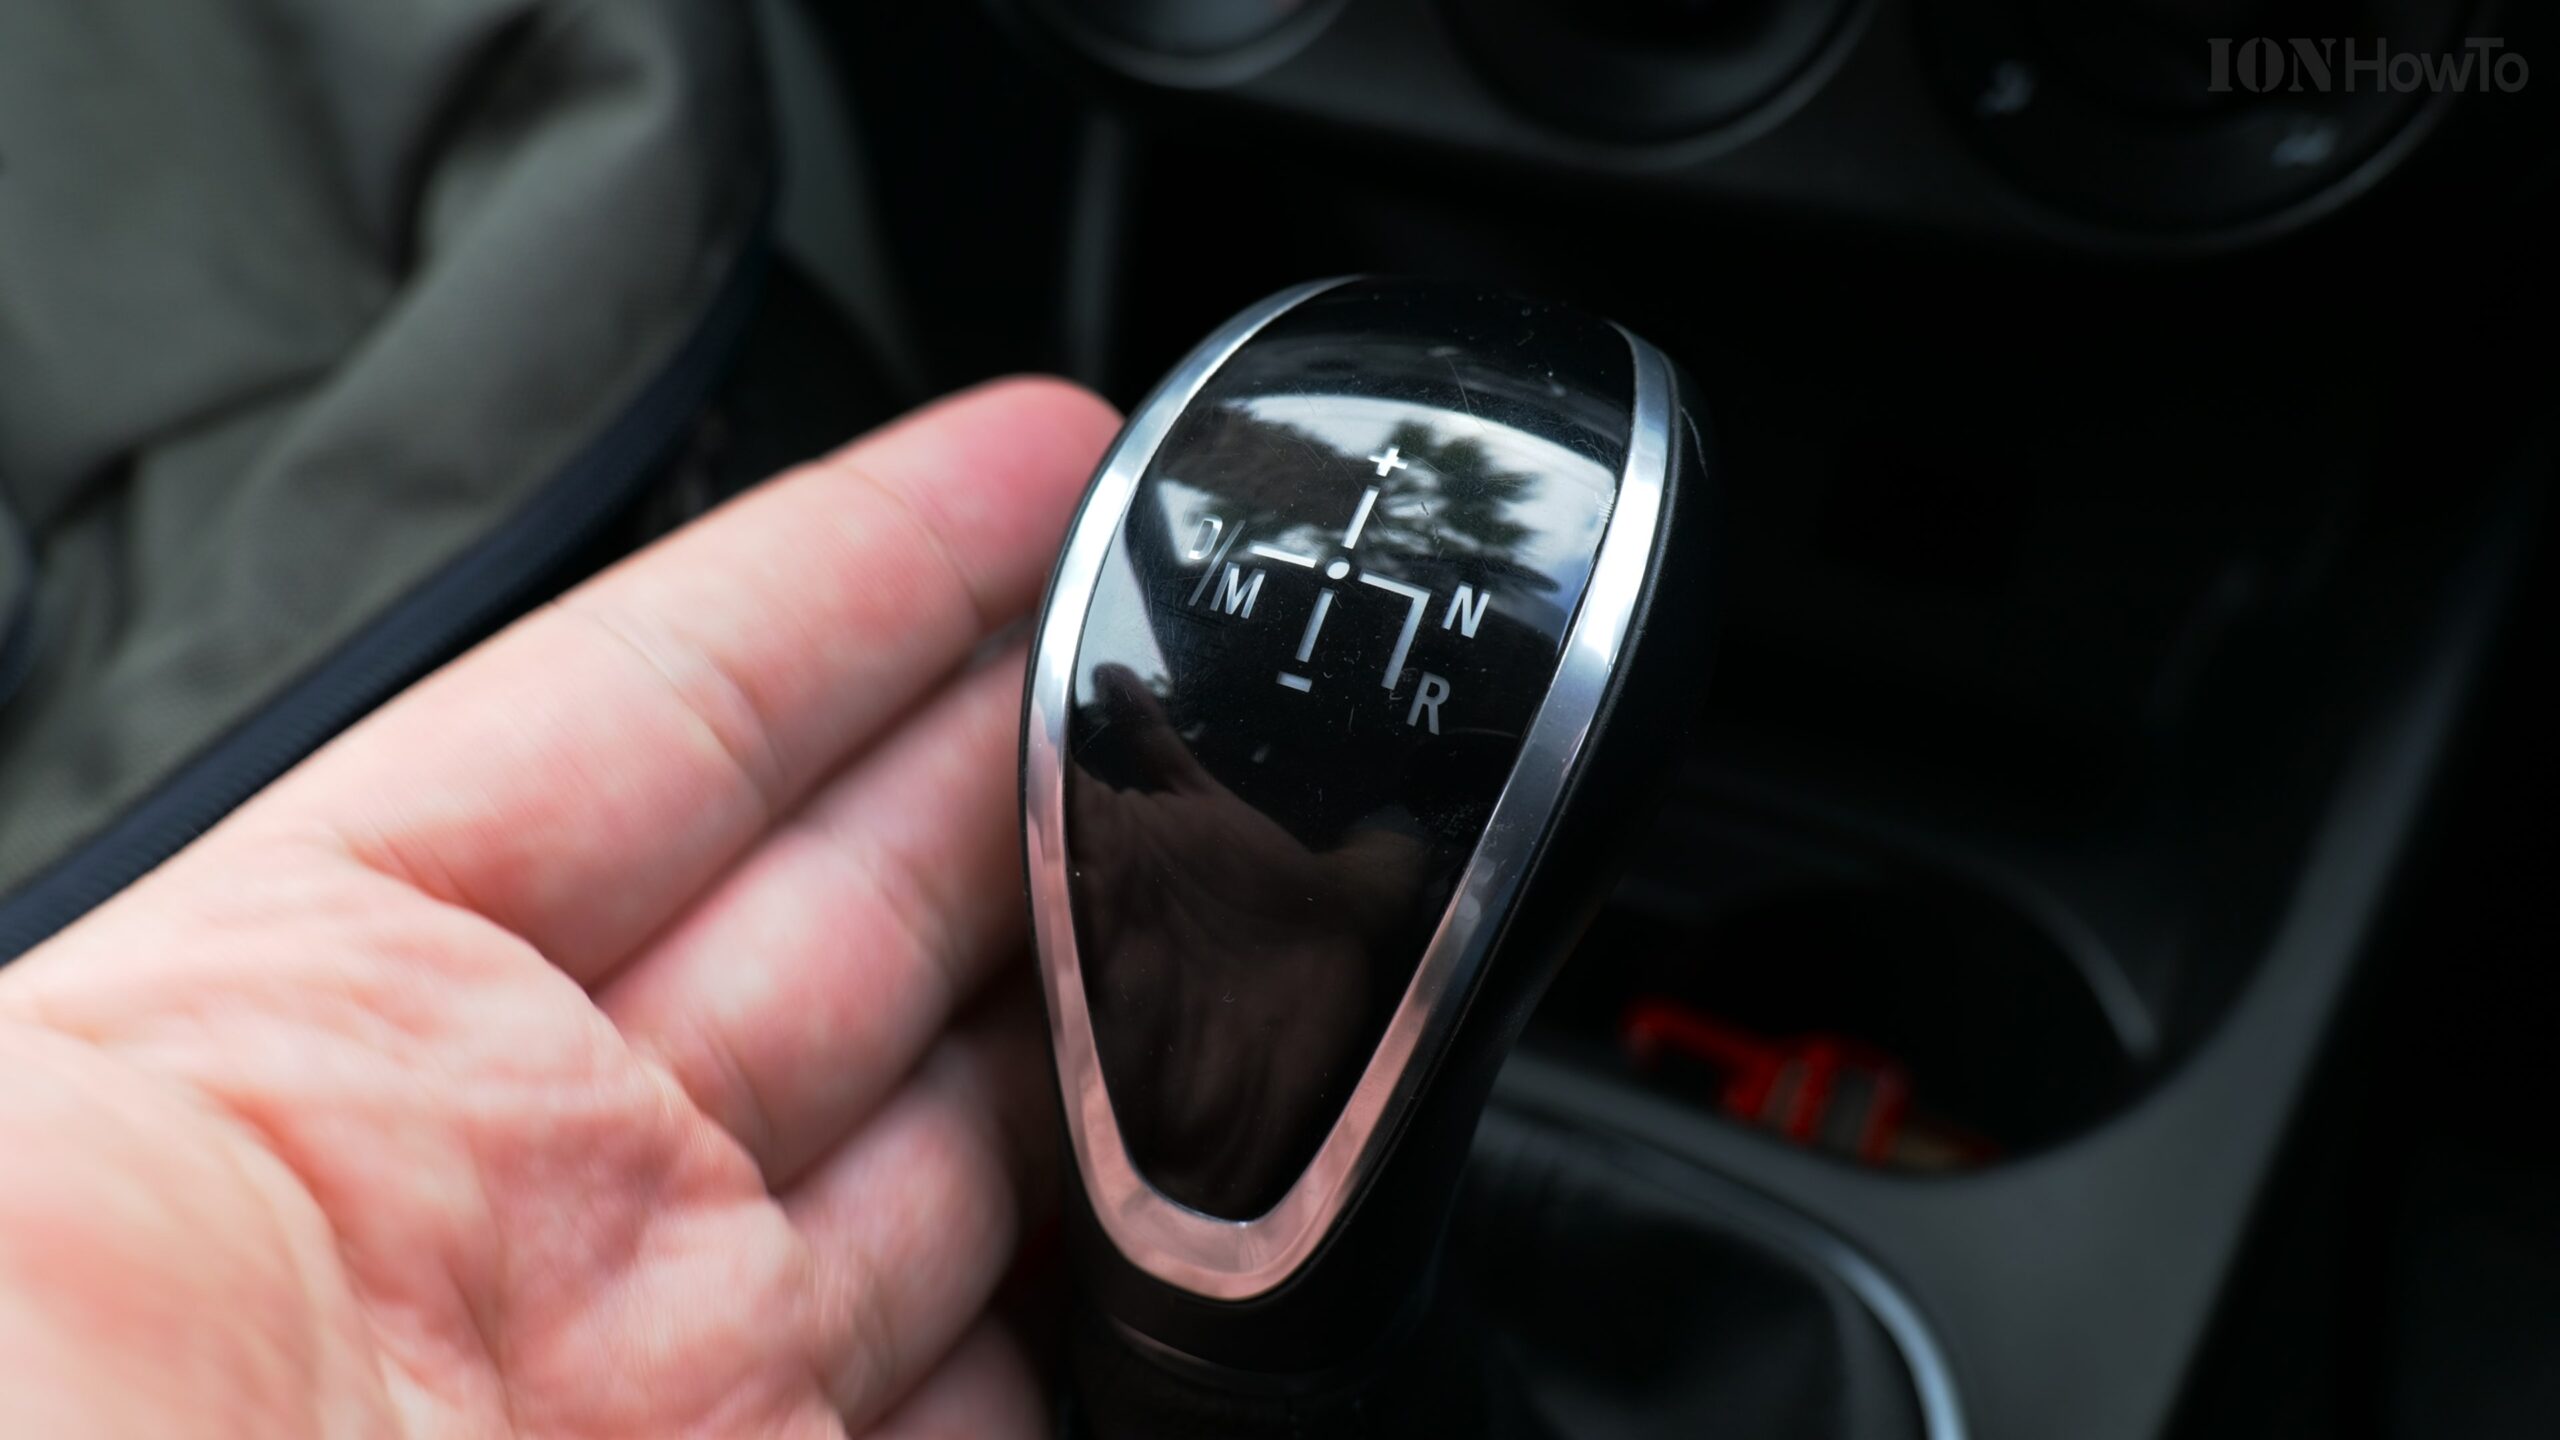
Step 3: Function Check (Test Everything)
Turn the car on (but don’t drive off yet).
- Controls: Test the air conditioning, heater, windshield wipers, all windows, and the audio system.
- Accessories: Make sure you have the spare tire, jack, and any promised items like a phone charger or roof rack keys.
- Fuel: Take a clear photo of the fuel gauge. Know whether you need to return it full or to the same level.
Step 4: Report and Document
- Point out every flaw you found to the rental agent and make sure it is noted on your rental agreement before you sign.
- Send your video or photos to yourself or the rental company via email right away. This creates a timestamped record.
Before You Hand It Back: The Drop-Off Inspection
When your trip is over, do it all again. This protects you if new damage occurs after you leave the car.
- Give yourself time. Don’t inspect while rushing to a flight.
- Repeat the exterior walk-around with video or photos. Look for any new damage that might have happened in a parking lot.
- Clean out the interior. Remove all your personal items and trash. A cleaning fee can be an unexpected charge.
- Refuel correctly. Fill the tank to the required level and keep the fuel receipt as proof. Some companies charge much more per liter if they have to refuel.
- Get a receipt. When you return the keys, ask for a final receipt that states the car was returned with no new damage. If an agent does a walk-around with you, make sure they confirm it’s okay.
Top Tips to Remember
- Read Your Agreement: Know the policy on fuel, mileage, and additional drivers to avoid fees.
- Check Your Insurance: Understand what your personal auto insurance or credit card covers before buying extra insurance at the counter.
- Communication is Key: If you have any issues during the rental (a warning light, a flat tire, new damage), call the rental company immediately. Don’t wait until you return it.
A little bit of careful inspection gives you peace of mind. You can truly enjoy your vacation knowing you’ve protected yourself from unfair charges. Now, all that’s left to do is hit the road and start your adventure.
Leave a Reply Cancel reply