


If your home network needs 10-gigabit speeds, pulling new wiring through existing wall pipes is much easier than opening drywall. I’ll show you how to use your old Cat5e wire as a puller to bring thick Cat6A cable through in-wall conduit.

1. Strip Cable Jackets and Trim Shielding Foil
Cut the old RJ45 end off the existing Cat5e cable sticking out of the wall.
Strip about 8 to 10 centimeters of outer plastic jacket off both the old Cat5e cable and your new Cat6A spool.
Snip away the shiny metal foil shield from the Cat6A tip. Removing this foil keeps the joint thin so it glides smoothly through narrow pipe bends.

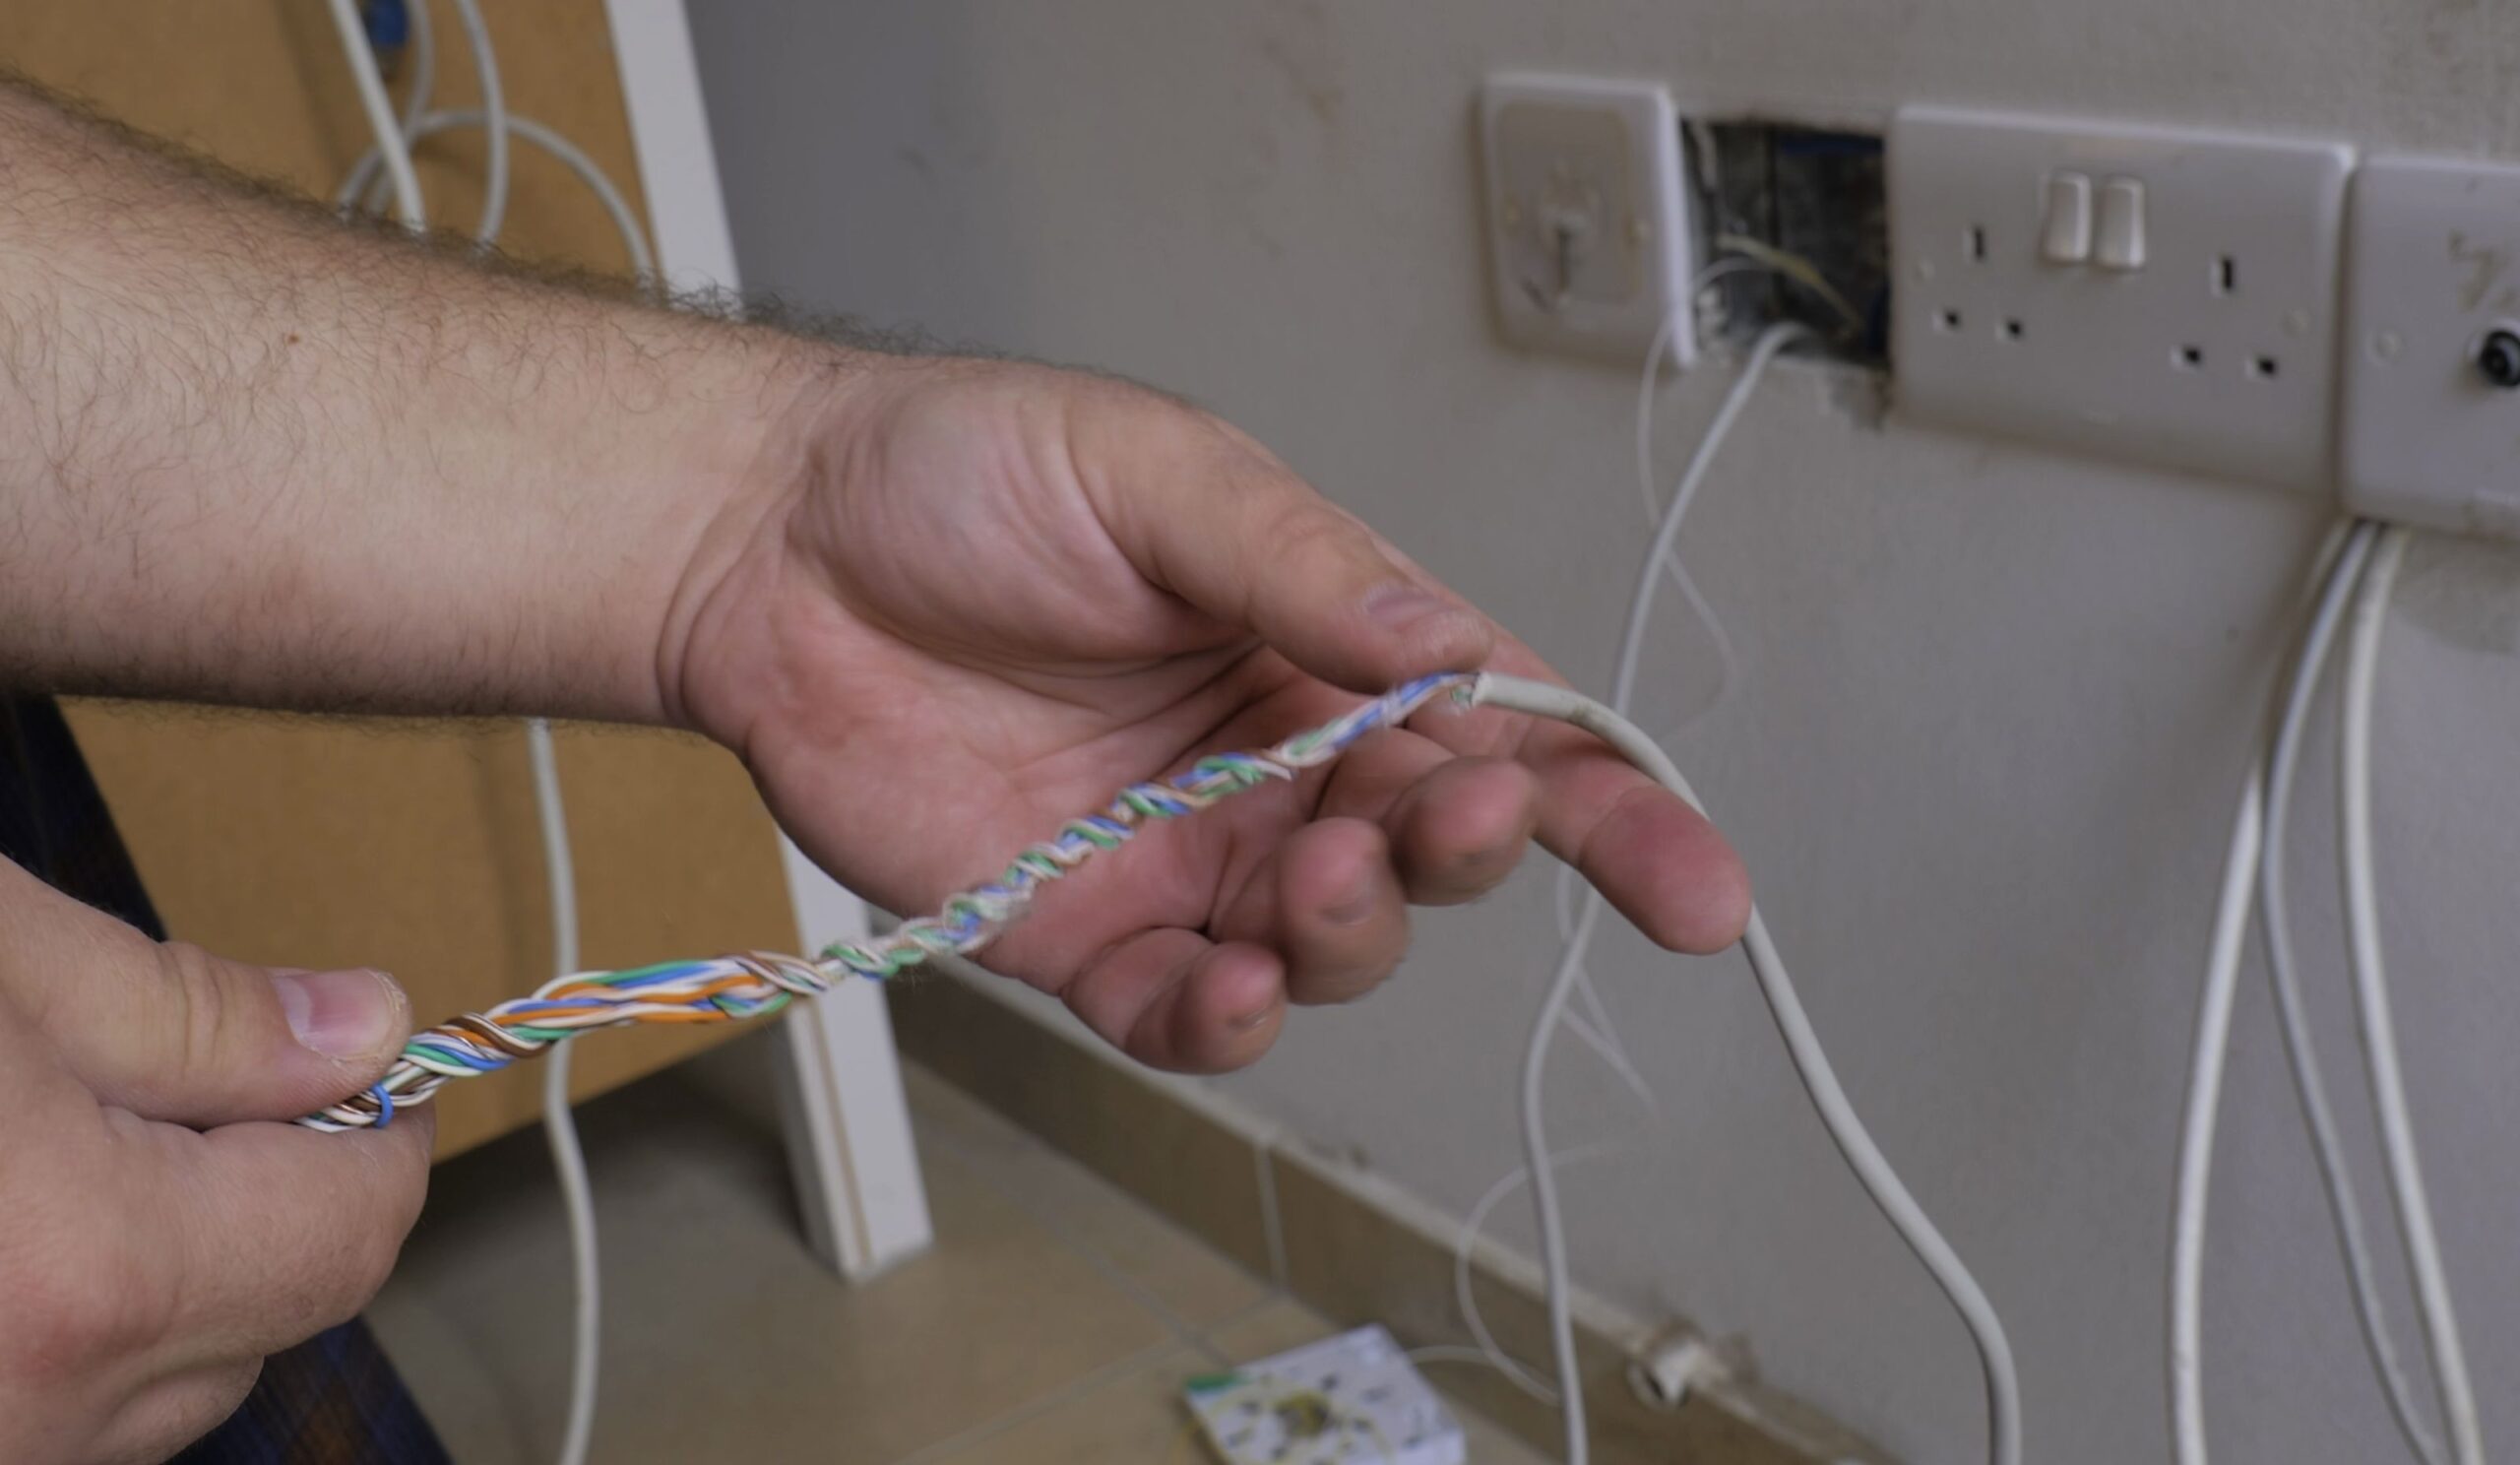
2. Interlock Wires and Form a Tapered Pulling Head
Take four wire pairs from each cable and twist them tightly through each other to form an interlocking eye loop.
Pinch the twisted loop flat with pliers so it stays as narrow as the cable itself.
Wrap electrical tape firmly around the entire junction. Start thin at the tip and build up a smooth, conical shape that covers all exposed edges.
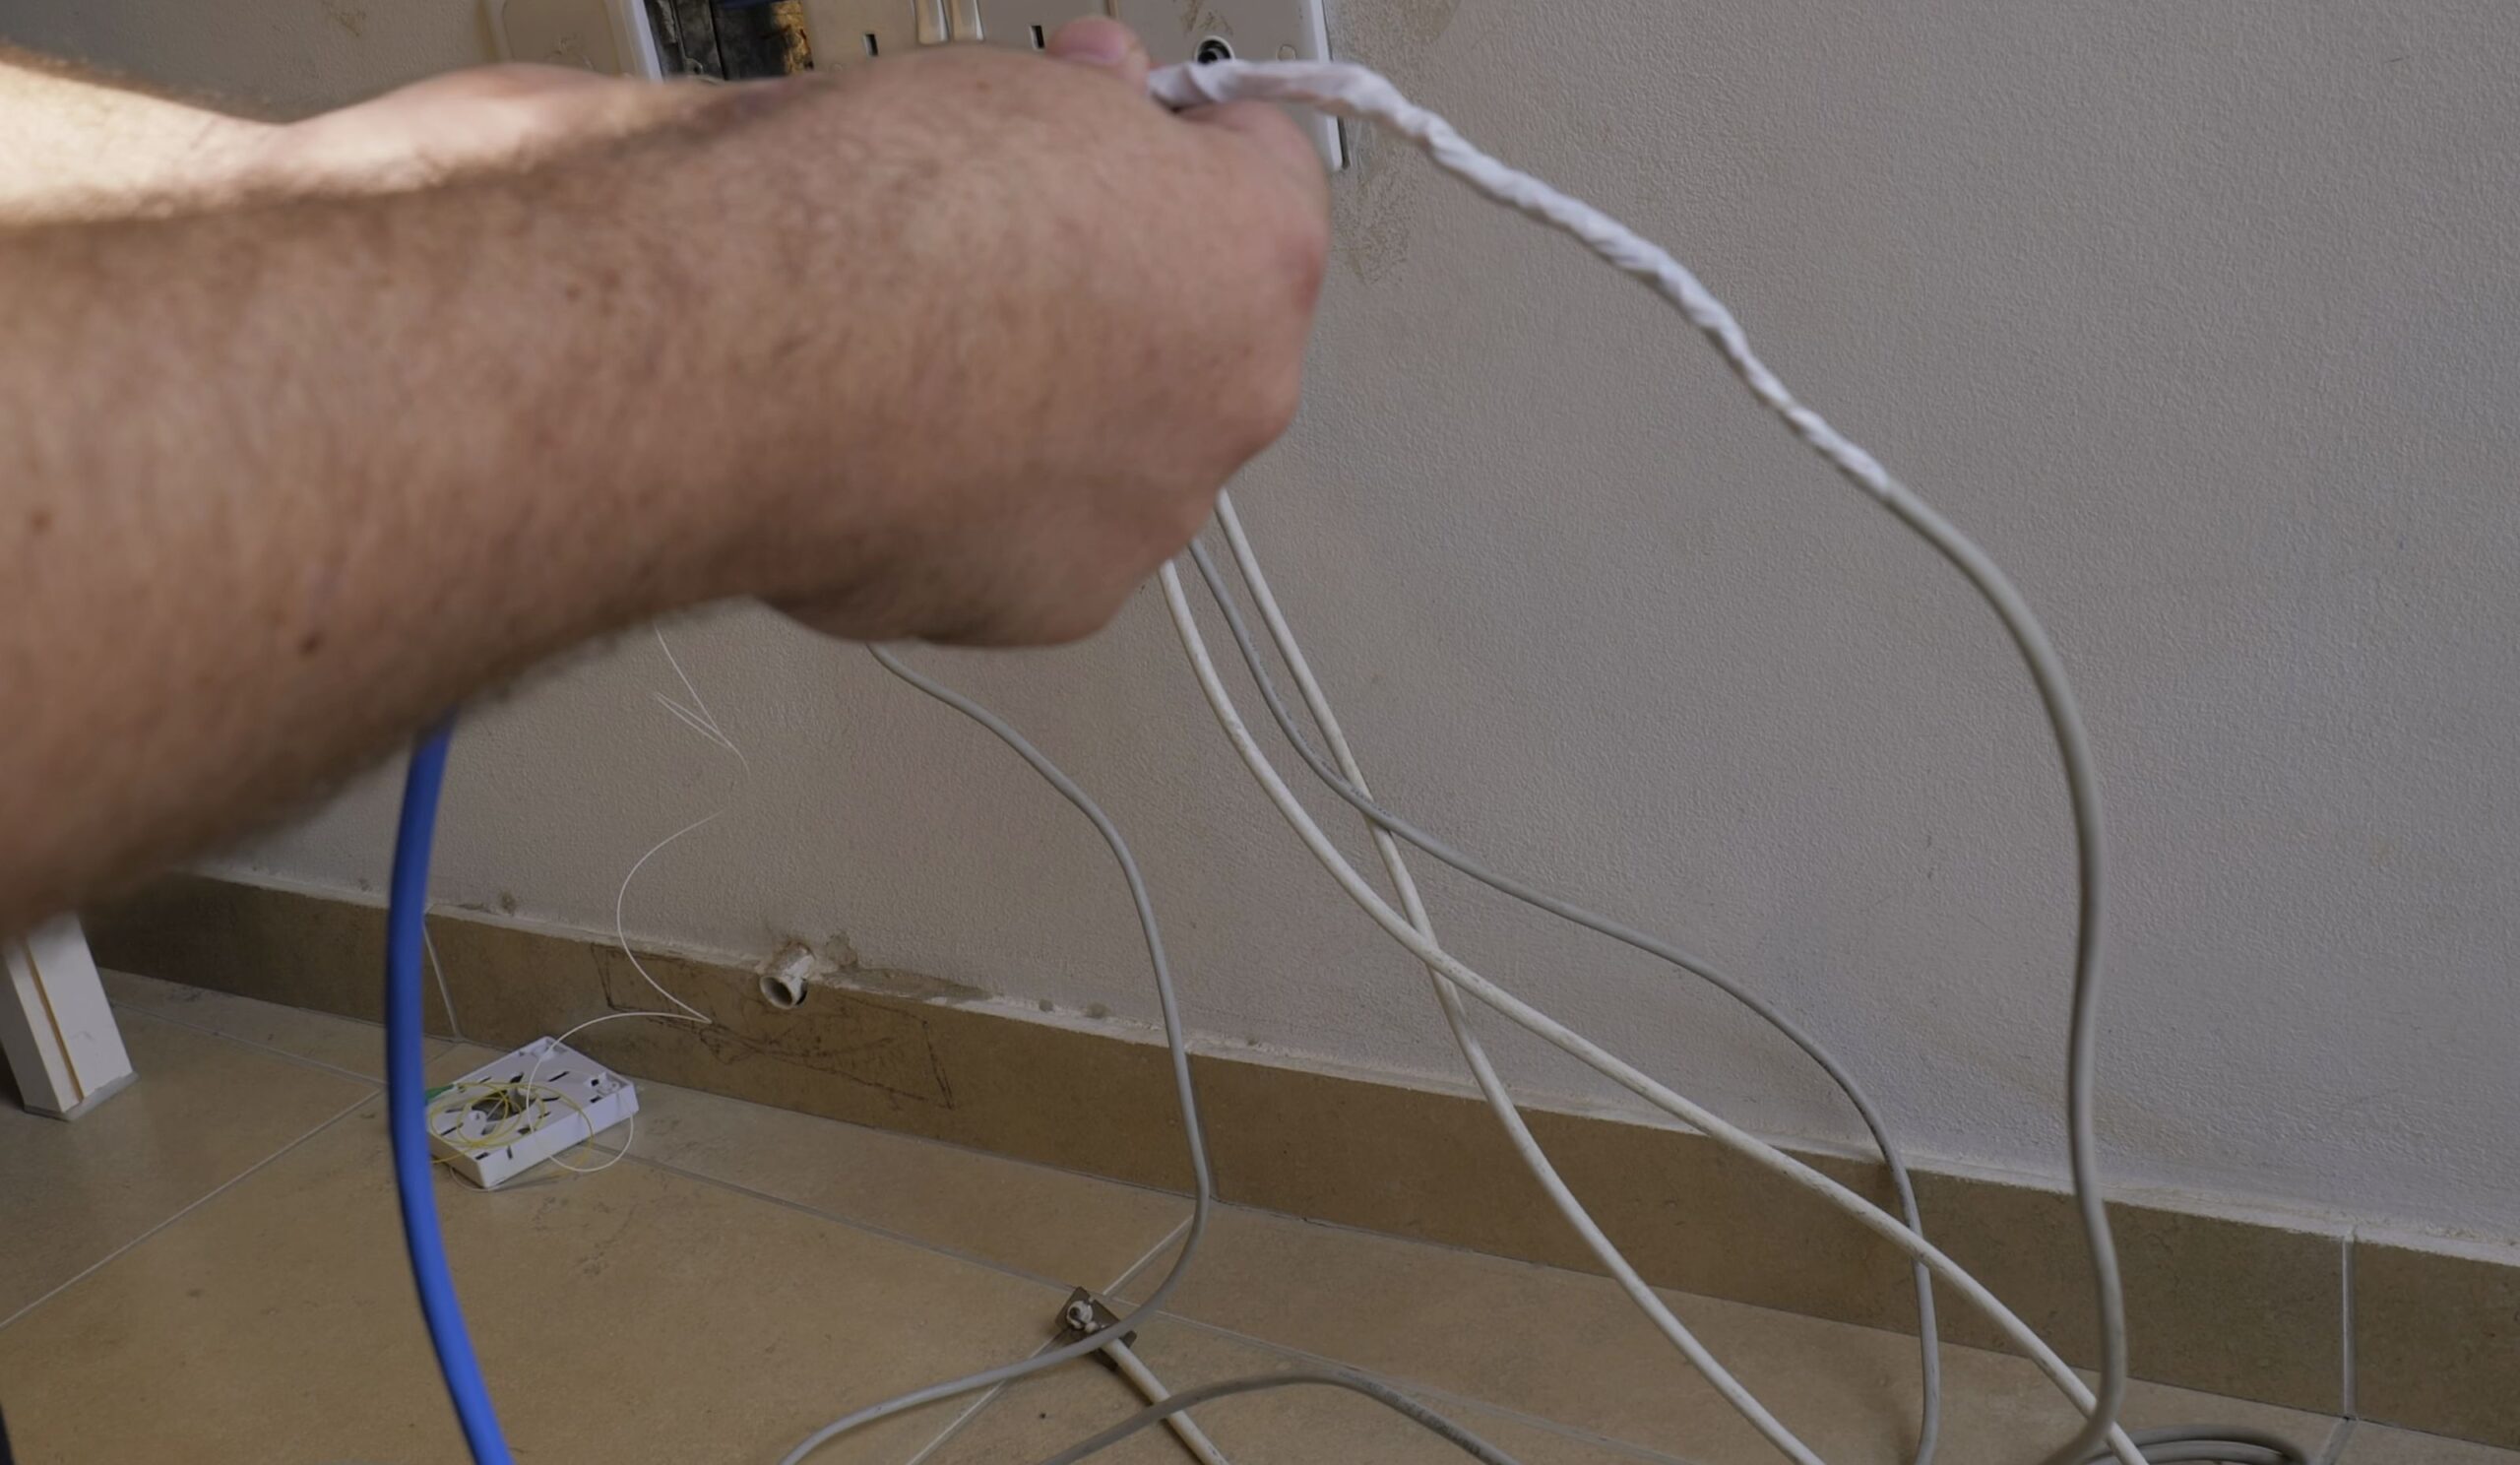
3. Open Wall Outlets and Identify the Lead Cable
Unscrew the faceplates on both wall outlet boxes in each room.
Gently tug the old cable back and forth while checking the opposite room to verify you are pulling the exact same run.
Carefully guide your taped pulling head into the mouth of the in-wall corrugated pipe.
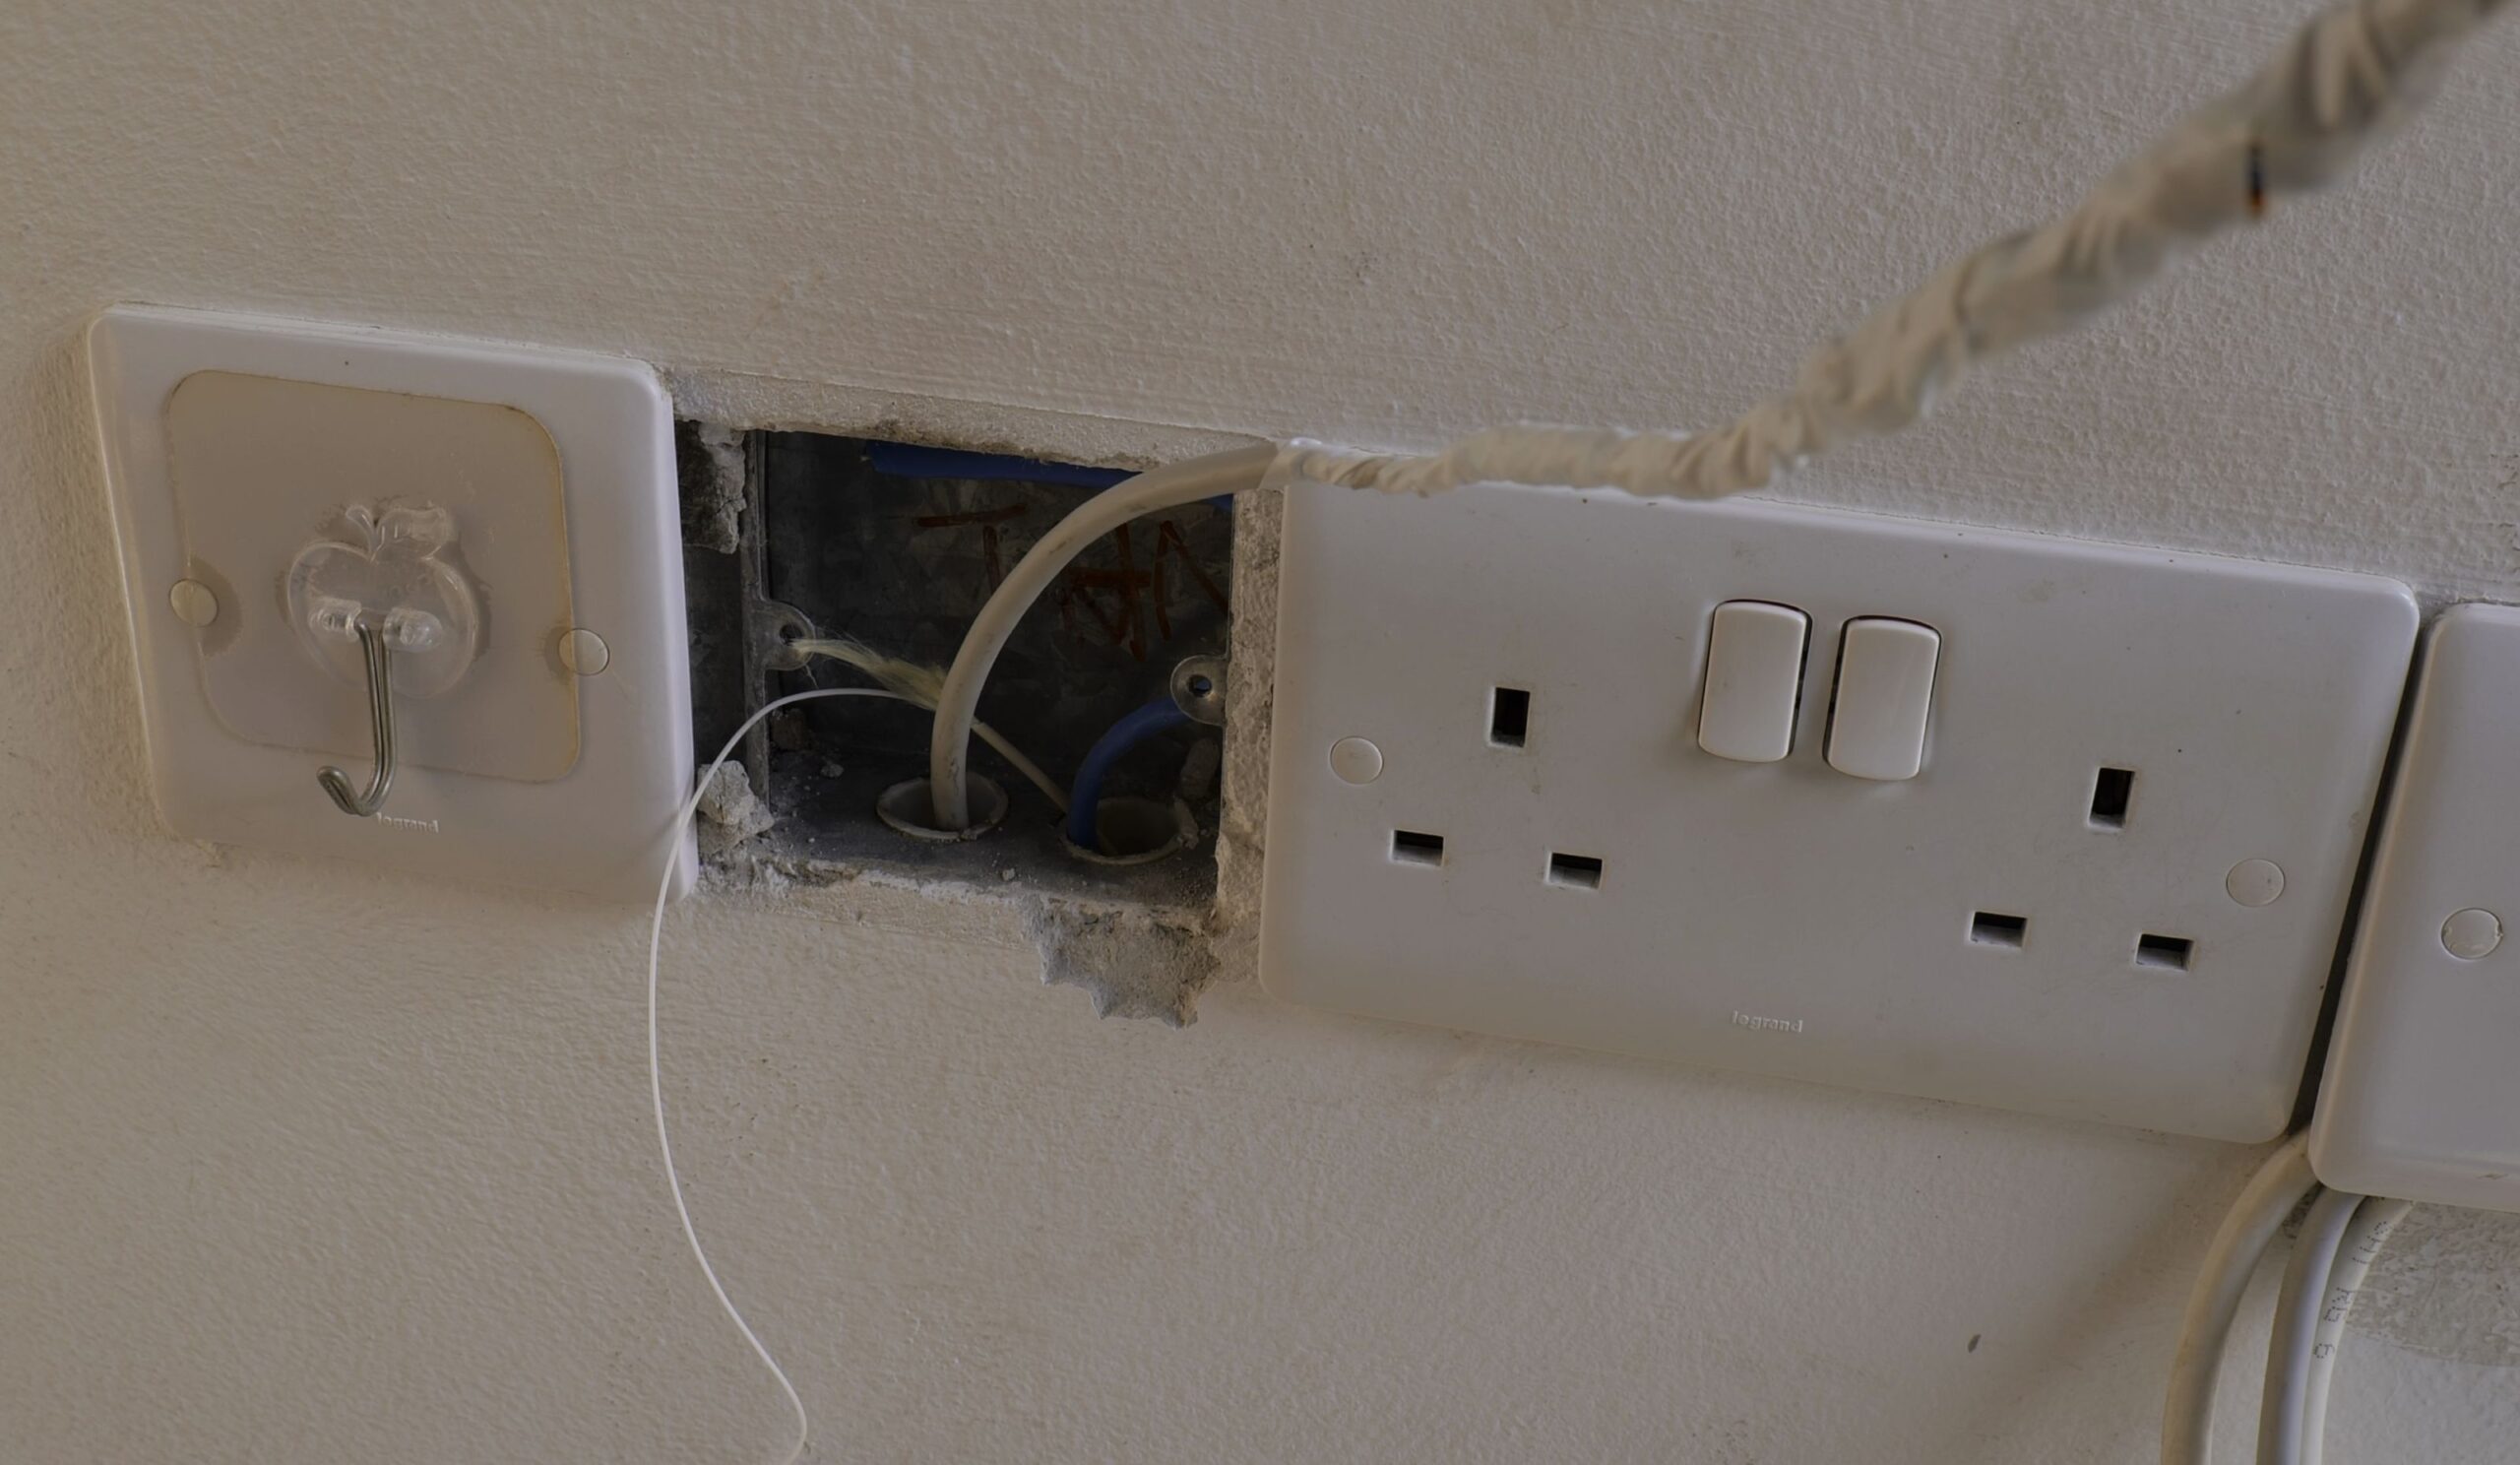
4. Pull the Cat6A Cable Steadily Through Conduit
Go to the destination outlet in the other room. Pull the old Cat5e wire slowly and steadily toward you.
Have a helper feed the new Cat6A spool from the other side so the thick cable stays straight and does not twist.
Keep pulling until the blue Cat6A jacket emerges into your wall box with about 30 centimeters of working slack.
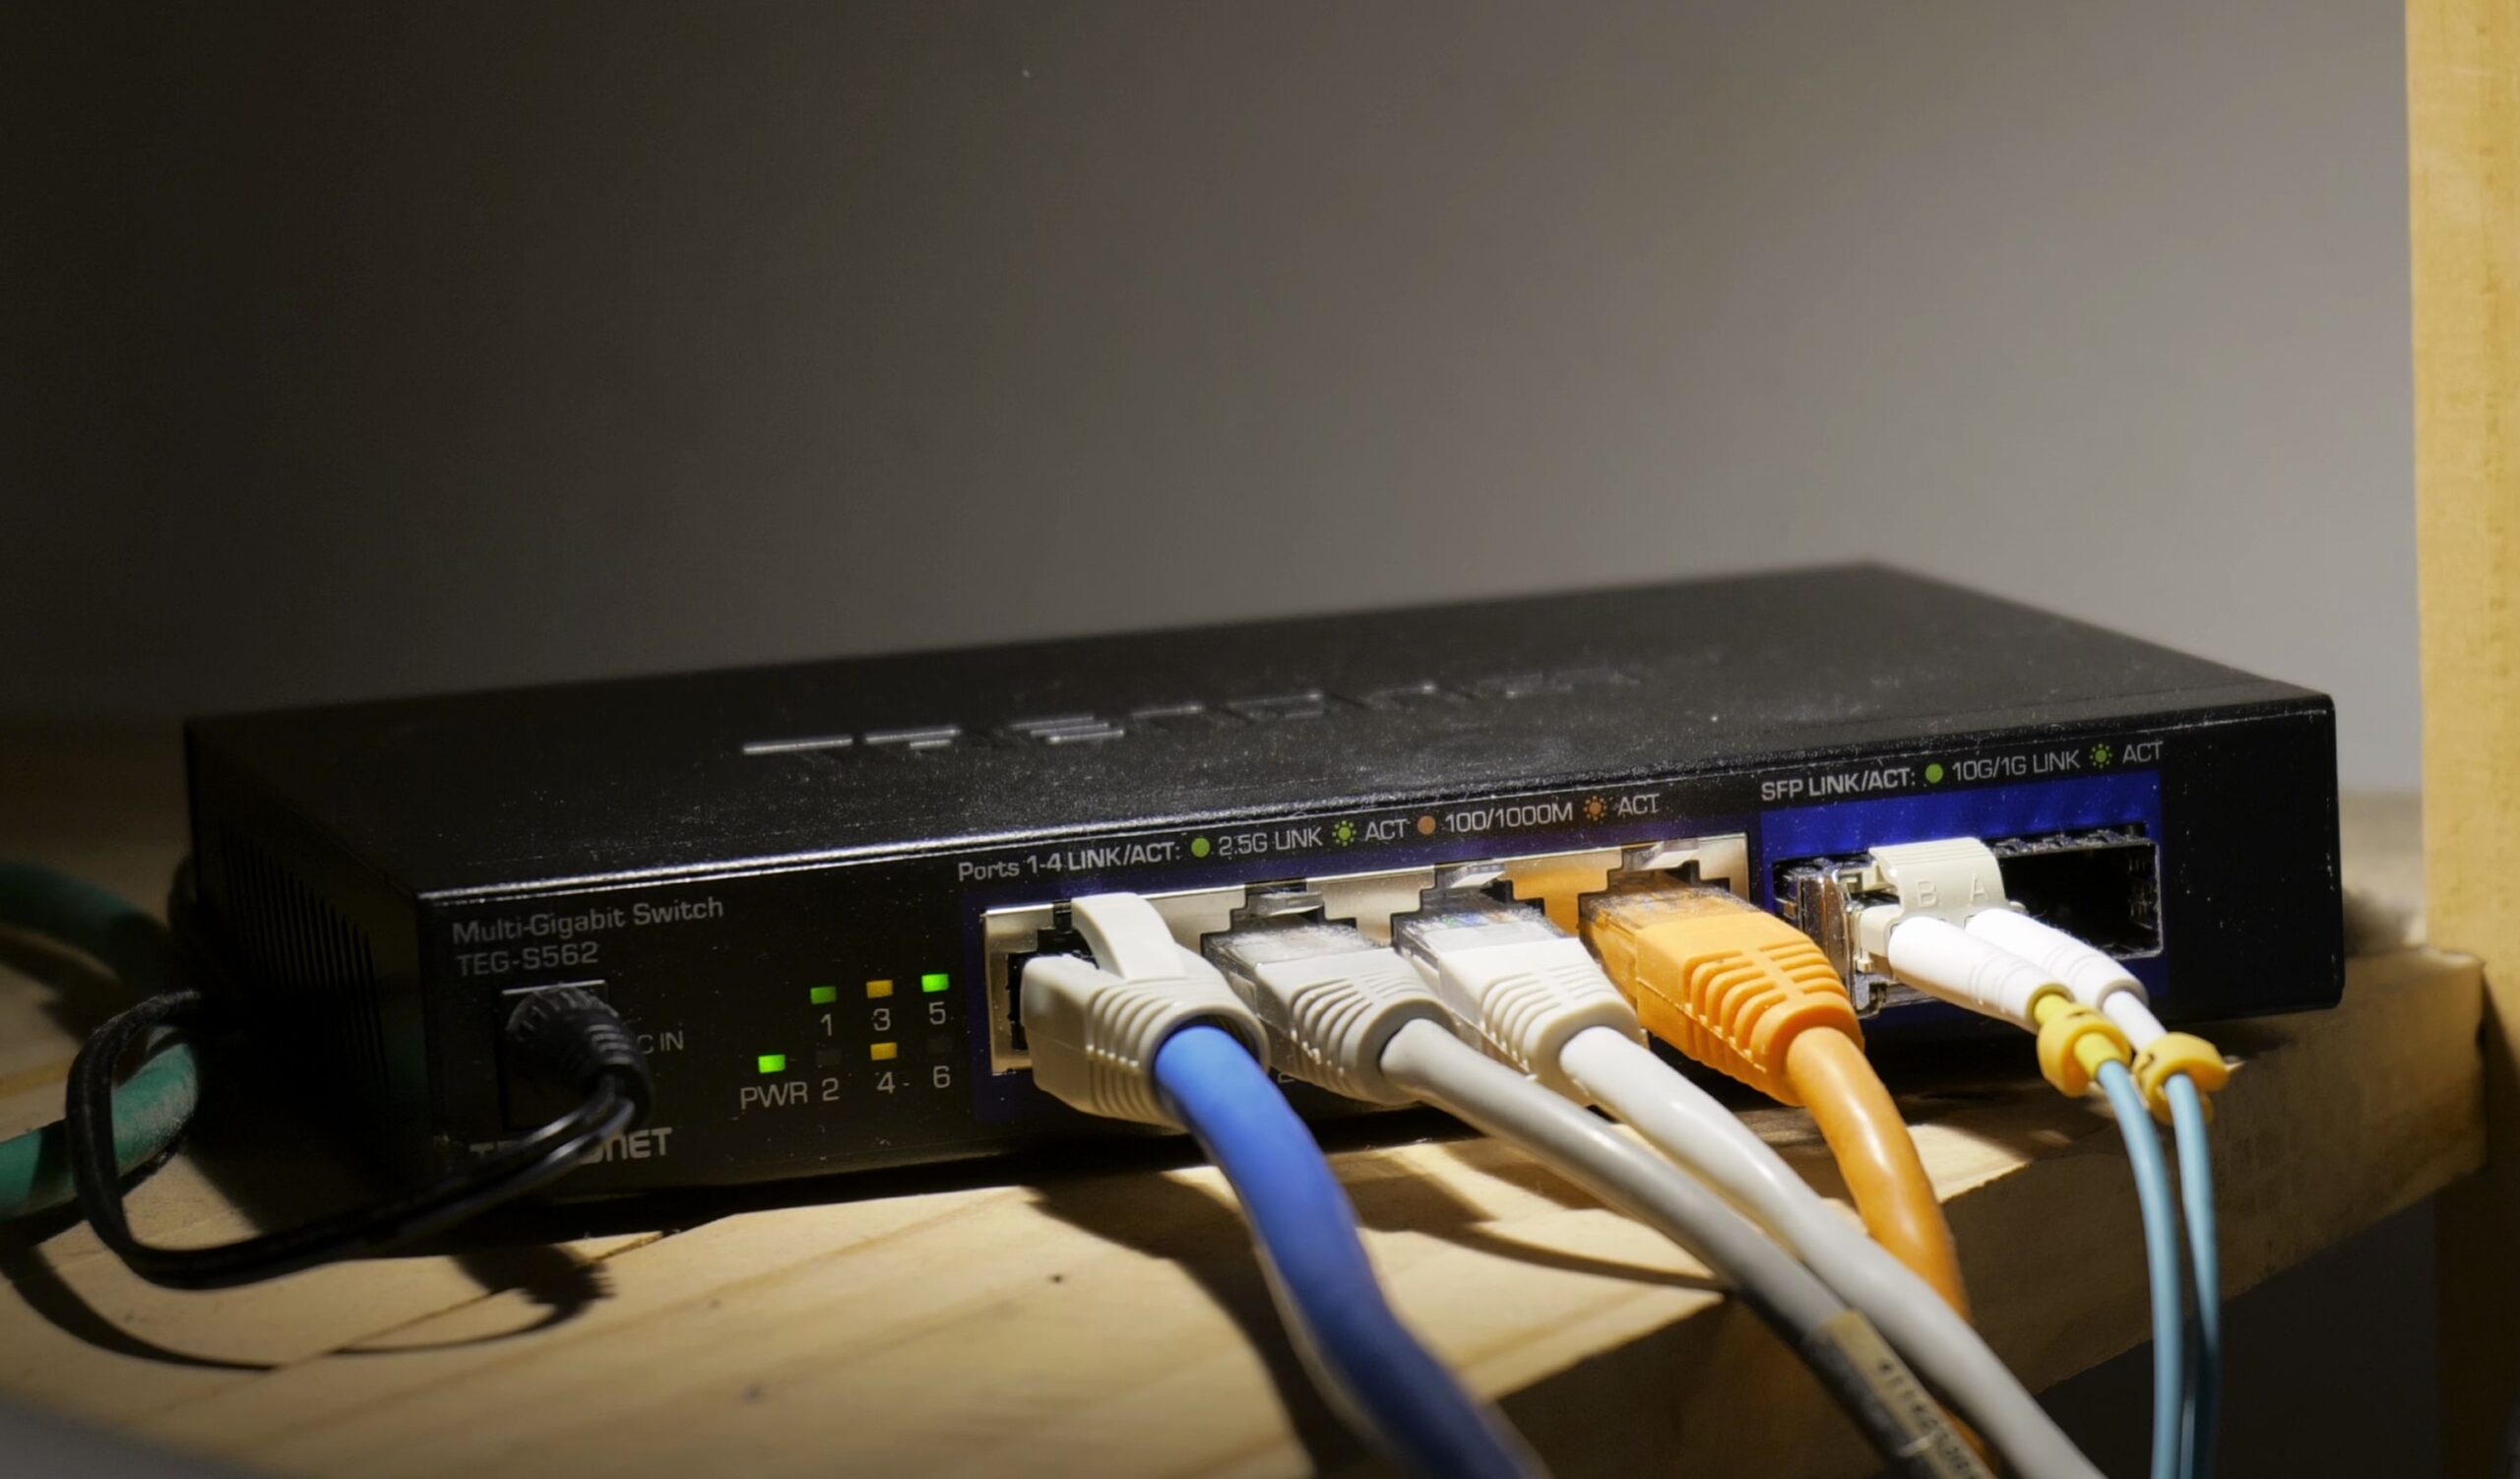
5. Terminate with Shielded RJ45 Connectors and Test
Cut away the taped pulling tip. Strip 3 centimeters of outer jacket and fold the ground drain wire back over the cable.
Arrange your wire pairs according to the T568B standard (white-orange, orange, white-green, blue, white-blue, green, white-brown, brown) and thread them through the Cat6A wire loading bar.
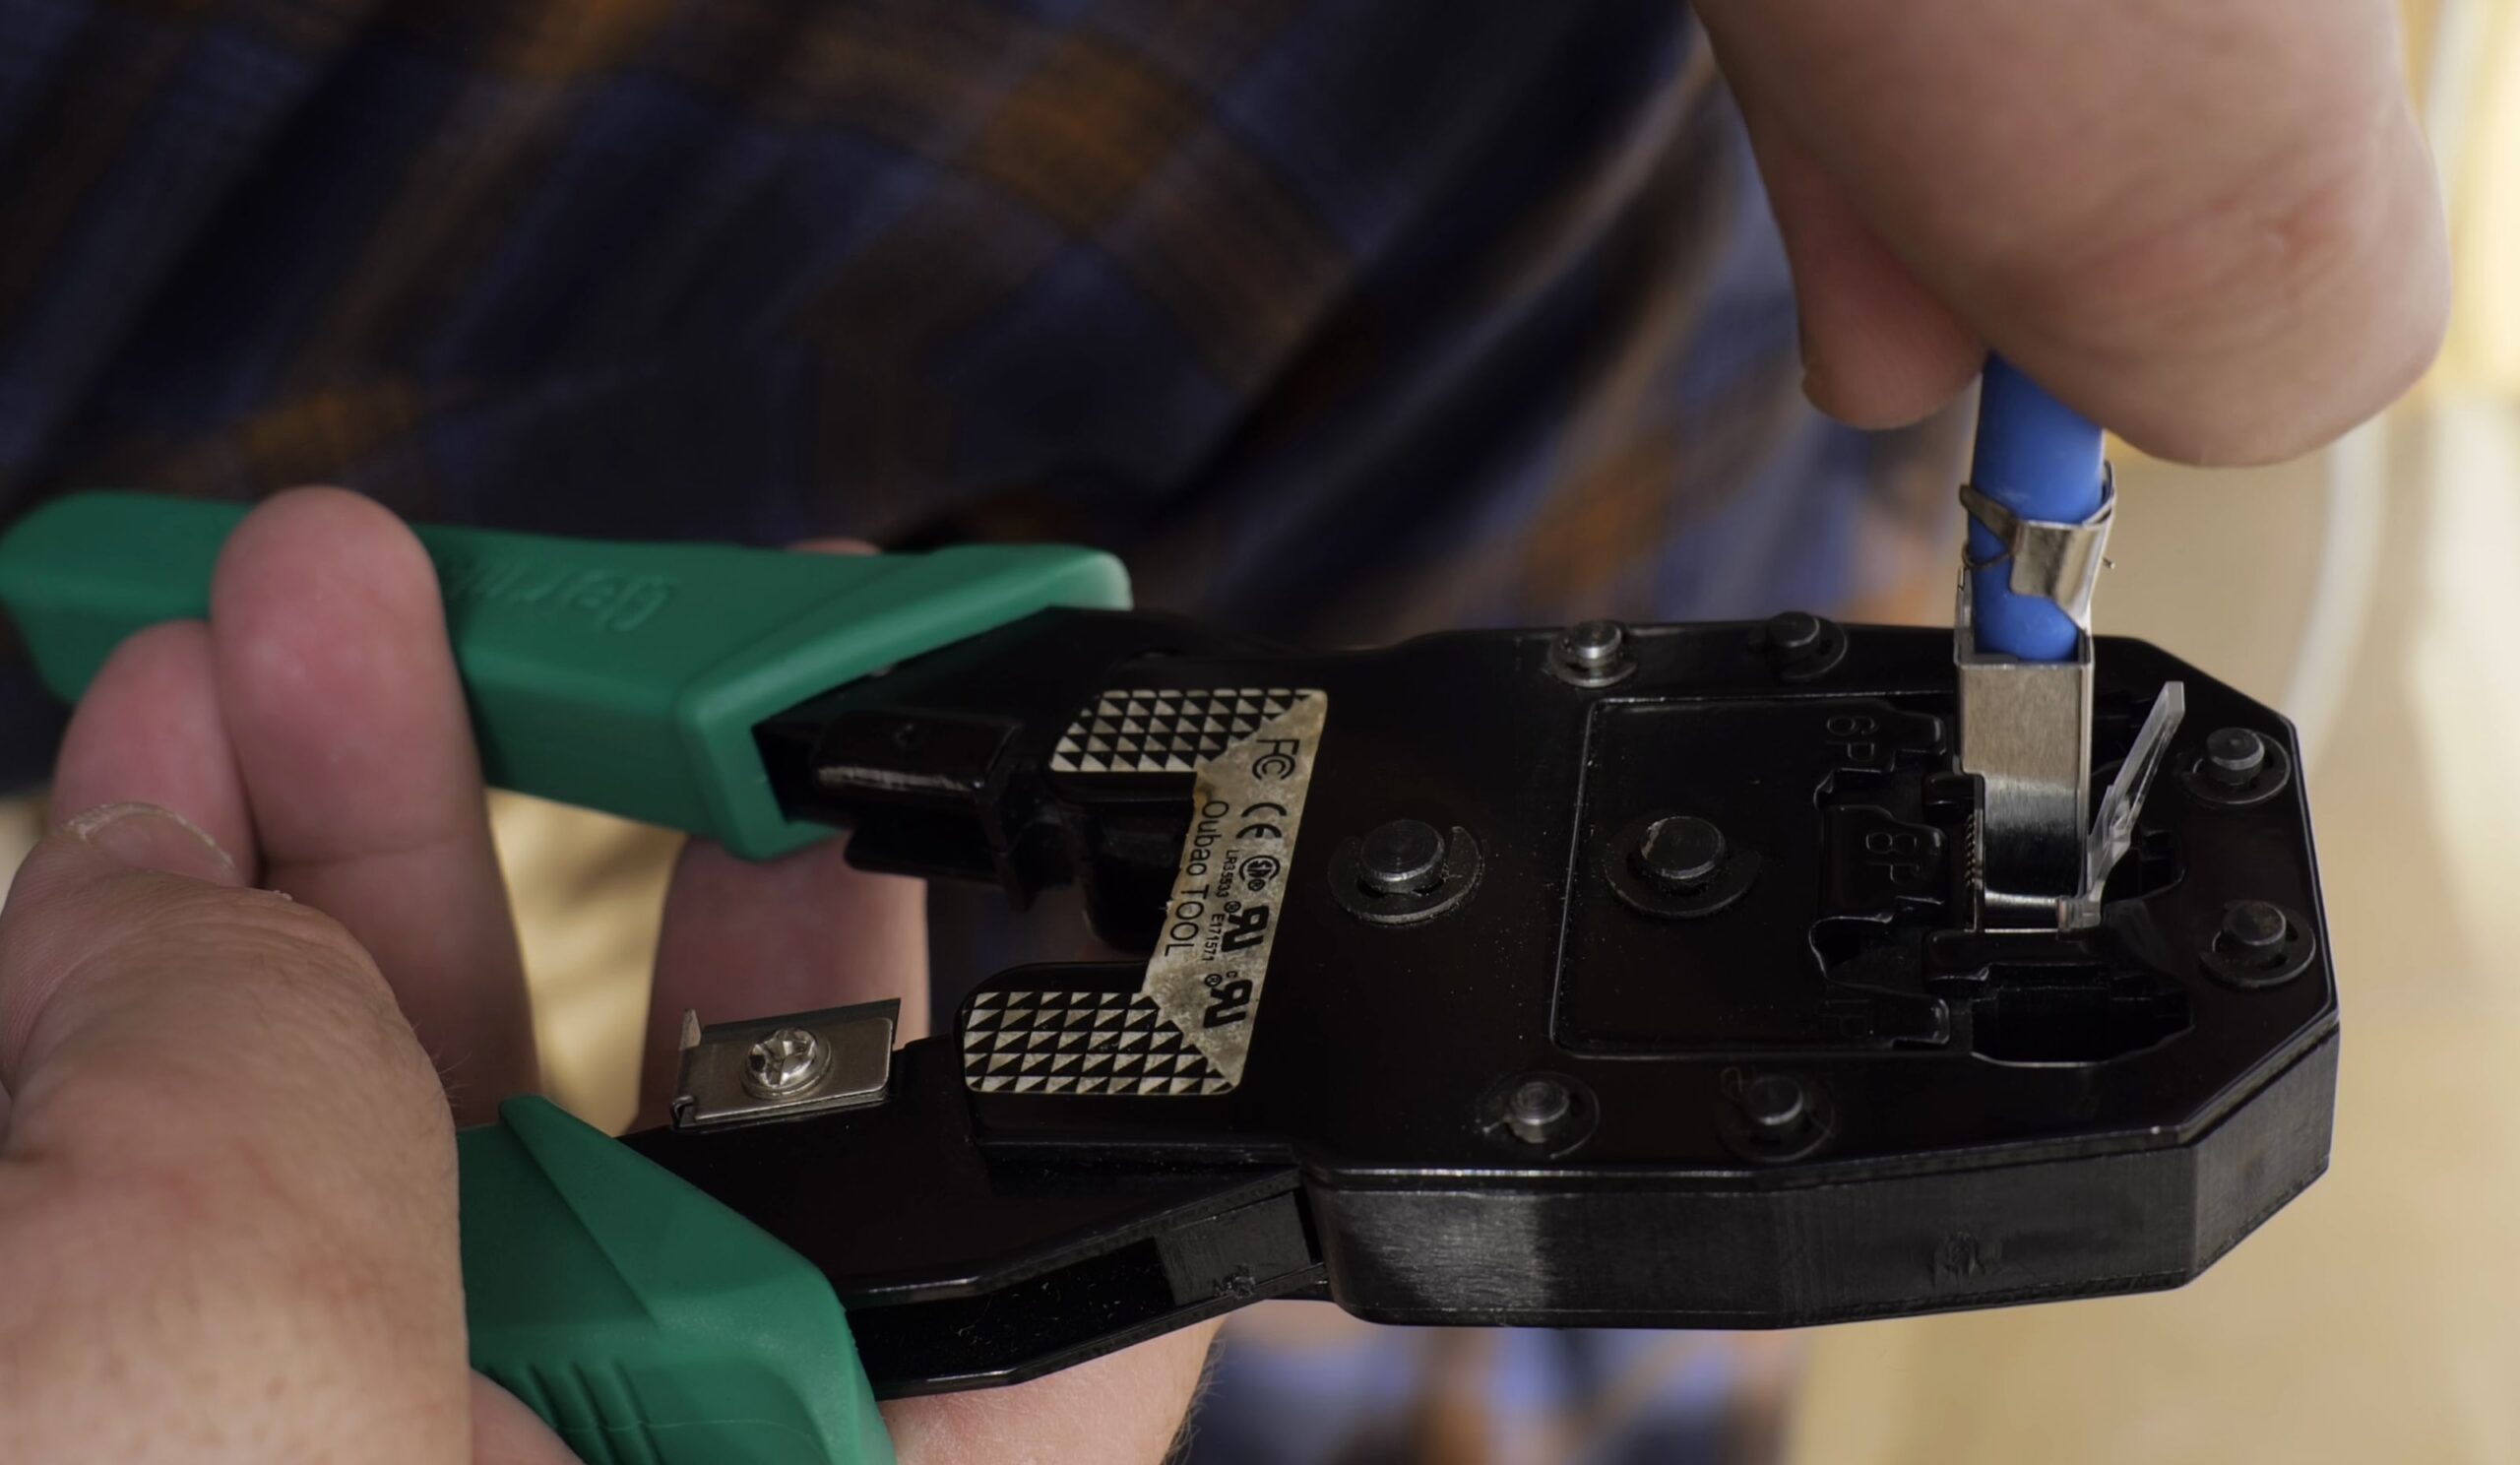
Slide the loading bar into the metal shielded RJ45 connector, squeeze firmly with your crimping tool, and plug both ends into a network cable tester.
Helpful Tips
If your conduit has sharp 90-degree corners and the cable feels stuck, do not yank with extreme force. Apply a small amount of non-conductive cable pulling lubricant along the jacket to reduce friction.
For more home networking tutorials, explore our guides on Cat 6A STP Ethernet Cables and Cat 5E Ethernet Cables.
Leave a Reply Cancel reply