


Apple silicon handles on-device voice processing with high accuracy and zero cloud latency. Whether drafting emails, taking lecture notes, or responding to messages, dictating your thoughts saves typing strain and speeds up daily workflows.

Why Use Apple Voice Dictation on macOS?
Apple silicon handles on-device voice processing with high accuracy and zero cloud latency. Whether drafting emails, taking lecture notes, or responding to messages, dictating your thoughts saves typing strain and speeds up daily workflows.
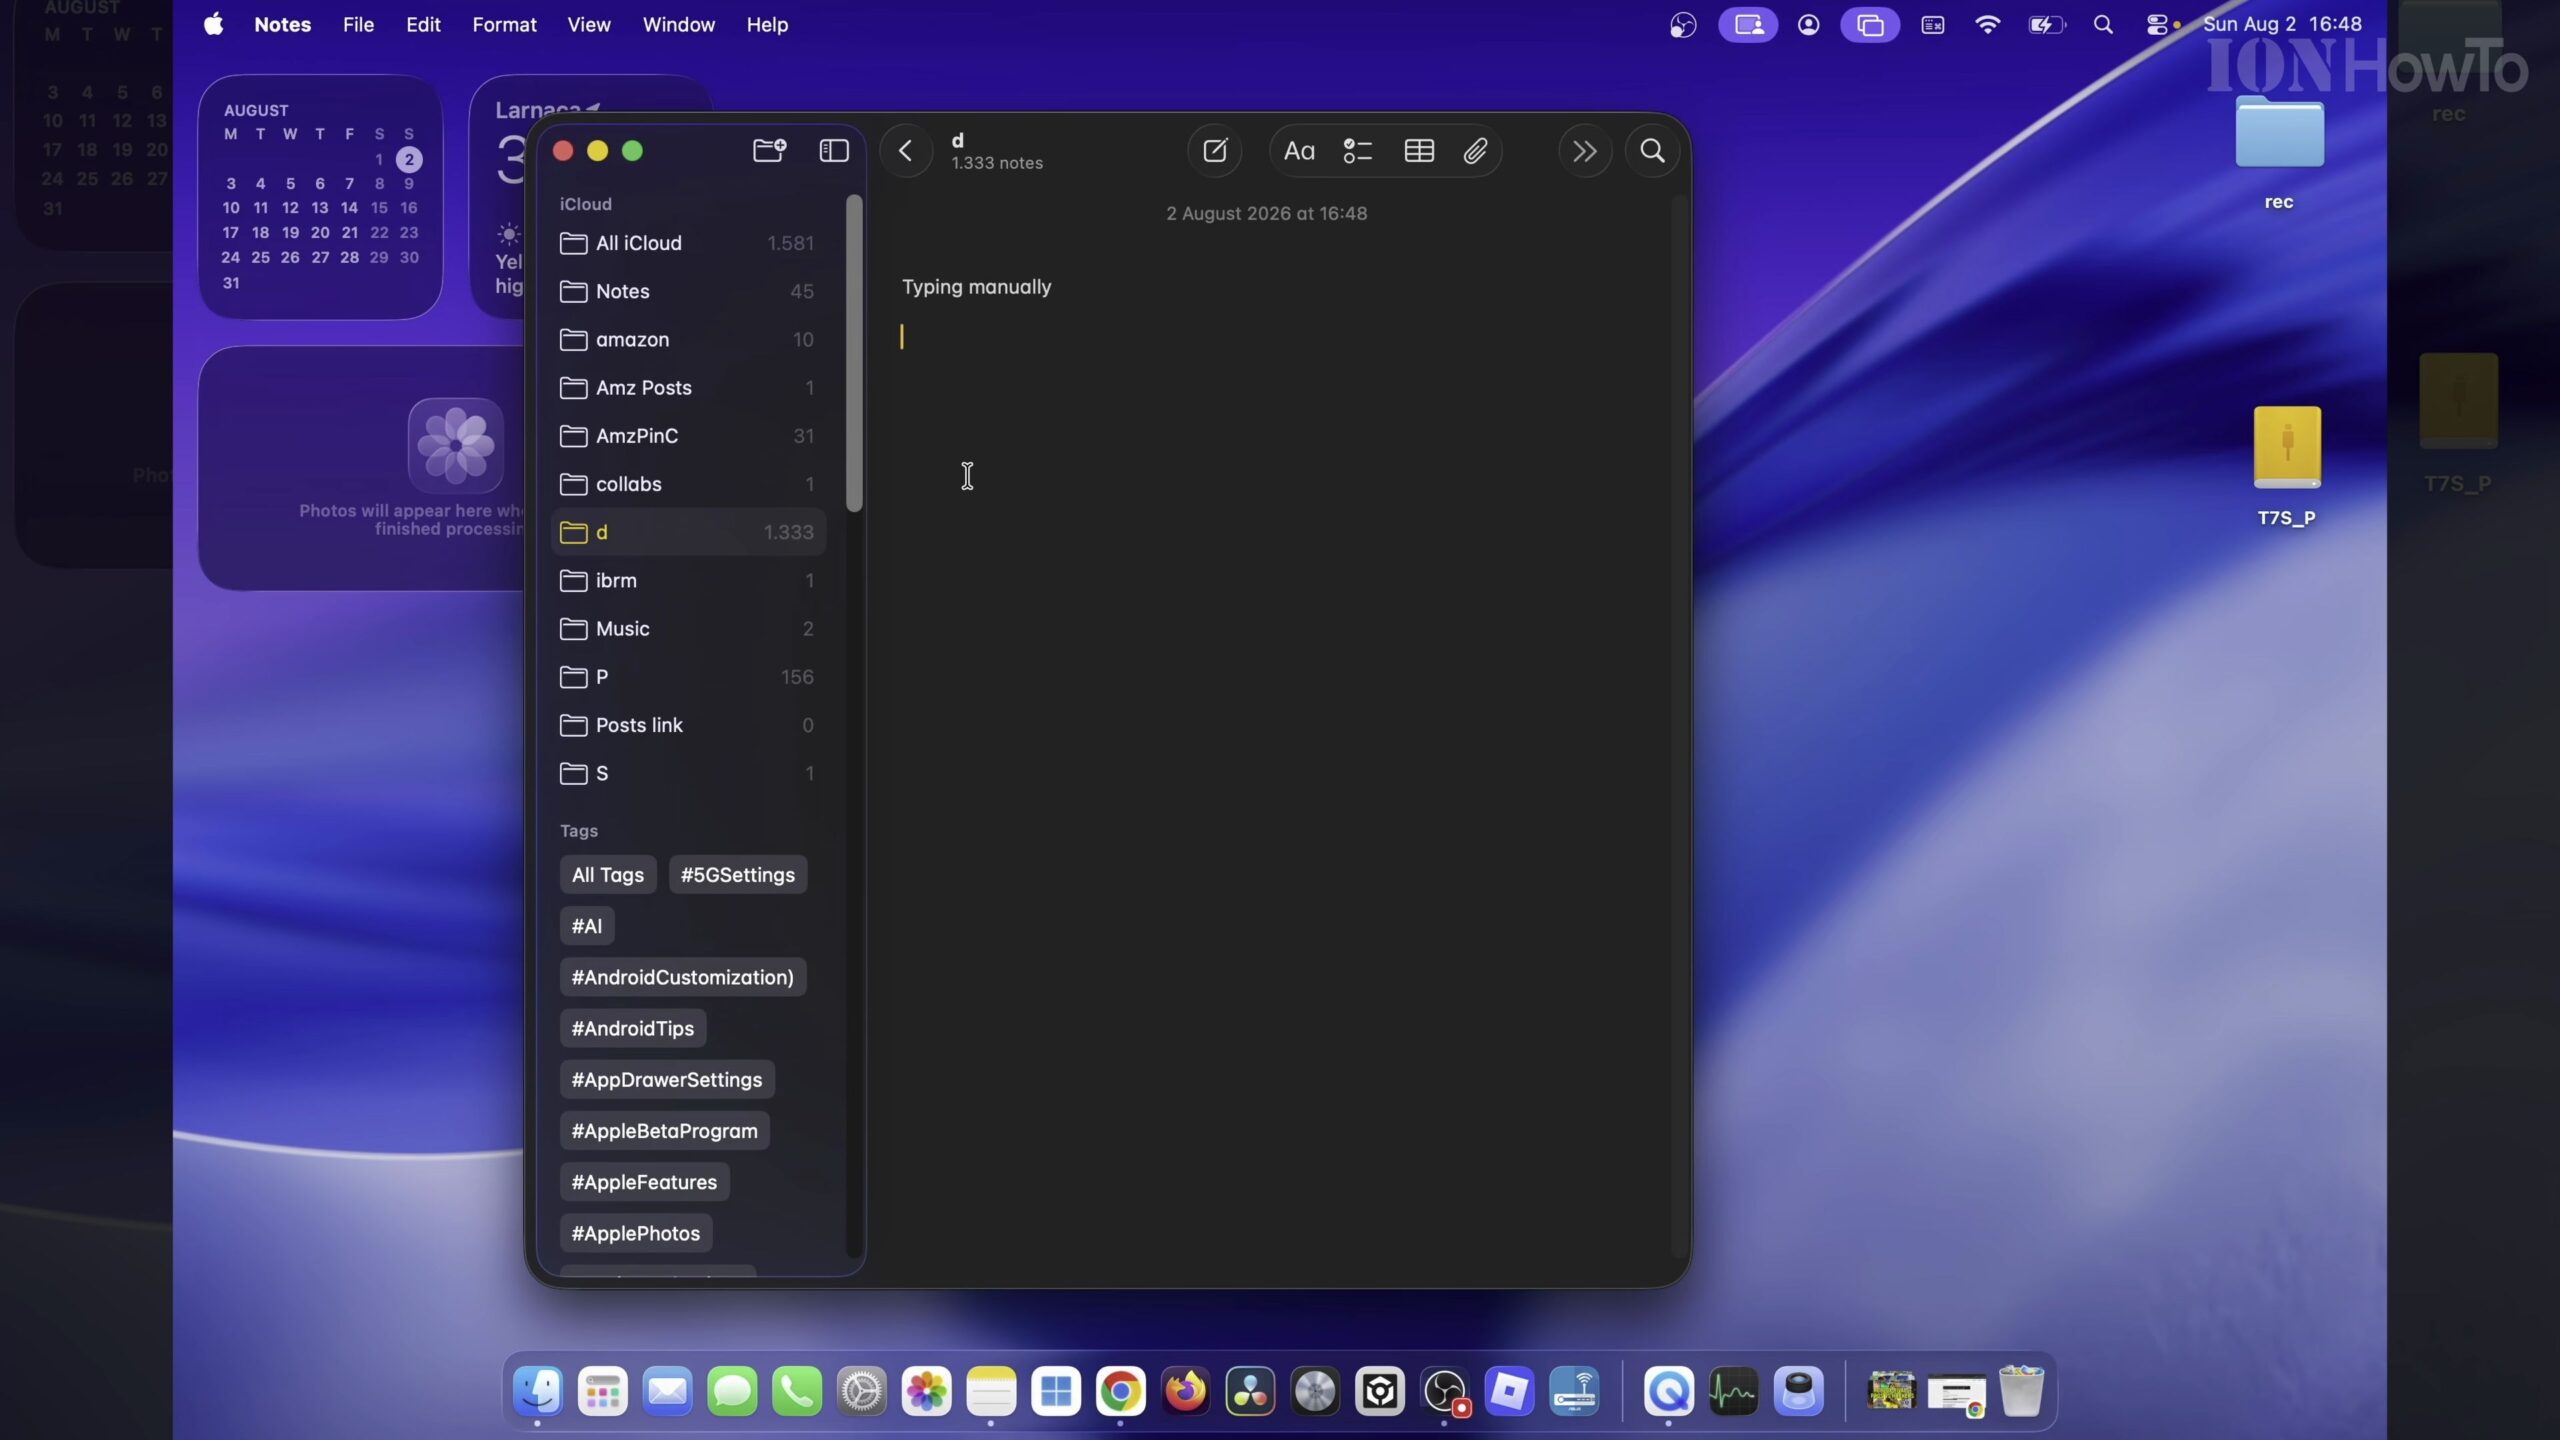
Step 1: Open System Settings on Your Mac
Click the Apple menu icon located in the upper-left corner of your desktop screen and select System Settings. In the left-hand column, scroll down and click on Keyboard.
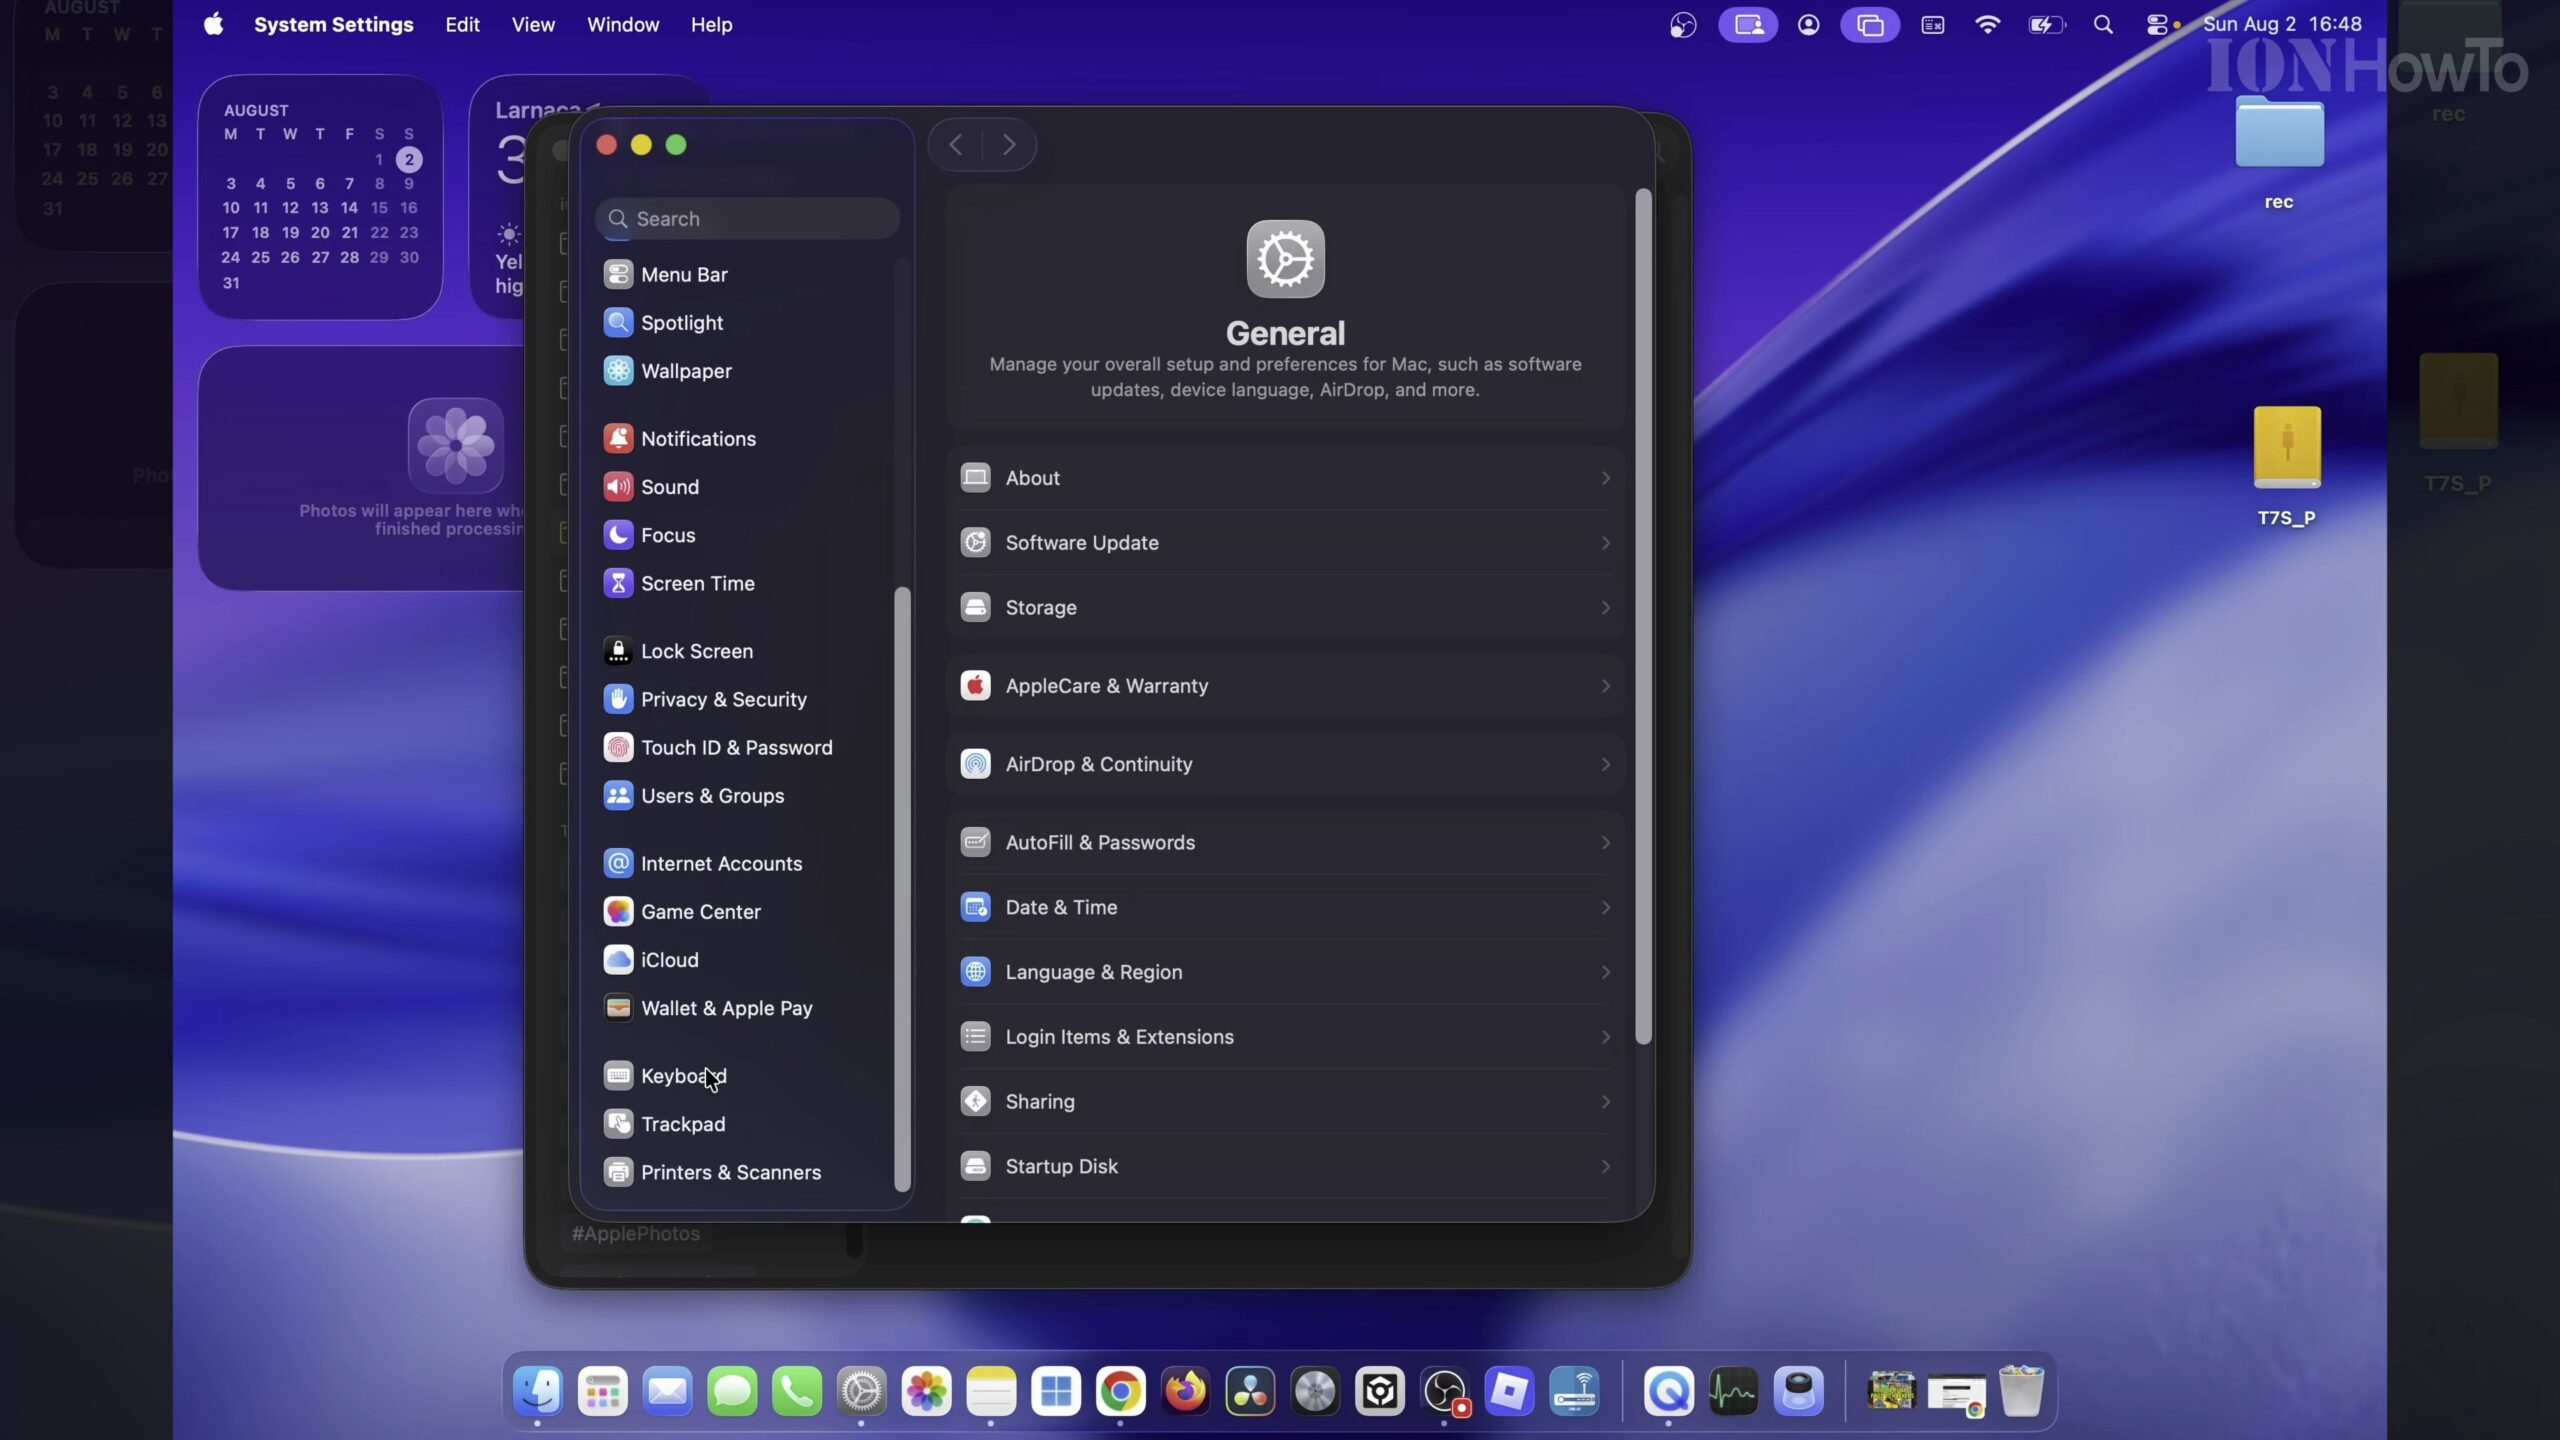
Step 2: Turn On the Dictation Feature
Scroll down to the Dictation section. Click the toggle switch next to Dictation to turn it ON. If prompted with a security dialog, click Enable to activate on-device voice processing.
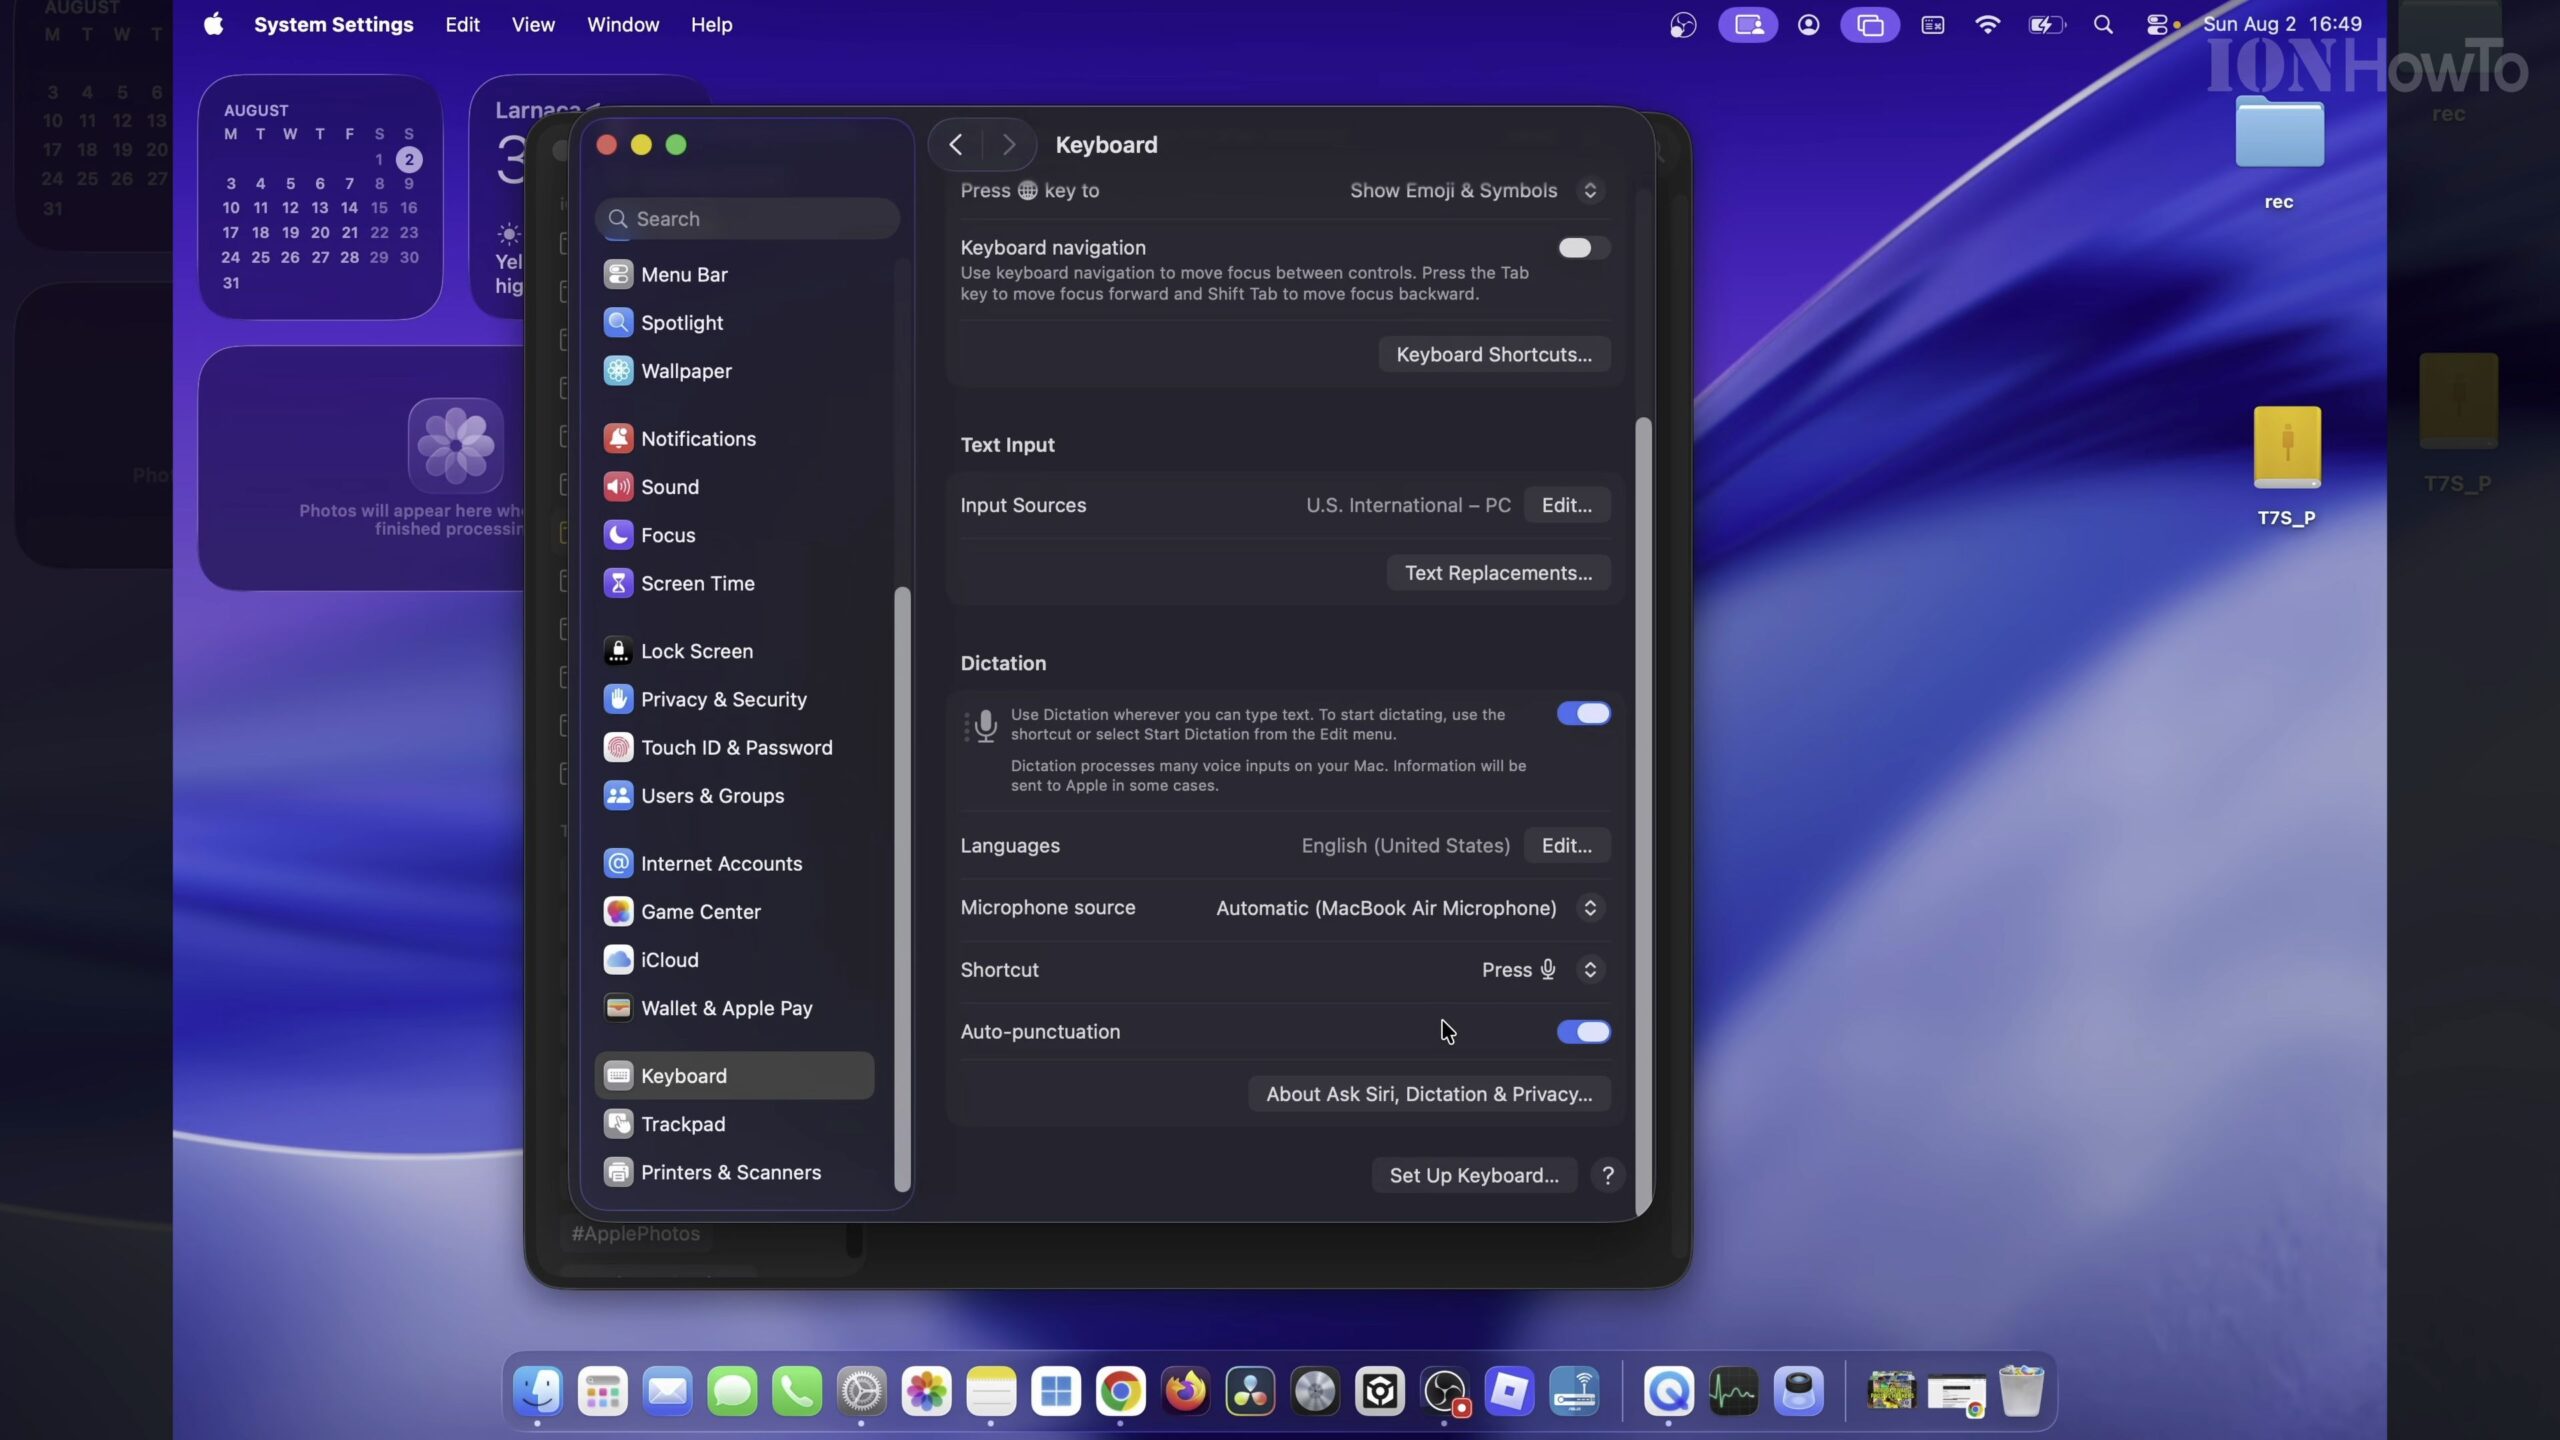
Step 3: Configure Language and Shortcut Key
Confirm your primary spoken language. Under Shortcut, choose how you want to trigger dictation—popular options include pressing the microphone key on the keyboard or tapping the Control key twice.
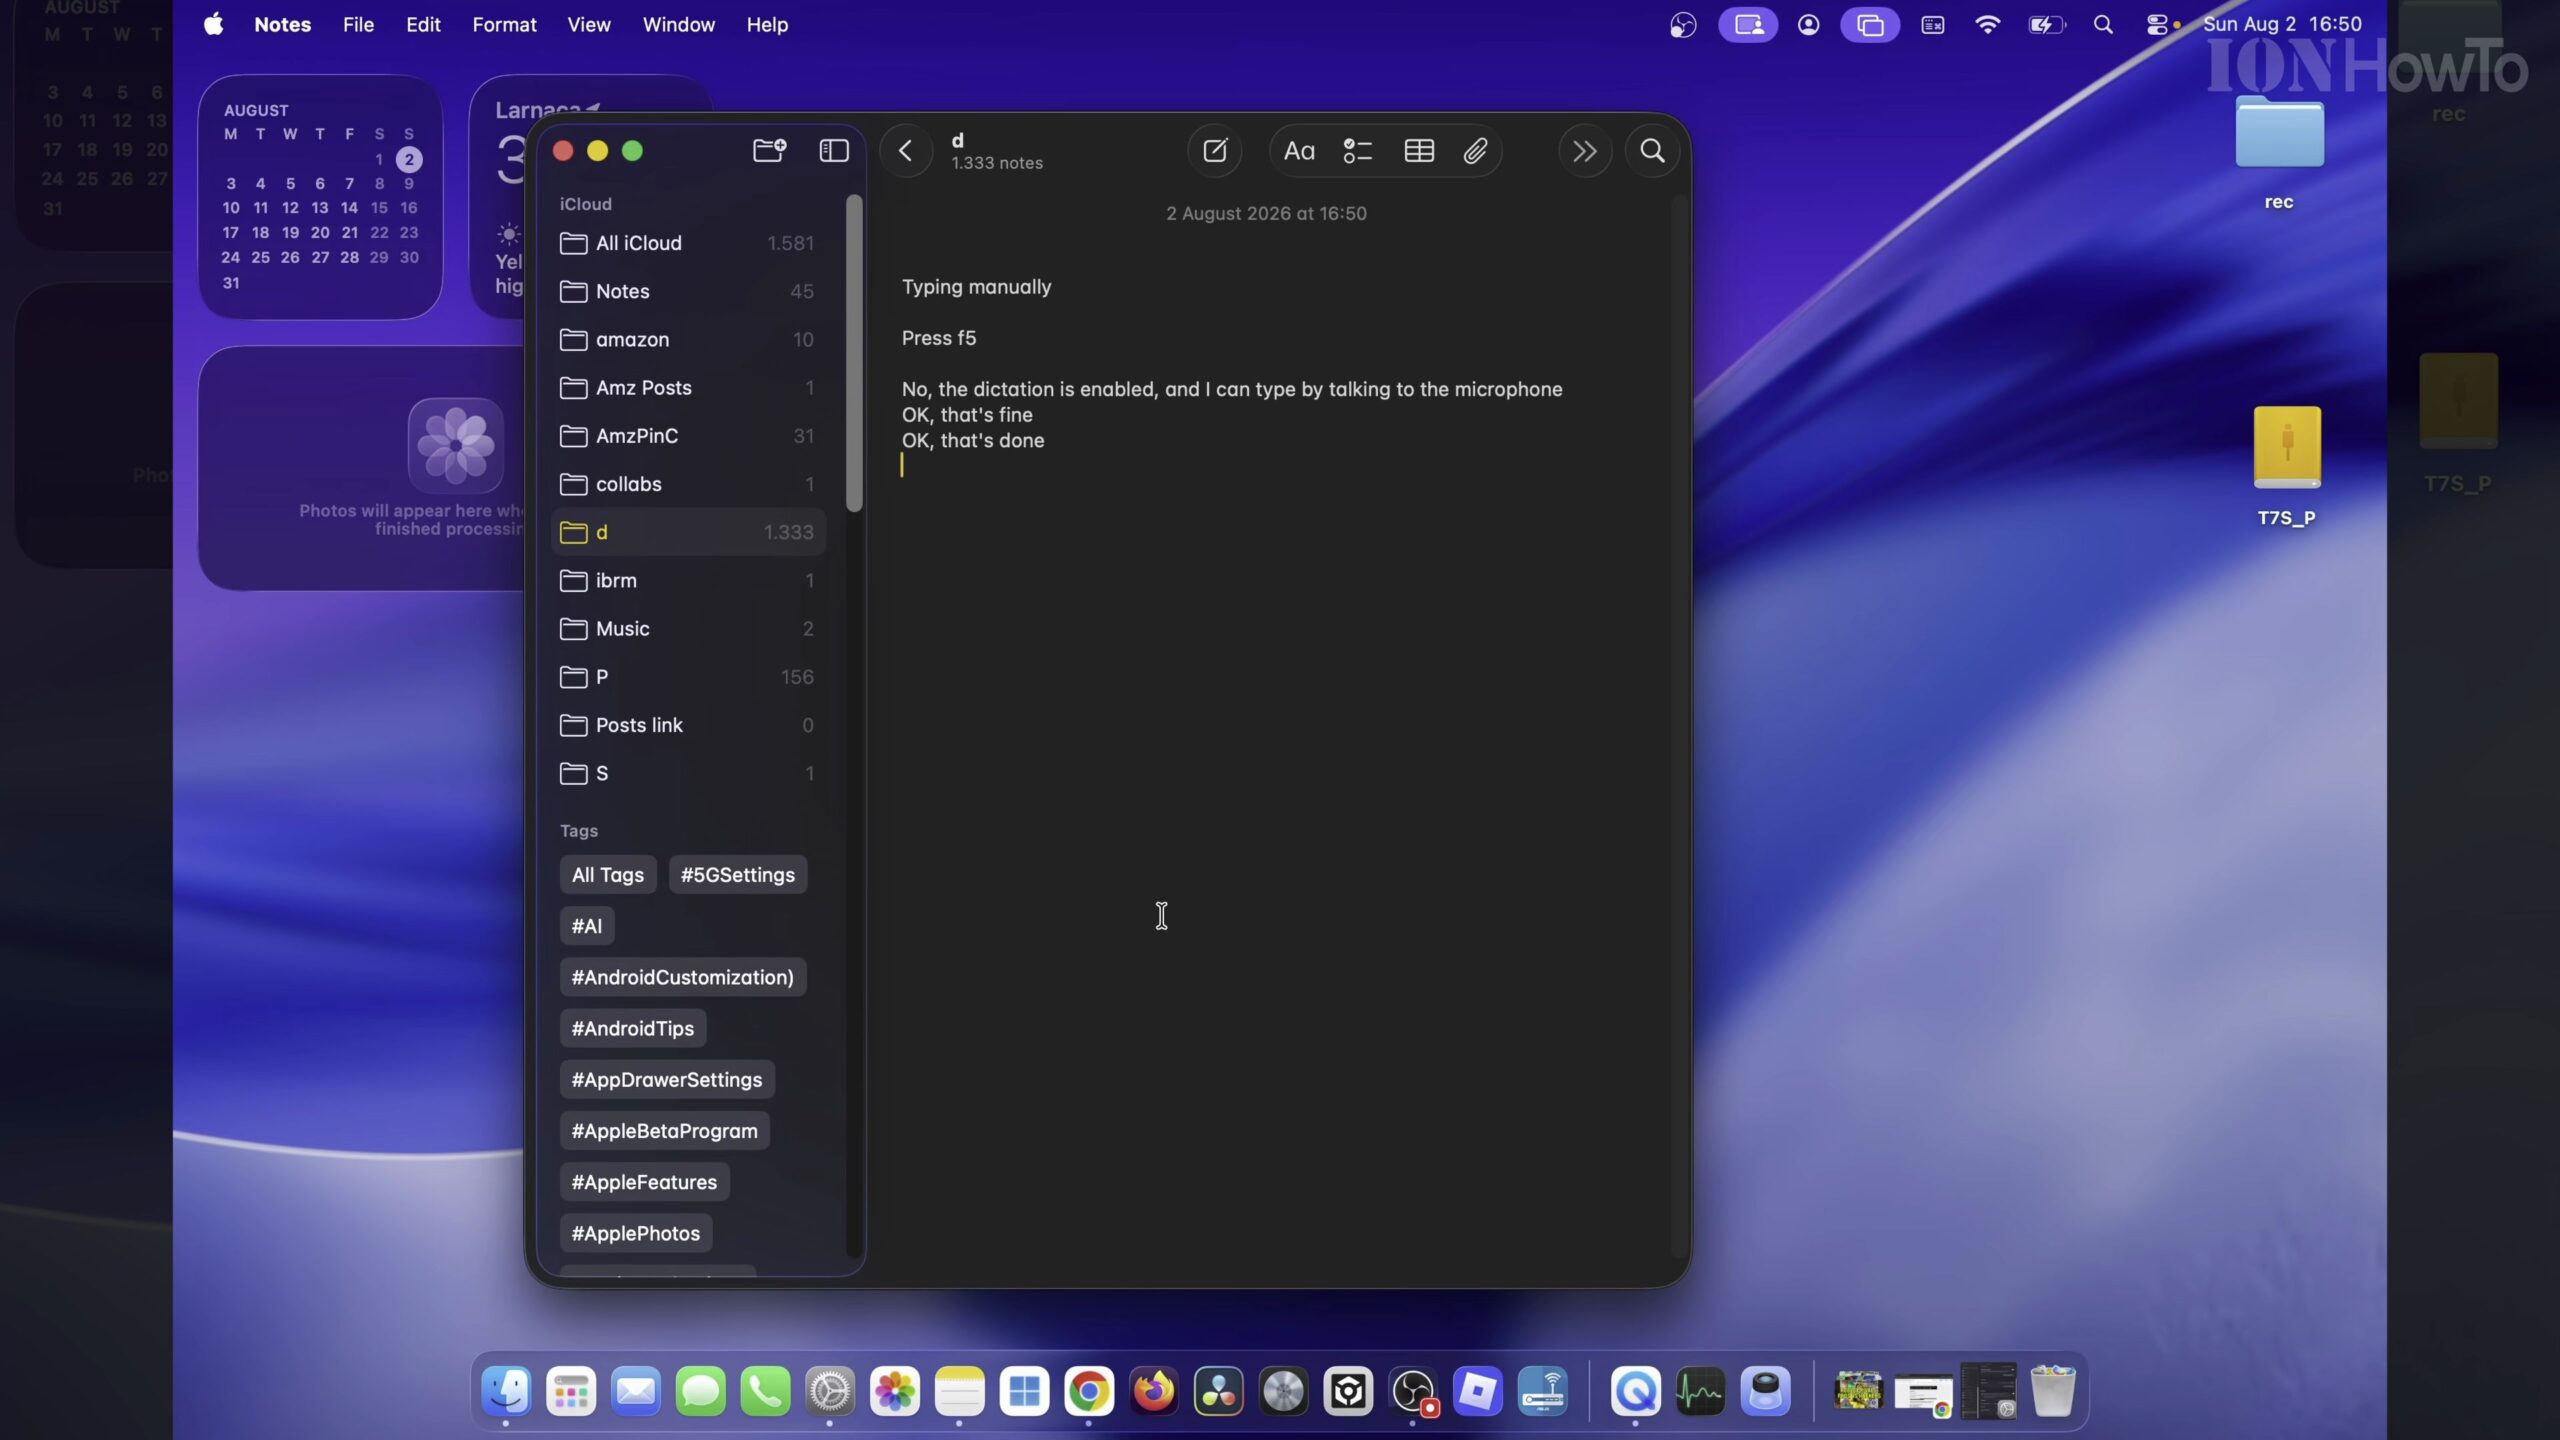
Step 4: Test Speech-to-Text in Any App
Open TextEdit, Notes, or Pages. Press your dictation shortcut and speak a sample sentence clearly. Watch as your spoken words materialize cleanly onto the page.
Helpful Tips and Related Tutorials
For more practical tutorials and setup guides, discover how to how to disable 2G on Android, explore Apple iPad and iPhone guides, or browse our complete collection of computer guides and software tips.
Leave a Reply Cancel reply