


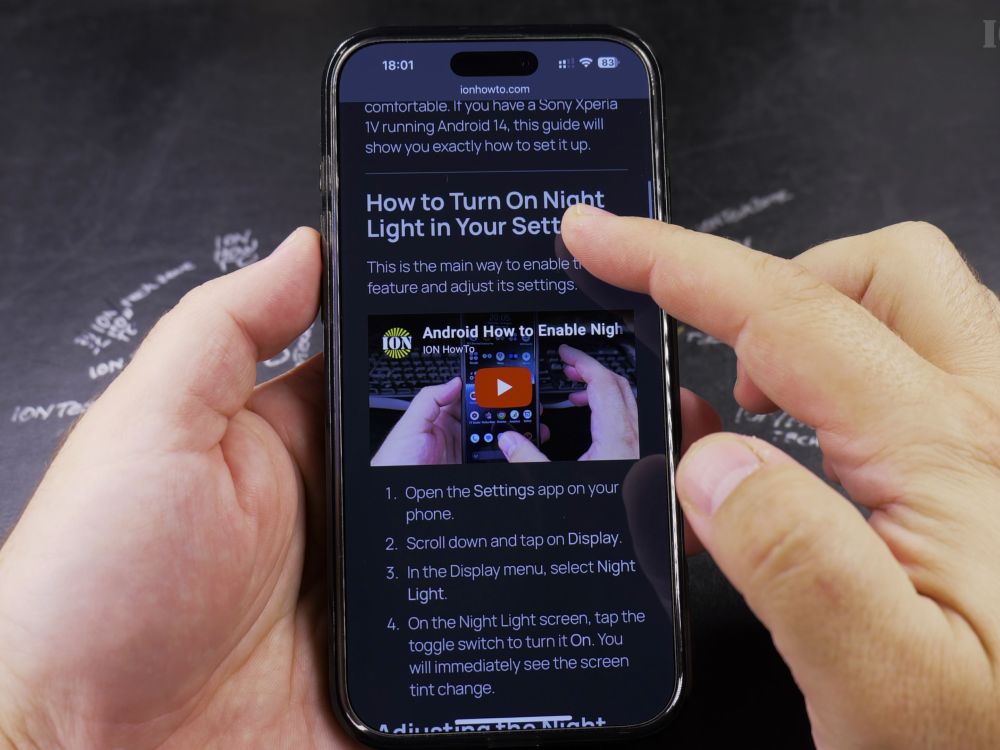
If you need to show someone a tiny detail or specific text in a photo, the iPhone Loupe tool magnifies it instantly. I’ll show you how to add a magnifying circle to your screenshots in a few quick taps.

1. Take a Screenshot
Press the **Side button** and **Volume Up** button at the same time to capture your screen.

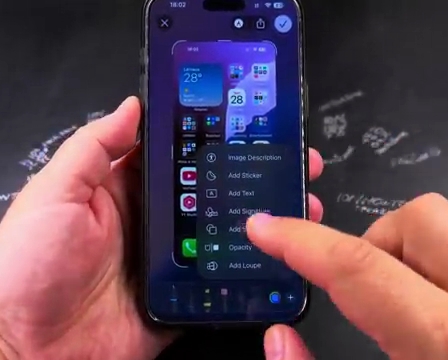
2. Open the Markup Editor
Tap the small screenshot preview thumbnail that appears in the lower-left corner before it disappears.
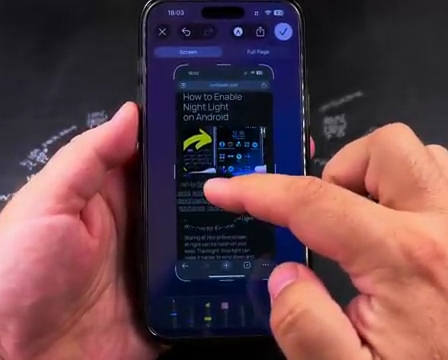
3. Open the Add Menu
In the bottom toolbar, tap the **+** (plus) icon located at the far right.
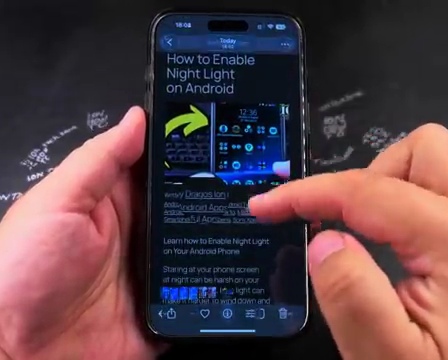
4. Select Add Magnifier
From the popup list, tap **Add Magnifier** (the Loupe tool). A circular magnifying glass will appear on your image.
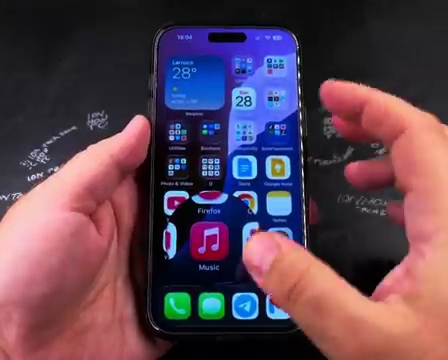
5. Adjust Size and Magnification
Drag the entire loupe over the text you want to highlight. Drag the **blue dot** to make the circle bigger, and drag the **green dot** along the rim to increase the zoom.
6. Save Your Edited Screenshot
Tap **Done** in the upper-left corner and choose **Save to Photos**.
Helpful Tips
You can pair the Loupe with the Opacity tool to darken the rest of the image, making your magnified subject stand out even more. For more tips on organizing your home screen, explore our iPhone Guides collection.
Leave a Reply Cancel reply