



Before drilling a single hole for shelves, TV brackets, or kitchen cabinets, scanning the wall prevents costly damage to hidden copper pipes and live electrical wires. I will show you how to use the compact Lidl Parkside Multi-Purpose Detector PMFD A3 and what its four scan modes find.

Before you start: Always keep your free hand off the wall while scanning so your body does not throw off capacitive wood or wire sensors, and keep a pencil handy to mark edge boundaries lightly.
Quick Step-by-Step Guide
- Check Detection Depths on the Parkside PMFD A3 Box
- Install Two AAA Batteries and Check Felt Gliding Pads
- Choose Scan Mode and Calibrate Flat Against the Wall
Helpful Tools and Supplies
As an Amazon Associate I earn from qualifying purchases at no extra cost to you:
1. Check Detection Depths on the Parkside PMFD A3 Box
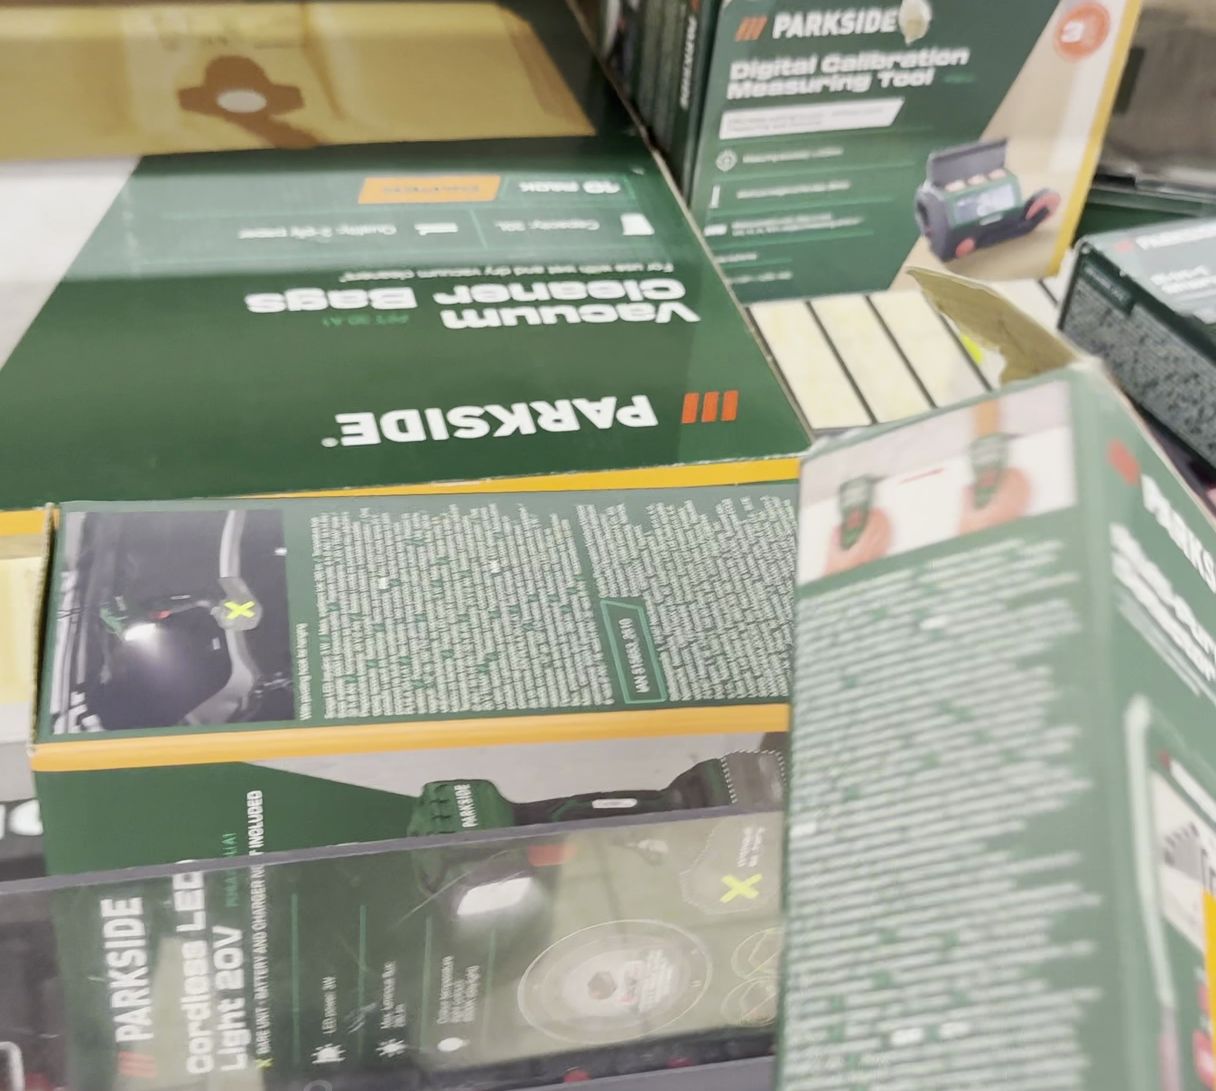
Review the four detection limits listed on the HG13823A package: live AC electrical wiring up to 50 mm deep, metal pipes or rebar up to 30 mm, hollow cavities up to 38 mm, and wooden framing studs up to 19 mm.

2. Install Two AAA Batteries and Check Felt Gliding Pads
Slide open the battery cover on the back of the unit and insert two 1.5V AAA batteries matching polarity signs inside. Notice the soft rear felt pads designed to glide smoothly across painted drywall without leaving scuff marks.
3. Choose Scan Mode and Calibrate Flat Against the Wall
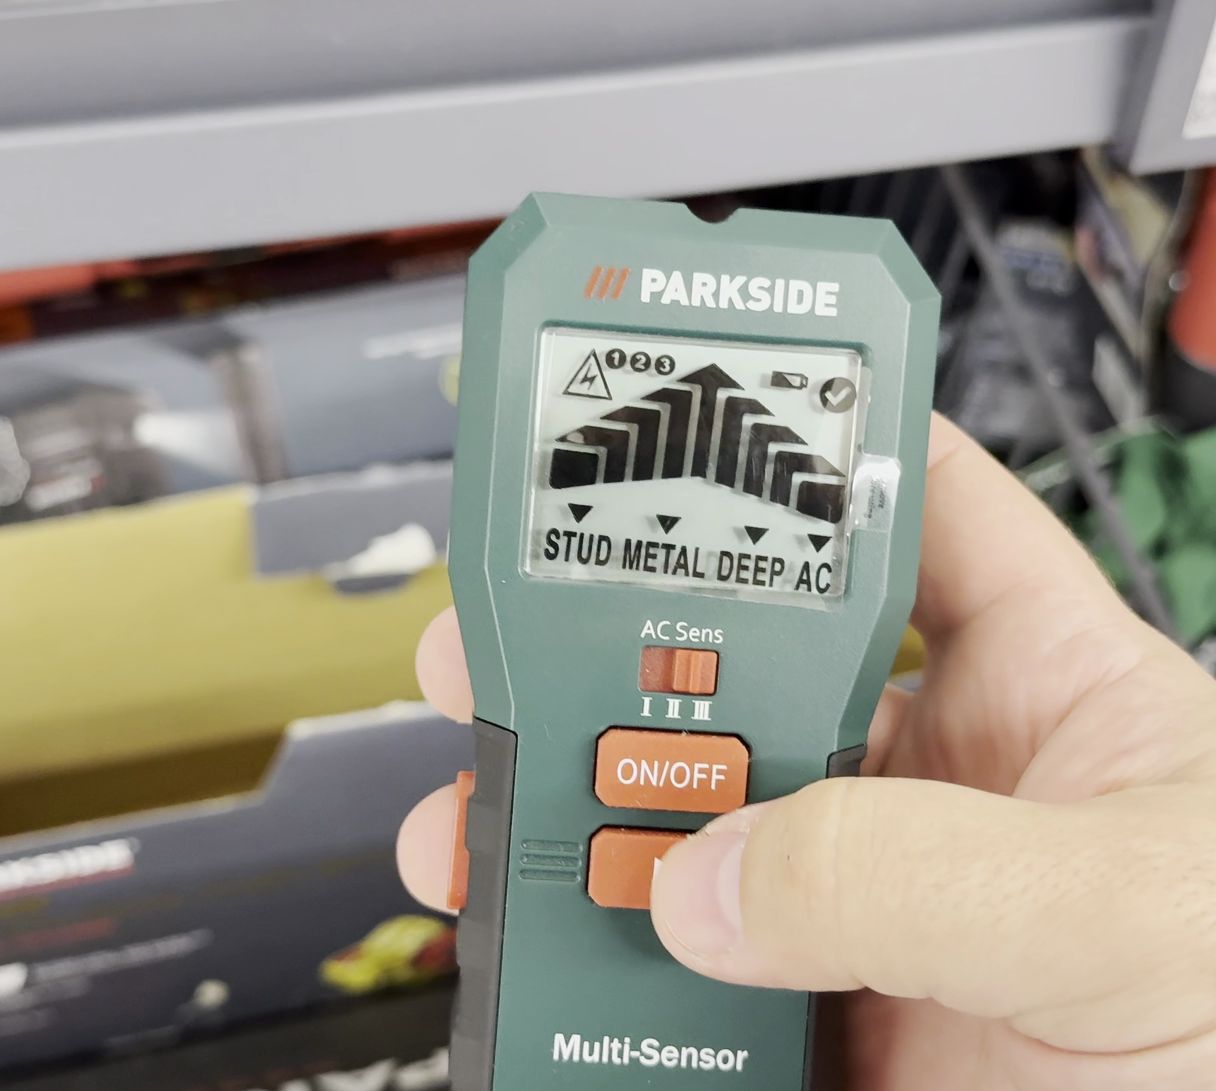
Press the mode selector on the front panel to pick Wood, Metal, AC Wire, or Cavity detection with three sensitivity steps. Hold the unit flat on the wall, press and hold the side scan button until the beep and LCD bar settle, then slide horizontally at an even pace.
Helpful Tips
- Pass over the exact same spot twice from both left and right directions and mark both edges with the included carpenter pencil to find the true center of a pipe or stud.
- Never rely solely on an electronic scanner without double-checking switch locations vertically and turning off the circuit breaker before drilling near outlets.
Related Guides
- Smart Battery 12Ah 20V X20V Lidl Parkside Smart PAPS 2012 A1 240Wh – If your cordless angle grinders or lawn mowers run out of juice too quickly, this massive 12Ah pack delivers maximum runtime.
- Lidl Crivit LED Bike Light Set – Lidl Crivit LED Bike Light Set Unboxing & Review 70 Lux Tested.
- Lidl Silvercrest Smart Tag Finder – Unboxing the Lidl Silvercrest Smart Tag Finder – An Affordable AirTag Alternative for Apple Find My Network.
Leave a Reply Cancel reply