


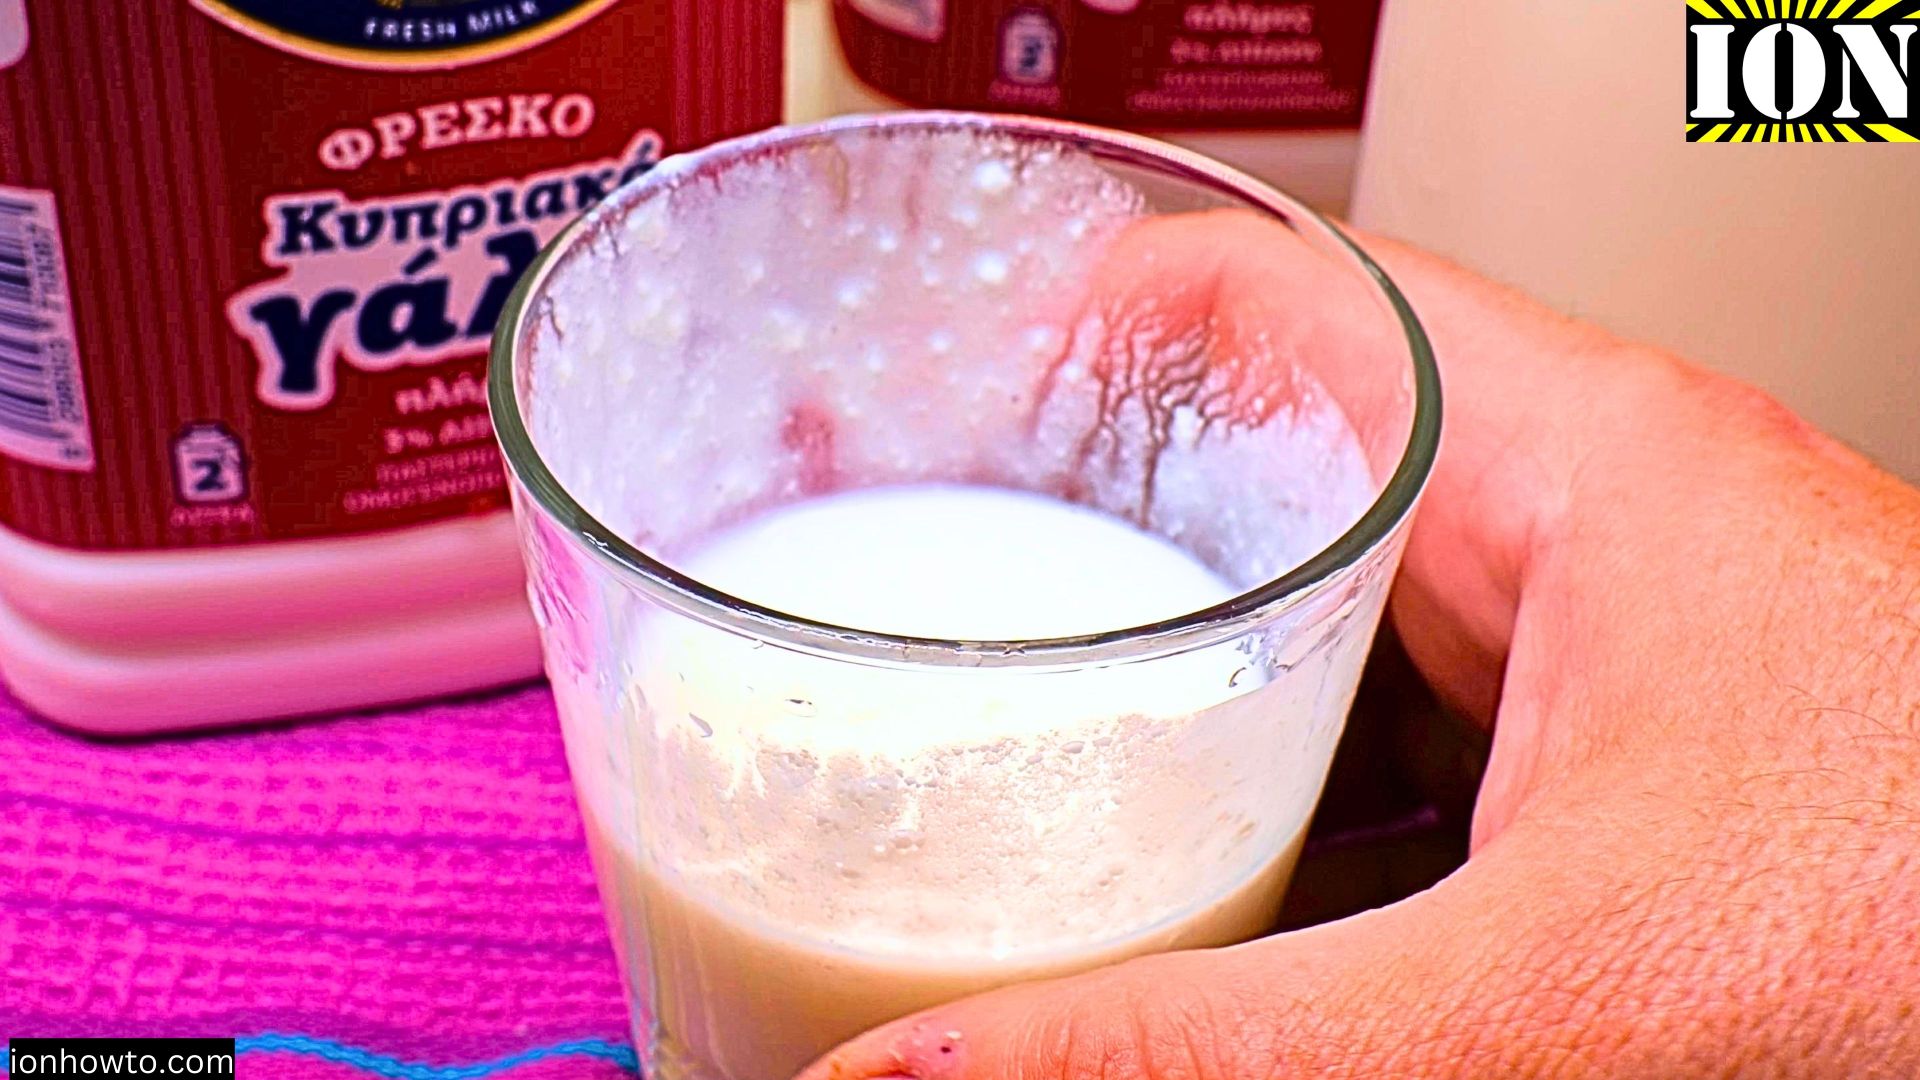
Learn how to make kefir at home. You don’t need special milk kefir grains to start. If you can buy a small bottle of plain, live kefir from the store, you can use it to make more. It’s easy, much cheaper than buying it ready-made, and you can keep making new batches indefinitely.
I’ll show you the steps using regular full-fat milk and a store-bought kefir starter.
Why This Method Works
Real kefir contains live cultures. When you add a little bit of this active kefir to fresh milk, those cultures start to multiply and ferment the new milk. In about two days, you turn plain milk into a fresh batch of kefir. You can then use a bit of that batch to start the next one, and so on.

Quick Steps and Scenarios Overview
| What You Need to Do | Quick Jump |
|---|---|
| Why This Method Works | Jump to Step 1 |
| What You'll Need | Jump to Step 2 |
| Prepare Your Milk | Jump to Step 1 |
| Add the Kefir Starter | Jump to Step 2 |
| Mix and Let It Sit | Jump to Step 3 |
| Wait and Shake (Once a Day) | Jump to Step 4 |
What You’ll Need
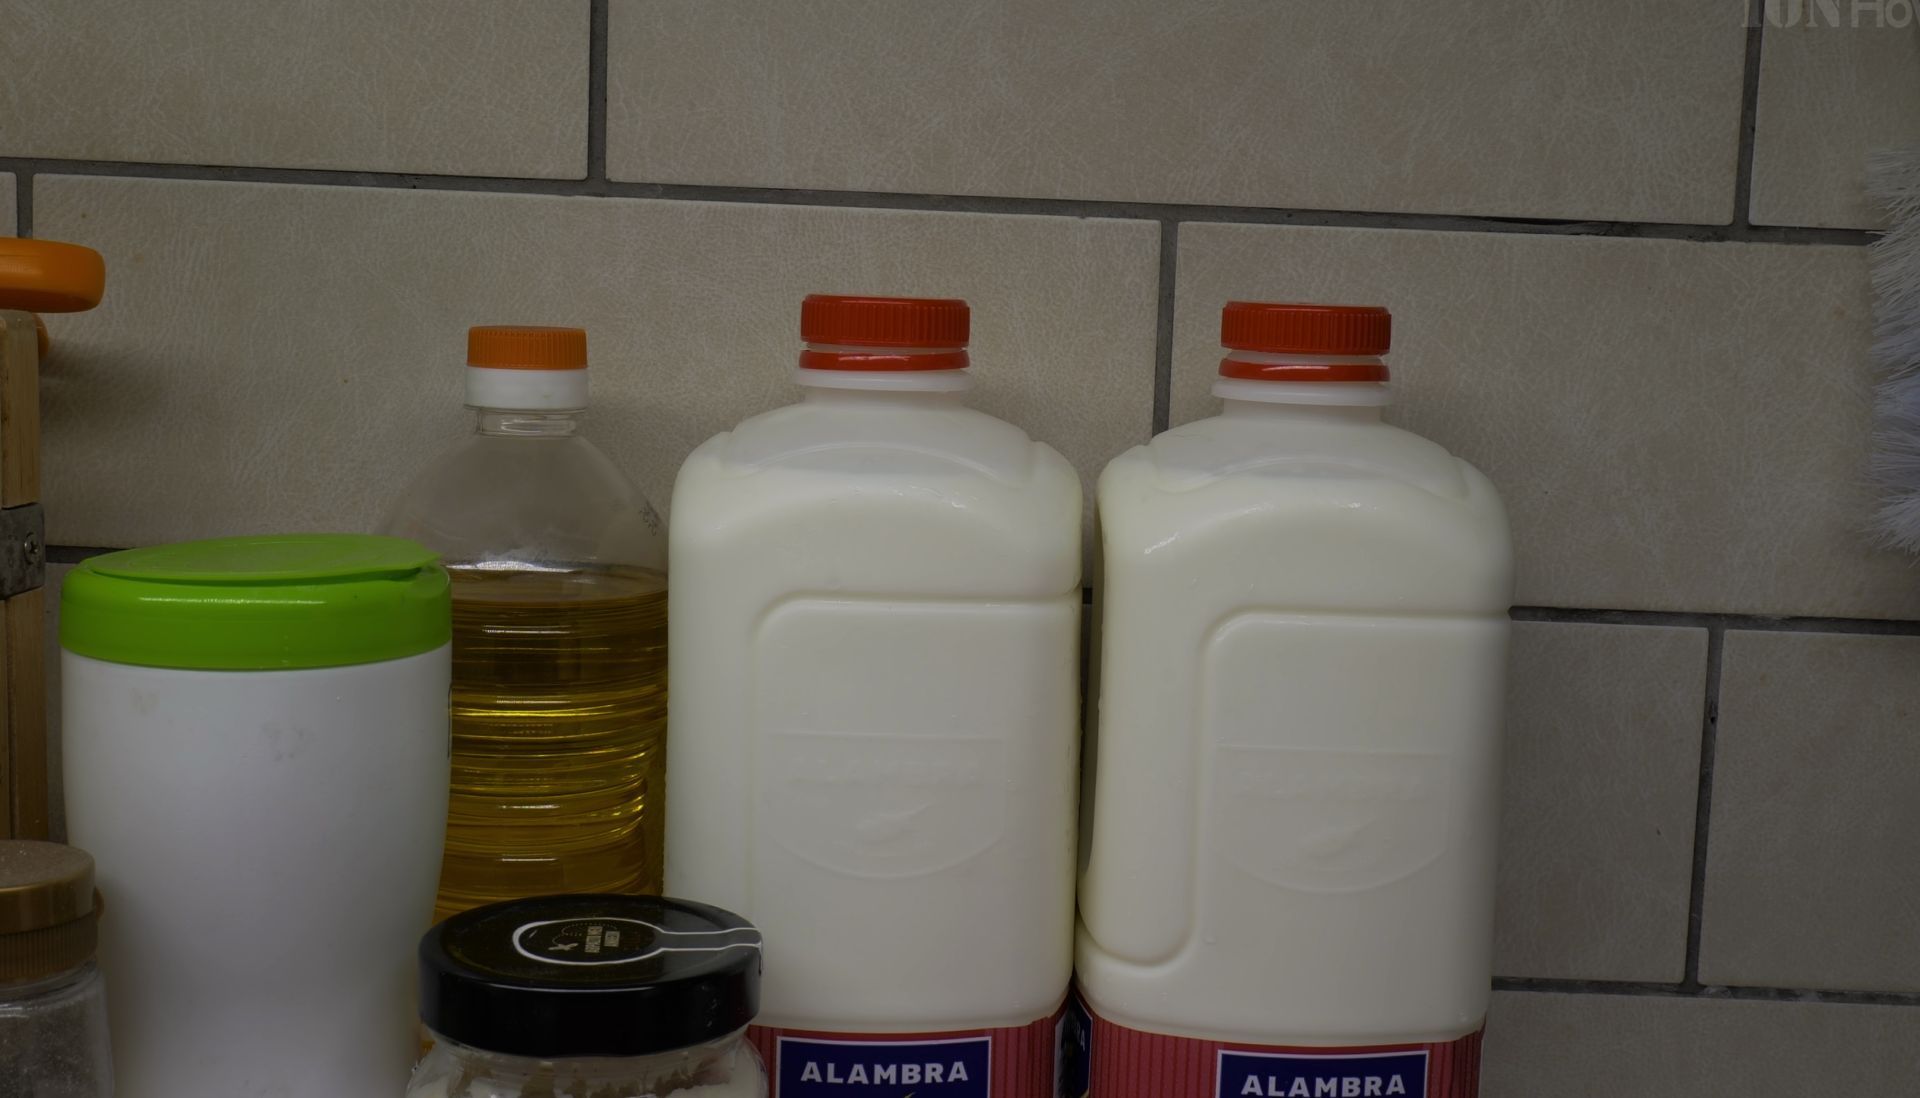
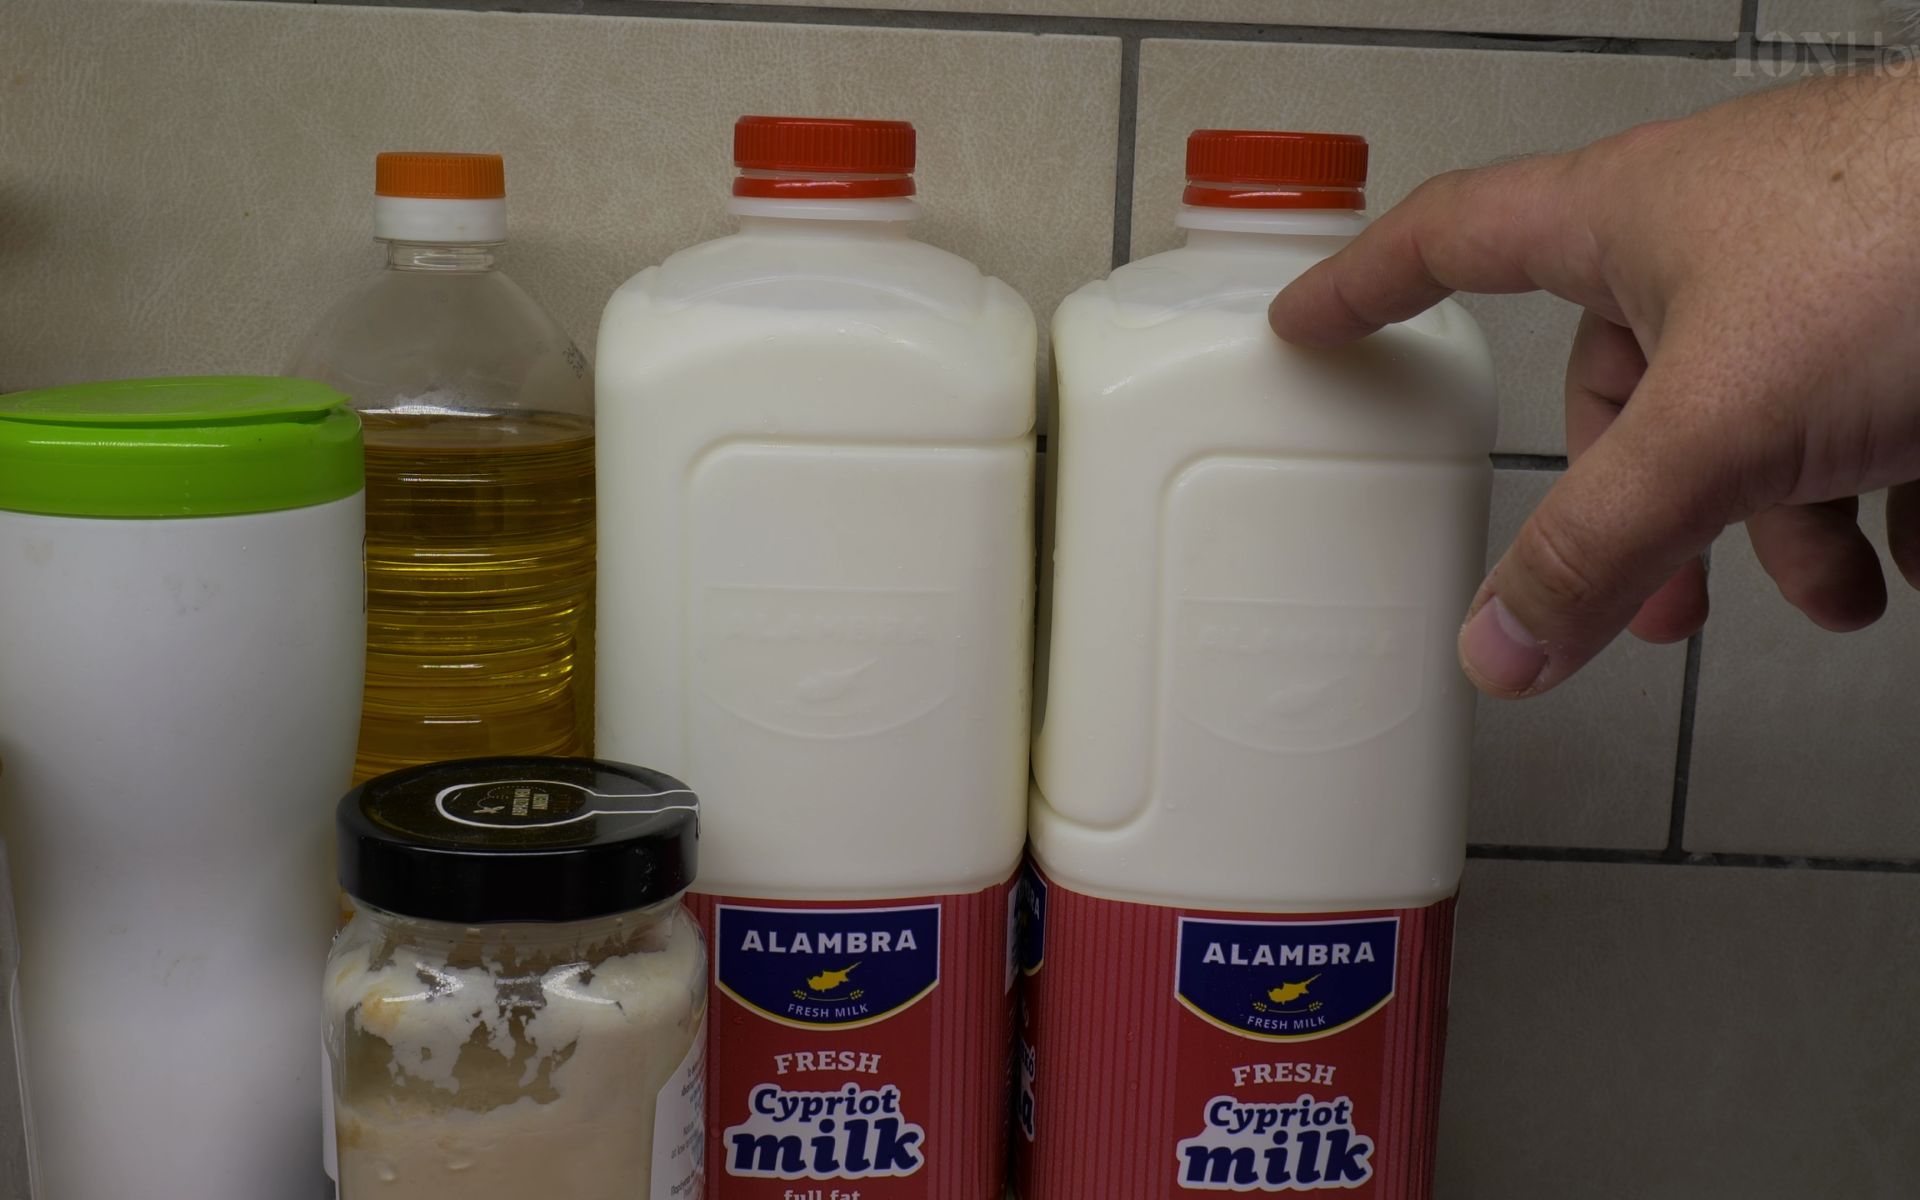
- Fresh Milk: Full-fat milk (3% or 3.5% fat) works best. Avoid long-life (UHT) milk that doesn’t need refrigeration. Fresh, pasteurized milk is perfect.
- Kefir Starter: A small bottle of plain, live kefir from the supermarket. Check the label for “lactic cultures” or “kefir cultures.” A short expiration date is a good sign it contains live bacteria.
- A Clean Jar or Bottle: A glass bottle or jar with a lid is ideal.
- Time: About 48 hours (2 days).
1. Prepare Your Milk
Start with your bottle of fresh milk. You don’t need to heat it or do anything special. Just make a little space in the bottle for the kefir starter you’re about to add.

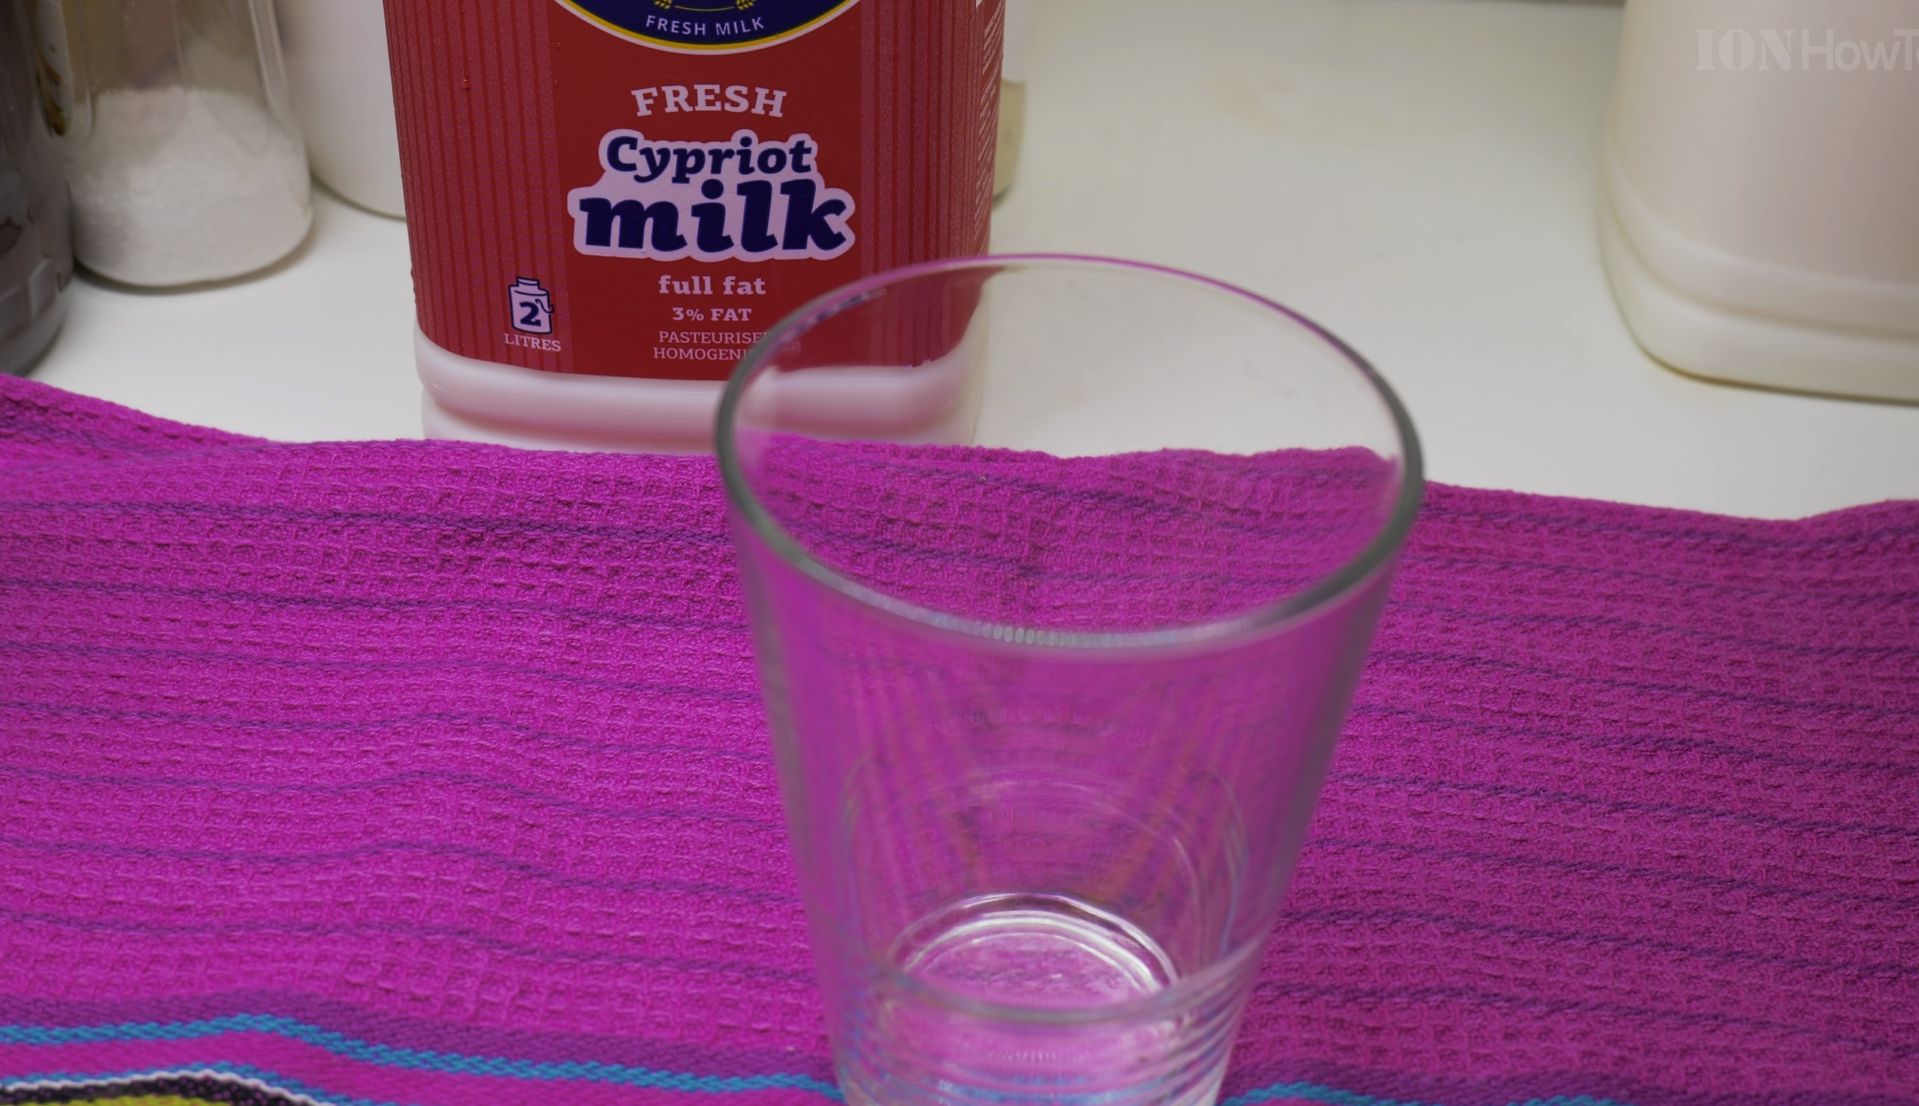
- Pour out (and drink!) a small amount of milk from the top of the bottle. You only need to remove about 2-3 tablespoons to make room.
2. Add the Kefir Starter
This is the magic step. You only need a very small amount of store-bought kefir to begin the fermentation.
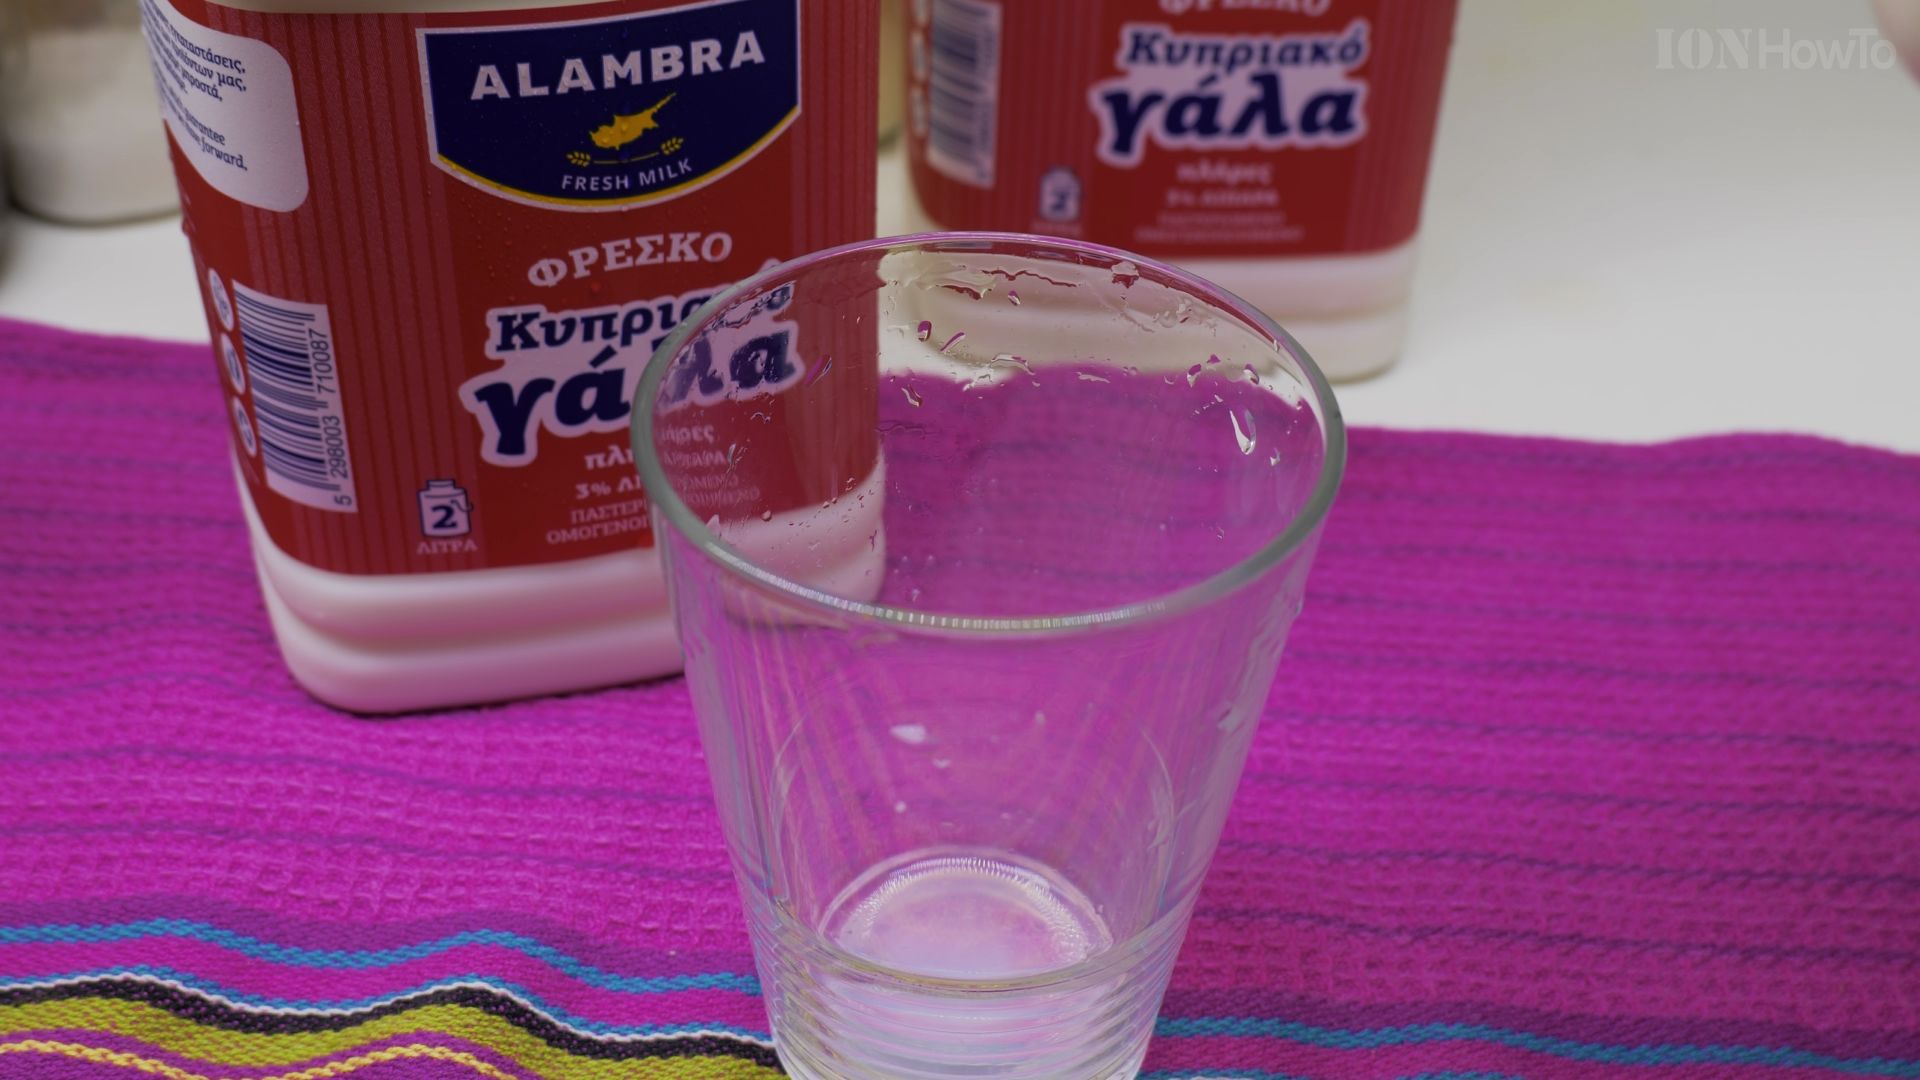
- Add about 1-2 tablespoons of your live, plain kefir into the milk bottle. You don’t need more than that.
- The more starter you add, the faster the process, but even a small amount will work.
3. Mix and Let It Sit
- Put the lid back on the bottle and shake it gently to mix the kefir starter throughout the milk.
- Do not tighten the lid all the way. Leave it slightly loose. This allows gases produced during fermentation to escape.
- Place the bottle at room temperature, out of direct sunlight.

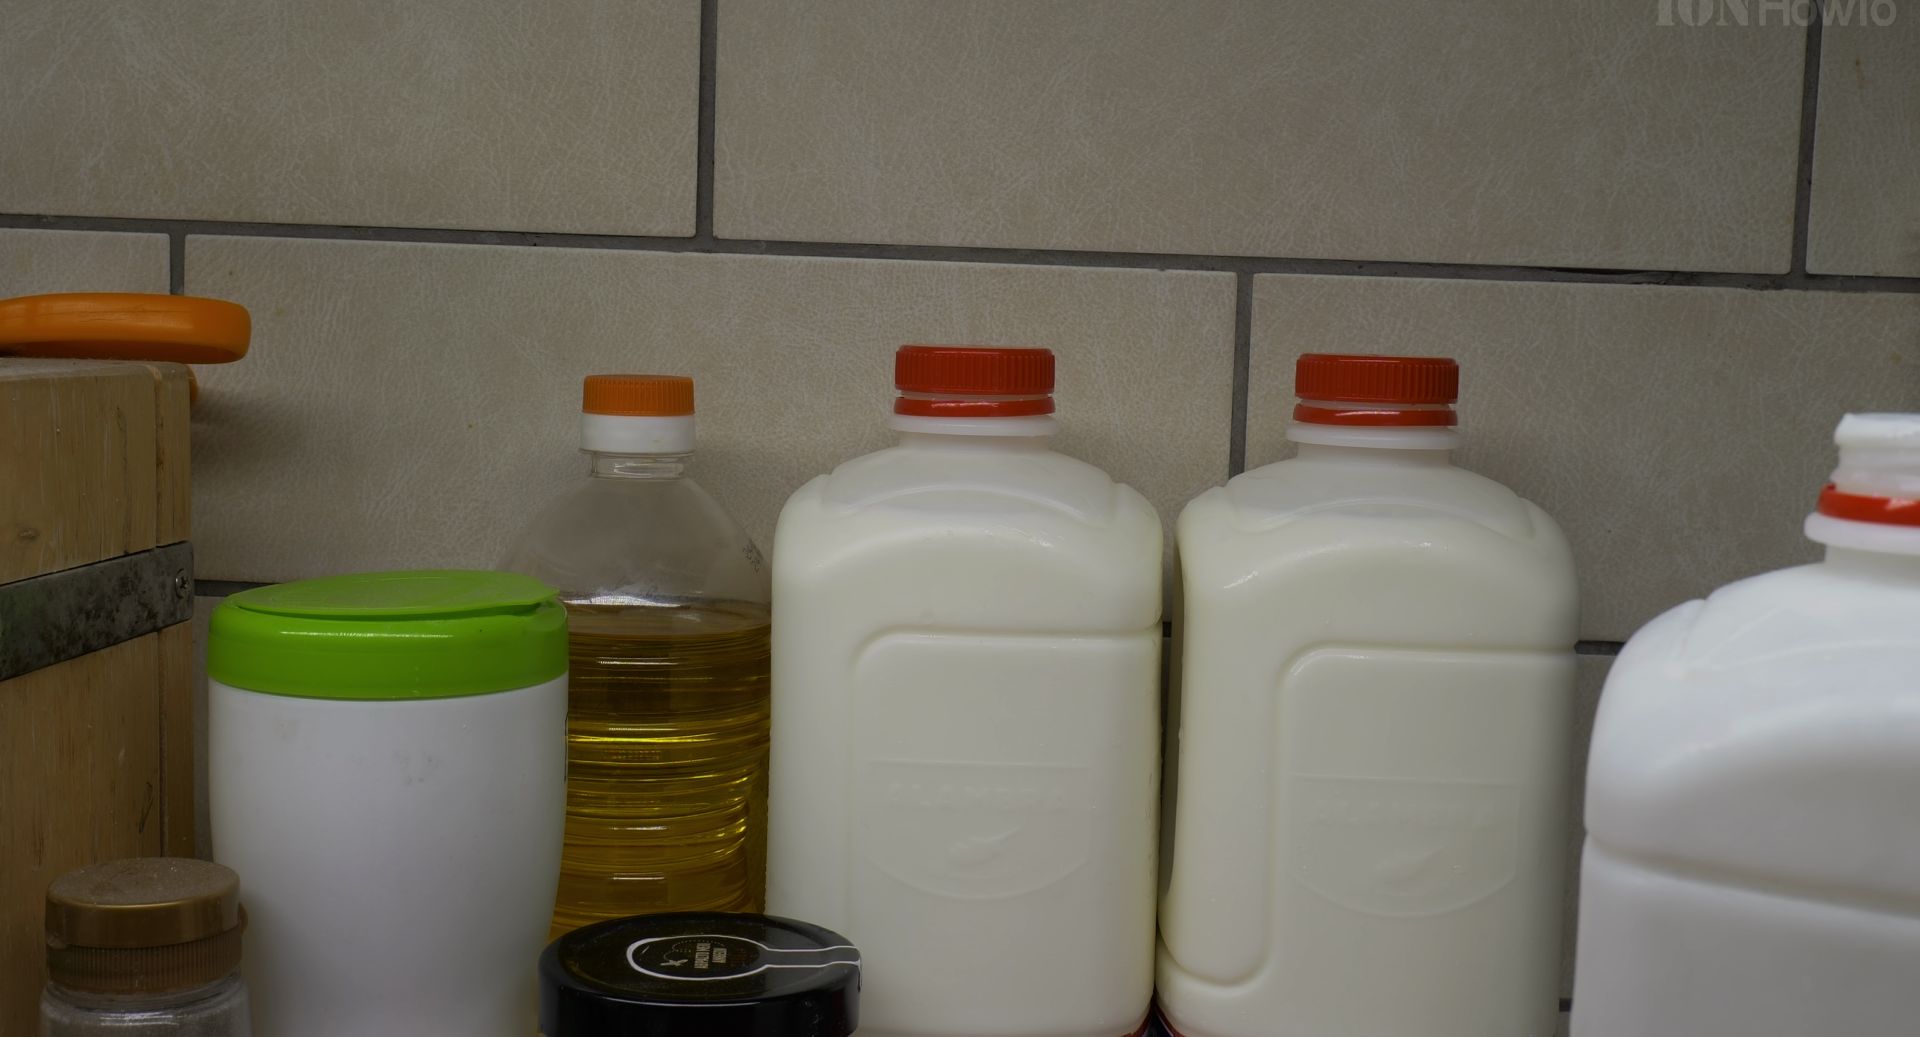
4. Wait and Shake (Once a Day)
- Let the bottle sit for about 48 hours. The total time depends on the temperature of your room.
- Warmer room (above 22°C/72°F): It might be ready in 1.5 to 2 days.
- Cooler room (below 20°C/68°F): It may take 3 or even 4 days.
- Once a day, give the bottle a gentle shake. This helps keep the mixture smooth and prevents it from separating into thick curds and whey too early.

5. Check If It’s Ready
After 2 days, check your kefir.

- It should look thicker than milk, with a creamy, slightly gelatinous consistency.
- You might see small bubbles, which is a great sign of active fermentation.
- When you tilt the bottle, the mixture should move slowly, not like liquid milk.
- The taste should be tangy and slightly sour, not sweet.
If it still looks like milk, let it sit for another 12-24 hours and check again.
6. Store and Enjoy
- Once your kefir is ready, tighten the lid and place it in the refrigerator. The cold will slow down the fermentation.
- Your homemade kefir is now ready to drink! Enjoy it plain, or mix in some fruit, jam, or honey.
- To make your next batch: Simply save 2 tablespoons of your fresh homemade kefir. Add it to a new bottle of fresh milk, and repeat the process from Step 1.
Tips for Success
- Use full-fat milk for the creamiest, best-textured kefir.
- Always start with a live, plain kefir as your starter. Flavored kefirs often have added sugars and stabilizers that can interfere.
- If you want tangier kefir, let it ferment at room temperature for an extra half-day or day before refrigerating.
- If you see a clear yellowish liquid (whey) separating, don’t worry. Just shake the bottle to mix it back in. It’s a normal part of the process.
Making kefir at home is that simple. You skip the need to find and care for grains, and you get a continuous supply of healthy, probiotic-rich kefir for just the cost of milk.
Helpful Tips
Check all labels, connections, and power ratings before starting so everything fits safely and securely. If any detail looks slightly different on your model, pause the embedded video above for a clear closeup view.
Related Guides
- How to Make Your Own Kefir Without Grains – How to Make Your Own Kefir Without Grains Easy Method
- iPhone How to Show App Labels Customize Home Screen – If the names beneath your iPhone app icons disappeared after updating, your icons were switched to the large view.
- iPad How to Make App Icons Bigger on Home Screen – If small app icons on your iPad are difficult to see or tap with your fingers, you can make them larger with a single setting.
Leave a Reply Cancel reply