


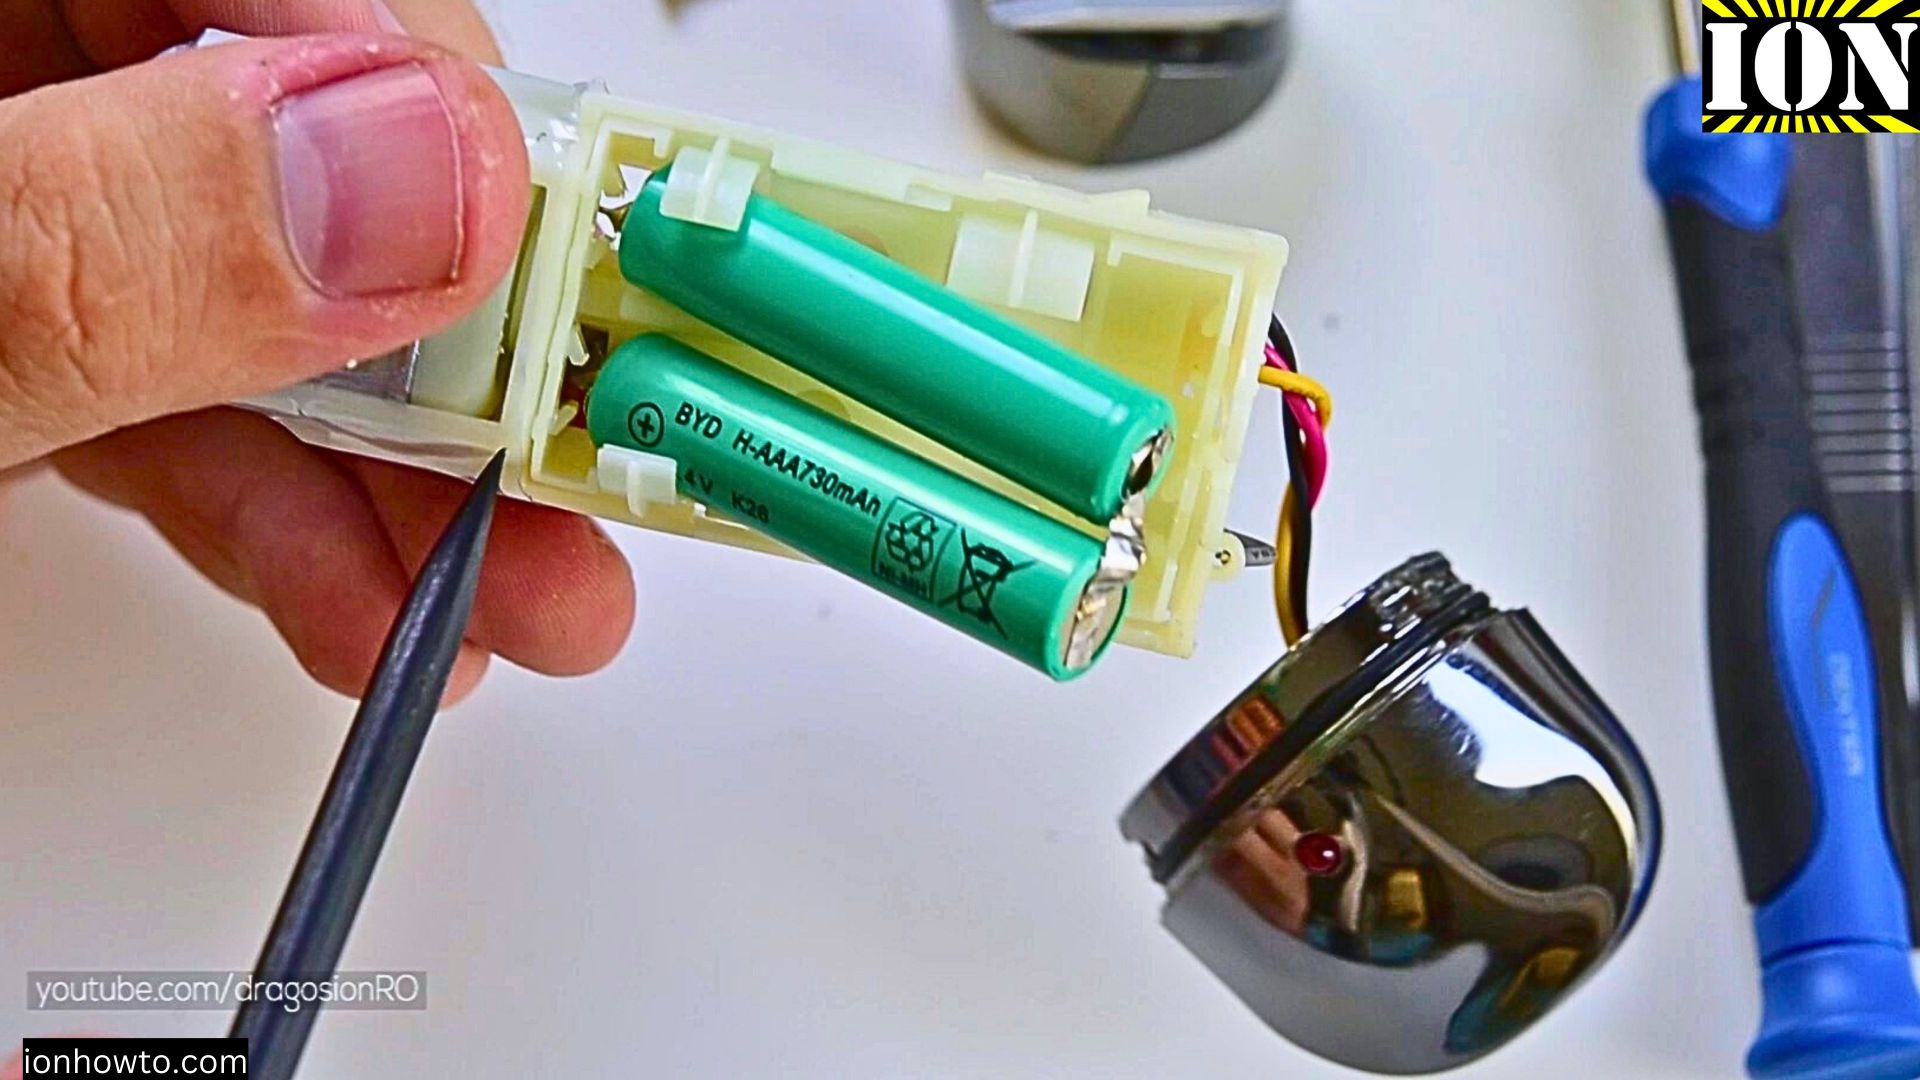
Why Replace Your Trimmer’s Battery?
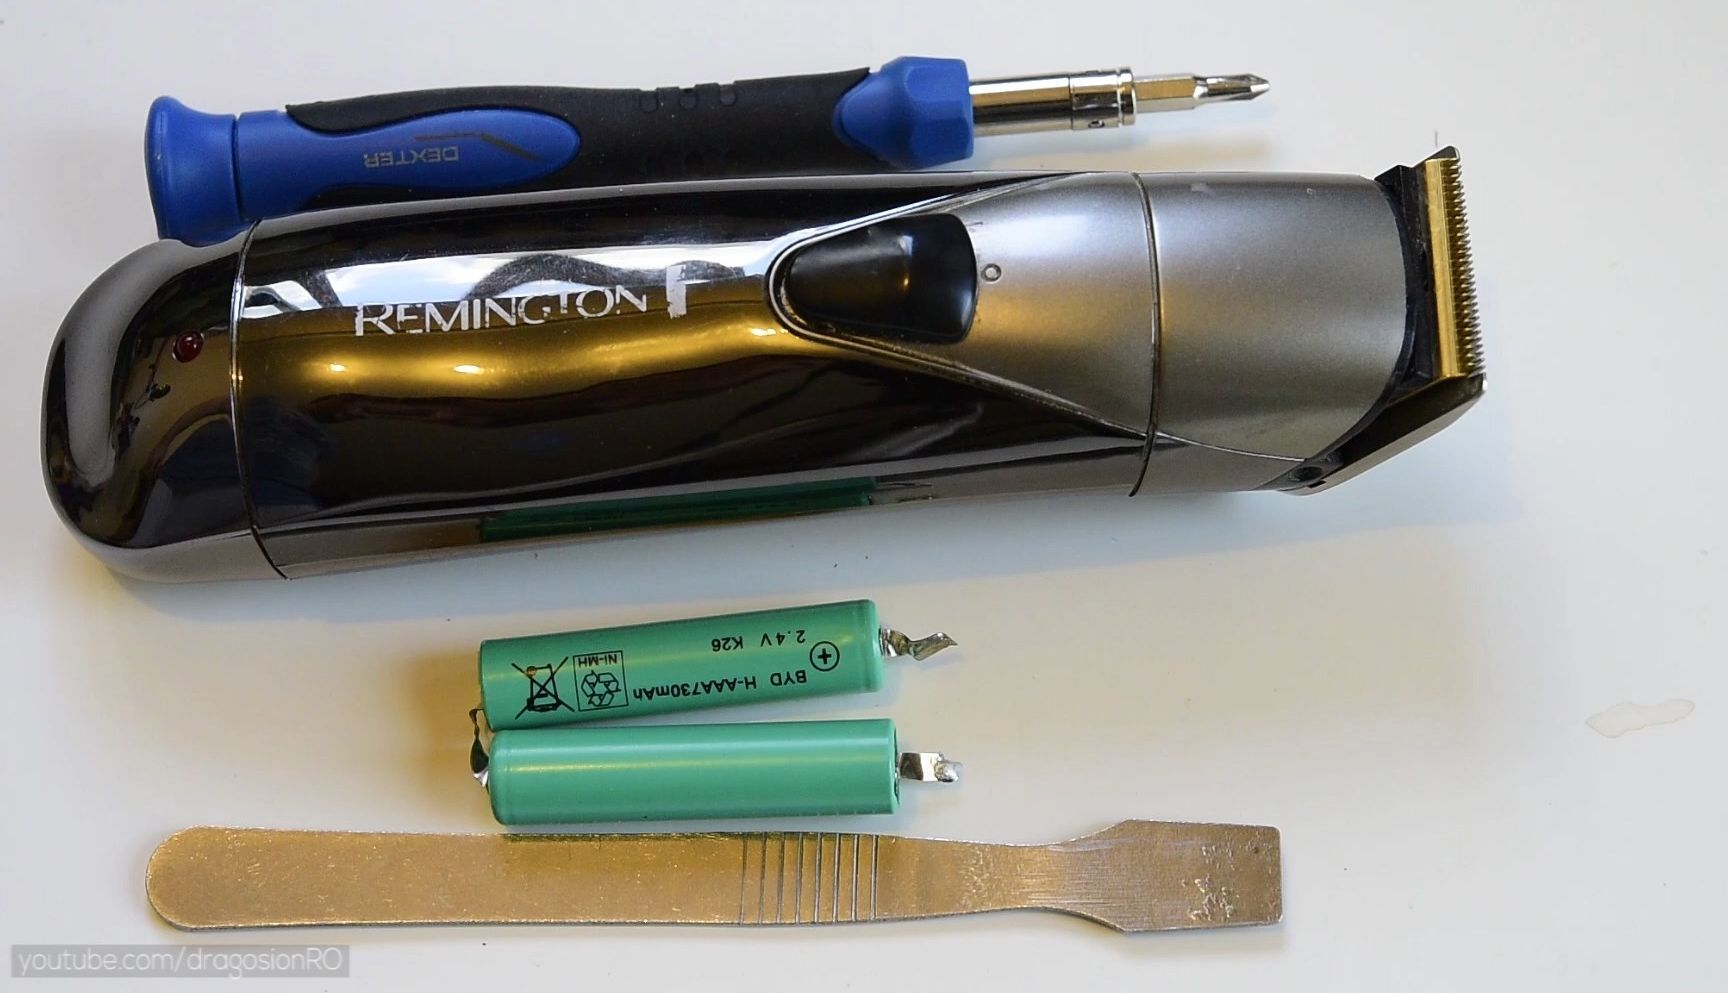
When your Remington PG-400 starts losing power quickly or won’t hold a charge, you don’t need to buy a new trimmer. With some simple tools and the right batteries, you can bring it back to life and even upgrade its capacity.

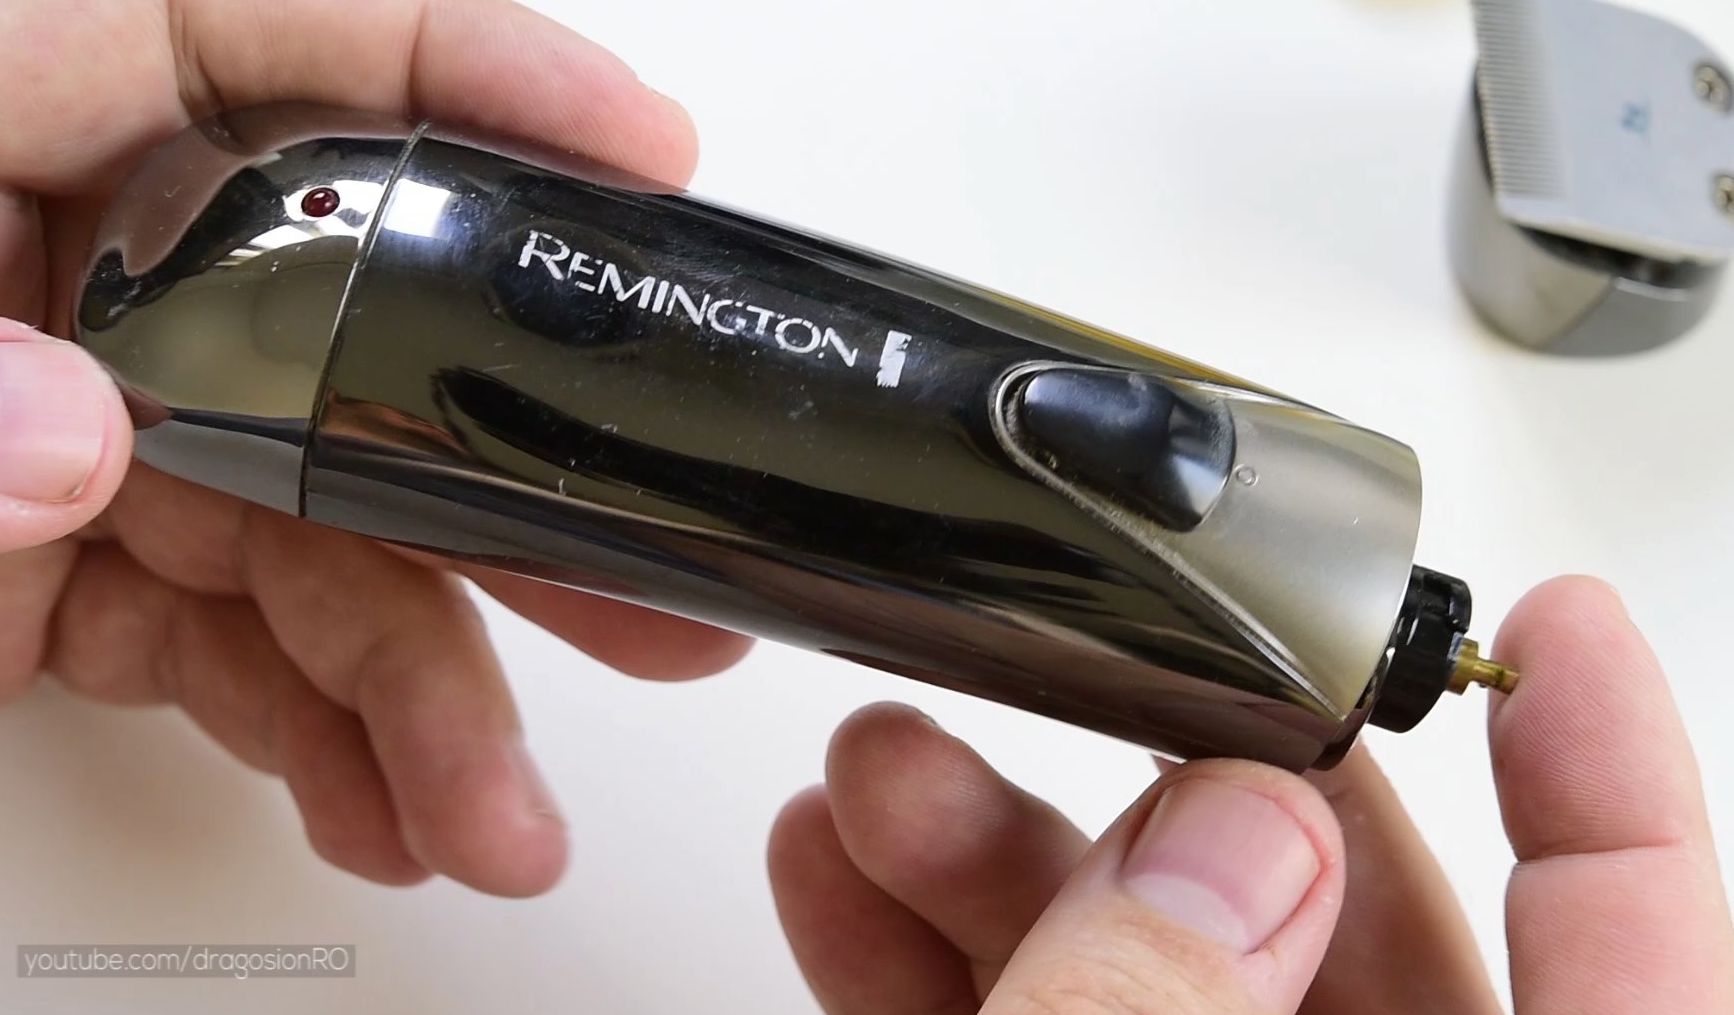

Quick Steps and Scenarios Overview
| What You Need to Do | Quick Jump |
|---|---|
| Why Replace Your Trimmer's Battery? | Jump to Step 1 |
| Battery Options | Jump to Step 2 |
| Original Battery Specs | Jump to Step 3 |
| Step-by-Step Replacement Guide | Jump to Step 4 |
| Important Tips | Jump to Step 5 |
| Safety Precautions | Jump to Step 6 |
What You Need
- 2x AAA Ni-MH rechargeable batteries
- Soldering iron and solder
- Multimeter
- Small electronics pry tools
- Phillips head screwdriver
Battery Options
You can use any of these high-quality rechargeable AAA batteries:

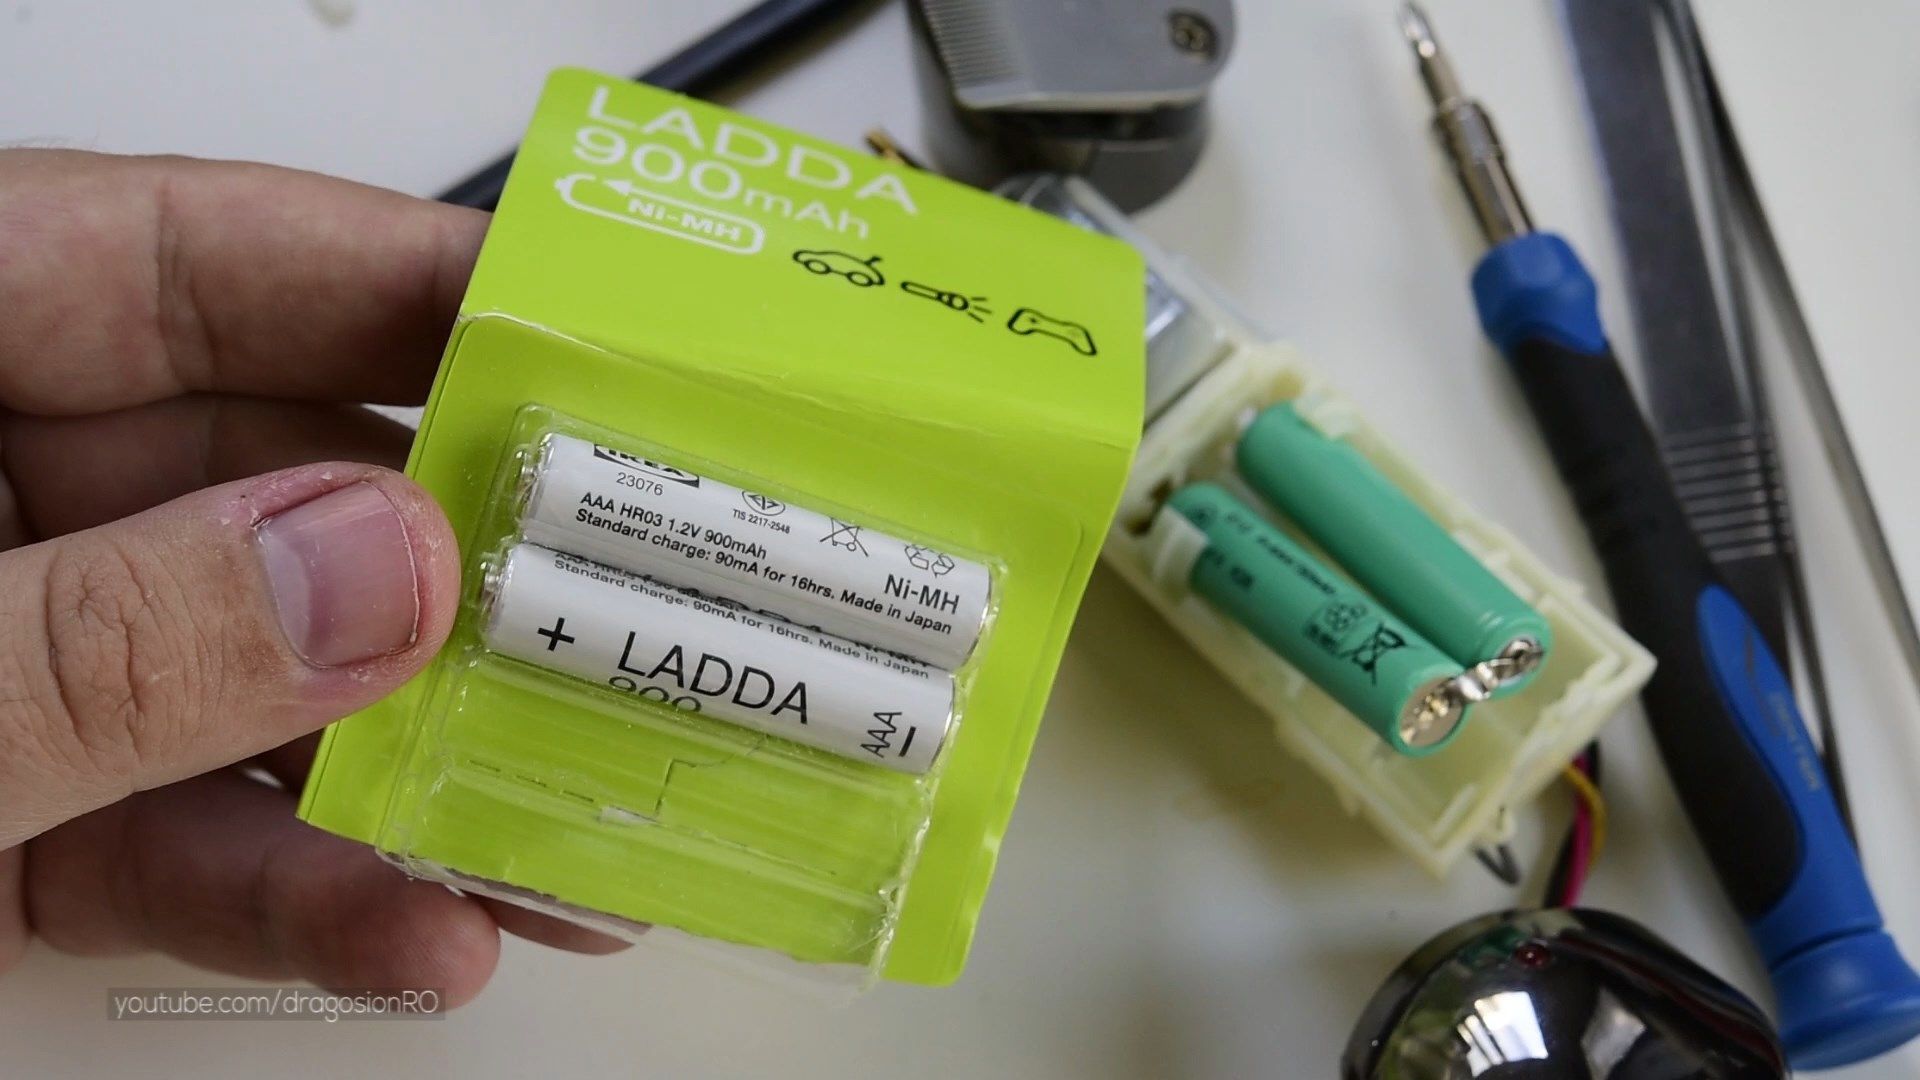
- IKEA Ladda (900 mAh)
- Panasonic Eneloop
- Amazon Basics rechargeable AAA
- Any quality Ni-MH AAA battery rated 700-1000 mAh
Original Battery Specs
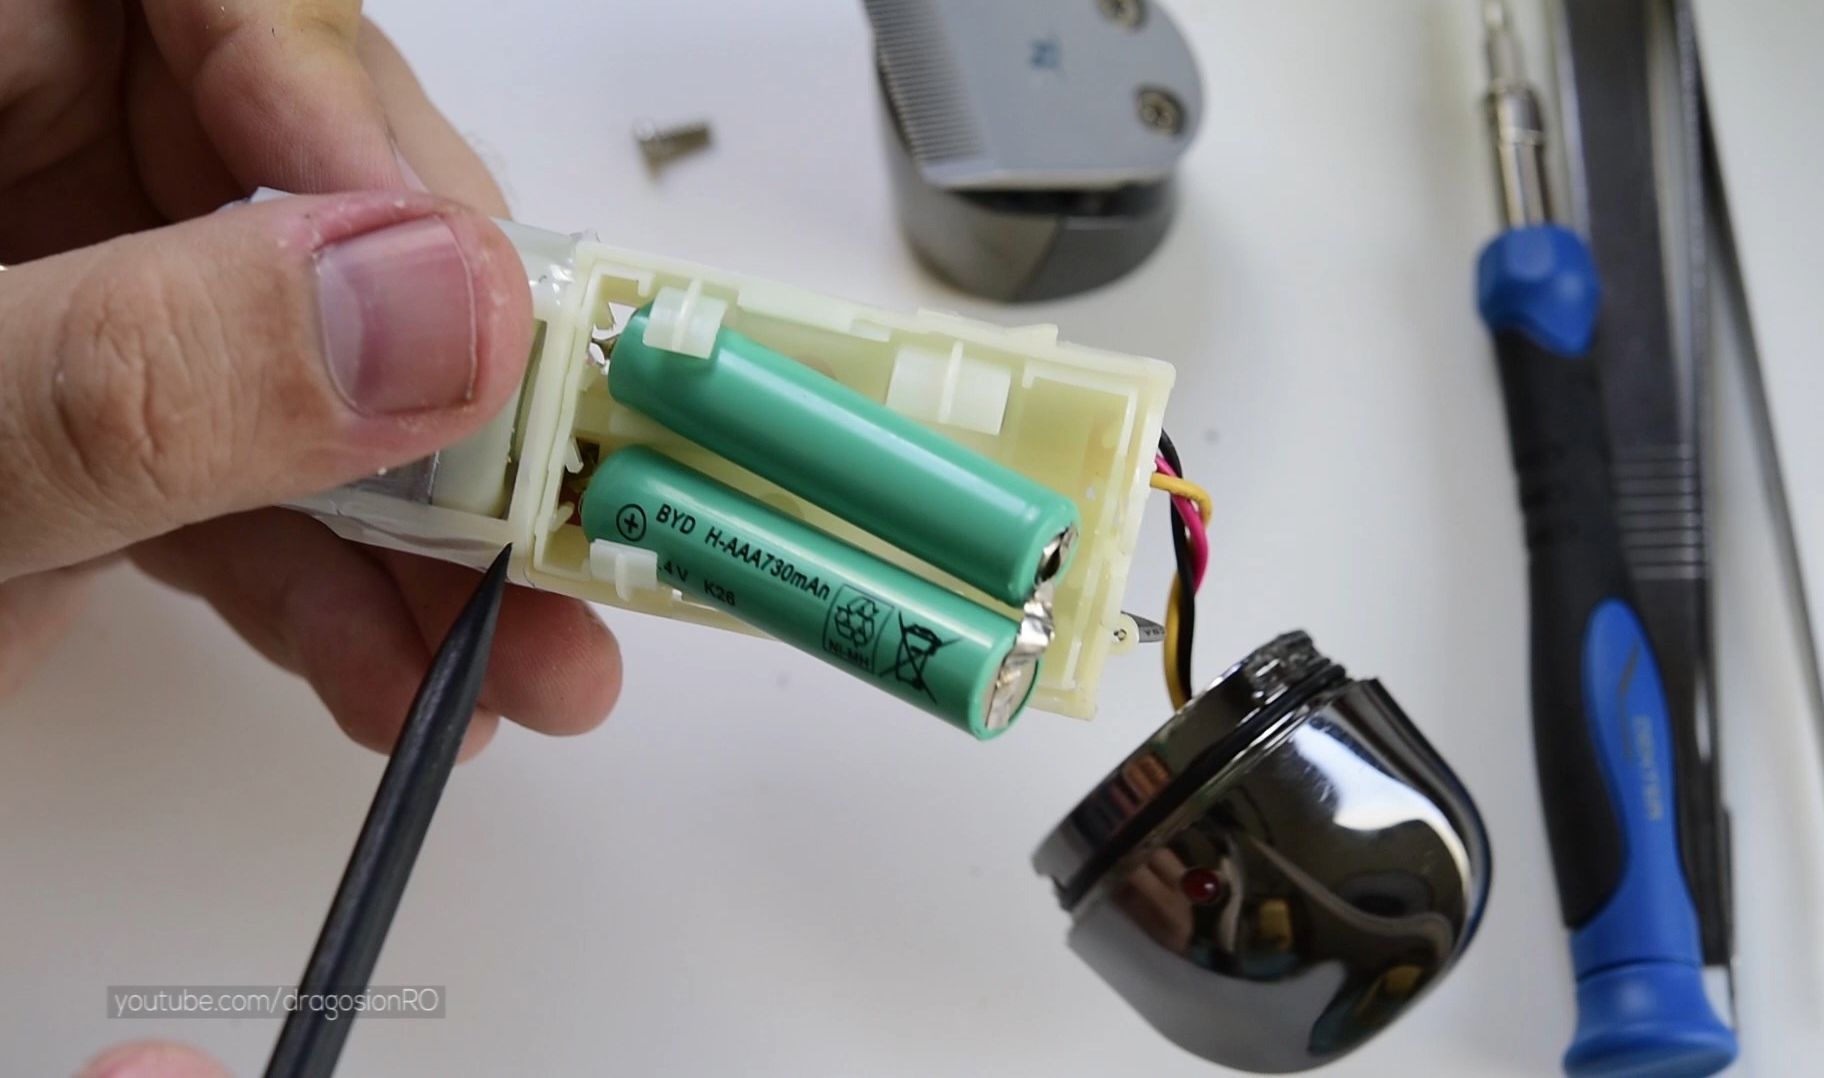
For reference, the original battery pack specs are:

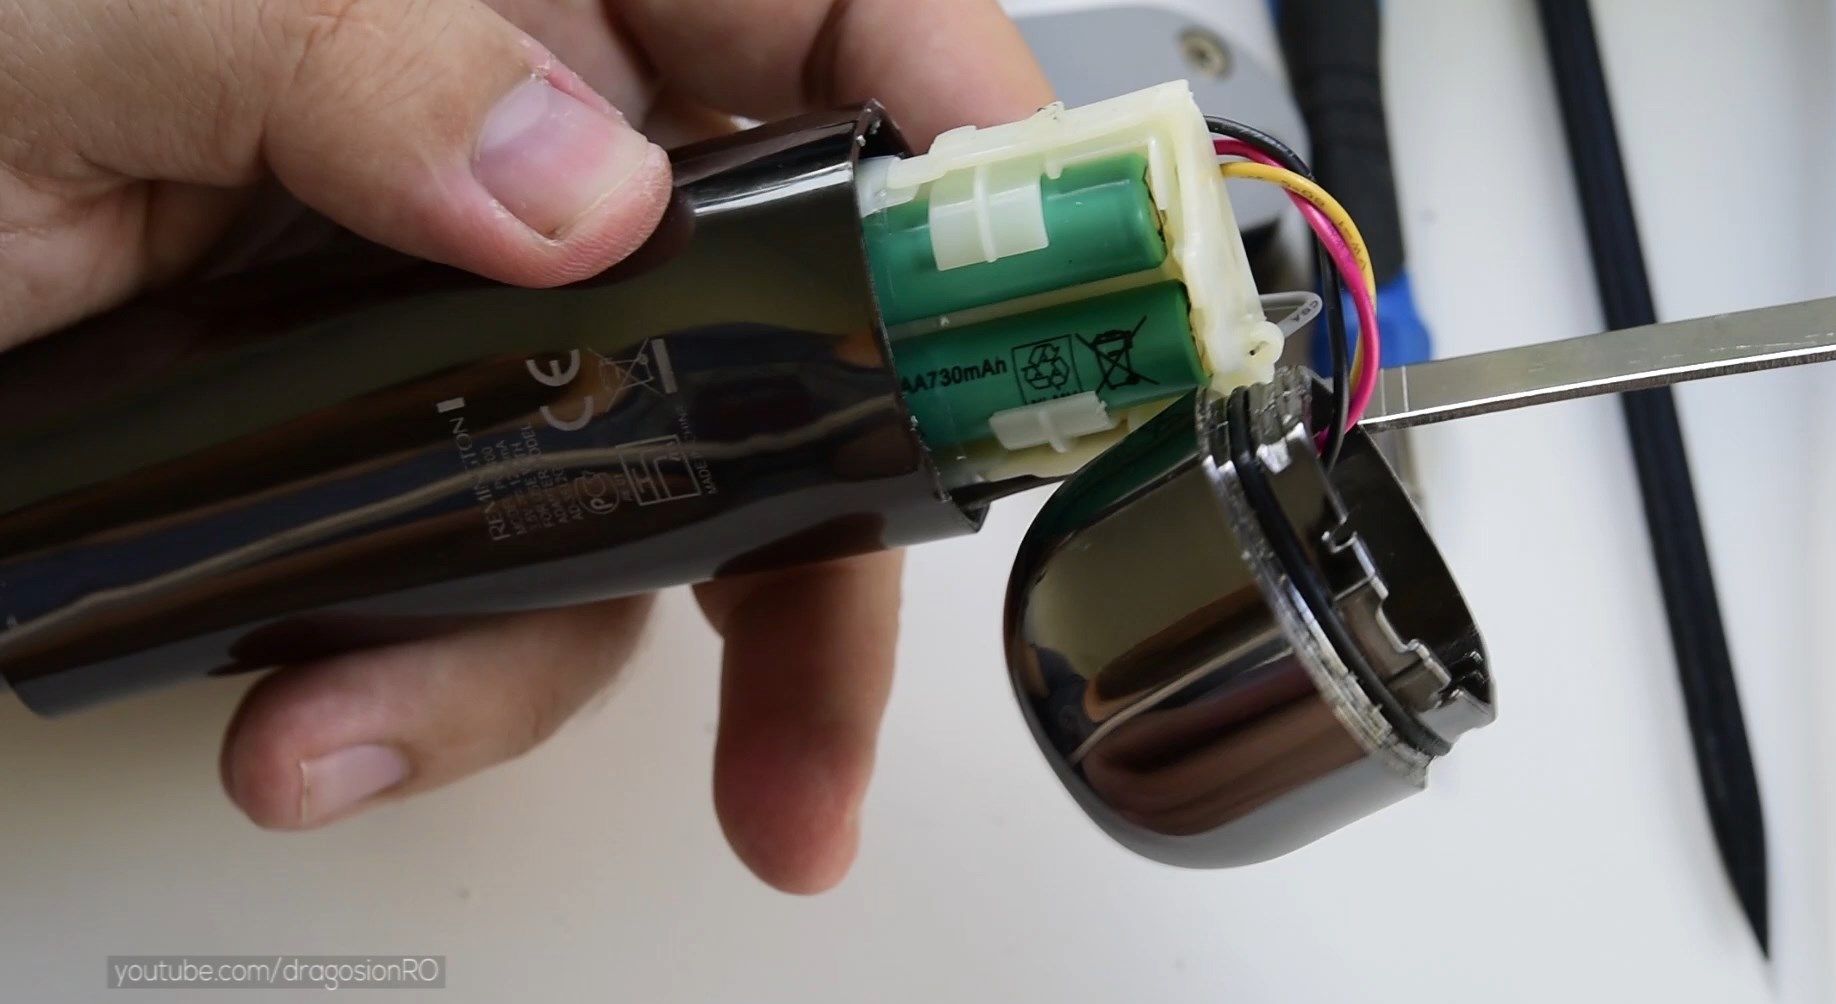
- Type: Ni-MH rechargeable
- Configuration: 2x AAA in series
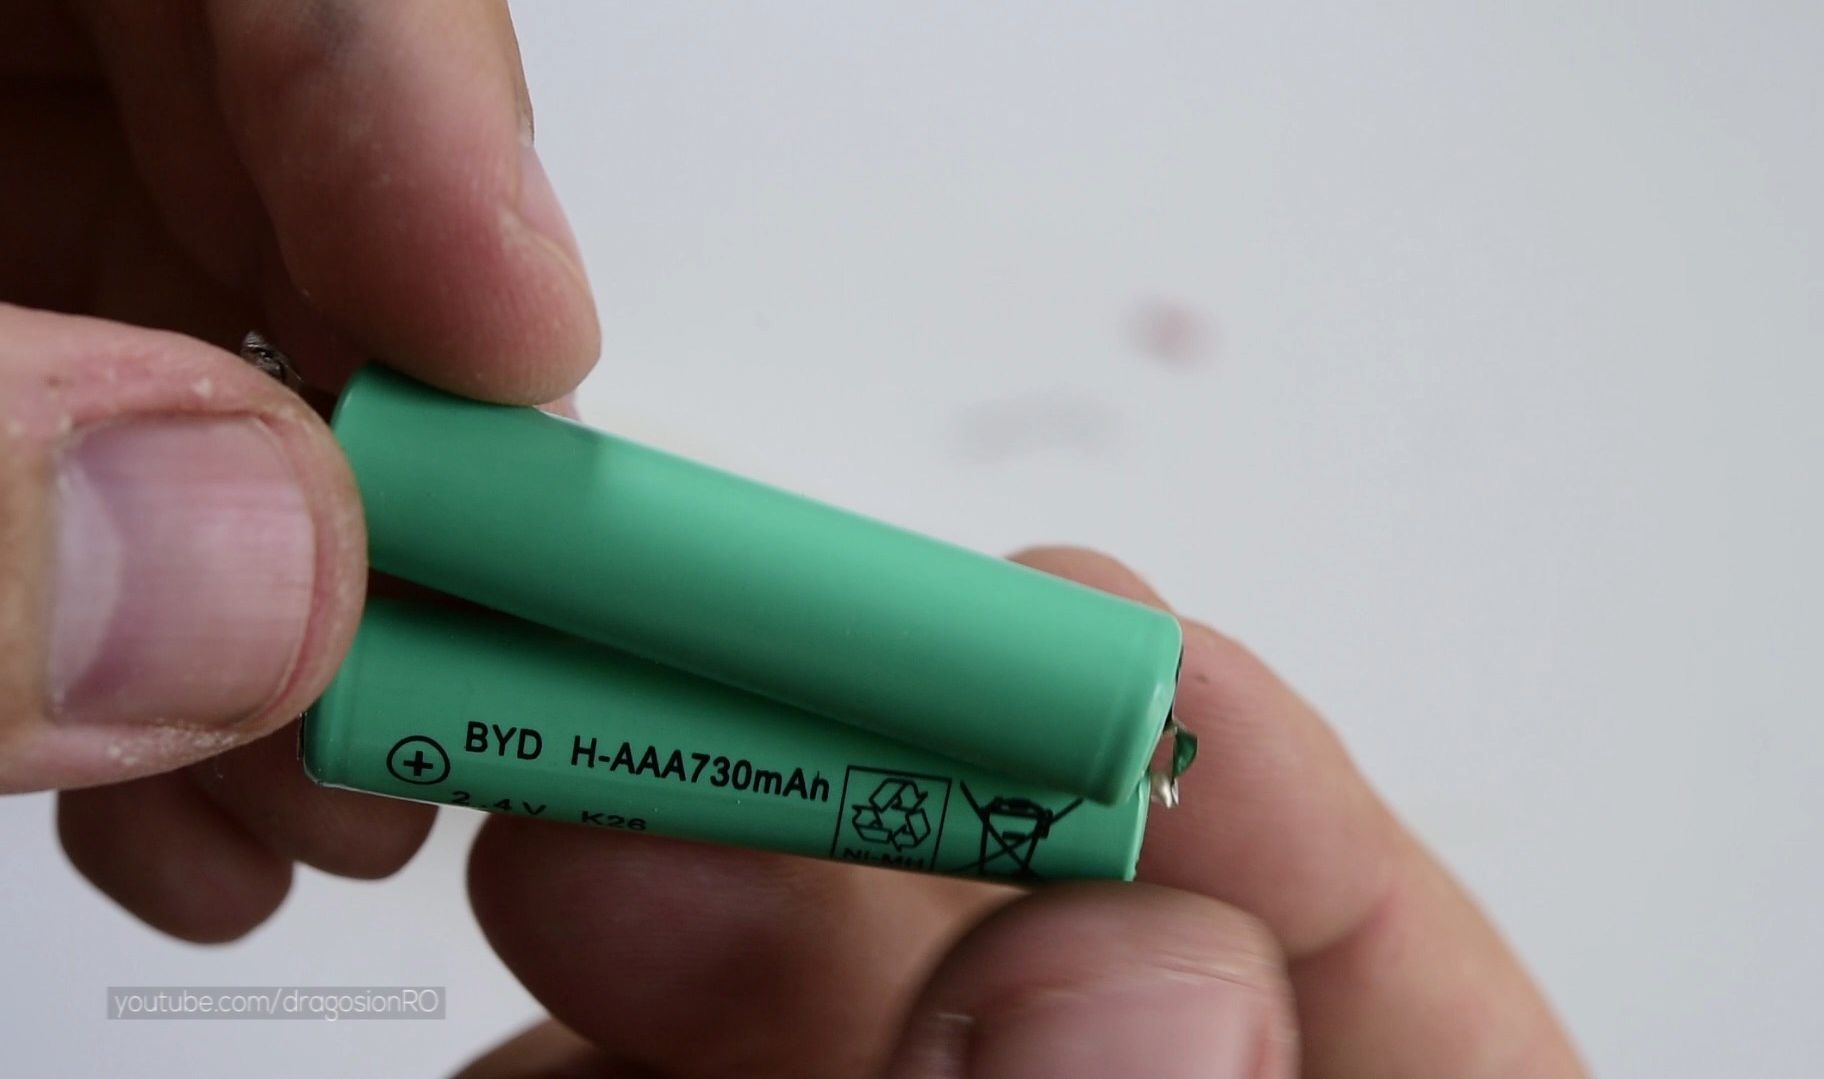
- Voltage: 2.4V (2x 1.2V)
- Capacity: 730mAh
- Original model: BYD H-AAA730mAh
Step-by-Step Replacement Guide
- Prepare Your Workspace:

- Clean, well-lit area
- Heat-resistant surface for soldering
- Good ventilation
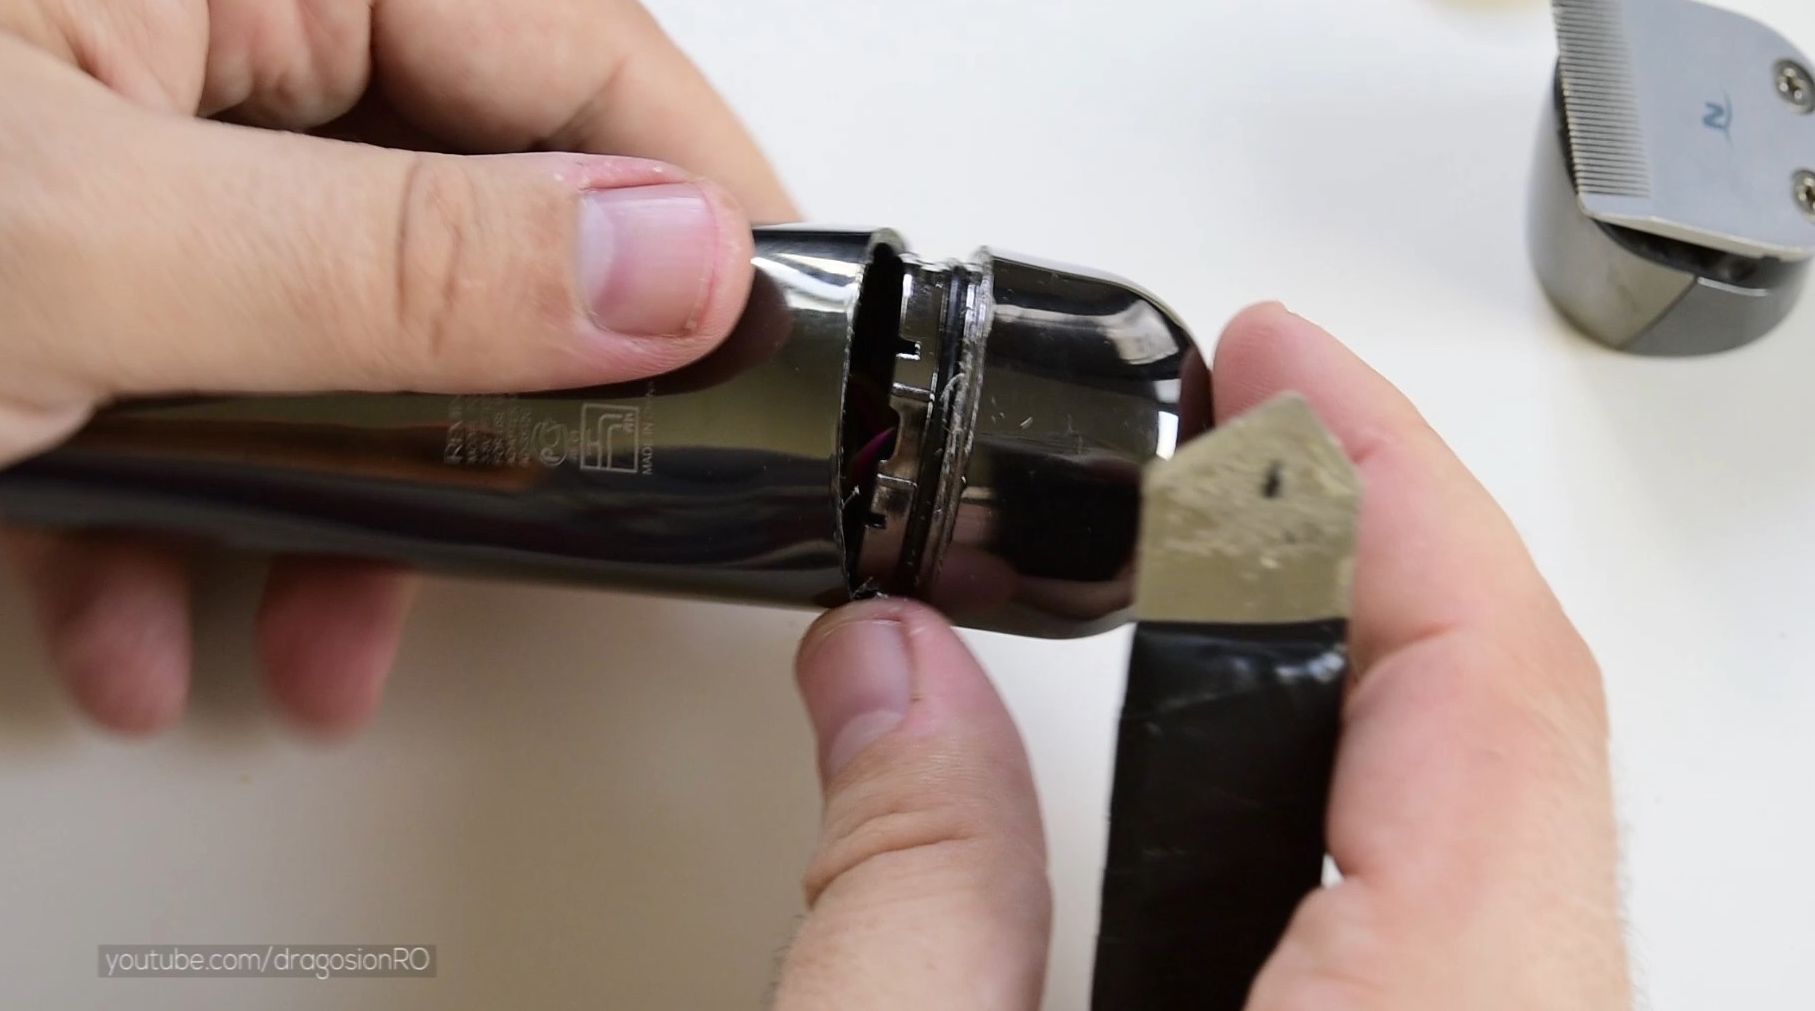
- Open the Trimmer:
- Remove blade head
- Find and remove visible screws
- Carefully pry open the housing
- Take photos as you go for reassembly reference
- Remove Old Battery:
- Note the battery orientation and connections
- Desolder or cut the old battery connections
- Remove the old battery pack
- Prepare New Batteries:
- Test each battery with multimeter (should read ~1.2V each)
- Connect batteries in series (positive to negative)
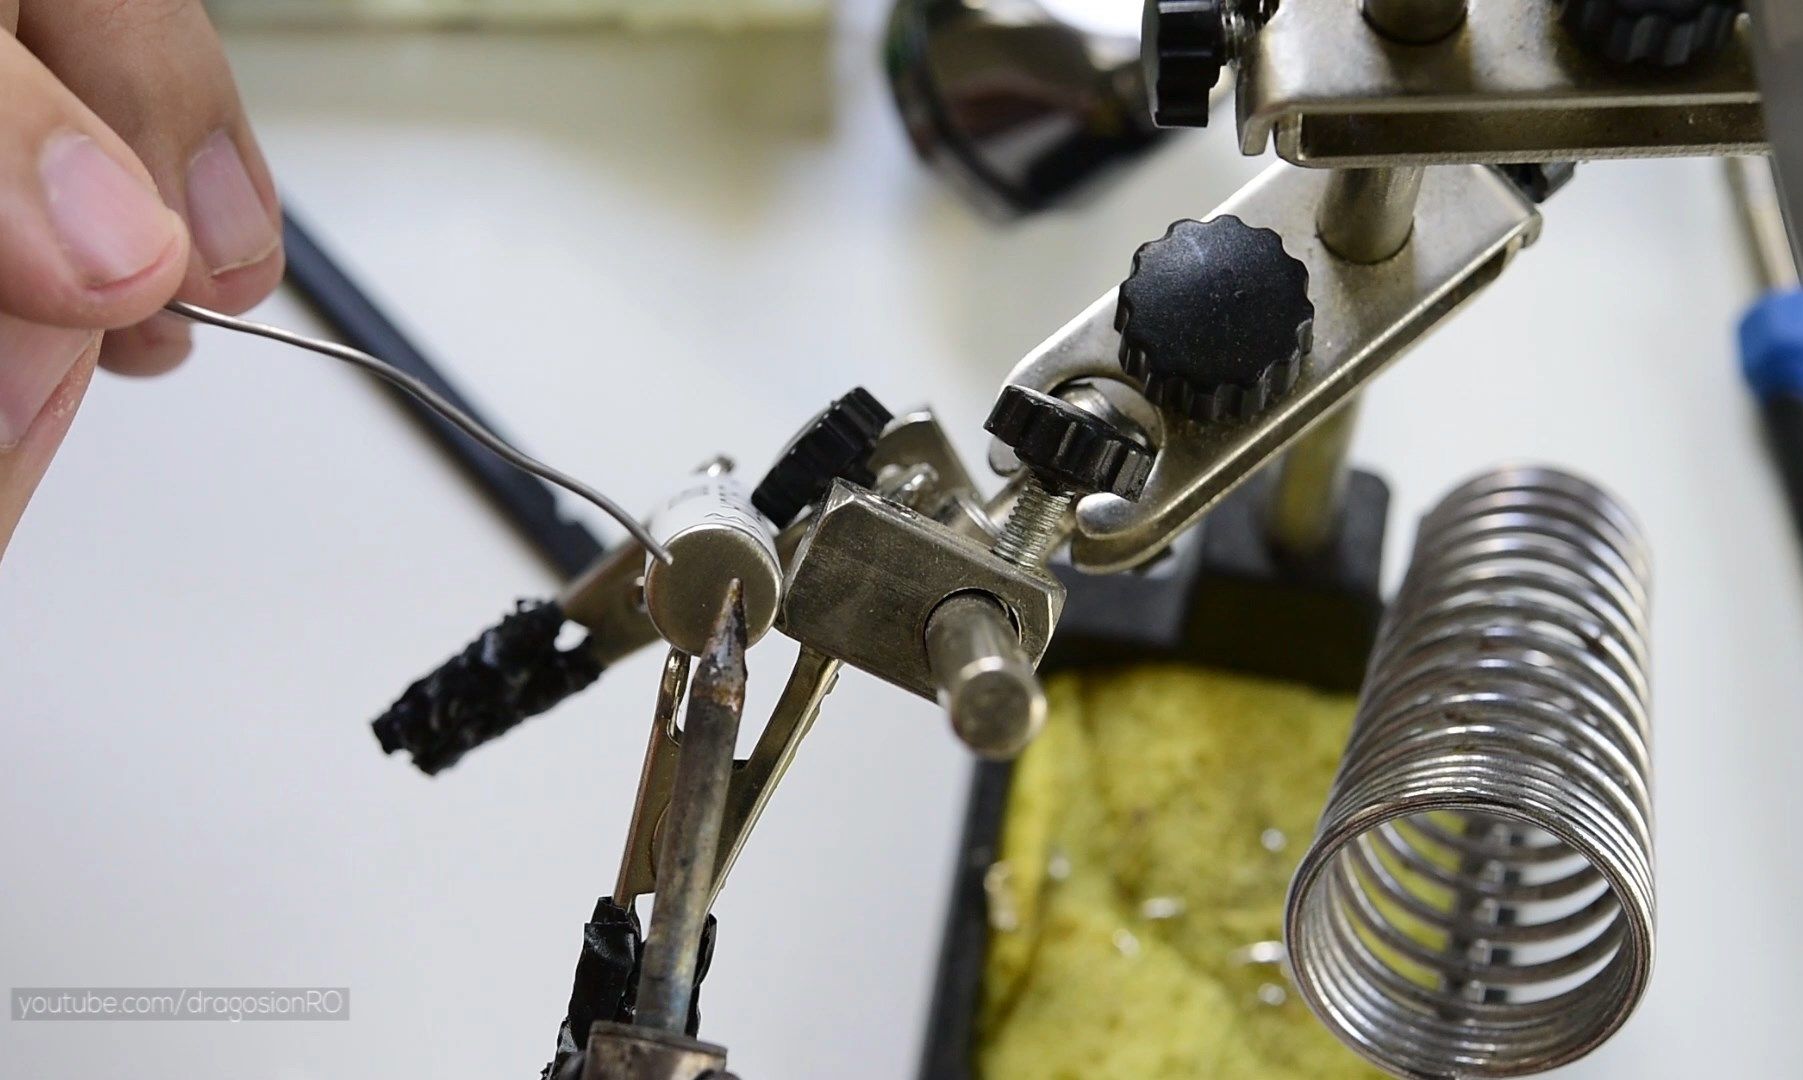
- Solder connecting tabs or wires
- Verify total voltage is ~2.4V with multimeter
- Install New Battery Pack:
- Place batteries in original position
- Solder to the device’s power connections
- Double-check polarity before soldering
- Secure batteries with original mounting method
- Reassemble and Test:
- Carefully route wires
- Close housing
- Replace all screws
- Charge fully before first use
Important Tips
- Always match voltage (2.4V total)
- Higher mAh rating is ok and will give longer runtime
- Don’t mix battery brands or capacities
- Ensure solid solder joints
- Keep wire routing neat to avoid pinching
Safety Precautions
- Unplug device before opening
- Wear eye protection when soldering
- Work in a ventilated area
- Be careful with hot soldering iron
- If unsure, seek professional help

Expected Results
After replacement, you should notice:

- Better battery life
- Stronger motor performance
- Longer runtime between charges
- Normal charging behavior
Maintenance Tips
- Fully charge before first use
- Regular cleaning and oiling
- Store in cool, dry place
- Use original charger only

Helpful Tips
Check all labels, connections, and power ratings before starting so everything fits safely and securely. If any detail looks slightly different on your model, pause the embedded video above for a clear closeup view.
Related Guides
- Hair Trimmer Silvercrest Cordless – Hair Trimmer Silvercrest Cordless from Lidl Unboxing and Test.
- Replace the Battery in the Lidl Silvercrest Smart Tracker – How to Open and Replace the Battery in the Lidl Silvercrest Smart Tracker SSTS3 A1 HG12823.
- How to Replace AC Remote Control Batteries with a Ballpoint Pen: Easy DIY Guide – Learn how to replace dead batteries in your air conditioning remote control quickly without breaking your fingernails or…
Leave a Reply Cancel reply