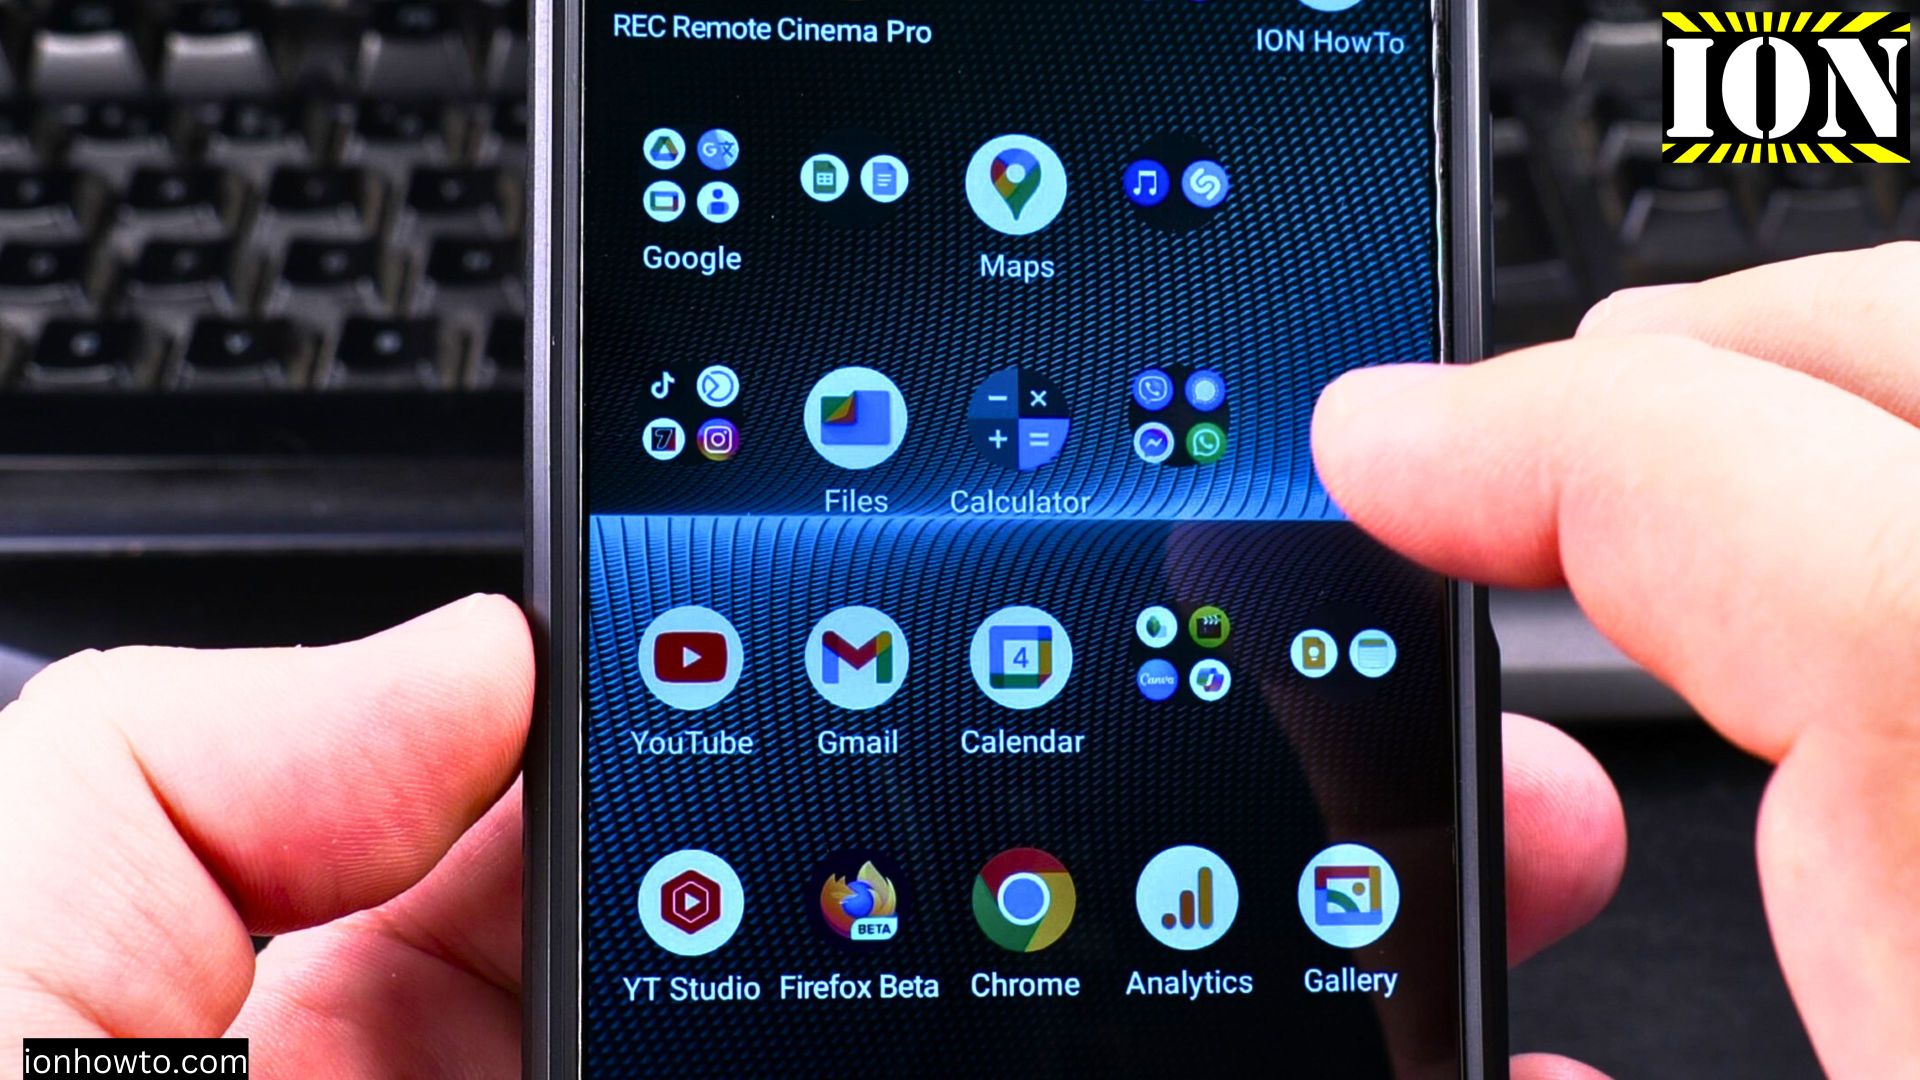
How to Enable Wi-Fi on Android Devices.
Learn how to enable Wi-Fi on your Android device in a few simple steps. If you need to connect to a wireless network, this guide will help you turn on Wi-Fi quickly.
How to Enable Wi-Fi on Android Devices video.
How to Turn On Wi-Fi from Quick Settings
- Swipe down from the top of your screen to open the notification panel.
- Swipe down again to expand the quick settings menu.
- Tap the Wi-Fi icon to turn it on (it will highlight when active).
- Hold the Wi-Fi icon to open Wi-Fi settings directly.
How to Enable Wi-Fi Through Settings
- Open the Settings app on your Android device.
- Tap “Network & internet” (or “Connections” on some devices).
- Select “Wi-Fi.”
- Toggle the switch to turn Wi-Fi on.
How to Connect to a Wi-Fi Network
- Make sure Wi-Fi is enabled (see steps above).
- Tap the name of the network you want to join.
- Enter the password if required.
- Tap “Connect” and your device will remember the network for next time.
Troubleshooting Wi-Fi Connection Issues
If your Android device won’t connect:
- Restart your phone and router – this often fixes temporary glitches.
- Forget and reconnect to the network (go to Wi-Fi settings > tap the network > “Forget”).
- Check for Android updates (Settings > System > Software update).
- Reset network settings (Settings > System > Reset > Reset Wi-Fi, mobile & Bluetooth).
Conclusion
- Use the quick settings toggle for fast access to Wi-Fi.
- Saved networks will auto-connect when in range.
- If a network isn’t showing, move closer to the router.
That’s it! Now you can easily enable Wi-Fi on any Android phone or tablet.


Leave a Reply