


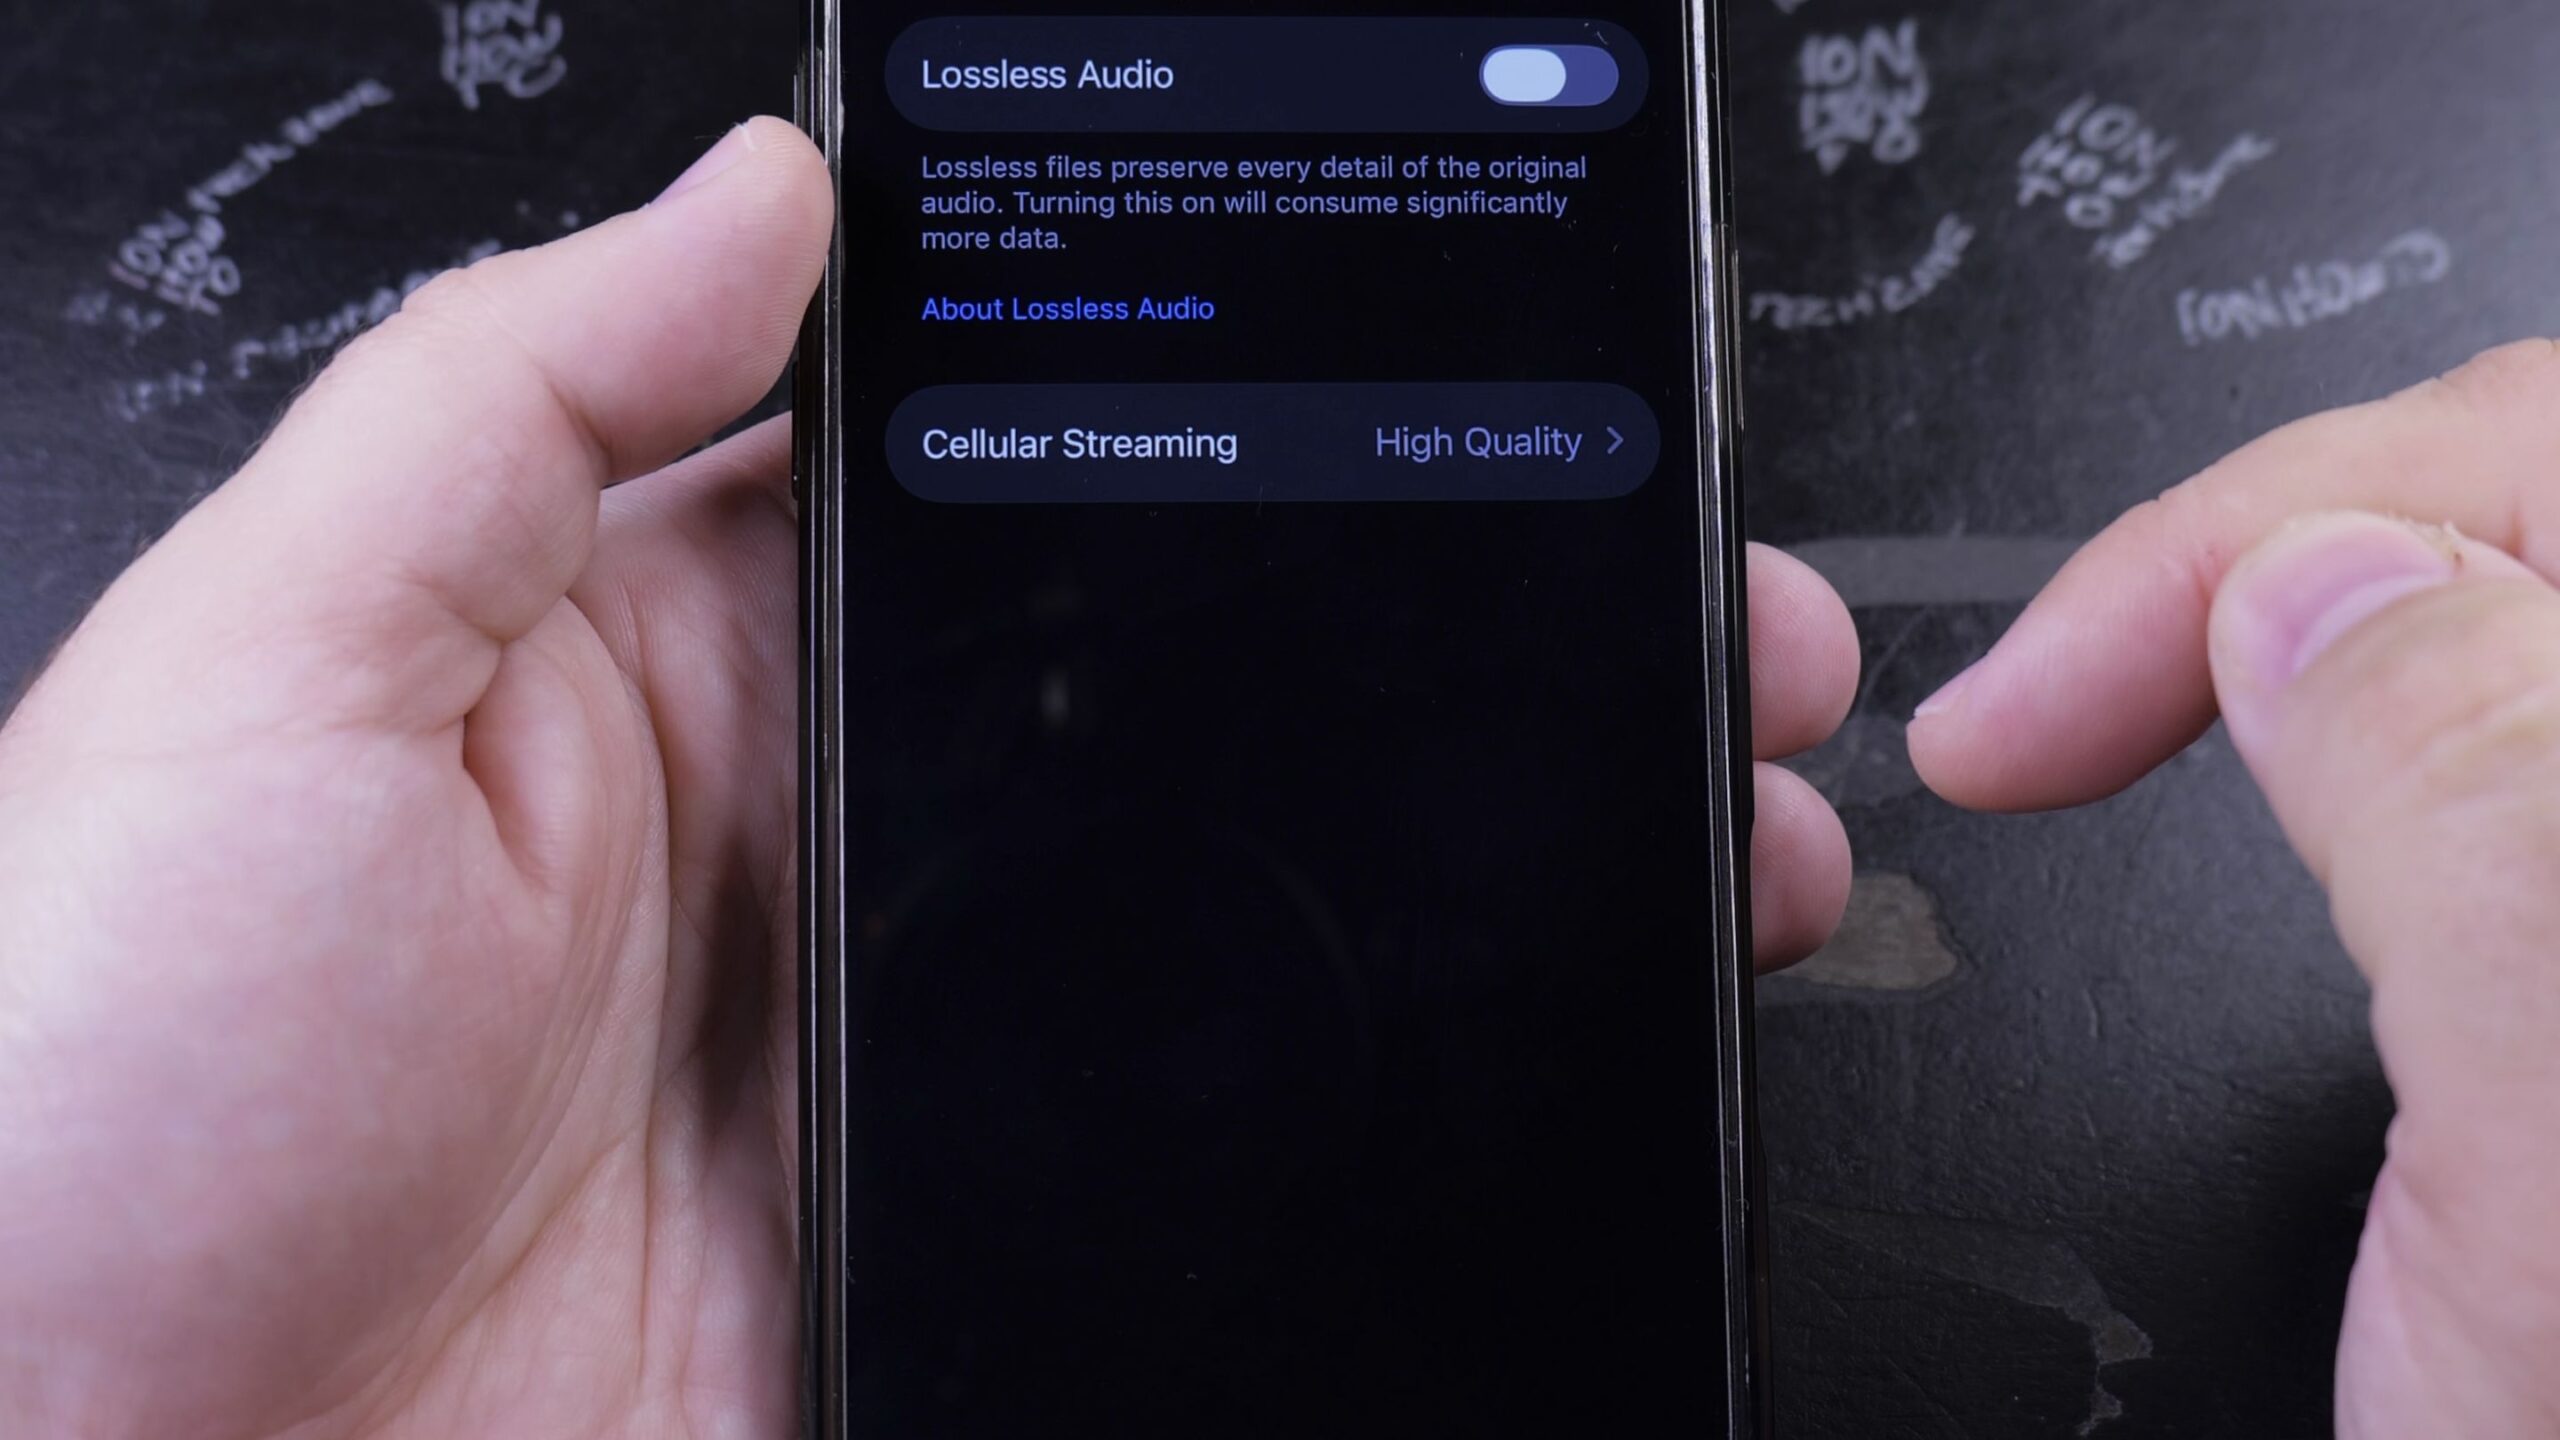
If you want crystal-clear sound or need to save mobile internet data while traveling, Apple Music lets you customize streaming and download quality. I’ll show you how to change sound quality in Apple Music on your iPhone in just a few taps.

1. Open Settings and Tap Music
Open the grey Settings app on your iPhone home screen.
Scroll down the main list and tap Apps, then find and tap the red Music icon.

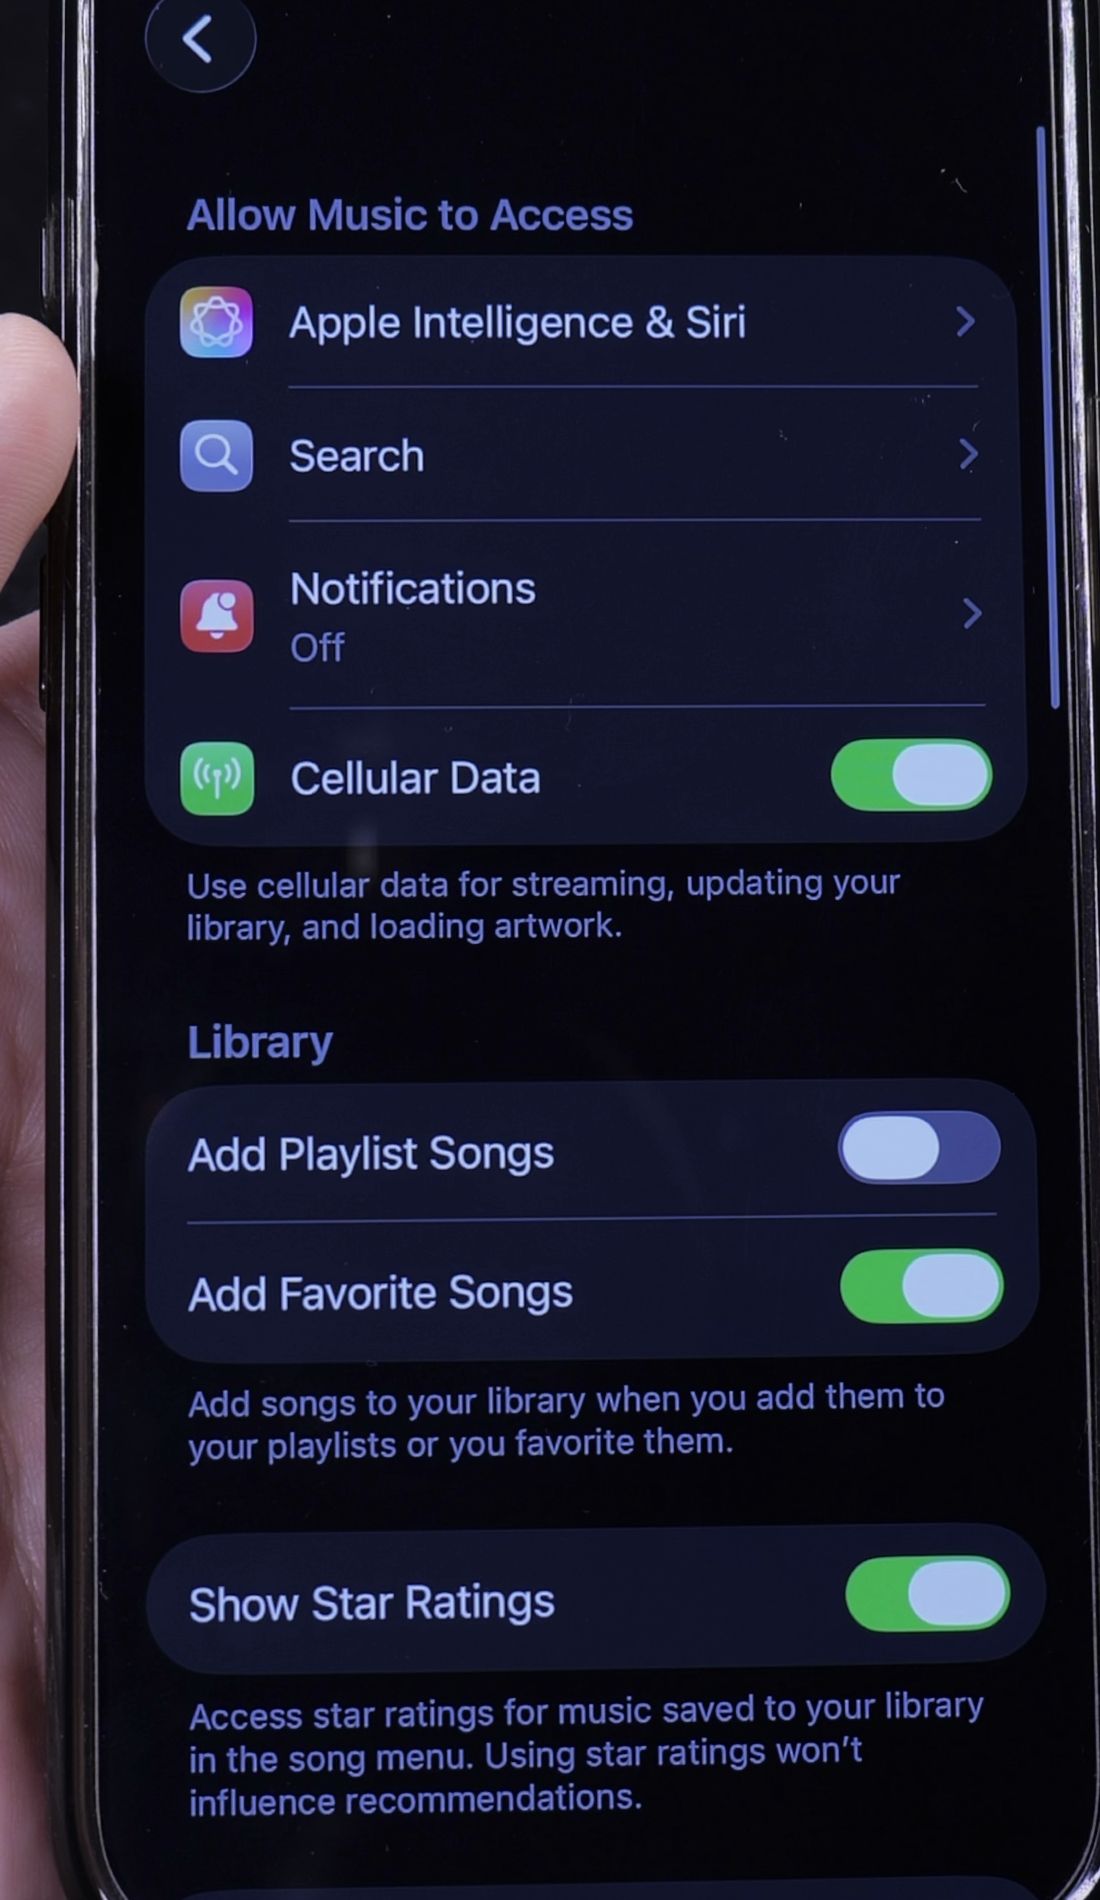
2. Turn On Lossless Audio
Scroll down to the section labeled Audio.
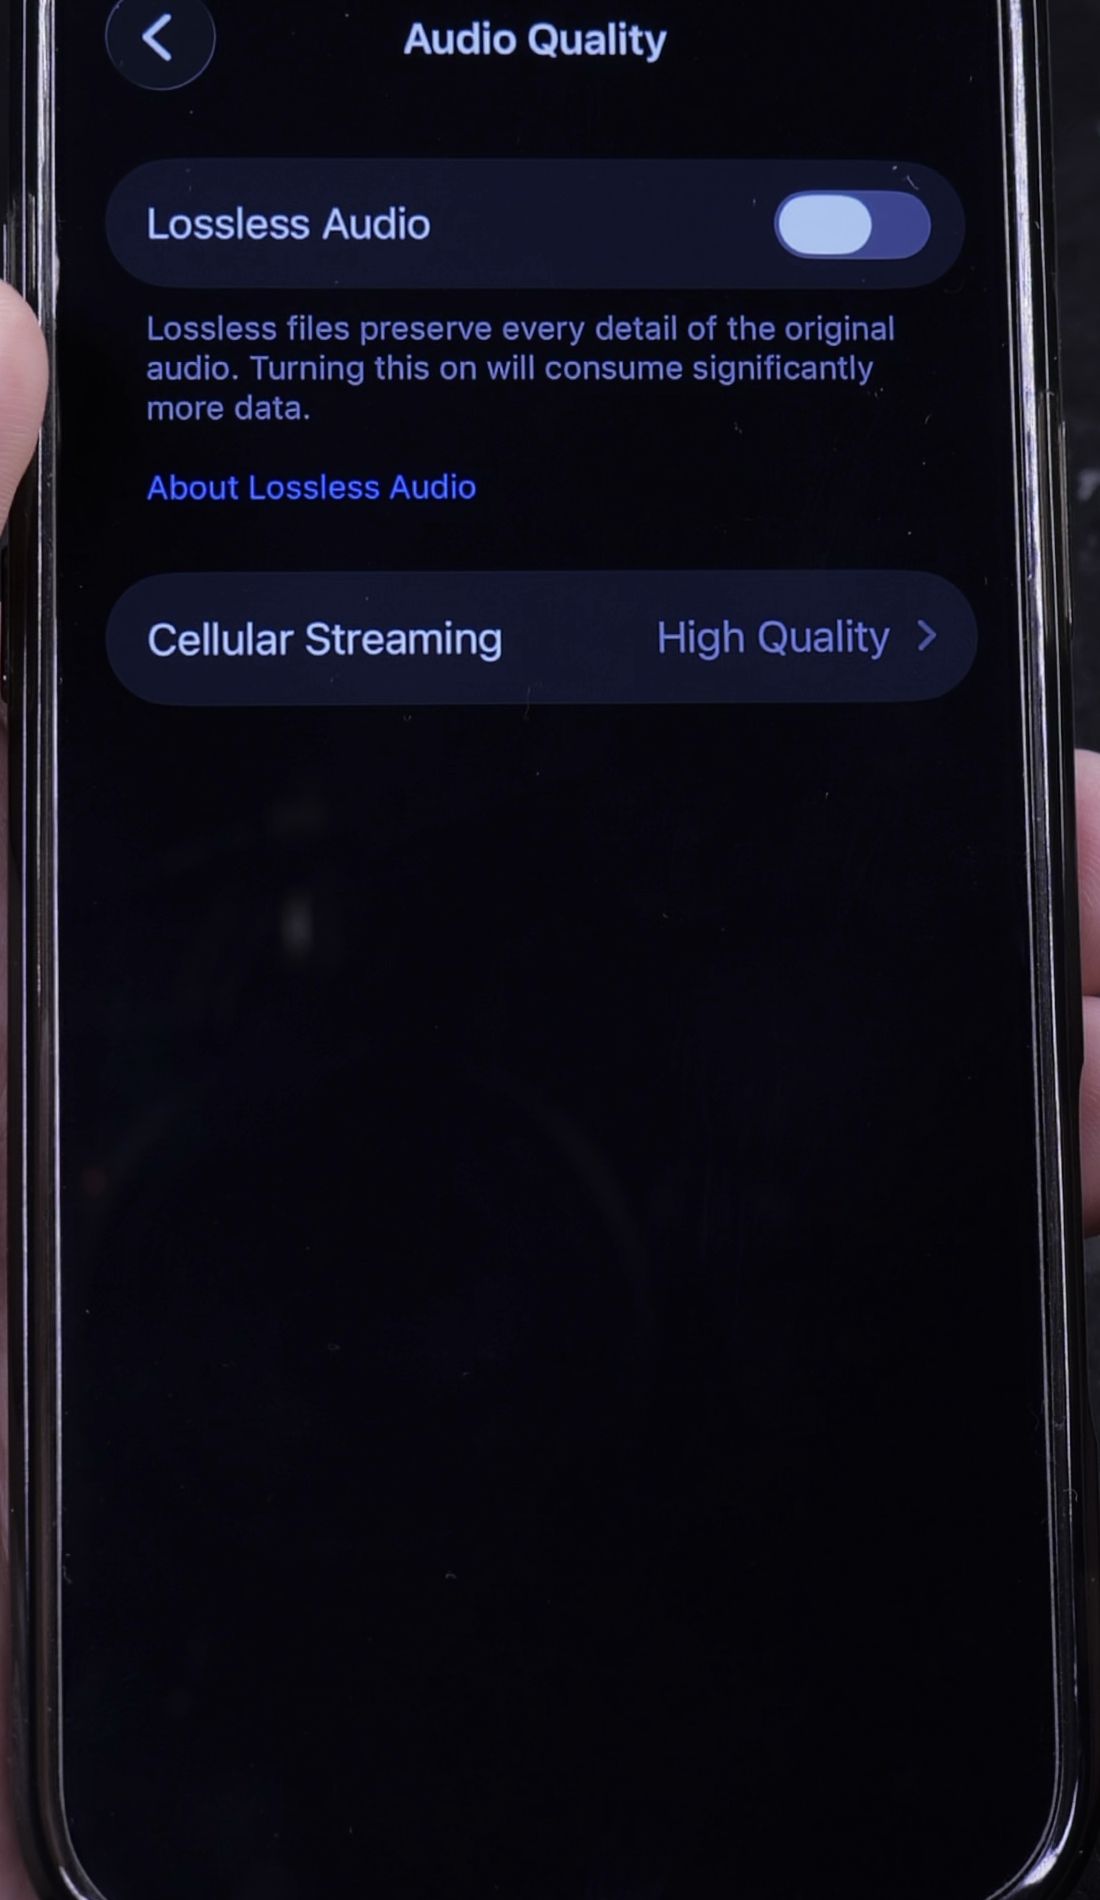
Tap Audio Quality to open your streaming formats.
Make sure the switch at the top labeled Lossless Audio is turned On (green) to unlock studio-quality sound.
3. Choose Cellular and Wi-Fi Streaming Tiers
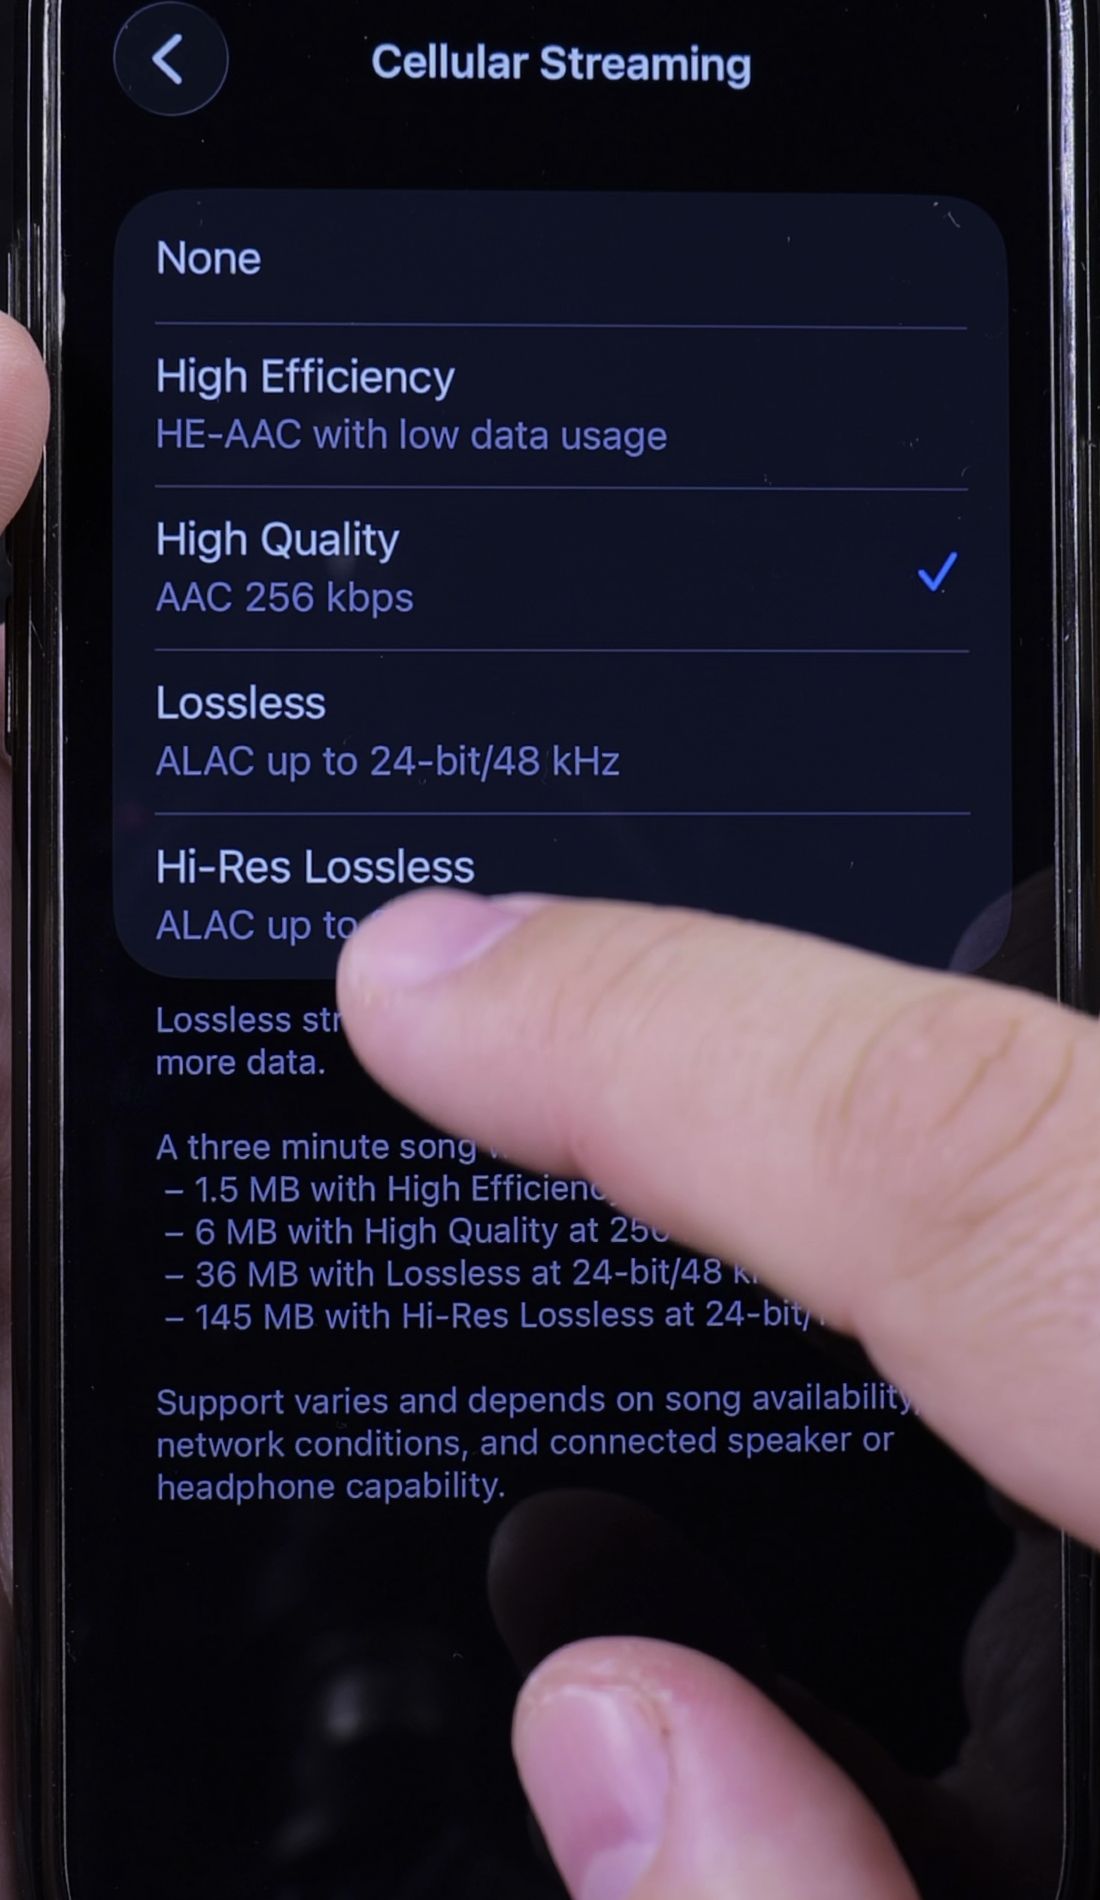
Tap Cellular Streaming to choose the quality used on mobile data. Select High Quality (AAC 256 kbps) to balance clear sound with moderate data consumption.
Tap back and open Wi-Fi Streaming. Choose Lossless (ALAC up to 24-bit/48 kHz) for uncompressed home listening.
You can also set Downloads to Lossless to save premium music for offline listening.
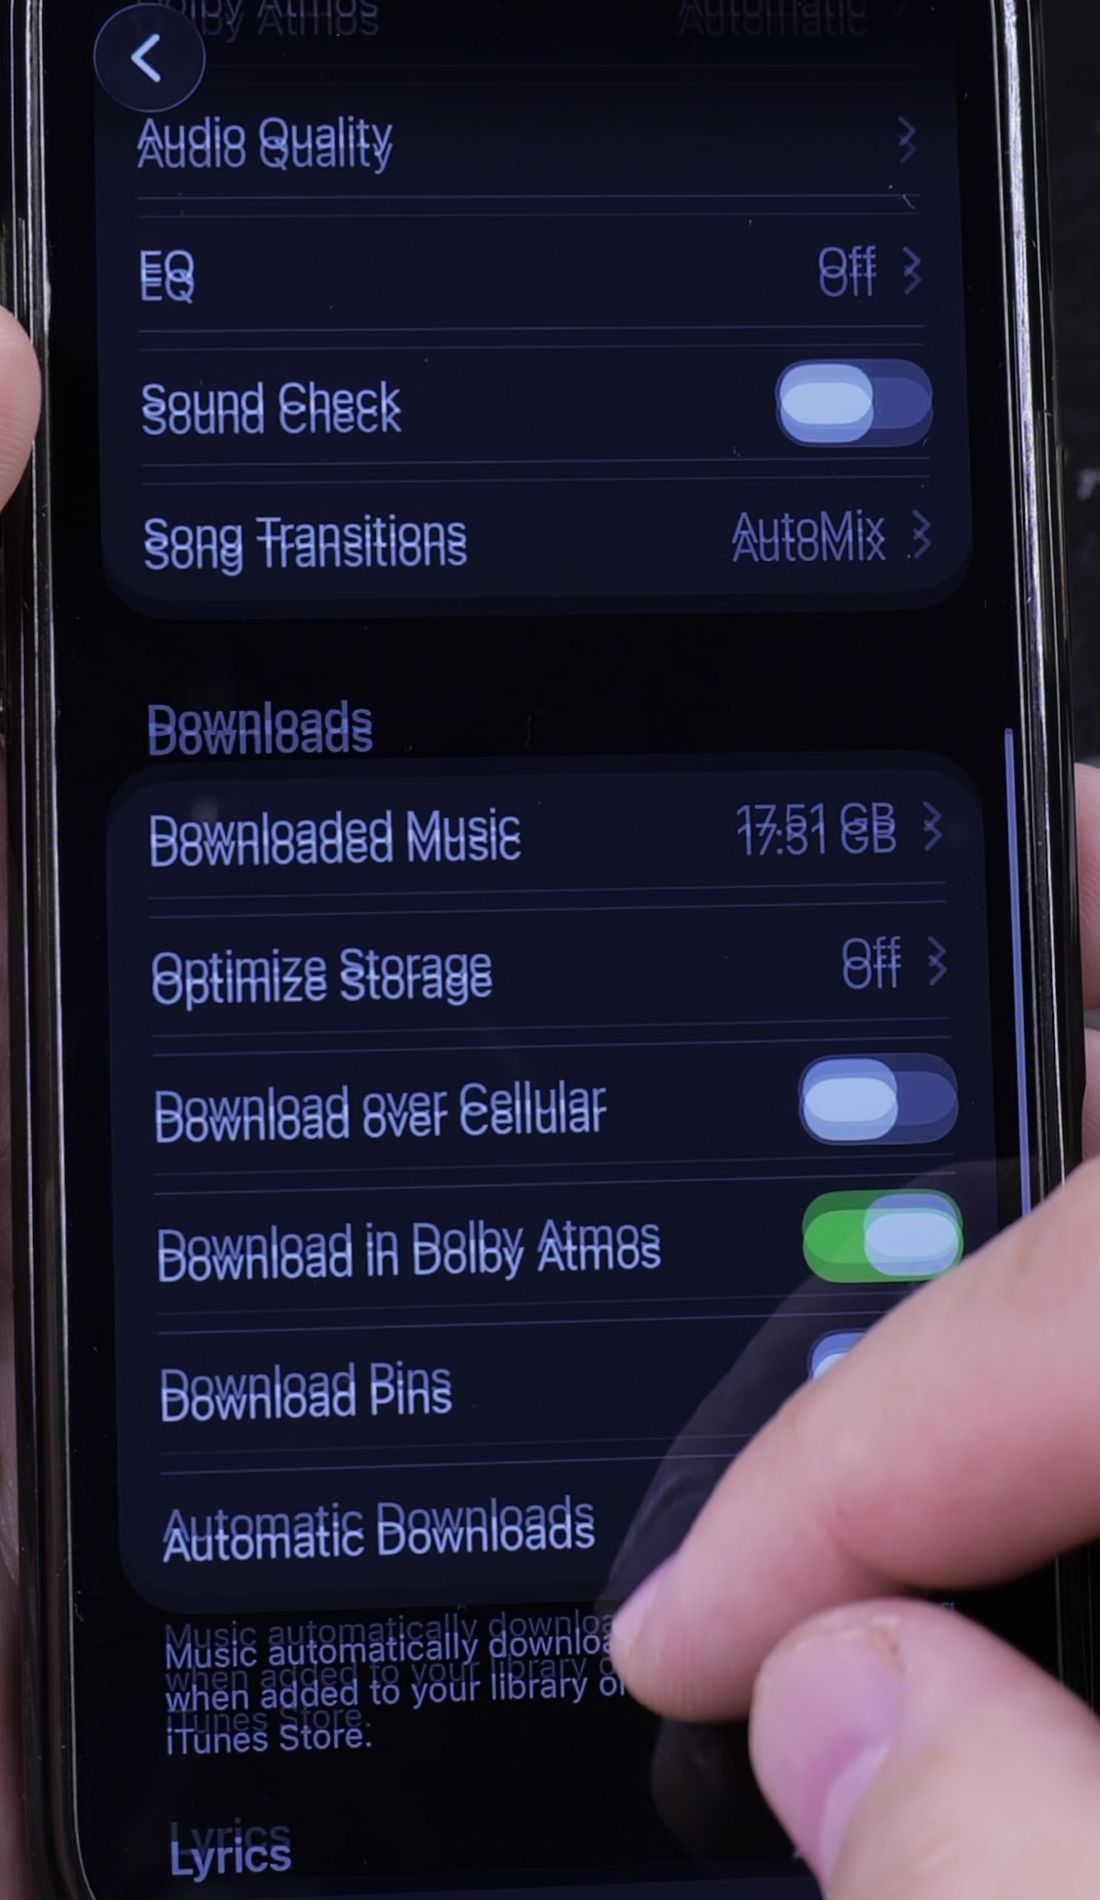
4. Turn On Sound Check and Dolby Atmos
Return to the main Music settings page.
Under the Audio section, turn the switch labeled Sound Check to On (green). This equalizes song volumes so quiet and loud tracks play at the same level.
Tap Dolby Atmos and set it to Automatic to enjoy 3D surround sound whenever supported headphones are connected.
Helpful Tips
Listening to Hi-Res Lossless (up to 24-bit/192 kHz) requires external hardware like a dedicated USB digital-to-analog converter (DAC) and wired headphones. Standard Bluetooth connections like AirPods transmit up to standard AAC quality.
If you want to sing along to your high-quality tracks, learn how to remove vocals on Apple Music. You can also learn how to create a playlist in Apple Music, or explore our full collection of Apple Music guides.
Leave a Reply Cancel reply