


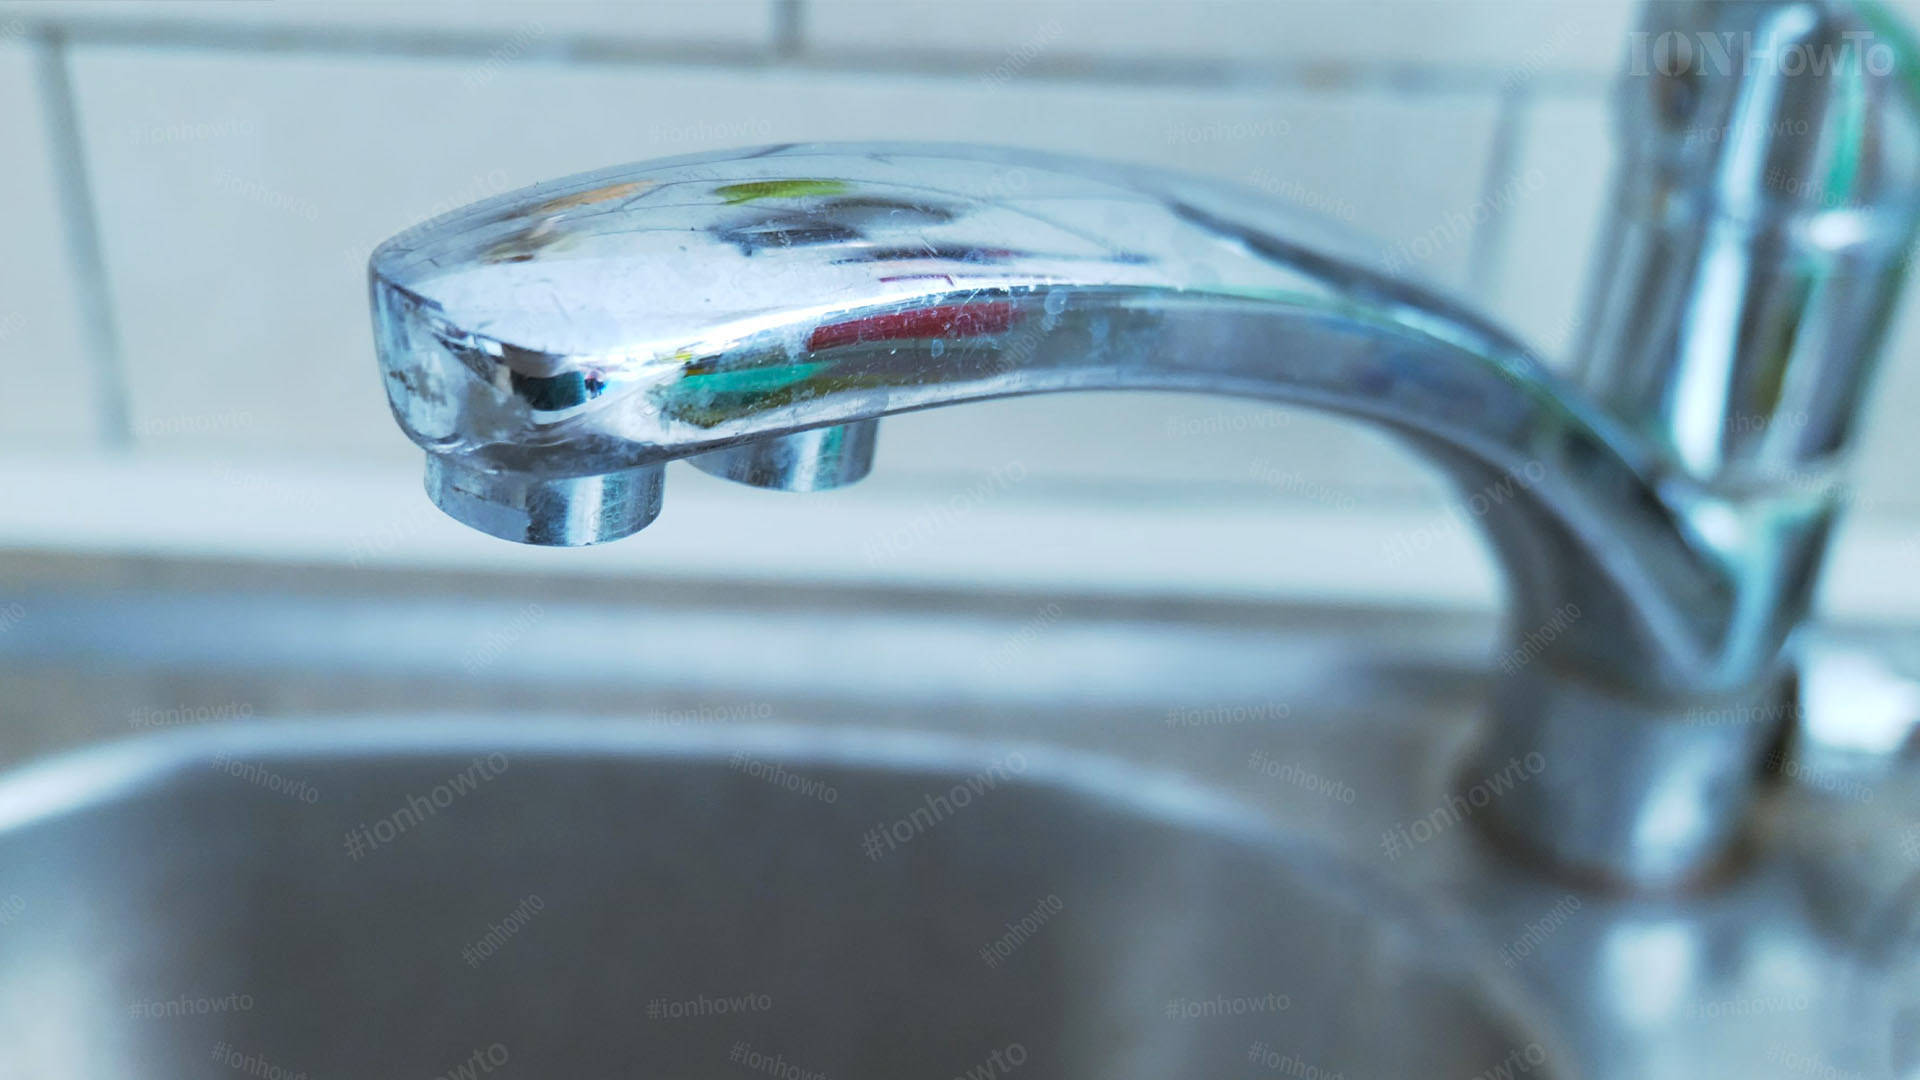
A leaky faucet or pipe might seem like a small problem, but it can waste a lot of water and drive up your utility bill.
Quick Steps and Scenarios Overview
| What You Need to Do | Quick Jump |
|---|---|
| Identify the Problem | Jump to Step 1 |
| Gather Your Tools and Supplies | Jump to Step 2 |
| Fix a Leaky Faucet | Jump to Step 3 |
| Fix a Leaky Pipe | Jump to Step 4 |
| Check for Leaks | Jump to Step 5 |
| Prevent Future Leaks | Jump to Step 6 |
Fixing it is easier than you think! With a few basic tools and a little patience, you can do this DIY project and stop the annoying drip.
1. Identify the Problem
Before you start, figure out where the leak is coming from:
- Leaky Faucet: If water is dripping from the spout, the issue is likely with the faucet’s internal parts, like the washer or O-ring.
- Leaky Pipe: If water is dripping from a pipe under the sink, the problem could be a loose connection, a cracked pipe, or a worn-out seal.
Once you know what you’re dealing with, you can gather the right tools and parts.
2. Gather Your Tools and Supplies
Here’s what you need for most faucet and pipe repairs:
- Adjustable wrench
- Screwdriver (flathead or Phillips, depending on your faucet)
- Replacement parts (washers, O-rings, or pipe tape)
- Bucket or towel (to catch water)
- Plumber’s tape (also called Teflon tape)
3. Fix a Leaky Faucet
If your faucet is the problem, follow these steps:
- Turn Off the Water Supply: Look under the sink for the shut-off valves. Turn them clockwise to stop the water flow. If there are no valves, you may need to shut off the main water supply.
- Plug the Drain: Place a plug or rag in the sink drain to avoid losing small parts.
- Remove the Faucet Handle: Use a screwdriver to remove the decorative cap on the handle, then unscrew the handle. You may need to gently pry it off if it’s stuck.
- Inspect the Washer or O-Ring: Once the handle is off, you’ll see the valve stem. Remove it and check the washer or O-ring at the bottom. If it’s worn or damaged, replace it with a new one.
- Reassemble the Faucet: Put everything back together in reverse order. Turn the water supply back on and test the faucet to make sure the leak is gone.
4. Fix a Leaky Pipe
If the leak is coming from a pipe, here’s what to do:
- Turn Off the Water Supply: Shut off the water to the affected area or the entire home if necessary.
- Dry the Pipe: Use a towel to dry the area around the leak.
- Tighten Connections: If the leak is at a joint, use an adjustable wrench to tighten the connection. Be careful not to overtighten, as this can cause more damage.
- Replace a Cracked Pipe: If the pipe itself is cracked, you’ll need to replace it. Cut out the damaged section with a pipe cutter and install a new piece using pipe connectors and plumber’s tape to seal the joints.
- Use Pipe Tape: For small leaks at threaded connections, wrap plumber’s tape around the threads before reassembling. This creates a watertight seal.
5. Check for Leaks
Once you’ve made the repair, turn the water supply back on and check for leaks. Run the faucet or let the water flow through the pipes for a few minutes to ensure everything is working properly.
6. Prevent Future Leaks
A bit of maintenance can go a long way in preventing leaks. Here are some tips:
- Regularly check faucets and pipes for signs of wear or damage.
- Replace washers and O-rings before they wear out completely.
- Avoid overtightening faucet handles or pipe connections.
- Insulate pipes in cold areas to prevent freezing and cracking.
Conclusion
Fixing a leaky faucet or pipe is a simple DIY project that can save you money and prevent bigger problems down the road. With just a few tools and a little effort, you can stop that drip and feel like a real pro plumber.
If you ever feel stuck, don’t hesitate to call a professional.
Helpful Tips
Check all labels, connections, and power ratings before starting so everything fits safely and securely. If any detail looks slightly different on your model, pause the embedded video above for a clear closeup view.
Related Guides
- Fix Apple iPad – Browse more tutorials and practical guides in this section.
Leave a Reply Cancel reply