


Learn how to move files into a folder in the iPad Files app, if you are organizing documents stored on your iPad or managing photos and videos on an external USB flash drive, SD card, or portable SSD. This process works the same across USB-C iPad Pro, iPad Air, and standard iPad models.

Open the Files App on Your iPad and Select Your Drive or Location
Tap the blue folder icon to launch the Files app on your iPad. In the left sidebar under Locations, tap On My iPad, iCloud Drive, or your connected external USB drive or SD card.
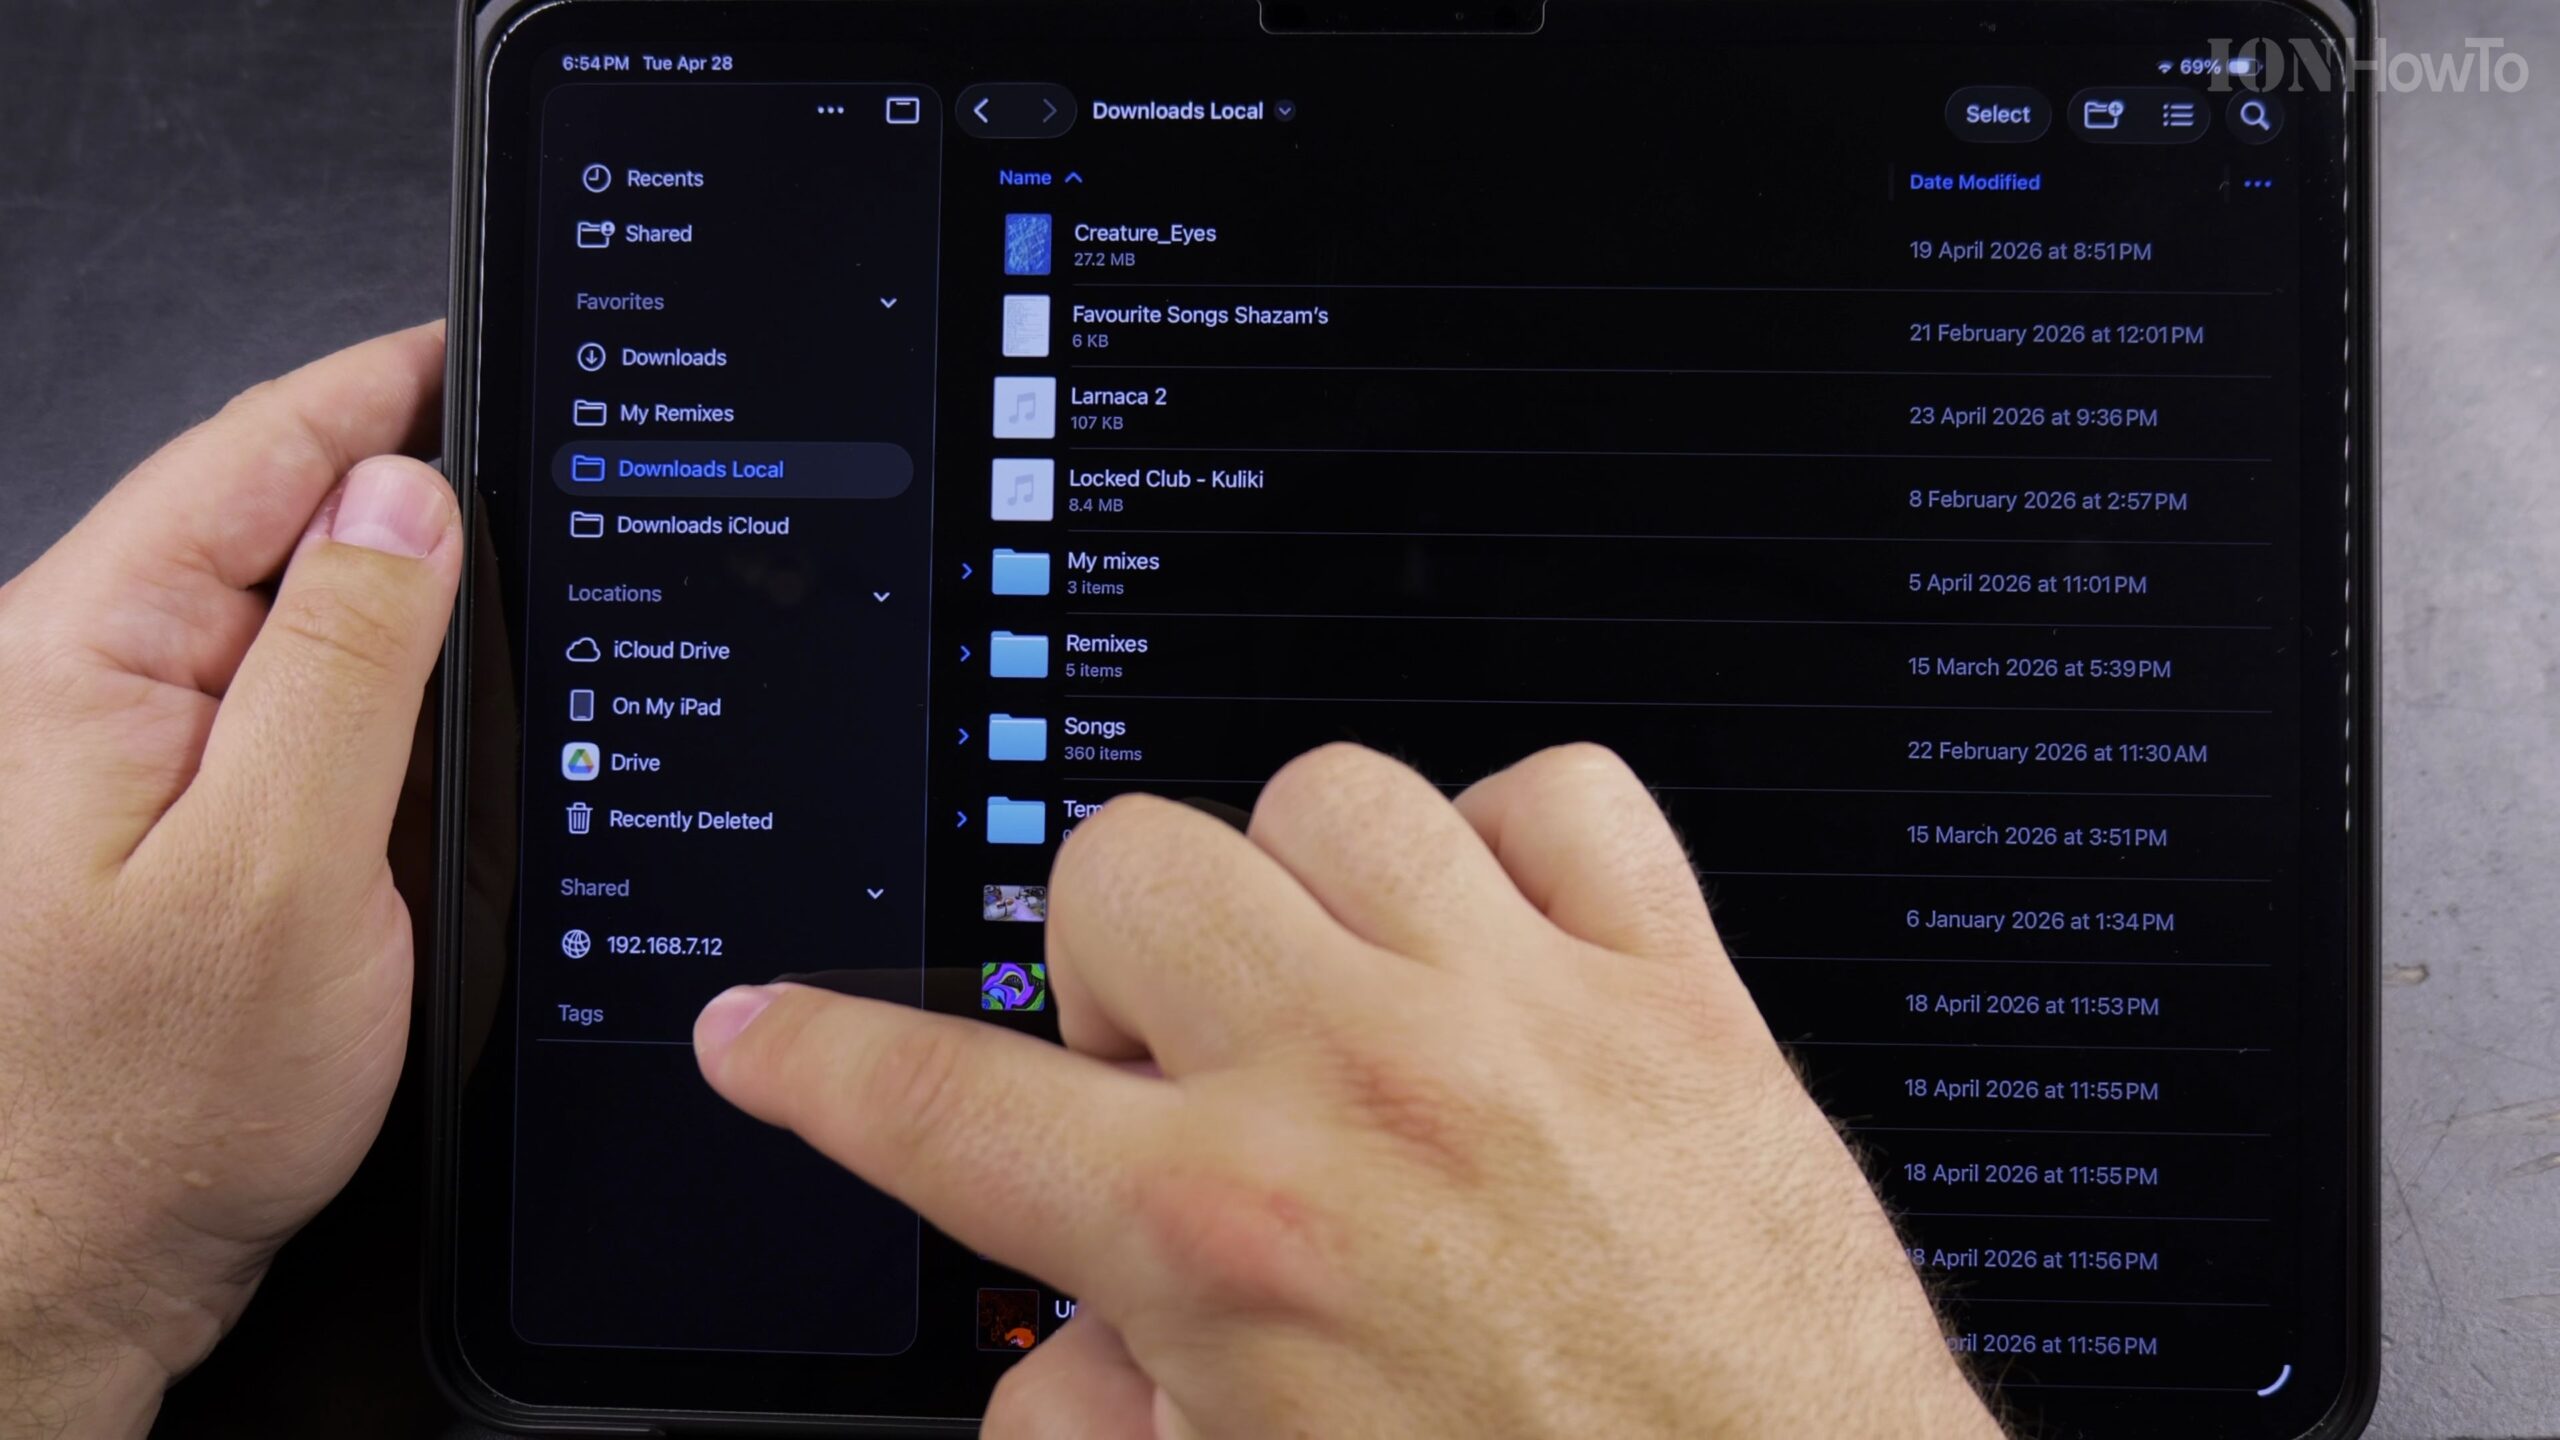
Create a Destination Folder If Needed
If you do not already have a target folder ready, tap the New Folder icon at the top of the screen (or press and hold on an empty space and tap New Folder) and give the folder a clear name.
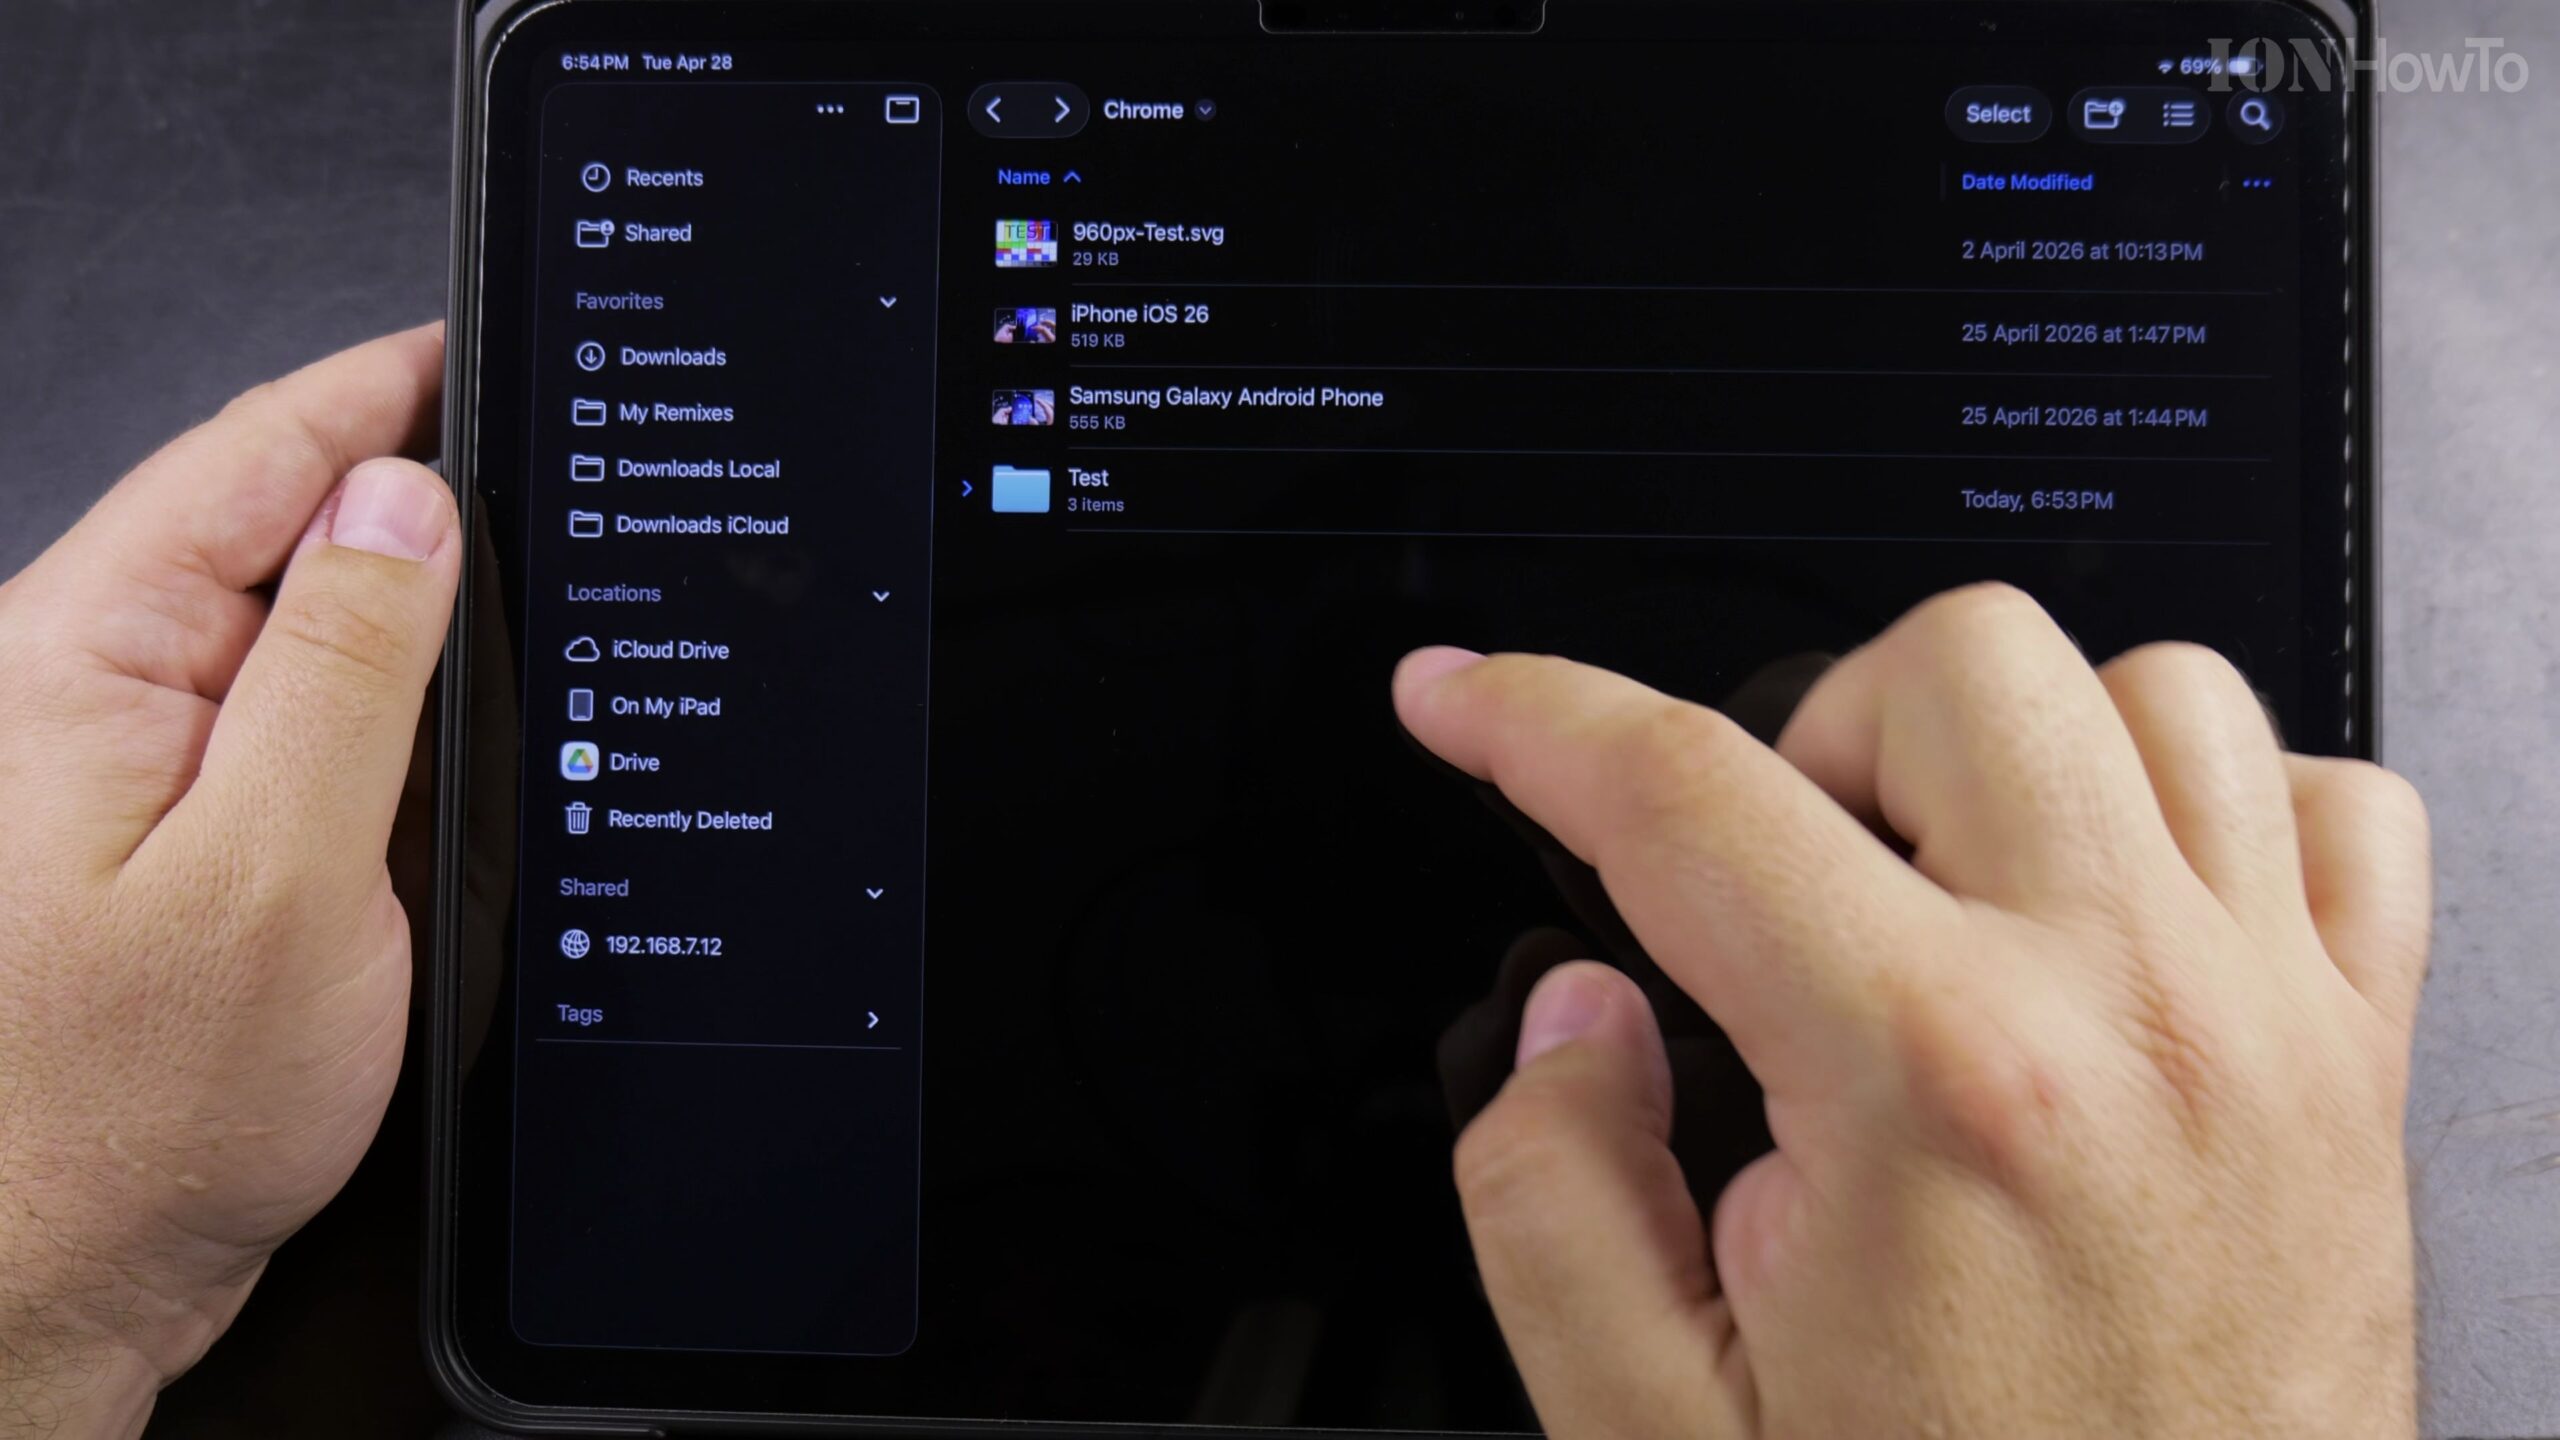
Drag and Drop a Single File Directly onto the Folder
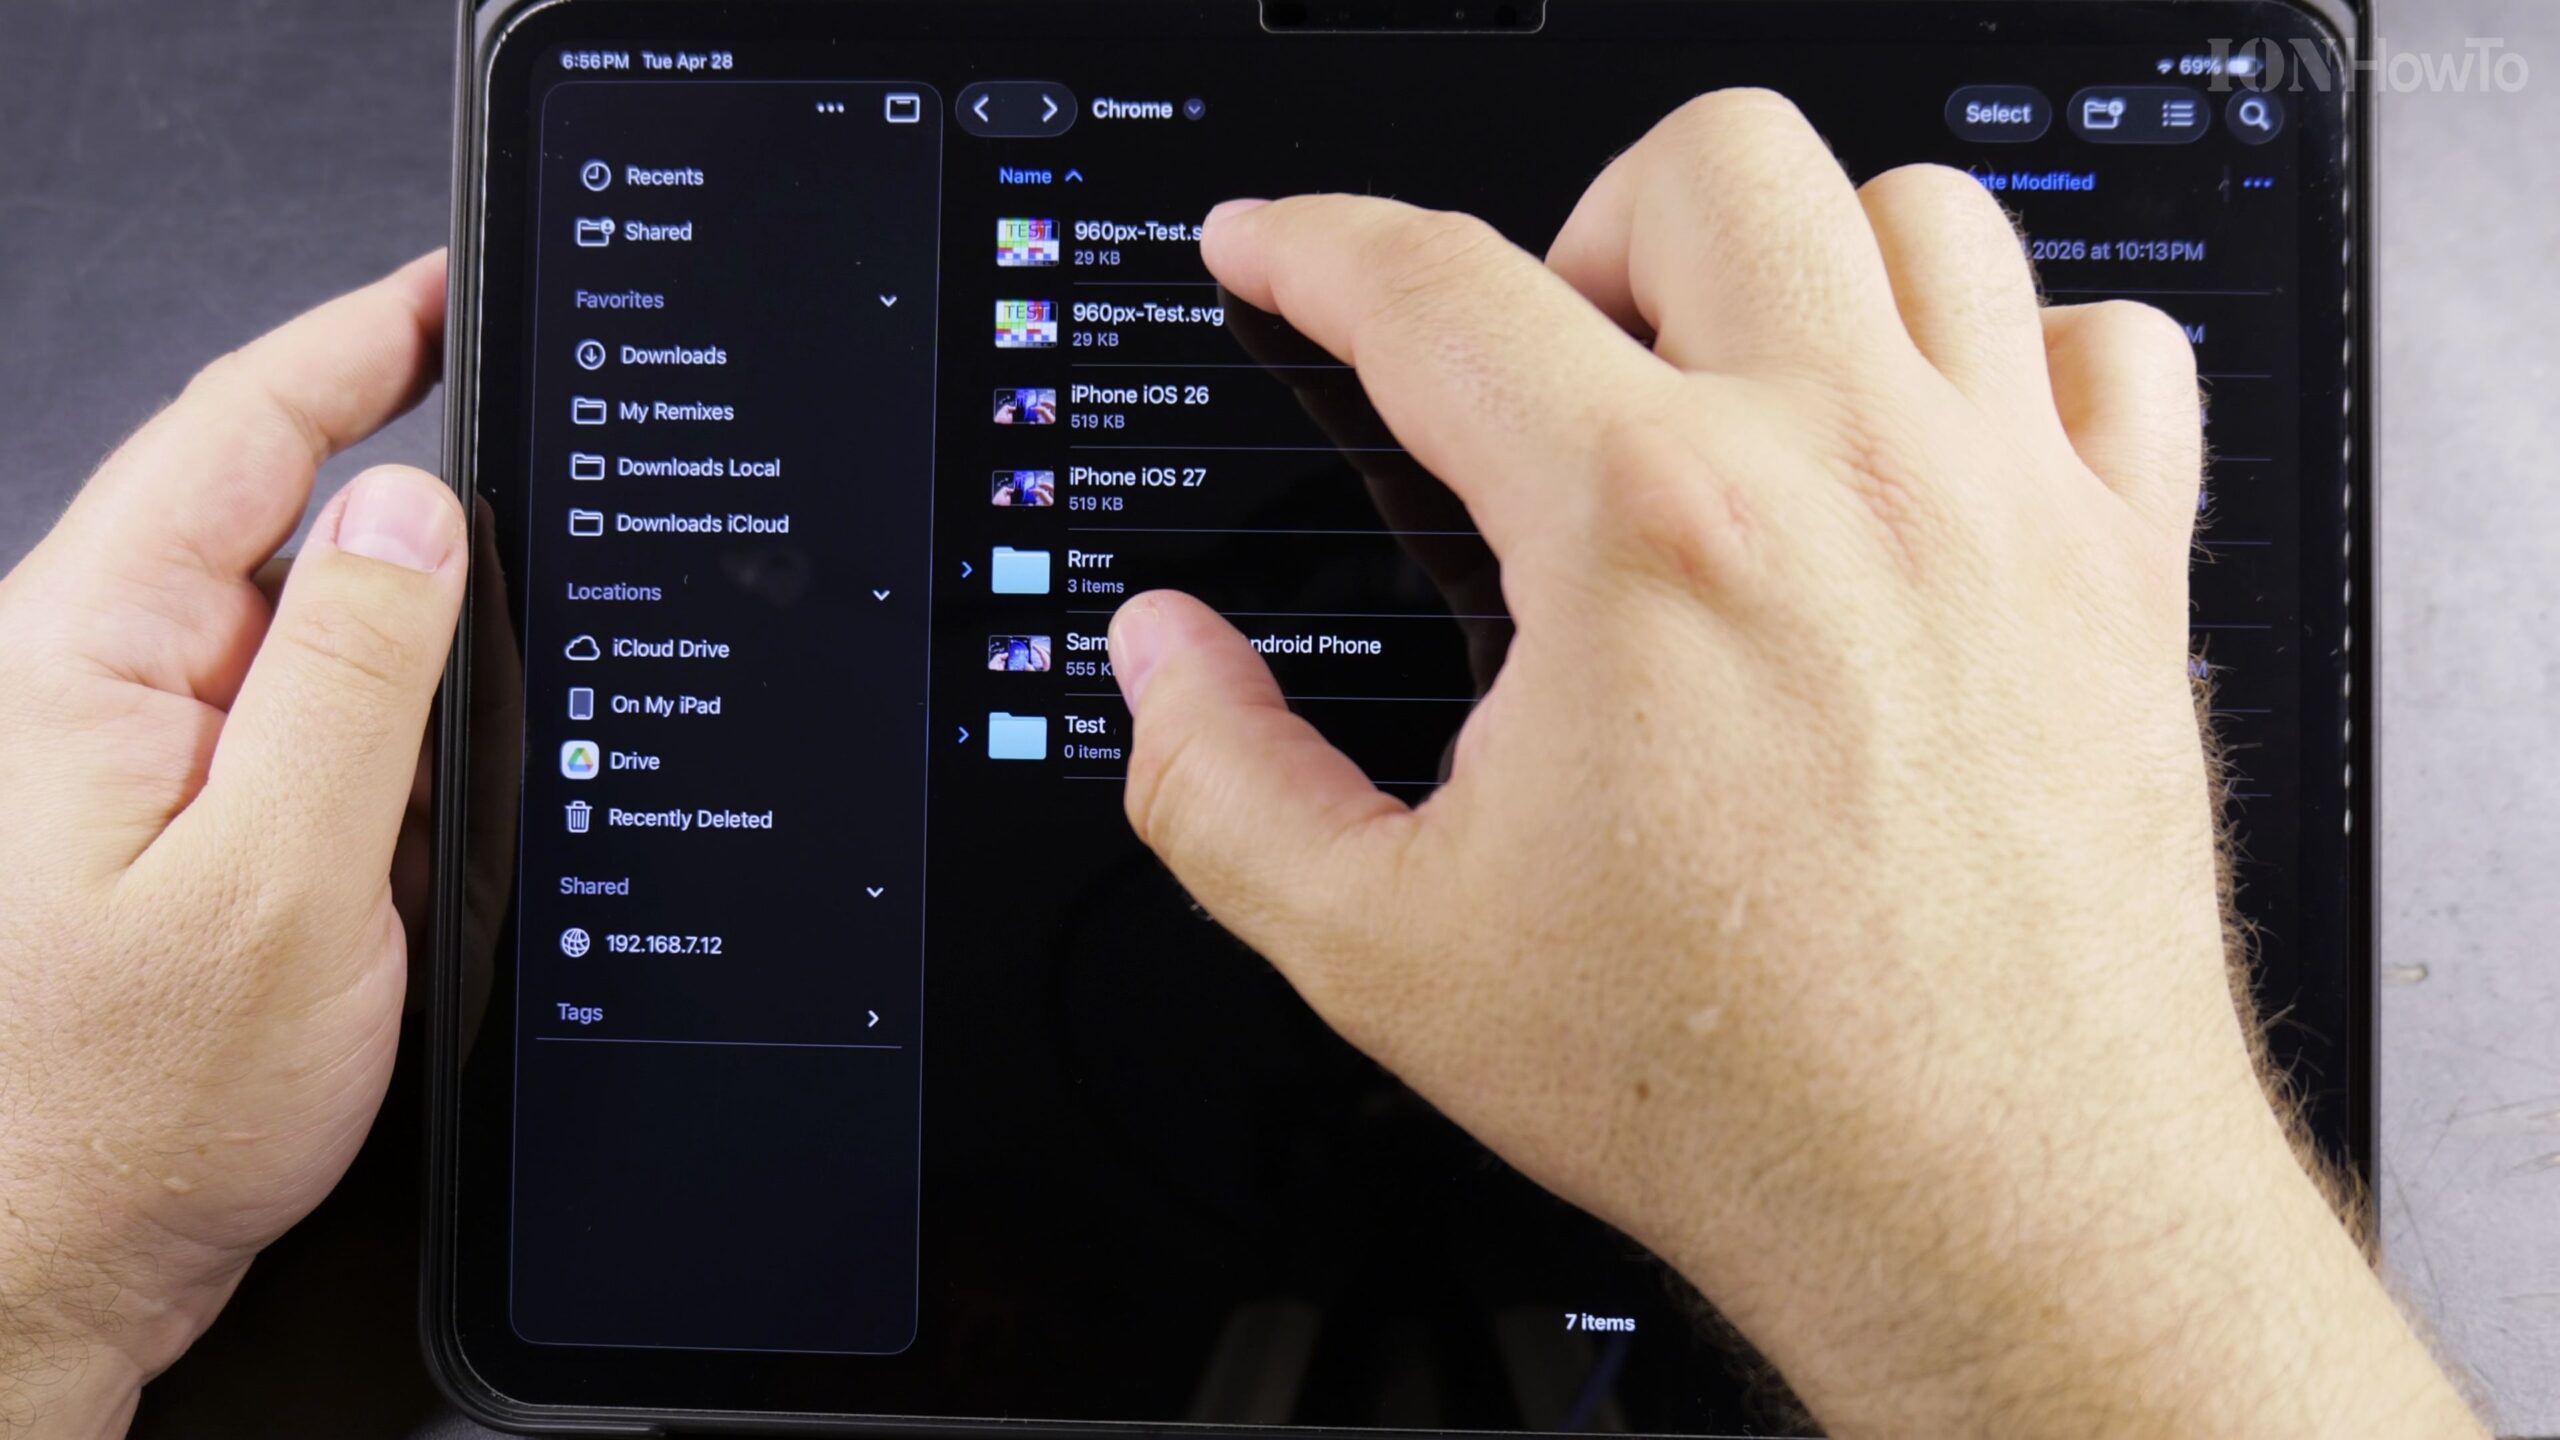
For a quick single-file move when the folder is visible on the same screen, touch and hold the file until it lifts slightly under your finger, drag it directly over the destination folder icon until the folder highlights, and lift your finger to drop it inside.
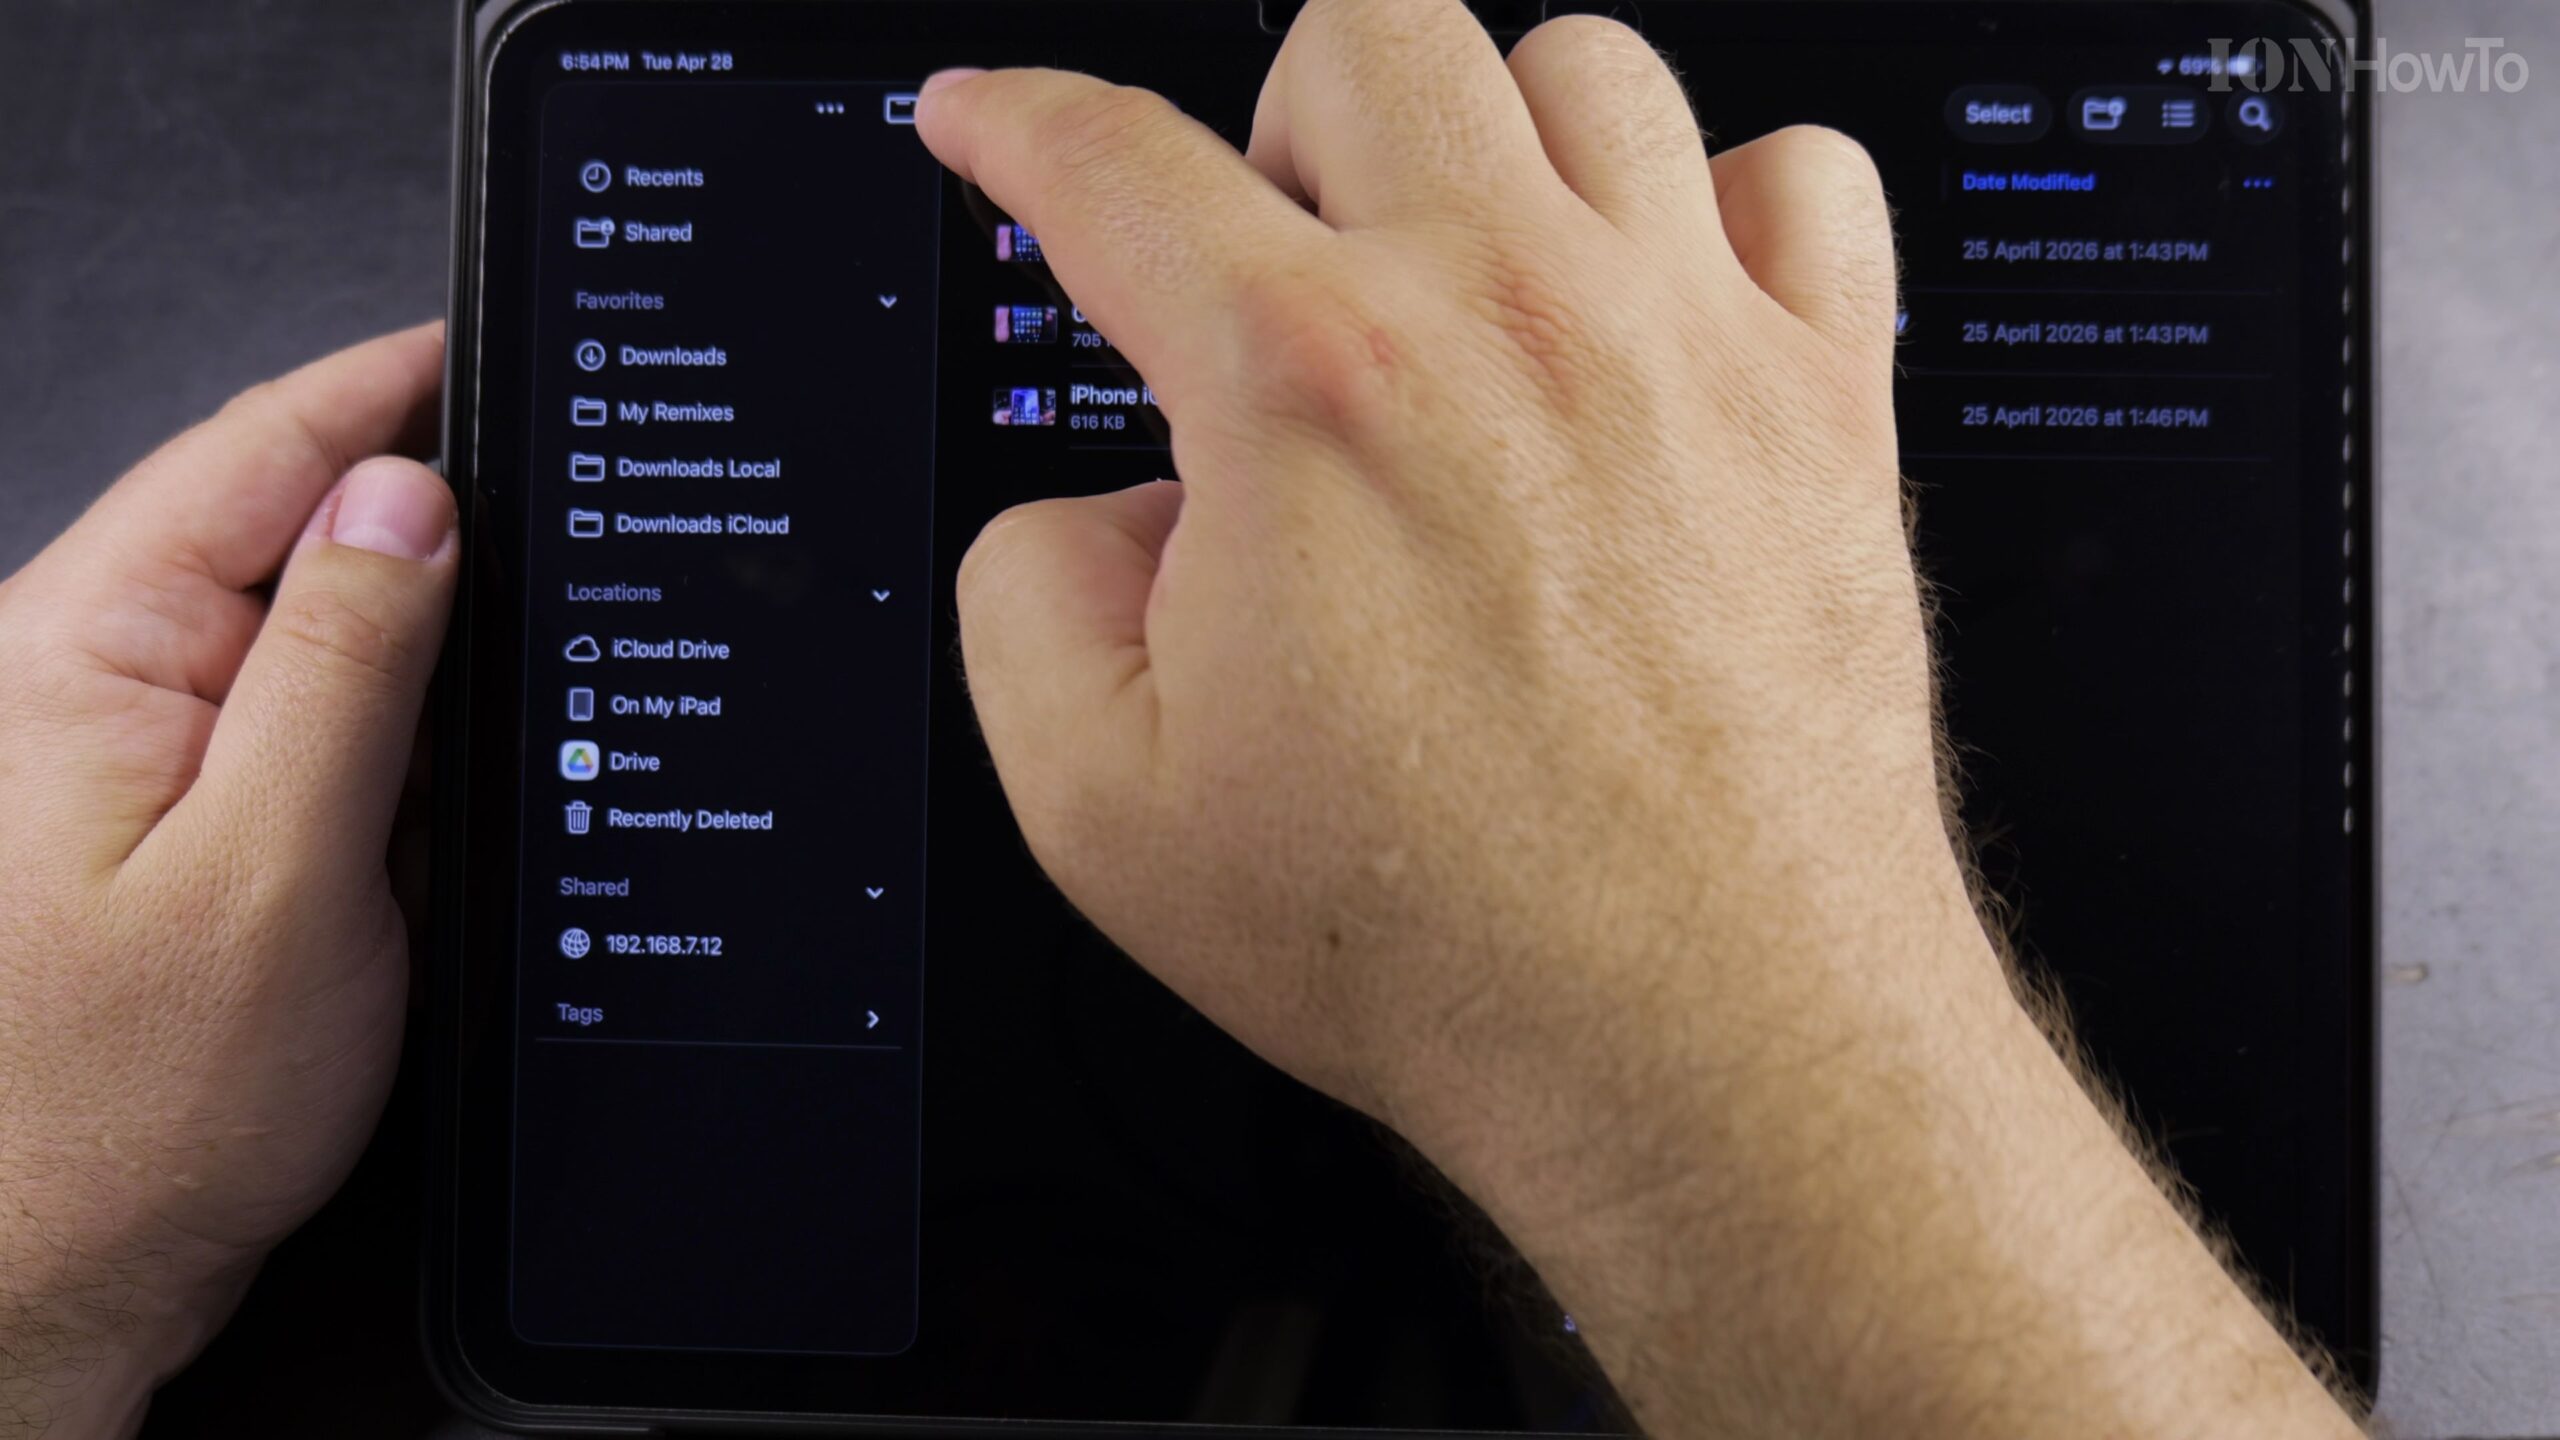
Select Multiple Files and Tap Move in the Bottom Toolbar
To move several files at once or move items into a subfolder located elsewhere on the disk, tap the Select button in the top-right corner, tap each file you want to move to place a blue checkmark on it, and tap Move in the bottom toolbar.
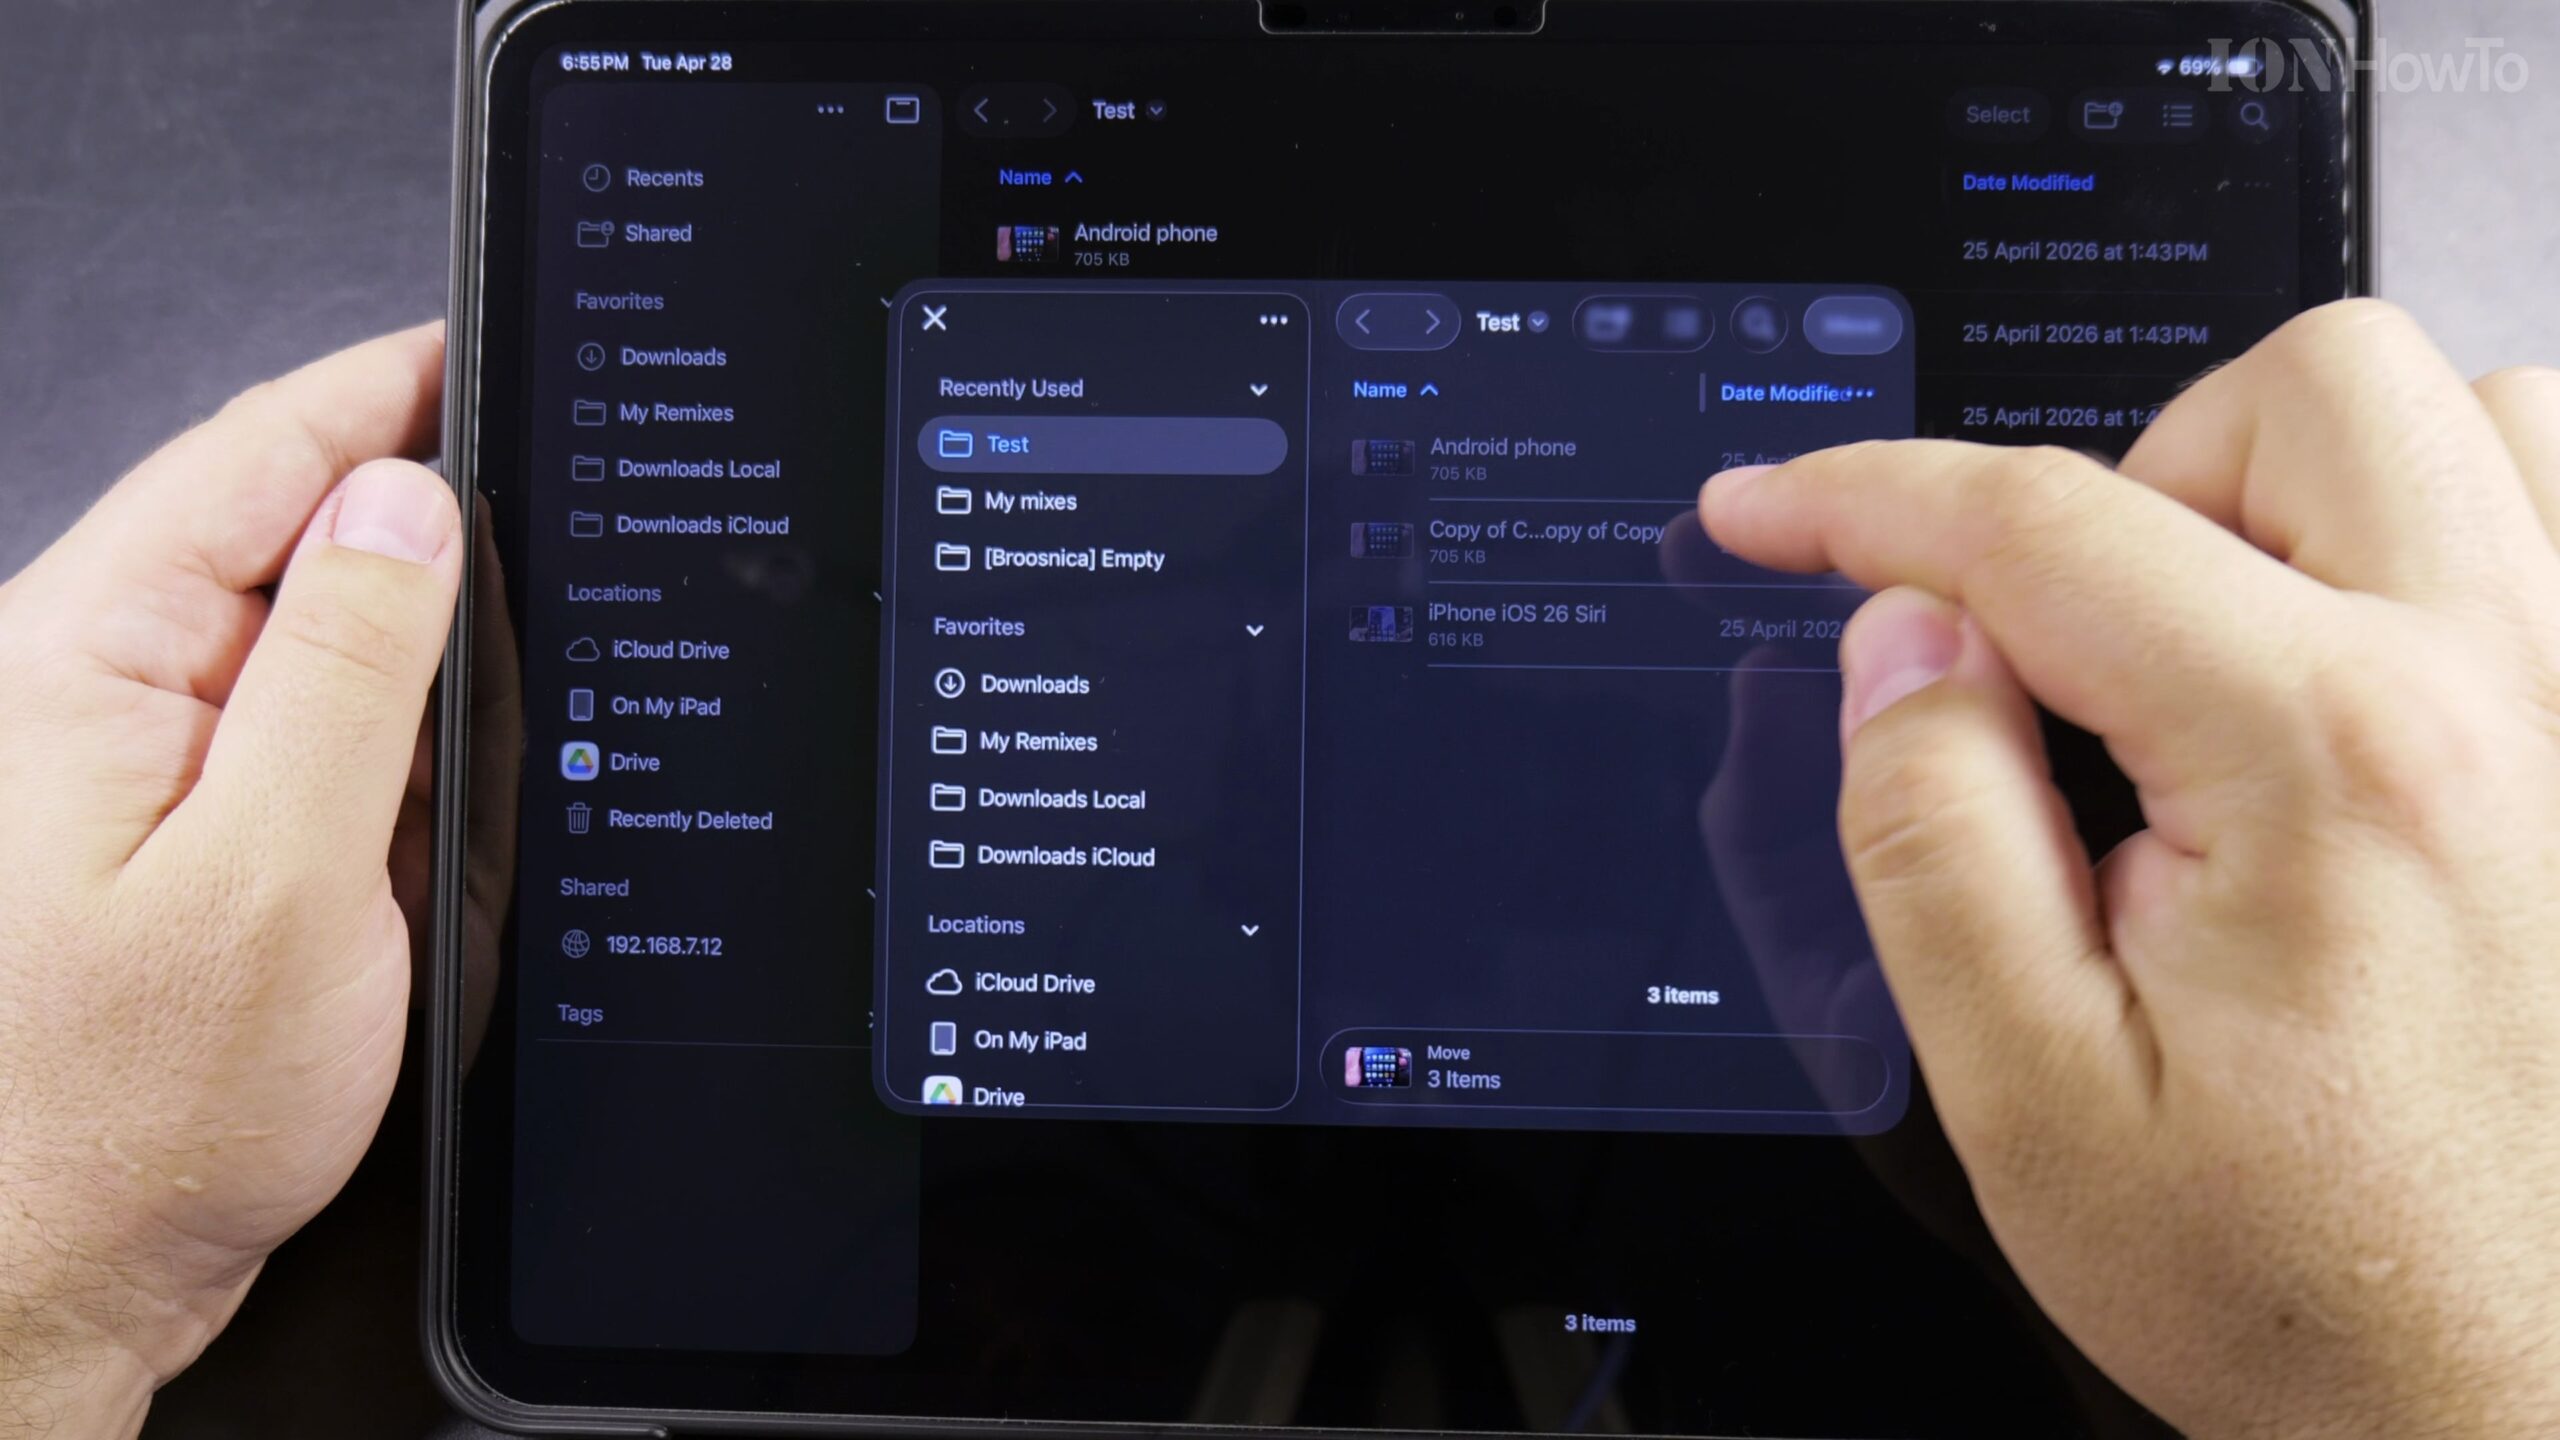
Choose the Target Folder in the Pop-Up Tree and Tap Move
In the destination window that appears, navigate to your external USB disk or local folder, tap the target folder to highlight it, and tap Move (or Copy if moving across separate drives) in the top-right corner to complete the transfer.
Helpful Tips and Related Guides
When working with an external USB drive or SD card on your iPad, wait a couple of seconds for the transfer progress indicator to finish before unplugging the drive. For more Apple tablet tutorials, visit our Apple iPad category, explore our Apple section, or read our How-To guides.
Leave a Reply Cancel reply