


When you have multiple credit or debit cards added to Apple Wallet, setting your favorite rewards card as the default ensures it is selected automatically whenever you double-click the side button for contactless tap-to-pay in stores. Here is how to change your default payment card in Apple Wallet.

Open the Apple Wallet App on Your iPhone
Tap the Wallet app icon on your Home Screen to view all your stored credit cards, debit cards, passes, and transit cards.
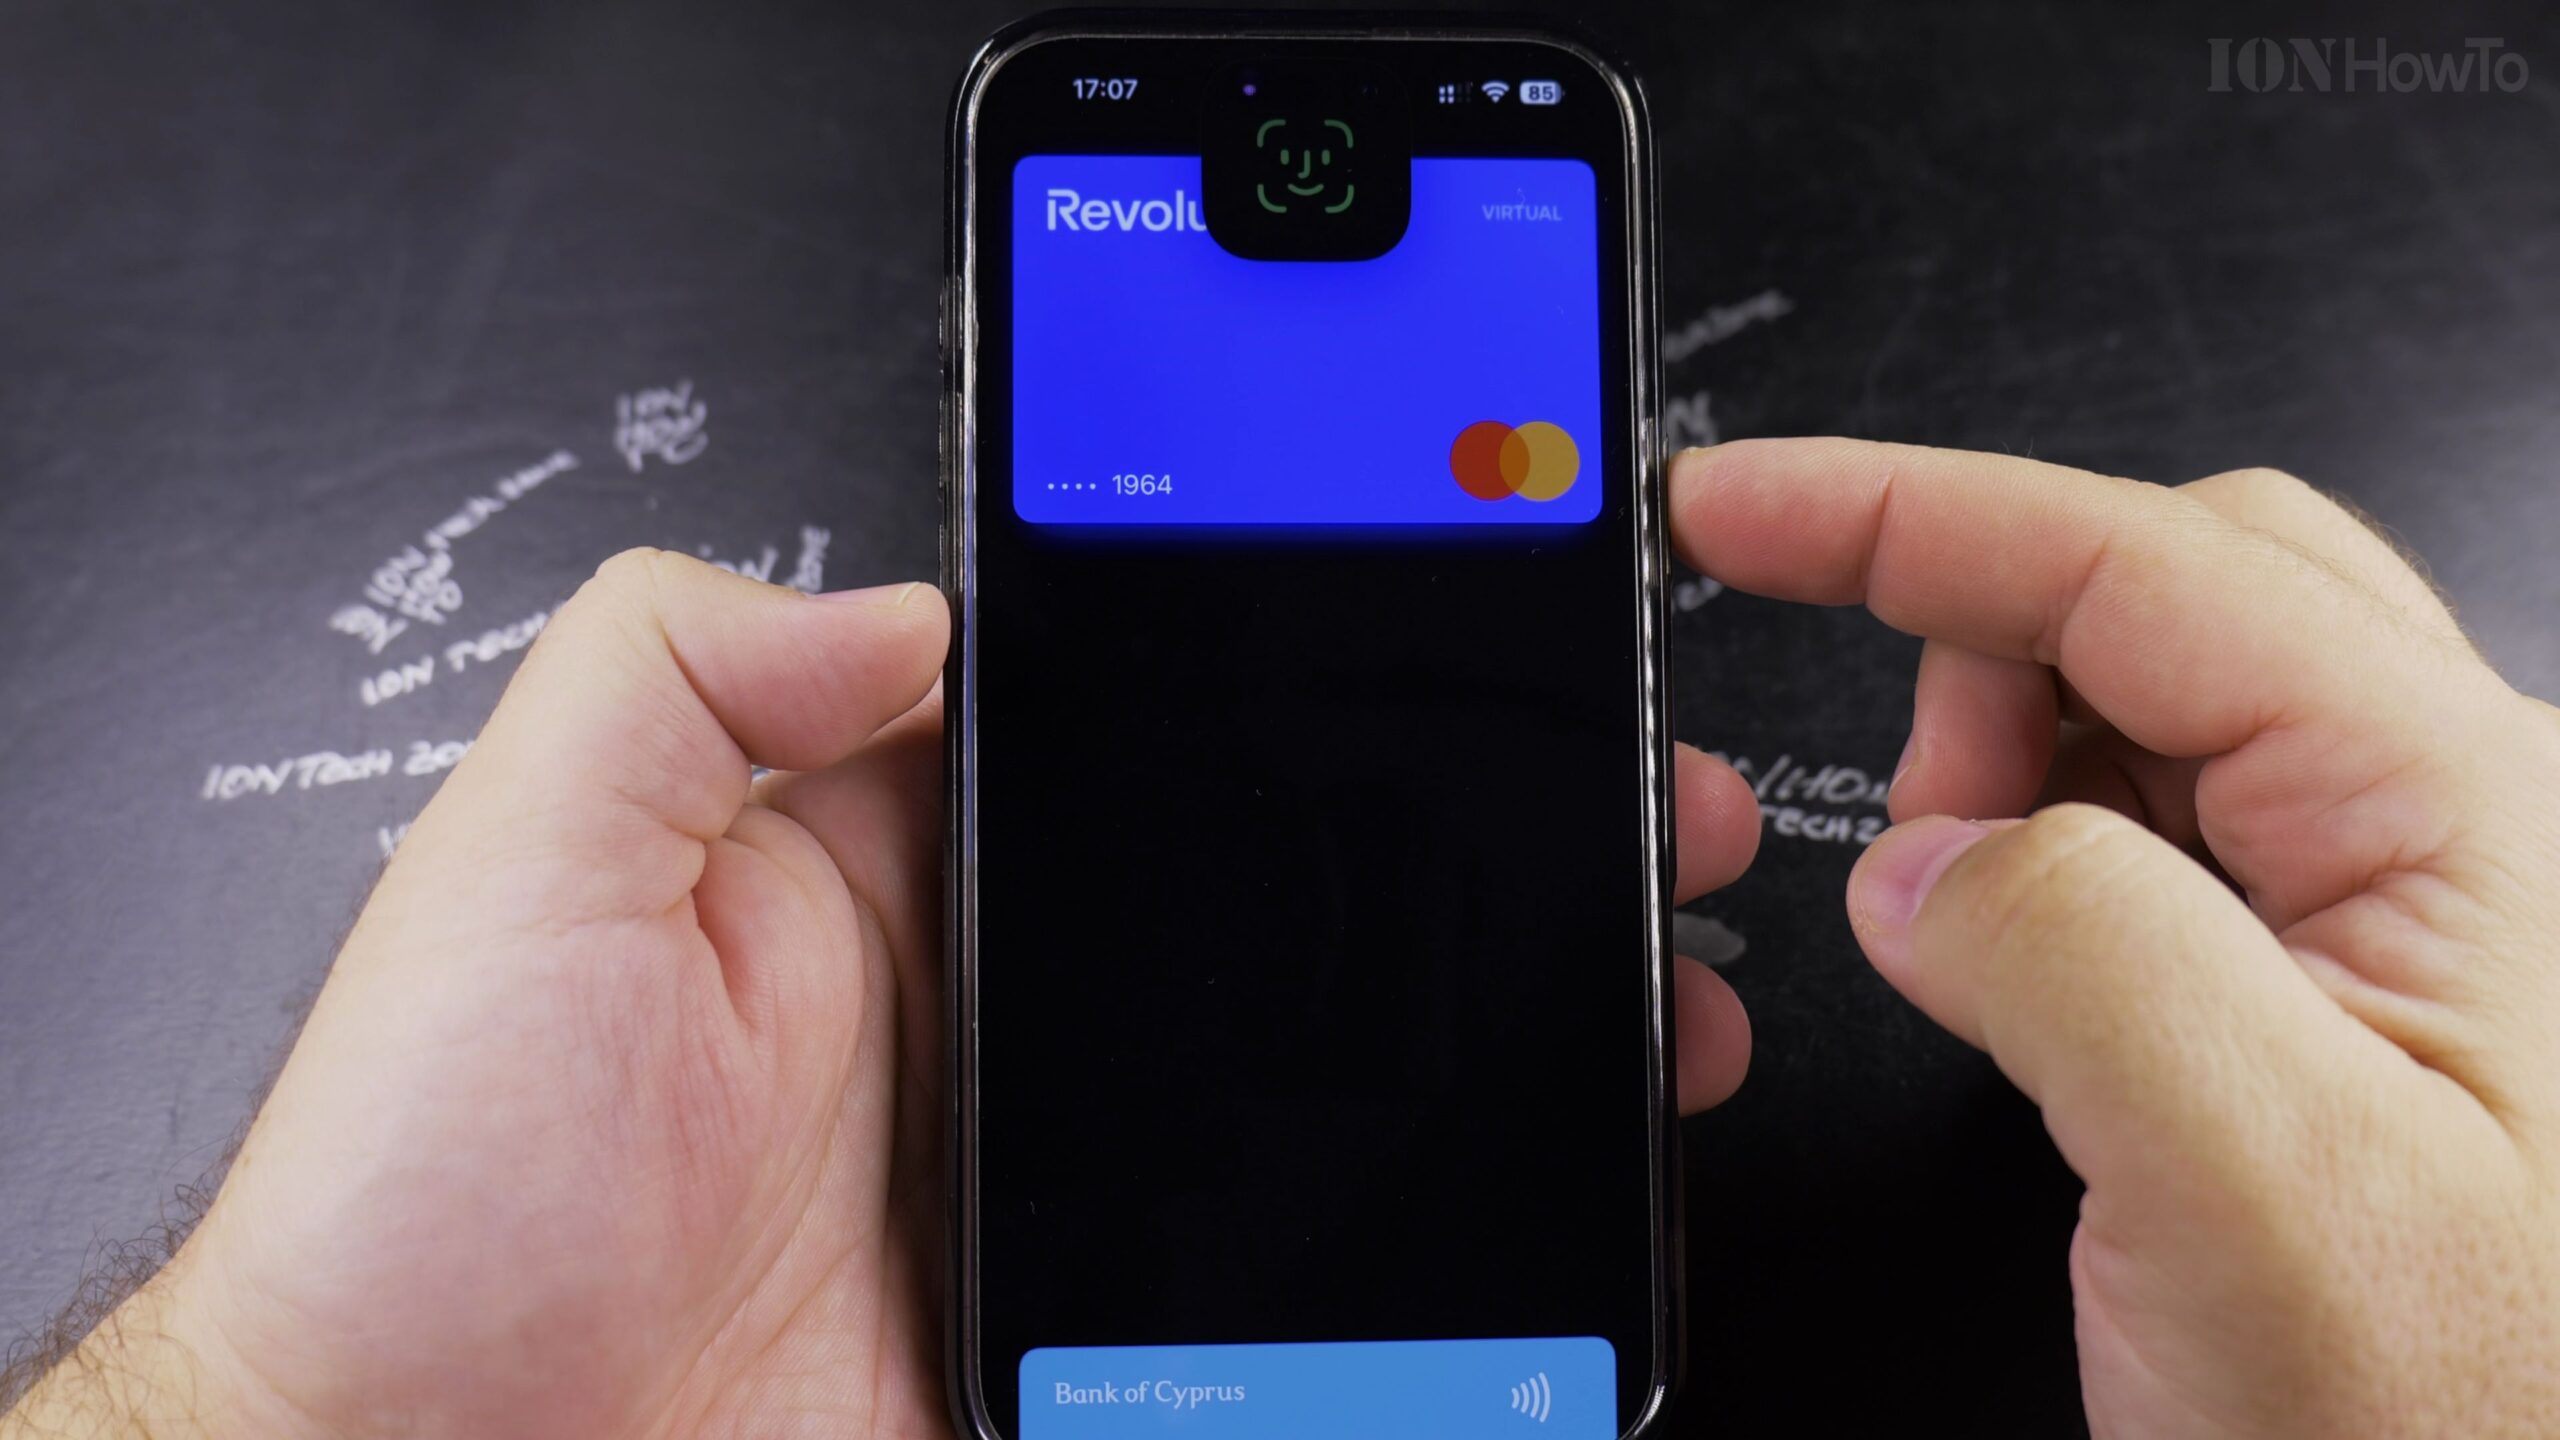
Method 1: Drag Your Preferred Card to the Very Front of the Stack
Touch and hold the card you want as your primary payment method until it lifts slightly, then drag it all the way down to the front of the card stack and release your finger. Tap OK when prompted to make it your default card.
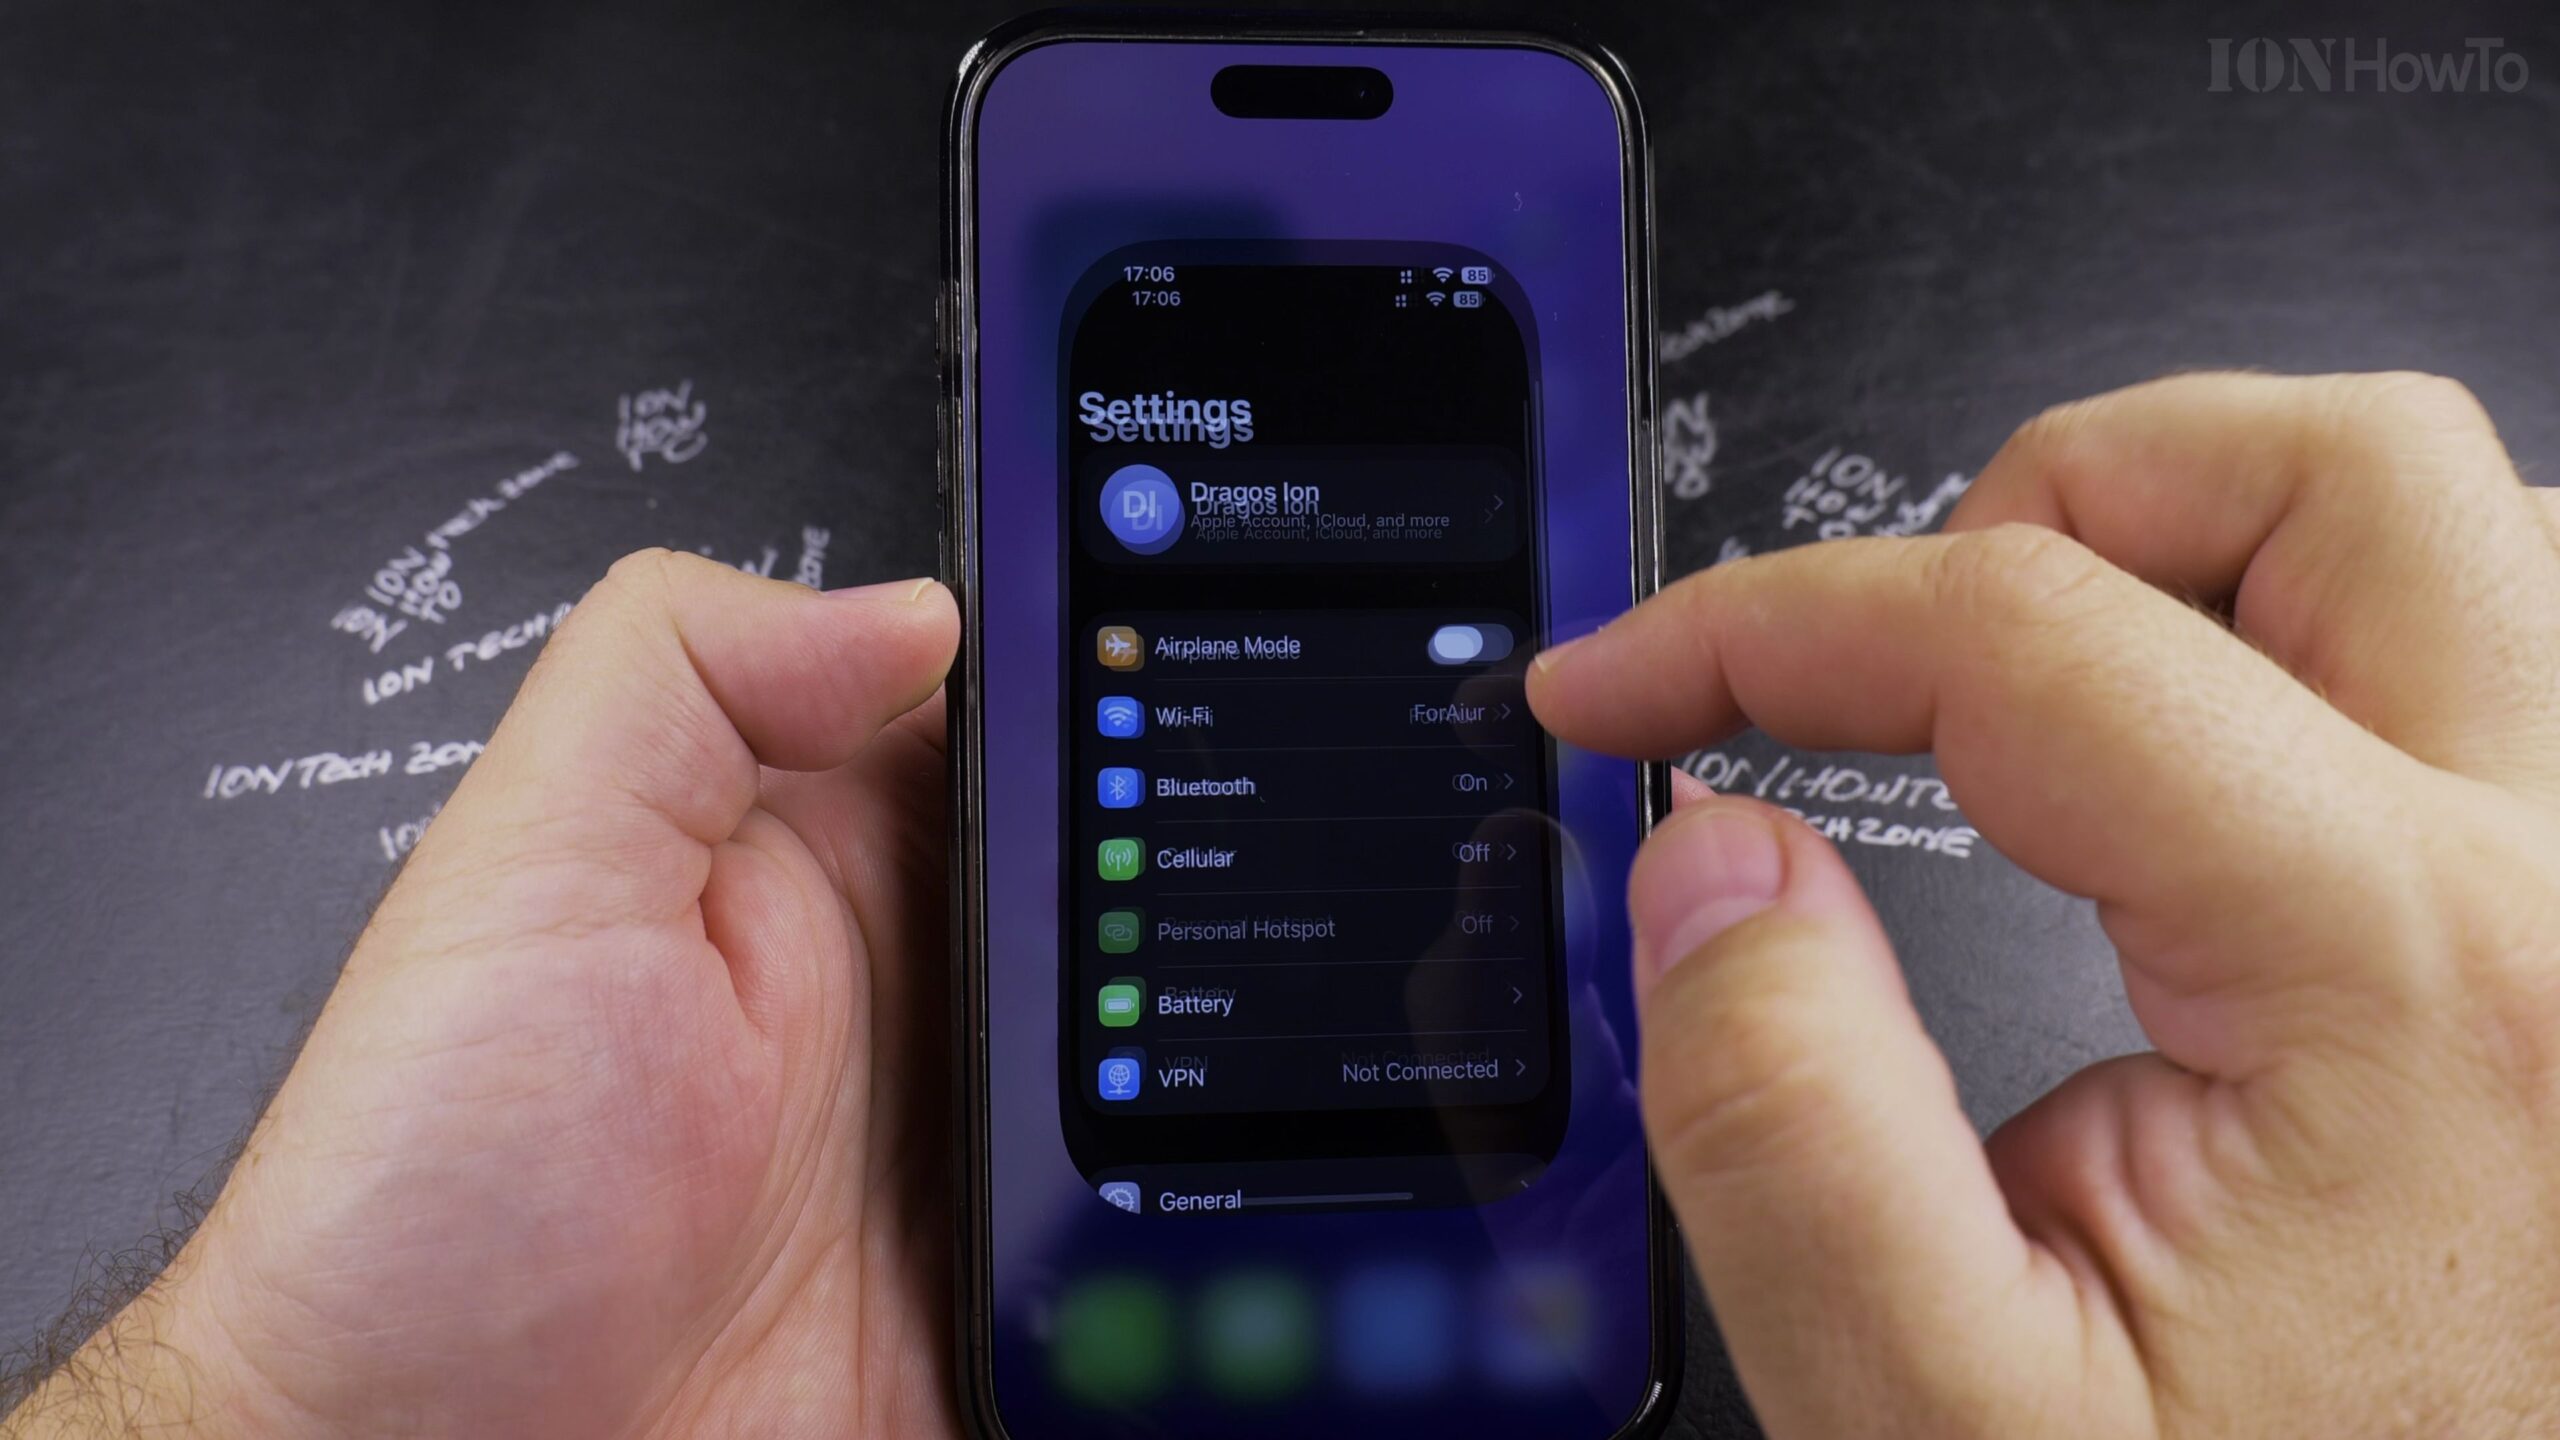
Method 2: Open iPhone Settings and Tap Wallet & Apple Pay
Alternatively, open the main Settings app on your iPhone and scroll down to select Wallet & Apple Pay.
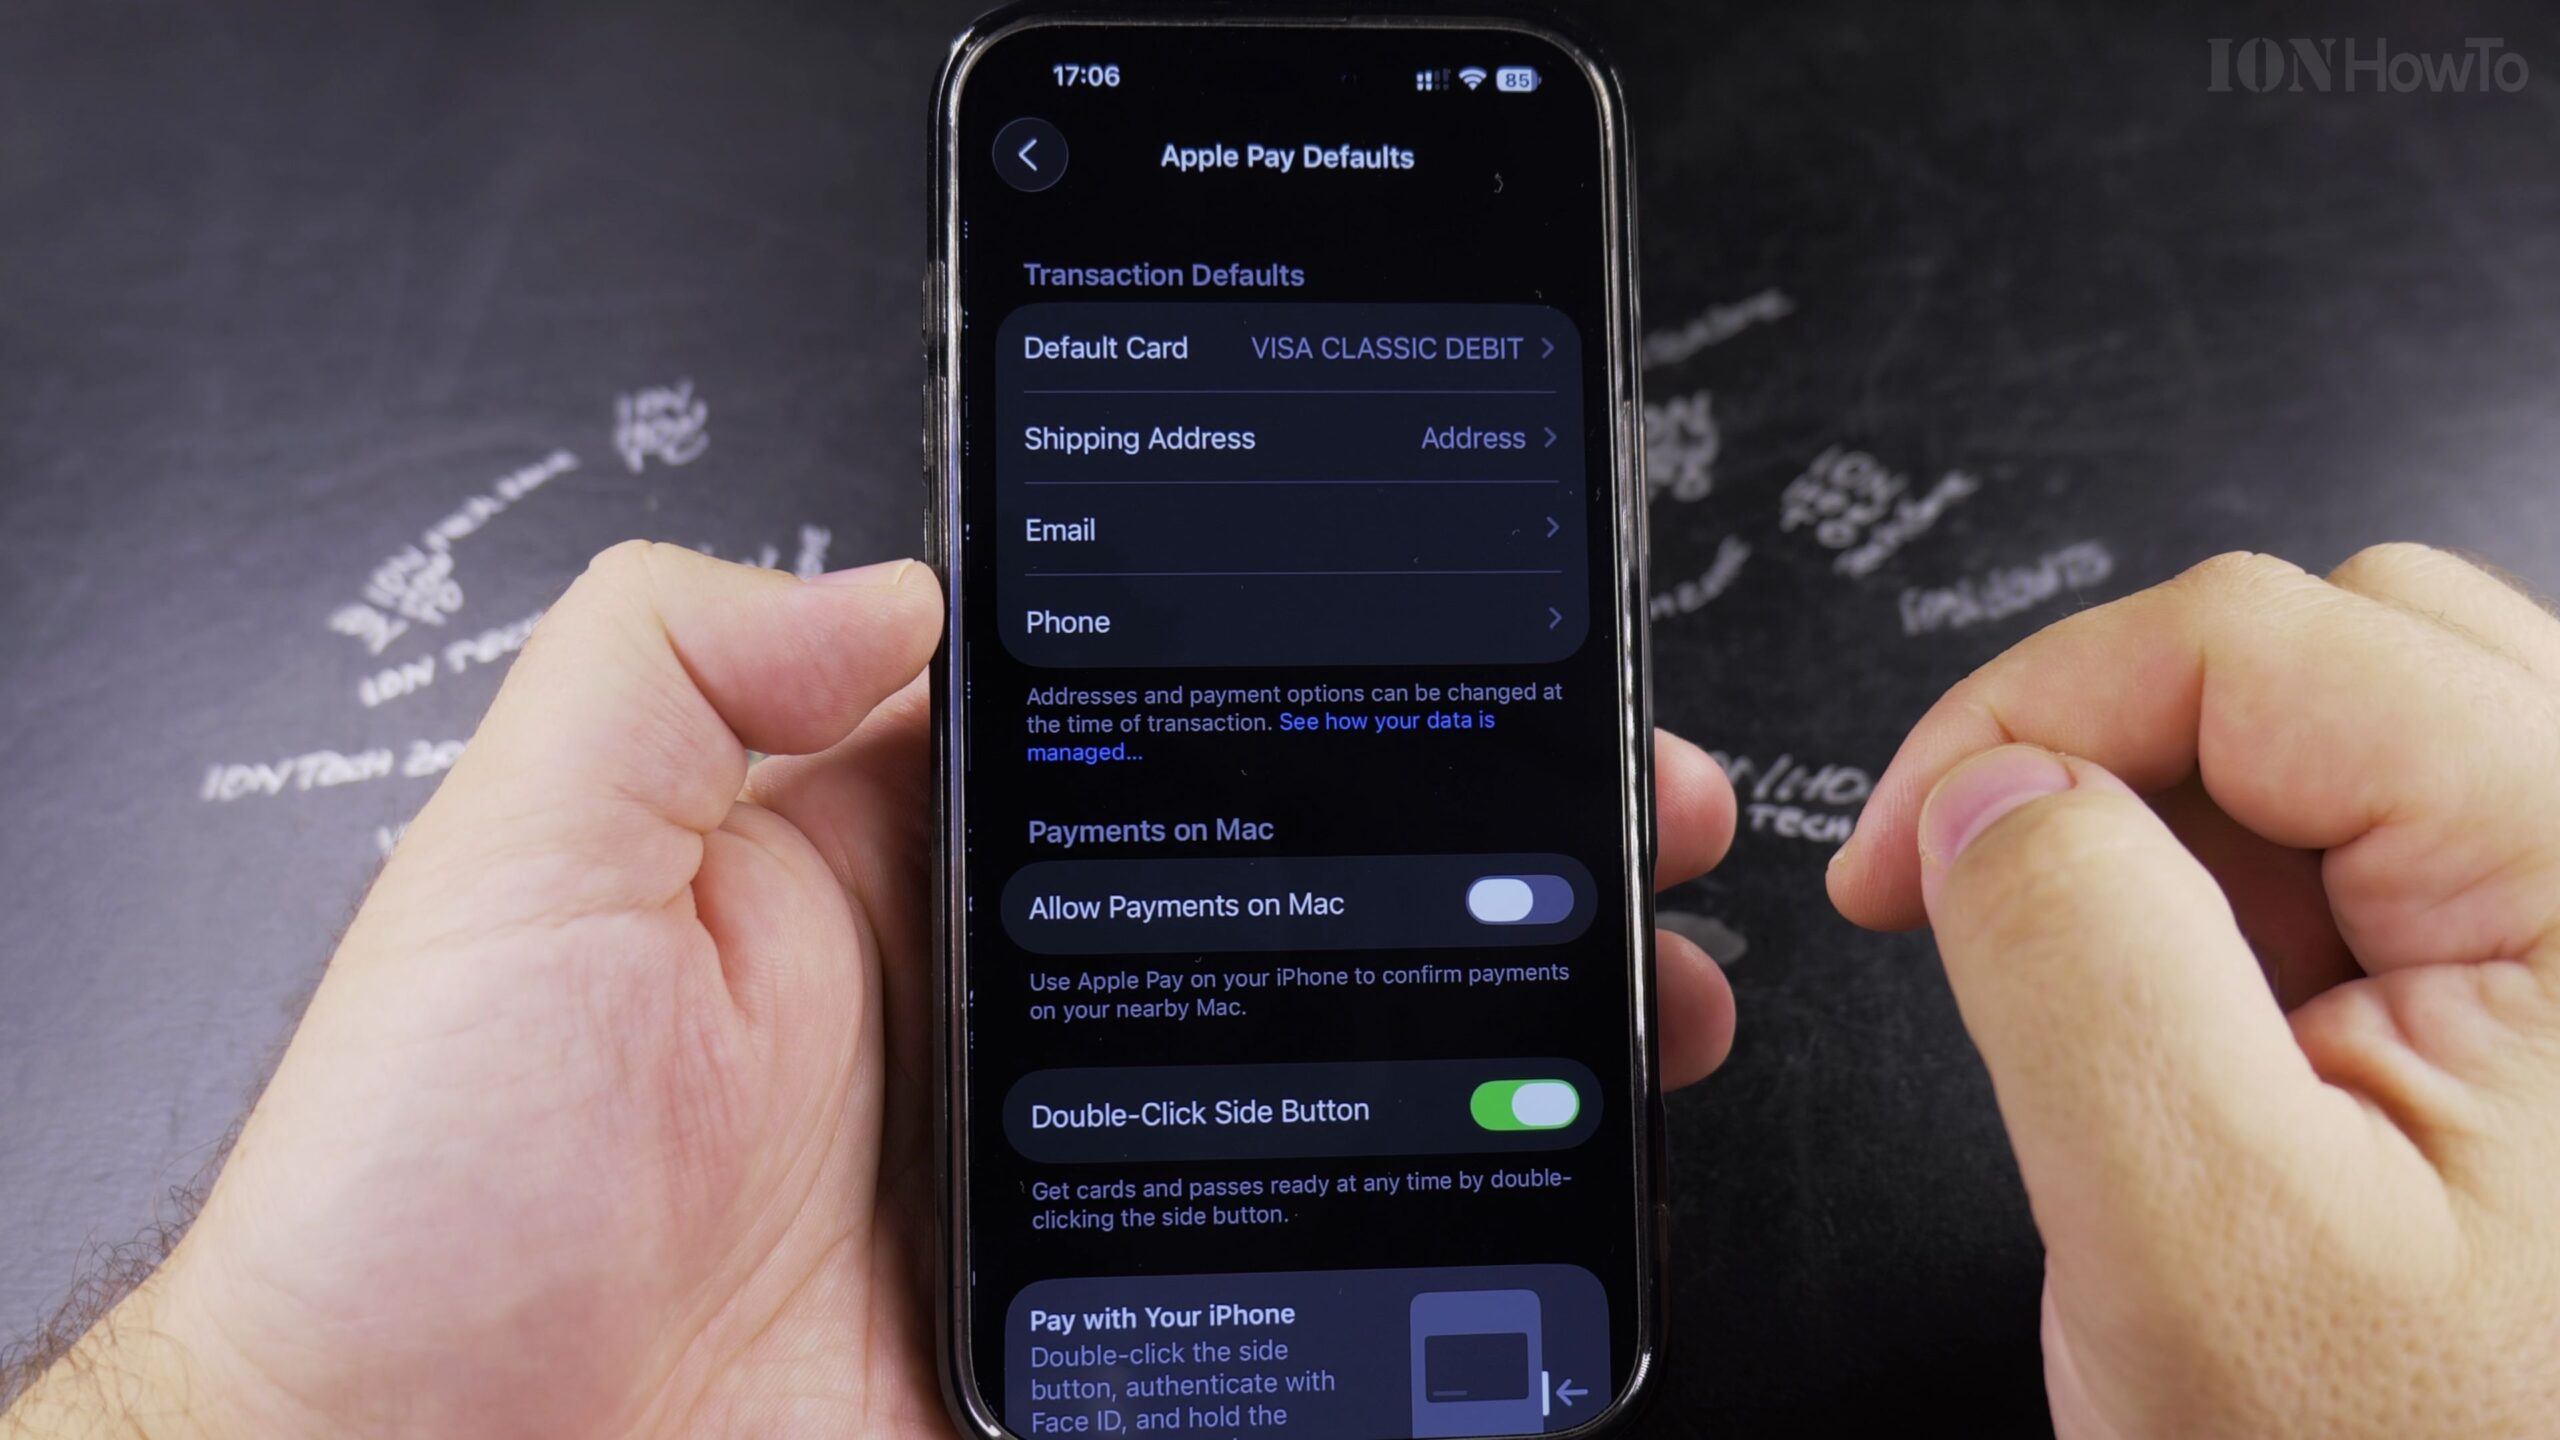
Scroll to Transaction Defaults and Tap Default Card
Under the Transaction Defaults header, tap Default Card to view a list of all payment cards currently connected to your Apple Account.
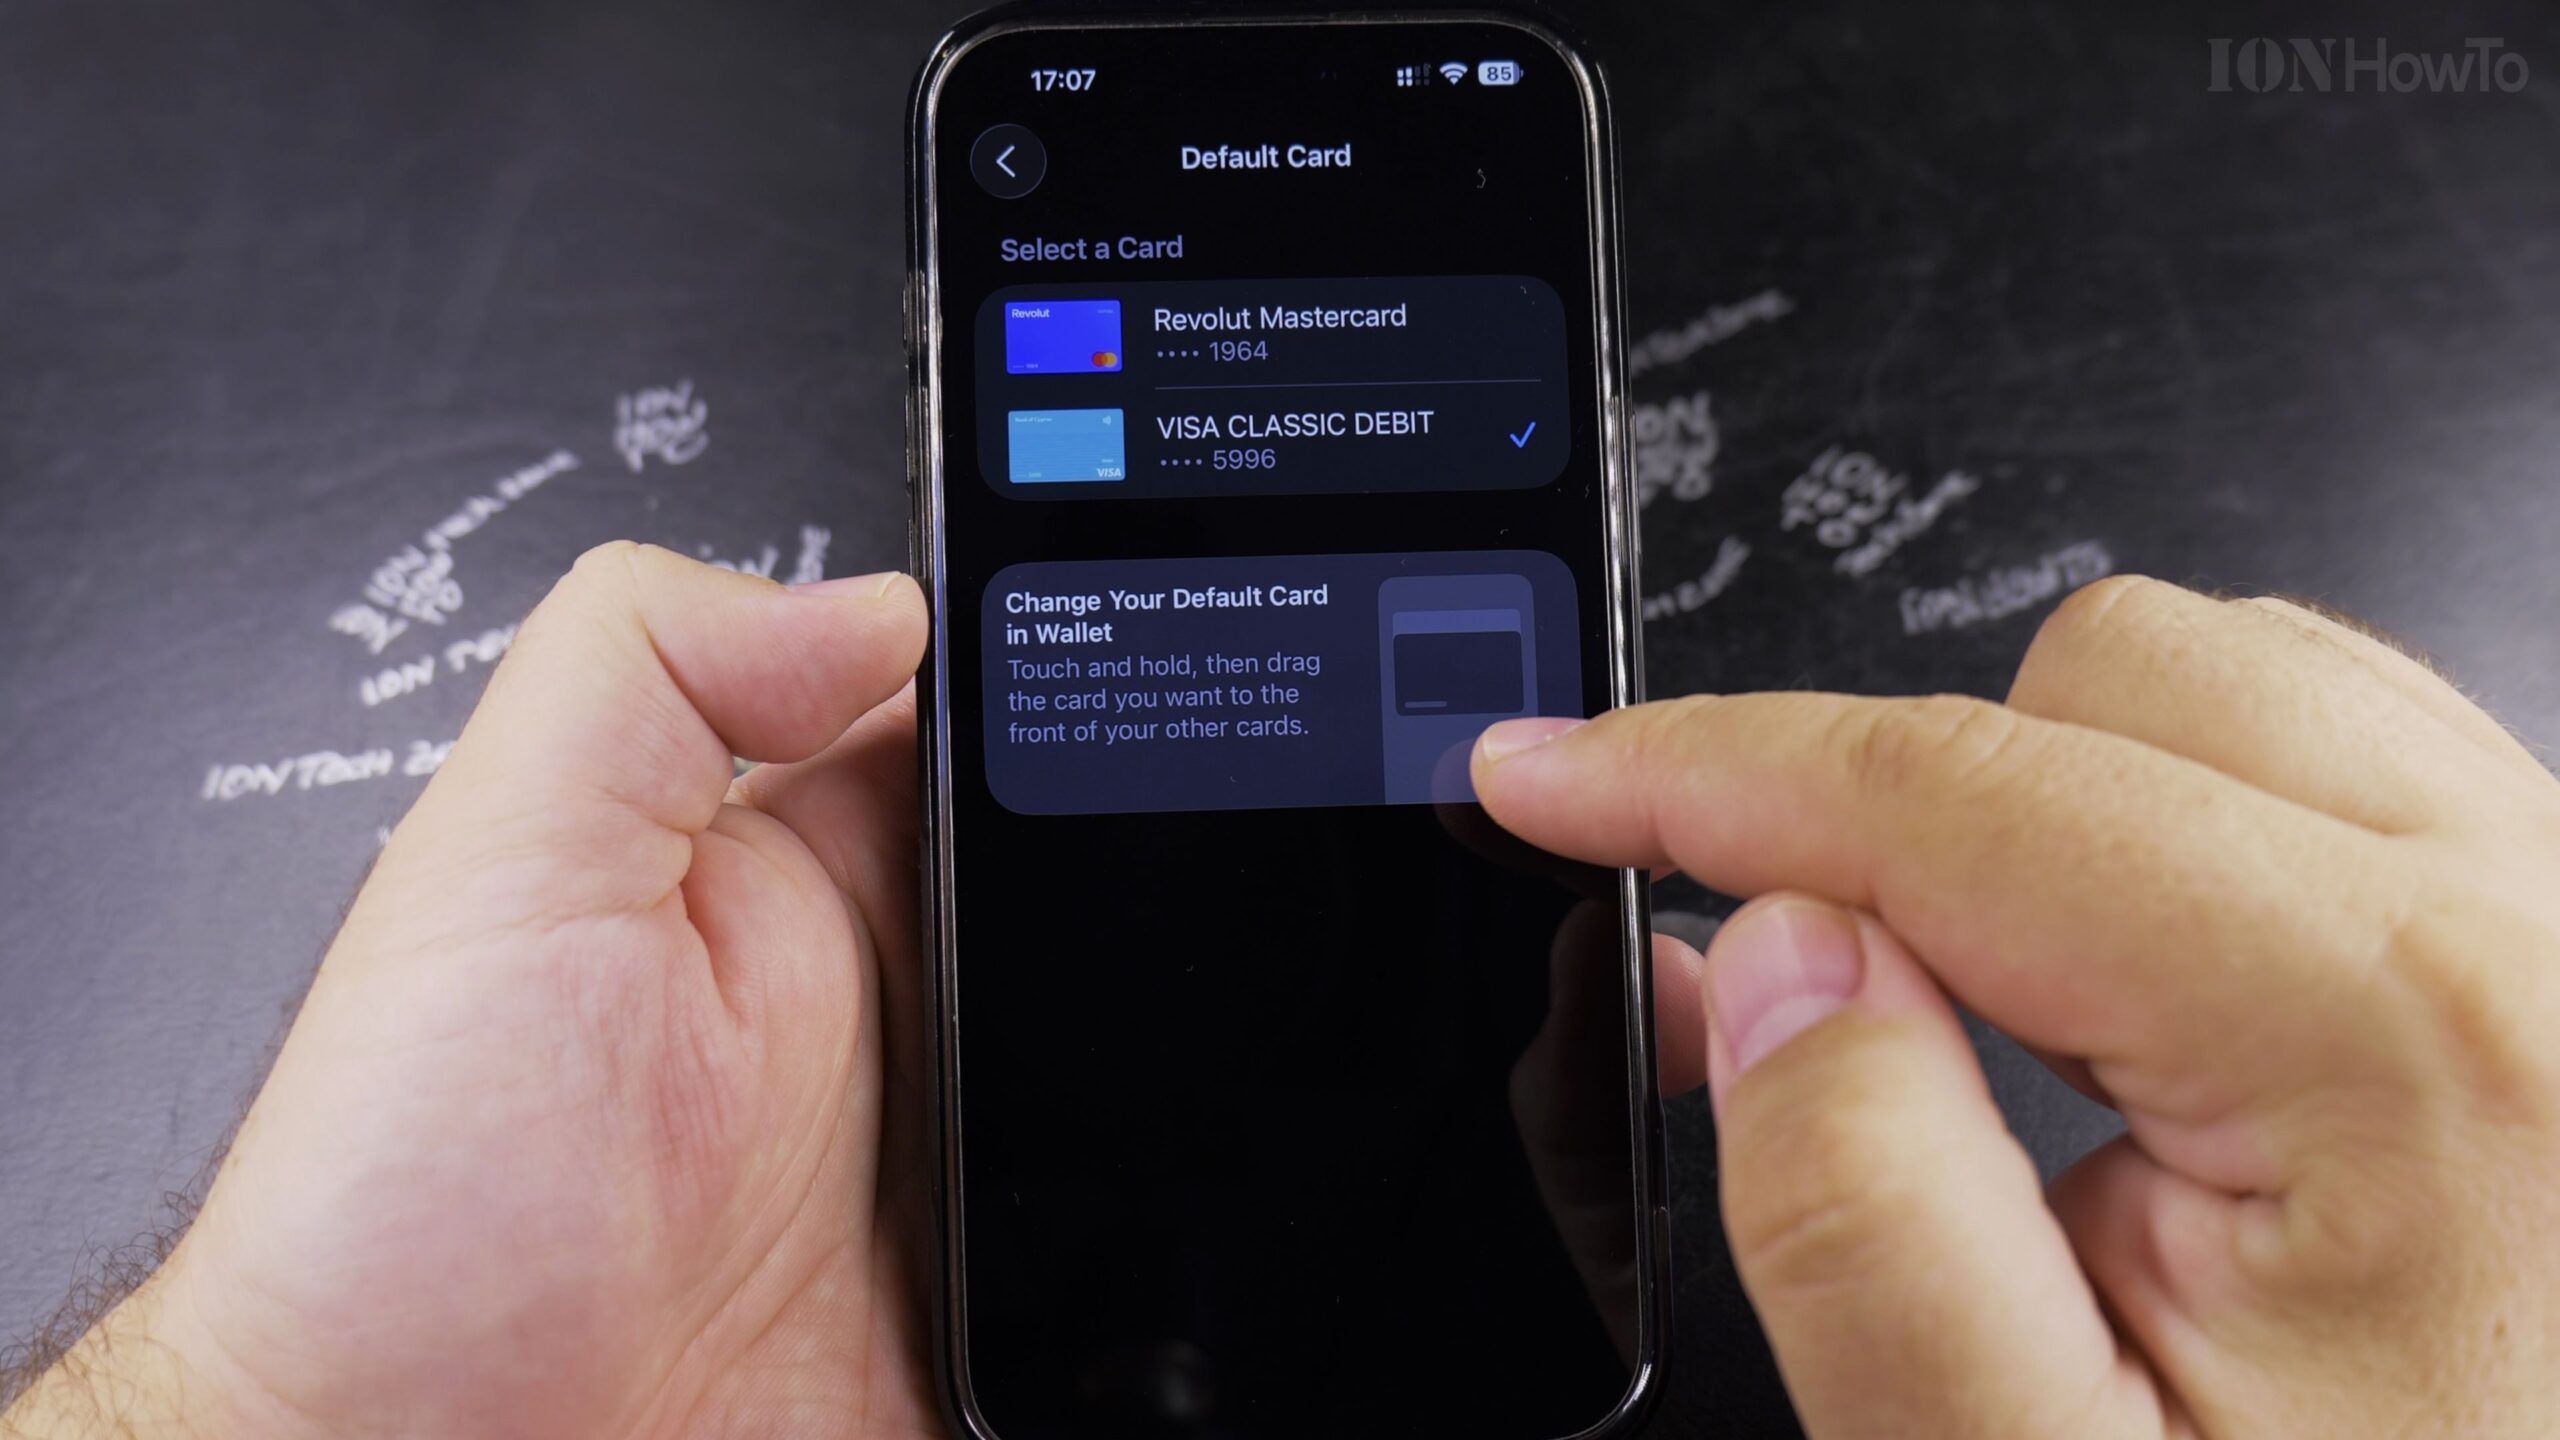
Place the Checkmark on Your New Default Payment Card
Tap the card you want to use for in-store and online Apple Pay purchases; a blue checkmark will appear beside it, making it the instant default card.
Helpful Tips and Related Guides
You can still choose any secondary card at checkout by tapping the bottom of the card stack before presenting your iPhone to the payment terminal. Browse more iOS tutorials in our Apple iPhone category, check our guide on Preventing Airplane Mode While Locked, or visit Apple.
Leave a Reply Cancel reply