


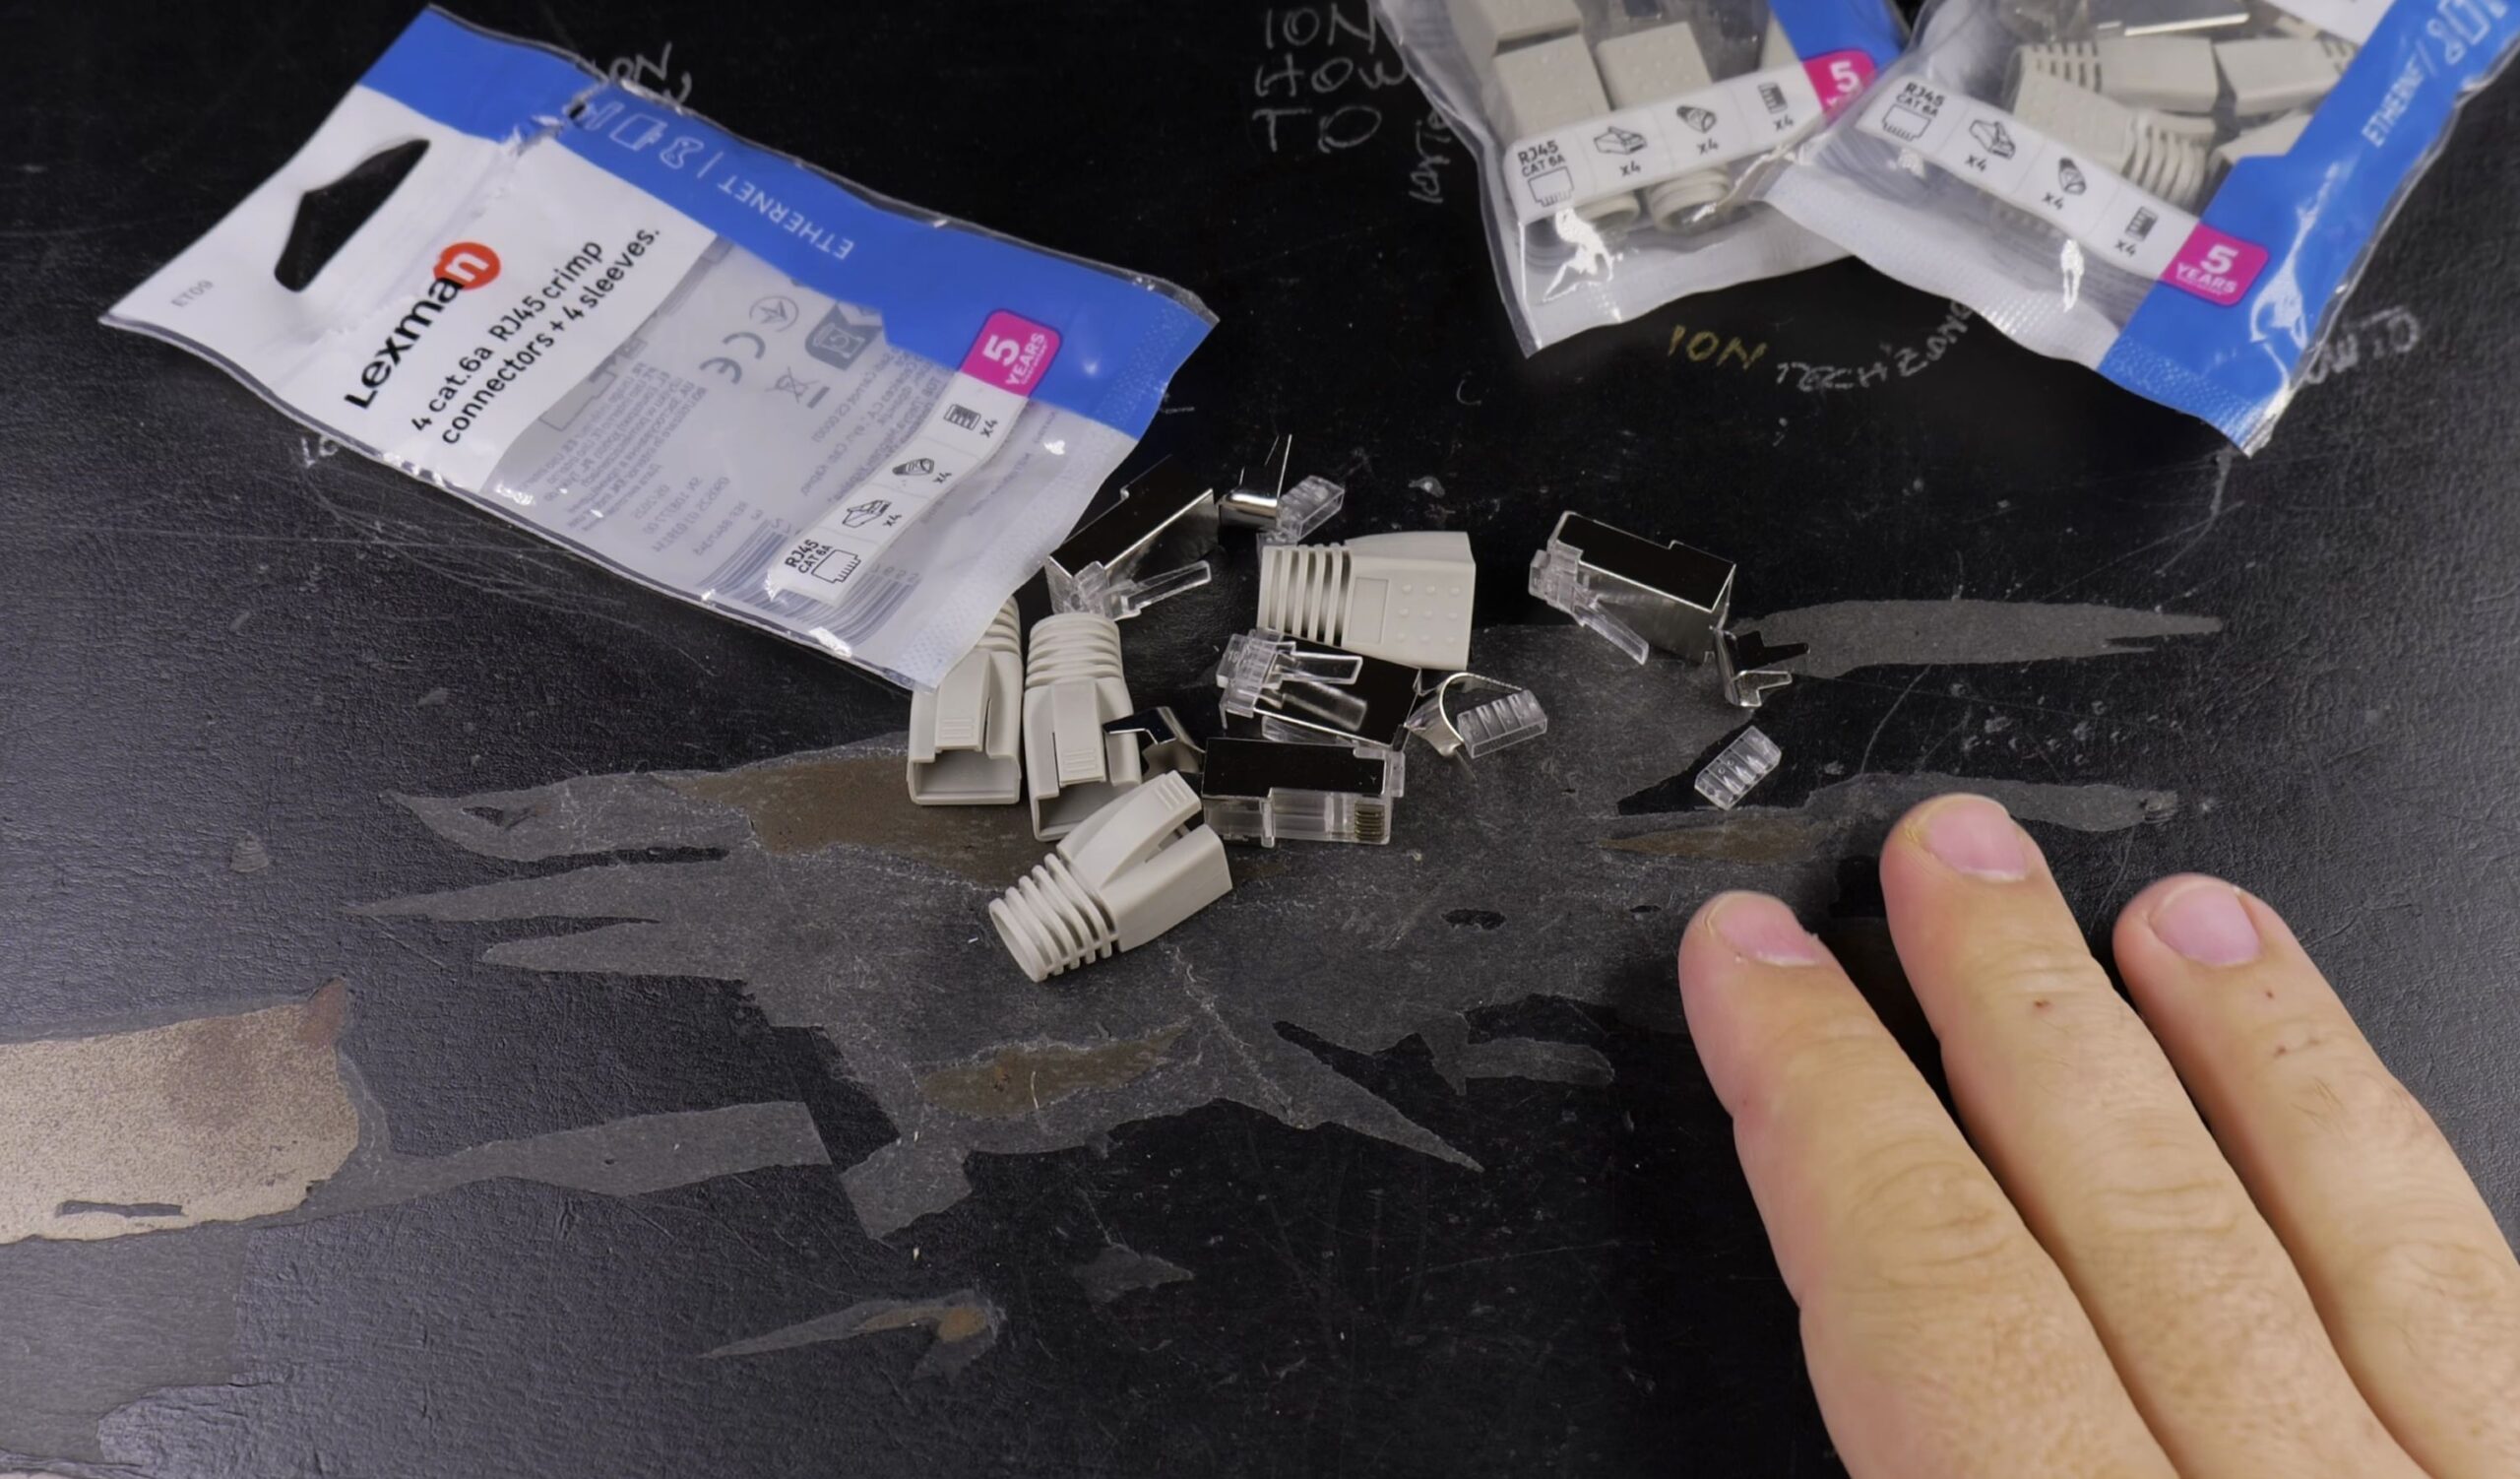
If you are building custom high-speed network cables, using shielded connectors protects your data from electrical interference. I’ll show you what comes in the Lexman Cat 6A RJ45 set and how to assemble the pieces cleanly.

1. Unpack Connectors, Boots, and Guides
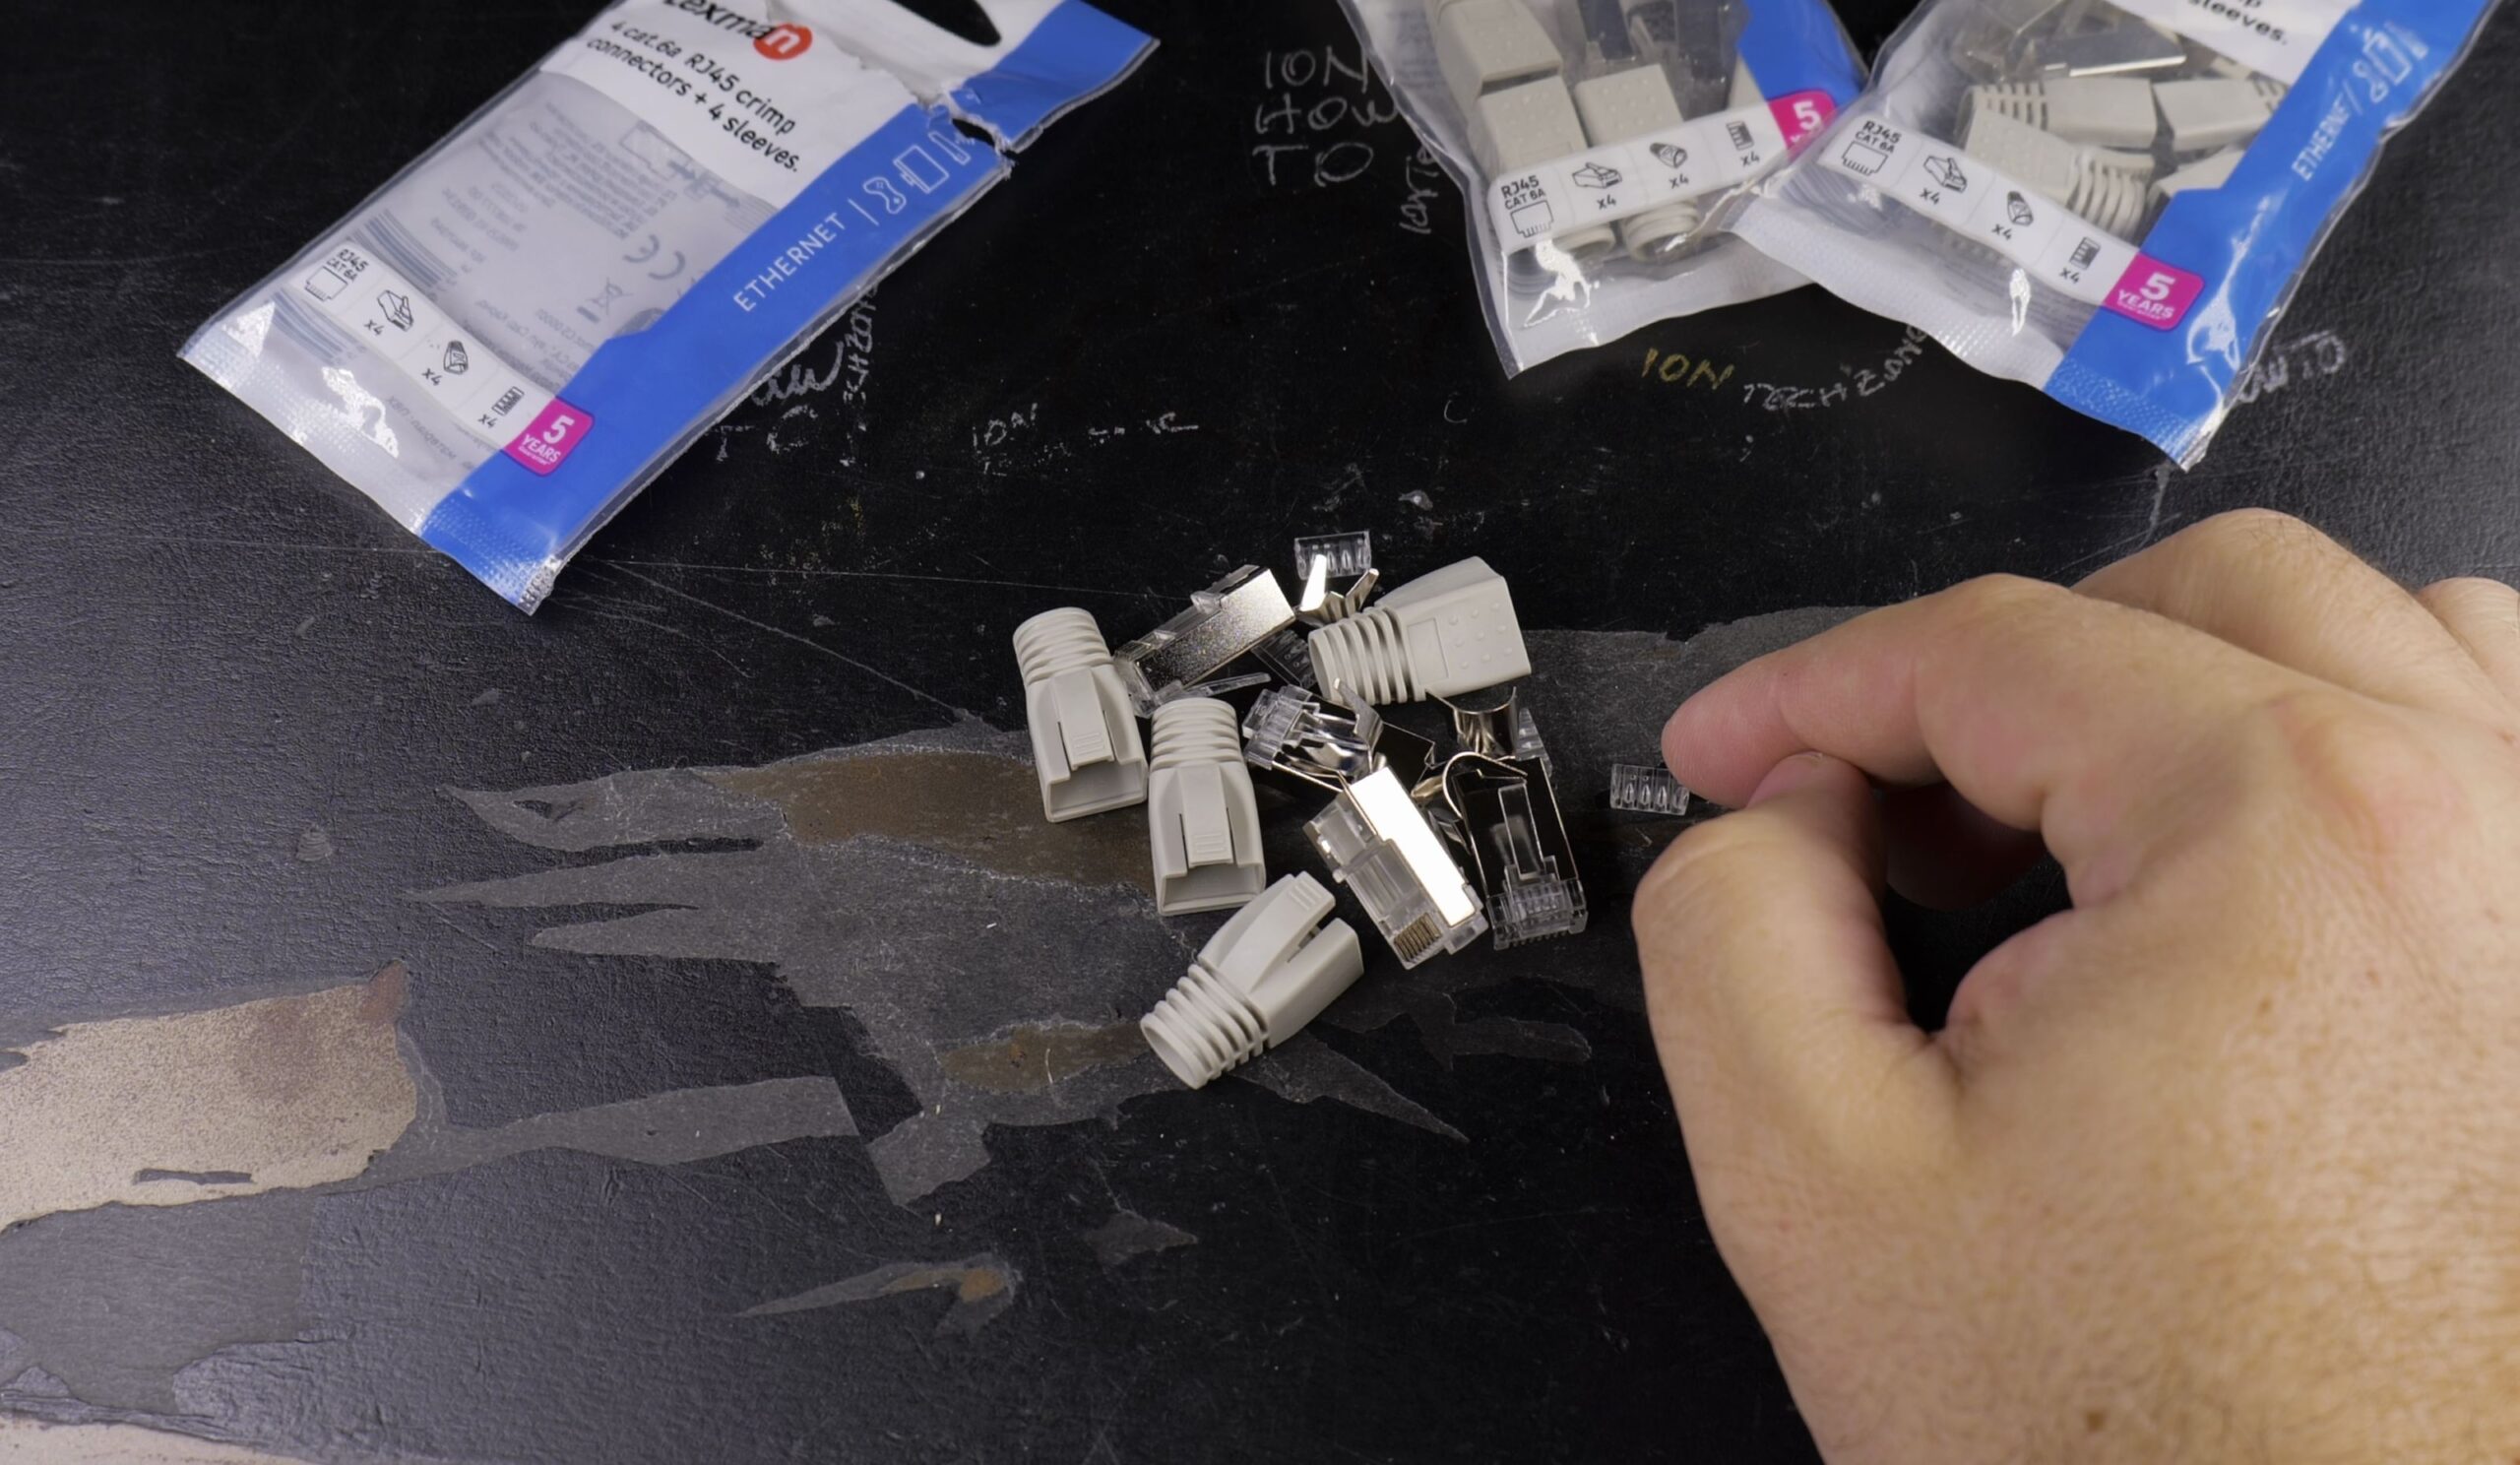
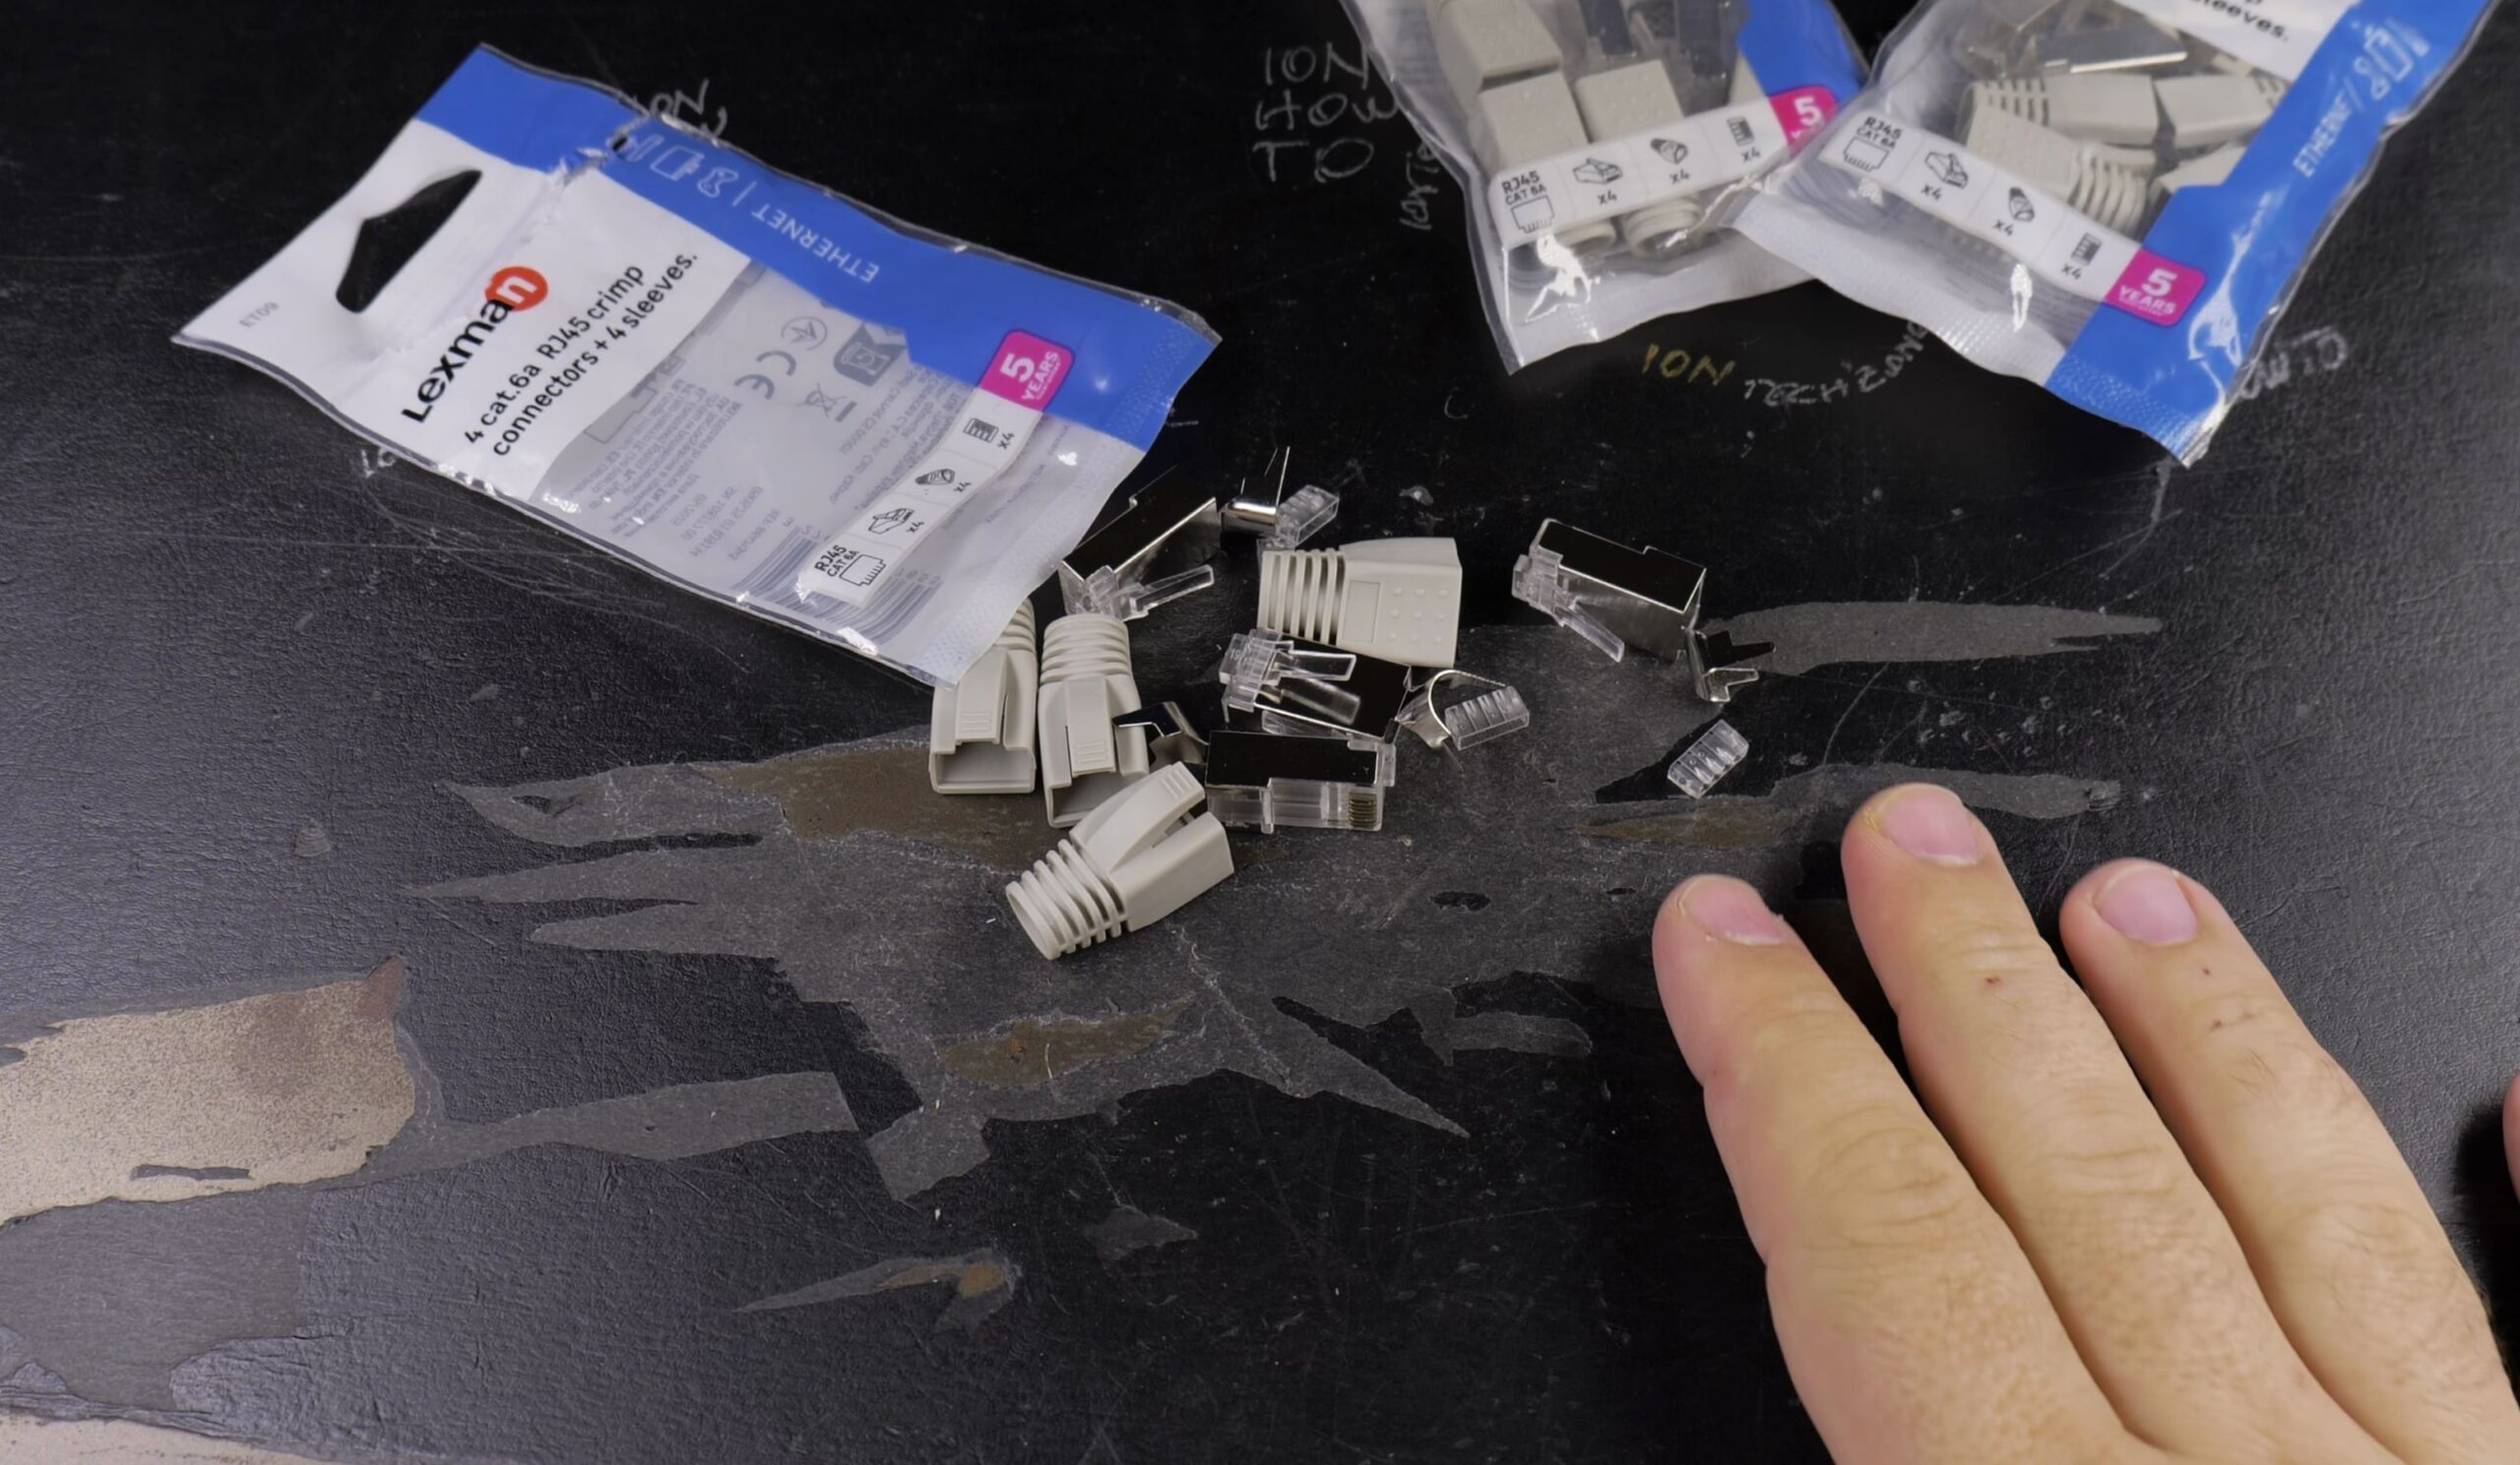
Open the blister pack to find four complete connector assemblies.
Each set includes three separate parts: a flexible rubber strain-relief boot, a small clear plastic wire loading bar, and the metal shielded RJ45 plug.
Remember to slide the rubber boot onto your Ethernet cable first before stripping any wires.

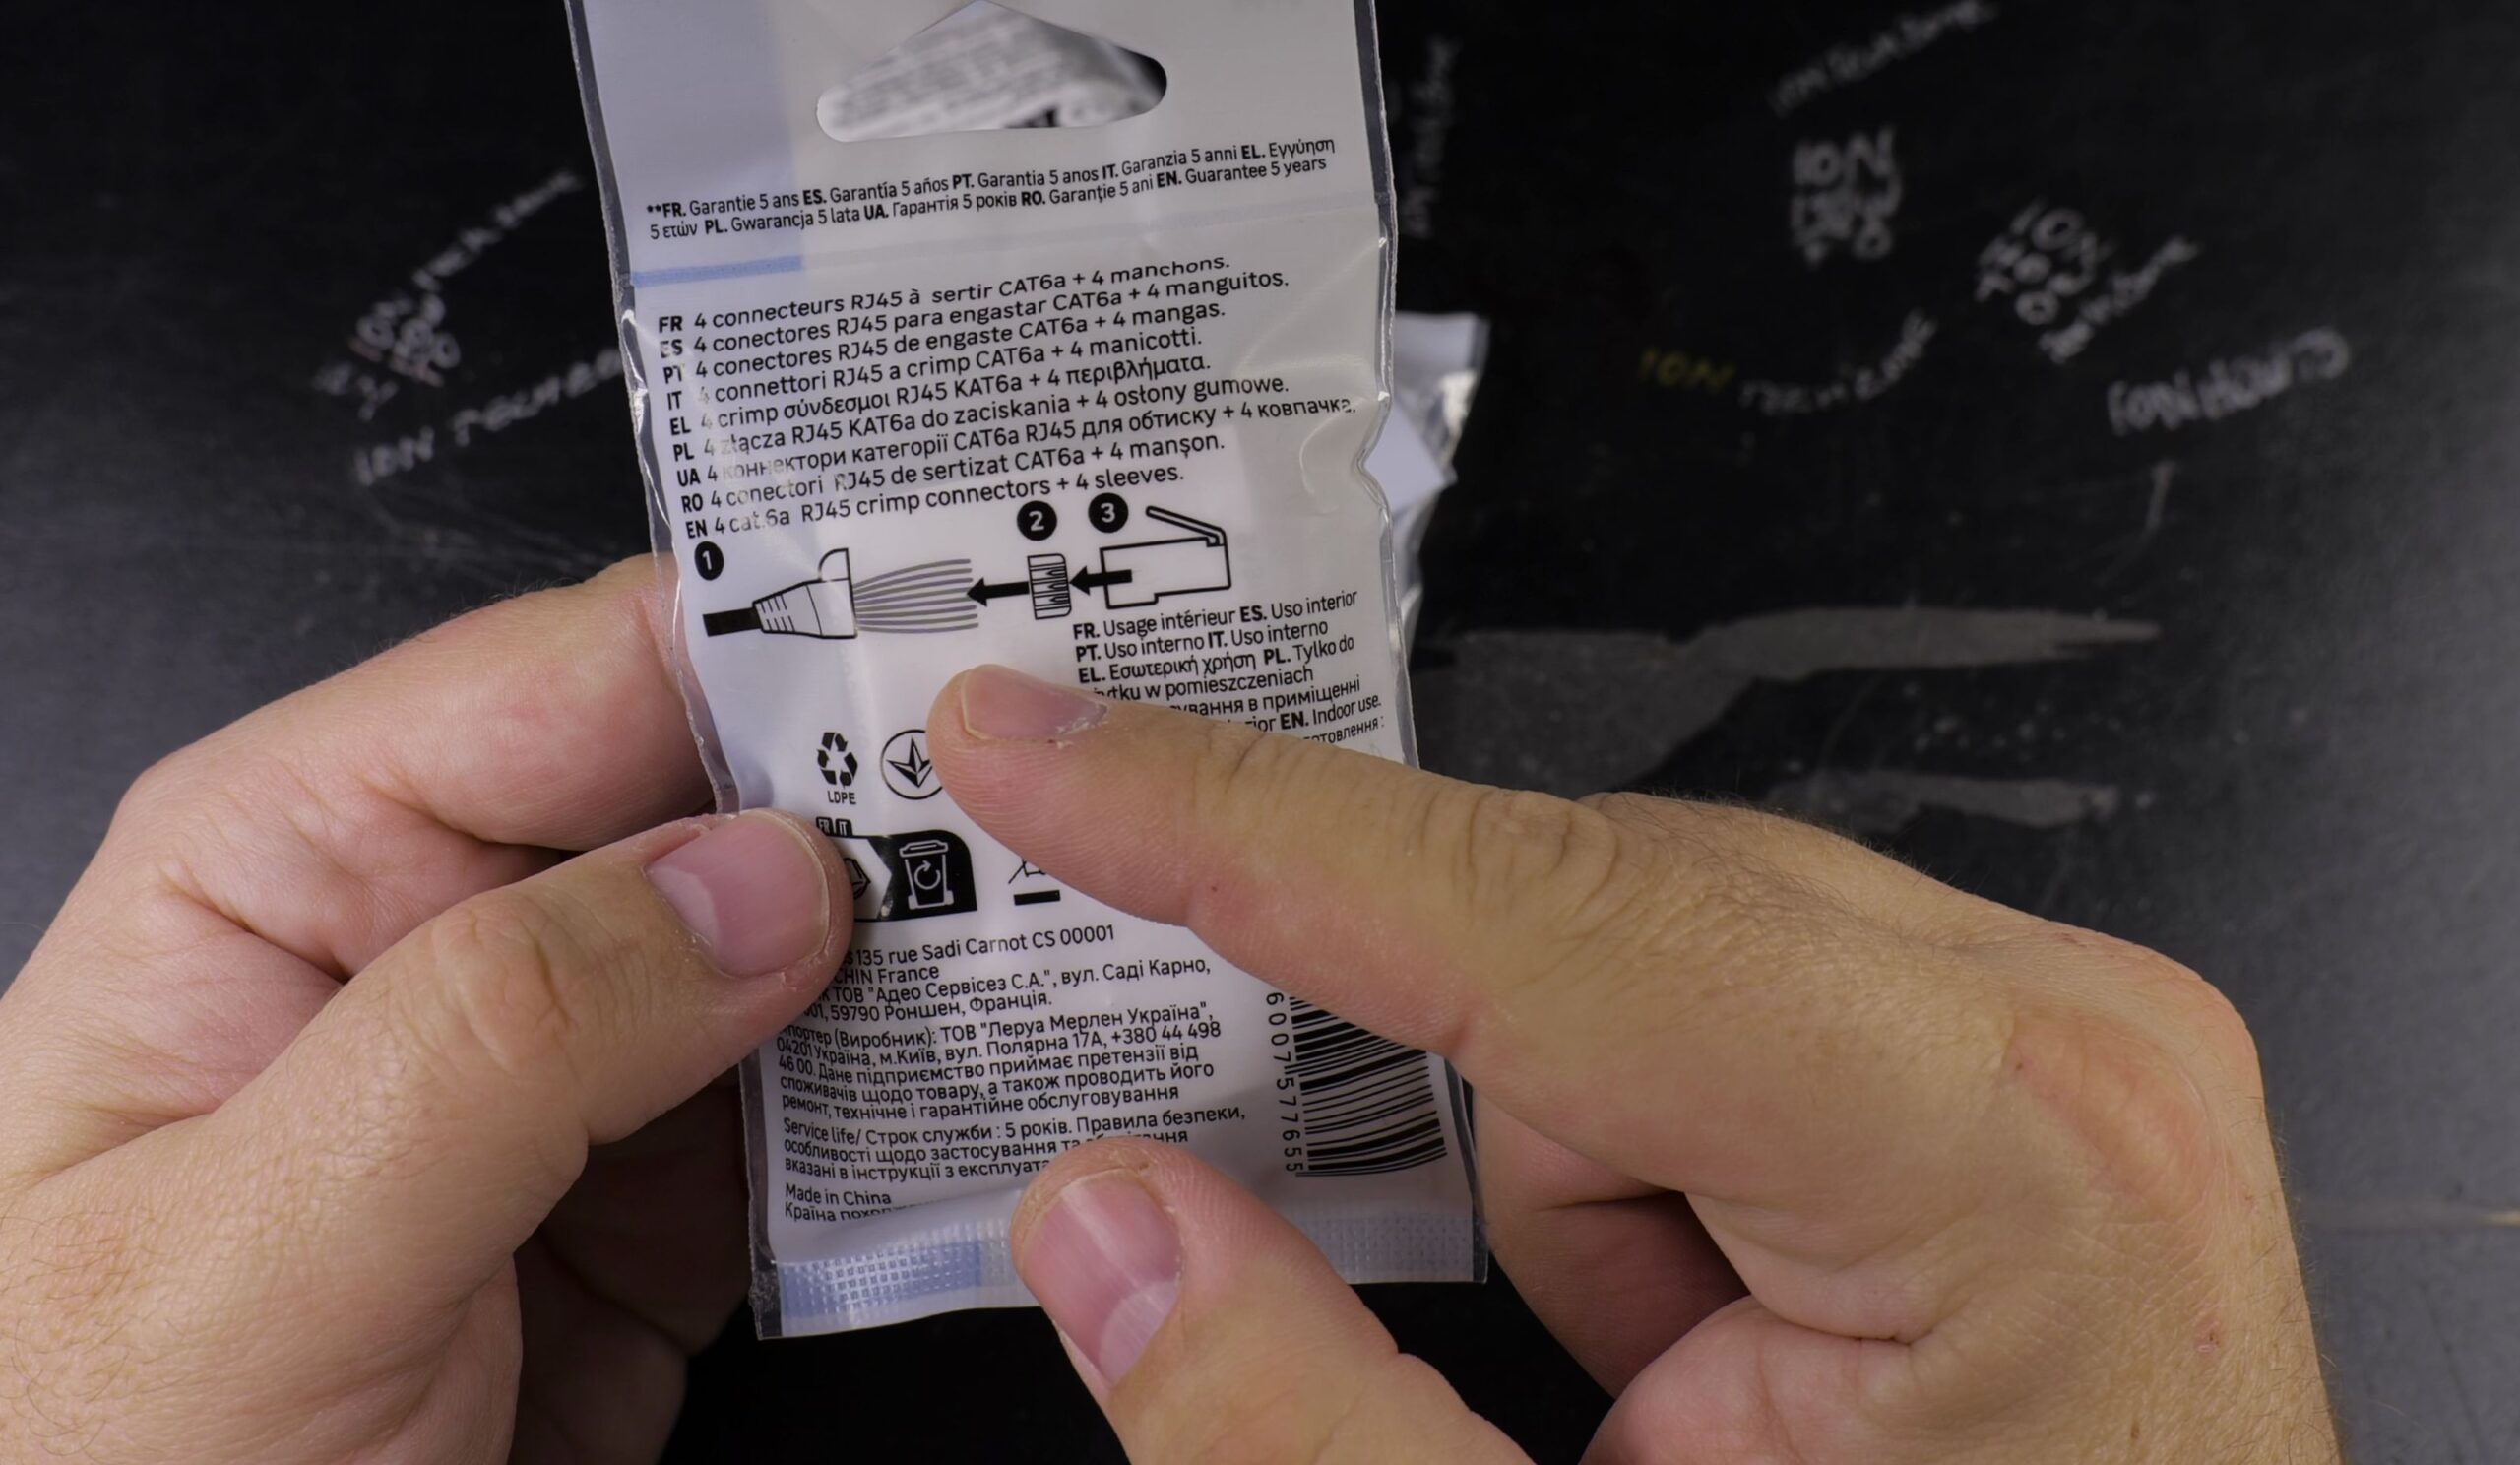
2. Thread Wires Through the Loading Bar
Strip about 3 centimeters of outer jacket and straighten the four twisted wire pairs.
Arrange the conductors according to the T568B color pattern: white-orange, orange, white-green, blue, white-blue, green, white-brown, and brown.
Trim the ends at a slight angle and slide them through the clear plastic loading bar. The staggered holes keep thick 23 AWG Cat 6A conductors perfectly aligned.
3. Seat Ground Wire and Crimp the Metal Body
Fold the bare copper drain wire backward along the outer jacket.
Push the loaded bar all the way into the front of the RJ45 body until the wire tips touch the end.
Crimp with your RJ45 tool to seat the gold pins, then fold the metal ground arms around the cable jacket to lock the drain wire firmly in place.
Helpful Tips
These connectors also work with standard unshielded Cat 6 and Cat 5e cables, but they truly shine with thicker shielded 10-gigabit cables where grounding is critical.
To see these connectors installed during a full in-wall cable replacement, check our tutorial on how to replace Ethernet cable in conduit from Cat5E to Cat6A. You can also explore our full category hubs for Cat 6A STP Ethernet Cables and Cat 5E Ethernet Cables.
Leave a Reply Cancel reply