
Logitech G502 X Installation Software Buttons and Record Macros.
Learn how to install the Logitech G-Hub software and configure the buttons on your Logitech G502 X mouse. I’ll show you how to assign custom functions to any button and how to record macros that can automate repetitive tasks.
This is a gaming mouse, but I use it mostly for video editing and productivity apps. The macro feature alone makes it worth having extra buttons.
Why I chose the Logitech G502 X
I was trying to decide between the Razer Basilisk V3 and the Logitech G502 X. I also looked at the Logitech G502 Hero and the Logitech G903 Lightspeed.
The G903 Lightspeed was more expensive and I don’t really need a wireless mouse. The G502 X was on offer on Amazon, so I decided to try it. So far, I love it.
My previous mouse was a Logitech G9. It lasted for many years until it stopped working. I never used the extra buttons on that mouse, and I probably won’t use all the buttons on the G502 X either. But it’s nice to have them available – especially for macros.
Before installing the software
The mouse works right out of the box. The basic buttons (left click, right click, scroll wheel) work without any software. But to customize the extra buttons, record macros, and adjust DPI settings, you need Logitech G-Hub.
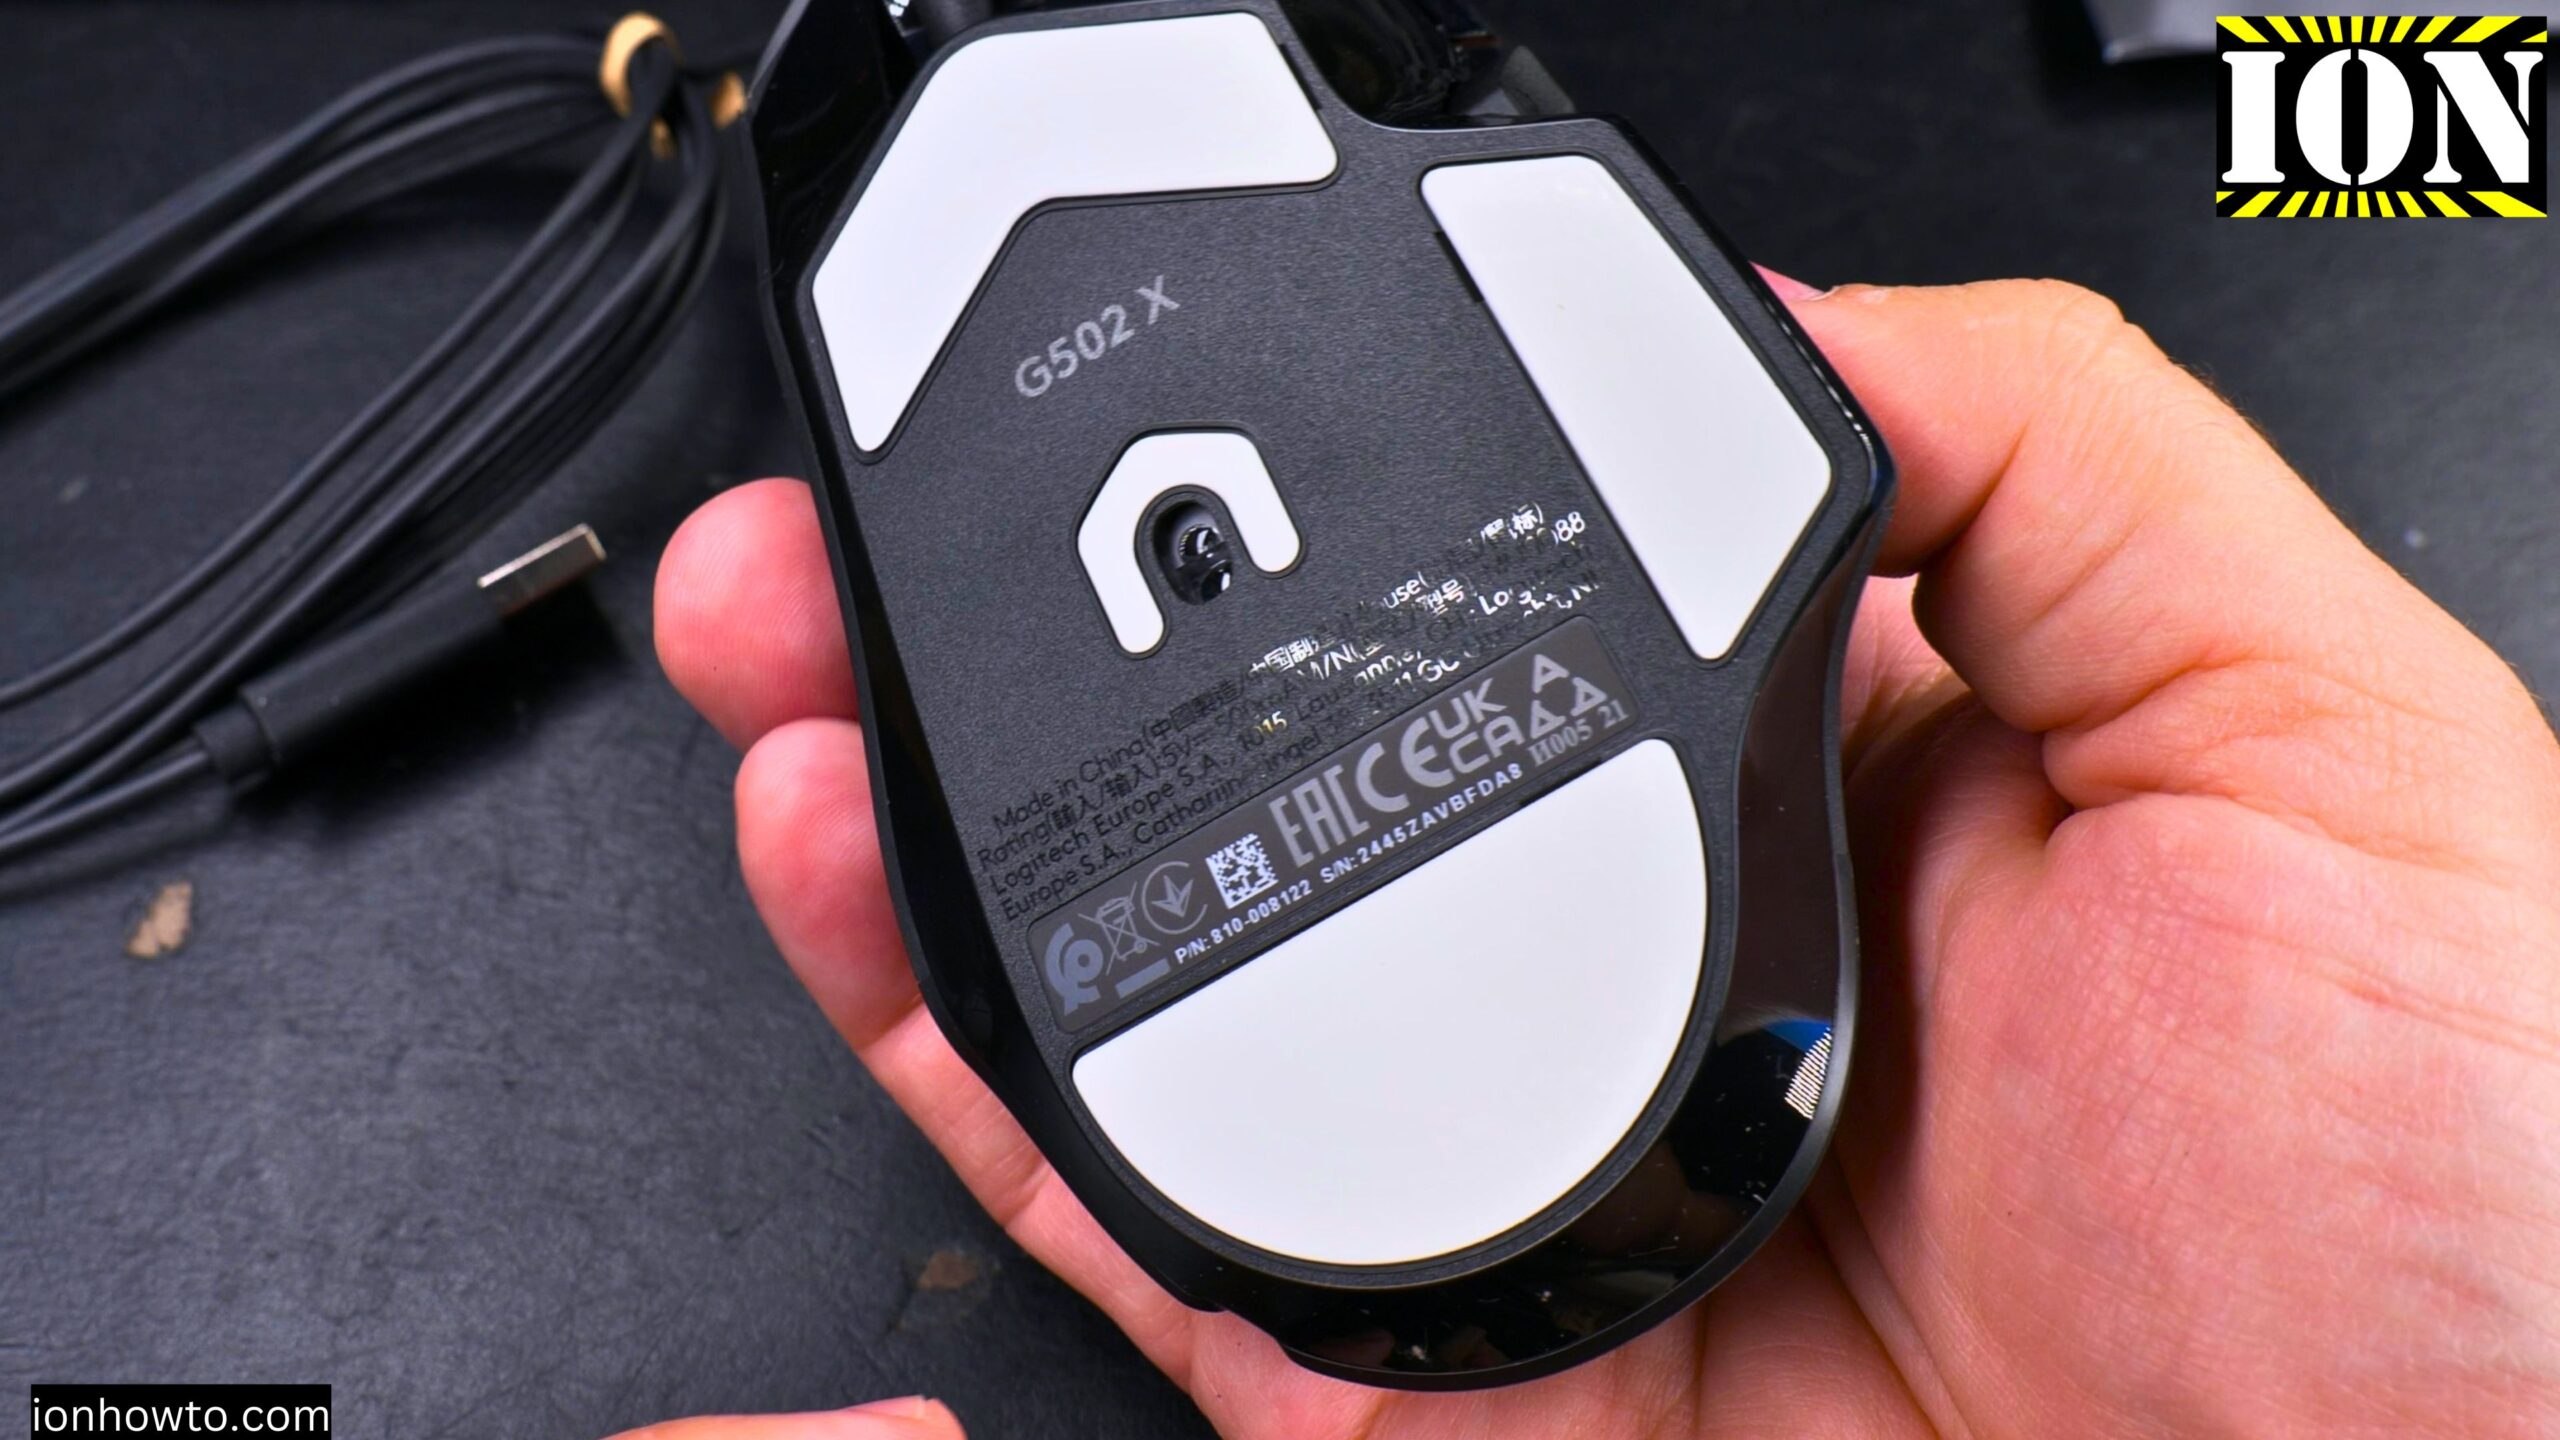
The mouse plugs in via USB. The cable is fixed – you cannot detach it. I plugged mine directly into the computer.
How to install Logitech G-Hub
Step 1: Go to the Logitech website
Search for “Logitech G-Hub download” or go to the Logitech support page.
Step 2: Download the software
Look for the G502 X in the list of products. Download the G-Hub software for Windows or Mac.
Step 3: Run the installer
Open the downloaded file and follow the installation prompts.
Step 4: Launch G-Hub
Once installed, open the software. It should automatically detect your G502 X mouse.
Step 5: Skip account creation (optional)
You can create a Logitech account for cloud profiles, but it’s not required. You can skip this and use the software offline.
Understanding the G-Hub interface
When you open G-Hub, you’ll see your mouse on the screen. Click on it to open the configuration options.
You’ll see several sections:
- Assignments – Change what each button does
- DPI – Adjust mouse sensitivity
- Lightsync – Control RGB lighting (not on the non-RGB version)
- Onboard Memory Mode – Save settings directly to the mouse
How to adjust DPI settings
DPI stands for dots per inch. It controls how sensitive your mouse is. Higher DPI means the cursor moves further when you move the mouse the same distance.
Step 1: Click on the “DPI” section in G-Hub
Step 2: You’ll see a grid of DPI levels. By default, you have several presets (800, 1,600, 2,400, 3,200, etc.)
Step 3: Drag the dots up or down to change each DPI level
Step 4: You can also add or remove DPI levels by clicking the plus or minus icons
Step 5: The current DPI level is shown in the corner of your screen when you change it
My preference: I like 2,400 DPI. It’s fast enough to cover the screen without moving my wrist much, but not so fast that I lose precision.
What the DPI numbers mean:
- 800 DPI – Very slow, good for precision tasks or low-resolution screens
- 1,600 DPI – Medium speed
- 2,400 DPI – Fast (my preference)
- 3,200+ DPI – Very fast, small movements cover the whole screen
Polling rate (report rate)
You can also adjust the polling rate in G-Hub. This is how many times per second the mouse reports its position to your computer.
- Default is 1,000 Hz (once per millisecond)
- This is the maximum and what you want
- Lower polling rates (125 Hz, 250 Hz, 500 Hz) can feel less responsive
Keep it at 1,000 Hz.
How to assign custom functions to buttons
The G502 X has 13 programmable controls. Here’s how to change what each button does.
Step 1: Click on the “Assignments” section in G-Hub
Step 2: You’ll see an image of the mouse. Click on any button to select it.
Step 3: On the left side, you’ll see categories of functions:
- Commands – Basic mouse and keyboard functions
- Keys – Single key presses (like pressing “C” or “Ctrl+C”)
- Actions – Macros, text blocks, and multi-key sequences
- System – Volume, media controls, Windows shortcuts
Step 4: Drag a function from the left panel onto the button you selected
Step 5: The button now does that function
Example – make a button open a new tab:
- Click on a button (like the forward or back button)
- Go to “Keys” or “Actions”
- Find or create “Ctrl+T” (new tab in most browsers)
- Drag it onto the button
Now when you press that button, it opens a new browser tab.
DPI shift button
The G502 X has a dedicated DPI shift button near your thumb. This is different from the regular DPI up/down buttons.
What it does: When you hold the DPI shift button, it temporarily lowers your DPI. When you release it, your DPI returns to normal.
Why this is useful:
- In games: Hold it while sniping for more precise aim
- In video editing: Hold it while dragging clip handles for frame-accurate cuts
- In photo editing: Hold it while making fine selections
The button feels a bit strange at first, but you won’t click it by accident. It requires a deliberate press.
How to record macros
This is the most powerful feature. Macros let you record a sequence of key presses and play them back with one button press.
Step 1: Go to the “Assignments” section
Step 2: Click on the button you want to assign a macro to
Step 3: From the left panel, go to “Actions” then “Macros”
Step 4: Click “Create New Macro”
Step 5: Give your macro a name (like “Test Macro” or “Video Edit Command”)
Step 6: Choose how the macro plays:
- No Repeat – Plays once each time you press the button
- Repeat While Holding – Keeps repeating as long as you hold the button down
Step 7: Click “Record” (red circle button)
Step 8: Type or press the keys you want to record. For example: T E S T Space T E S T Space T E S T Space
Step 9: Click “Stop” to finish recording
Step 10: Click “Save”
Step 11: Drag your new macro onto a mouse button
How to test your macro:
- Open a text document (Notepad works fine)
- Press the button you assigned the macro to
- Watch it type automatically
Example video – holding for repeated typing:
In the video demonstration, I recorded a macro that types “test space test space test space”. I assigned it to the DPI shift button with “Repeat While Holding”. When I hold that button down, the mouse keeps typing the sequence over and over. When I release, it stops.
This is incredibly useful for repetitive tasks in video editing or data entry.
Other useful macro ideas
- Text shortcuts – Type your email address, signature, or common phrases with one button
- Keyboard shortcuts – Trigger complex multi-key shortcuts for editing software
- Data entry – Enter repetitive form data
- Video editing – Apply effects, cut clips, or navigate timelines with one press
Onboard memory mode
The G502 X has onboard memory. This means you can save your settings directly to the mouse.
Why this matters: If you take your mouse to another computer, your settings (DPI levels, button assignments, macros) stay with the mouse. You don’t need to install G-Hub on the other computer.
How to use onboard memory:
Step 1: Click the gear icon in G-Hub
Step 2: Find “Onboard Memory Mode”
Step 3: Turn it on
Step 4: Choose which profile slot to save to (there are 5 slots)
Step 5: The mouse will now use the saved settings even when G-Hub is not running
By default, the mouse has two profiles. With G-Hub software, you can use up to five.
What functions can you assign?
Here are the main categories of assignable functions:
Mouse functions:
- Left click, right click, middle click
- Scroll up, scroll down
- DPI up, DPI down, DPI cycle
Keystrokes:
- Any single key (A, B, C, 1, 2, 3, etc.)
- Modifier keys (Ctrl, Alt, Shift, Windows key)
- Function keys (F1-F12)
Media controls:
- Play/pause, next track, previous track
- Volume up, volume down, mute
System functions:
- Copy, paste, cut, undo
- Switch desktop, task view
- Lock PC, sleep mode
Macros:
- Recorded sequences of keystrokes
- Can repeat or play once
Application-specific:
- Launch apps
- Switch between profiles
Turning off DPI notifications
When you change DPI, G-Hub shows a notification on your screen. This can be annoying.
To turn it off:
- Click the gear icon in G-Hub (settings)
- Look for “DPI notifications” or “On-screen notifications”
- Turn them off
Disabling buttons you never use
If there are buttons you never want to press by accident, you can disable them completely.
Step 1: Go to Assignments
Step 2: Click on the button you want to disable
Step 3: From the left panel, look for “Disable” or “Unassign”
Step 4: Drag “Disable” onto the button
Now pressing that button does nothing.
My comfort and grip
The comfort for me is great. I use some kind of strange mouse grip – maybe a pincer claw grip or hybrid grip. The back of the mouse touches my palm, and I hold it with my pinky and ring finger.
If you know the name for this grip, let me know.
The mouse weighs 89 grams. It has low-friction PTFE feet that glide smoothly on most mouse pads.
Specifications
- Weight: 89 g
- Onboard memory profiles: Up to 5
- PTFE feet: Yes
- Programmable controls: 13
- Sensor: HERO 25K
- DPI range: 100 to 25,600
- Zero smoothing, acceleration, or filtering
Quick summary
To install Logitech G-Hub:
- Go to Logitech website
- Download G-Hub
- Run the installer
- Open G-Hub
To adjust DPI:
- Click DPI section
- Drag the dots to set levels
- Keep polling rate at 1,000 Hz
To assign custom functions:
- Go to Assignments
- Click a button
- Drag a function onto it
To record a macro:
- Go to Actions > Macros
- Click Create New Macro
- Choose repeat mode (No Repeat or Repeat While Holding)
- Click Record
- Type your key sequence
- Click Stop and Save
- Drag the macro onto a mouse button
To use onboard memory:
- Click gear icon
- Turn on Onboard Memory Mode
- Save settings to a profile slot
What I learned from using macros
The macro feature is surprisingly powerful. In the video, I recorded a simple macro that typed “test space test space test space” and set it to repeat while holding the button. When I pressed the button, it kept typing until I let go.
For video editing, this could mean automating repetitive tasks like:
- Adding the same effect to multiple clips
- Typing the same text overlay repeatedly
- Performing a sequence of keyboard shortcuts with one press
Even if you never use most of the extra buttons, having the option to create macros makes this mouse worth considering for productivity work.
Final thoughts
The Logitech G502 X is a solid mouse. The G-Hub software has a learning curve, but it’s powerful once you understand it. The macro recording and DPI shift button are the standout features for non-gaming use.
If some switches fail within warranty, I will send it for repair or replacement. If they fail after warranty, I will try to fix it myself. So far, it looks good and works great.
Thanks for reading. If you have questions about setting up macros or assigning buttons, let me know in the comments.


Leave a Reply