
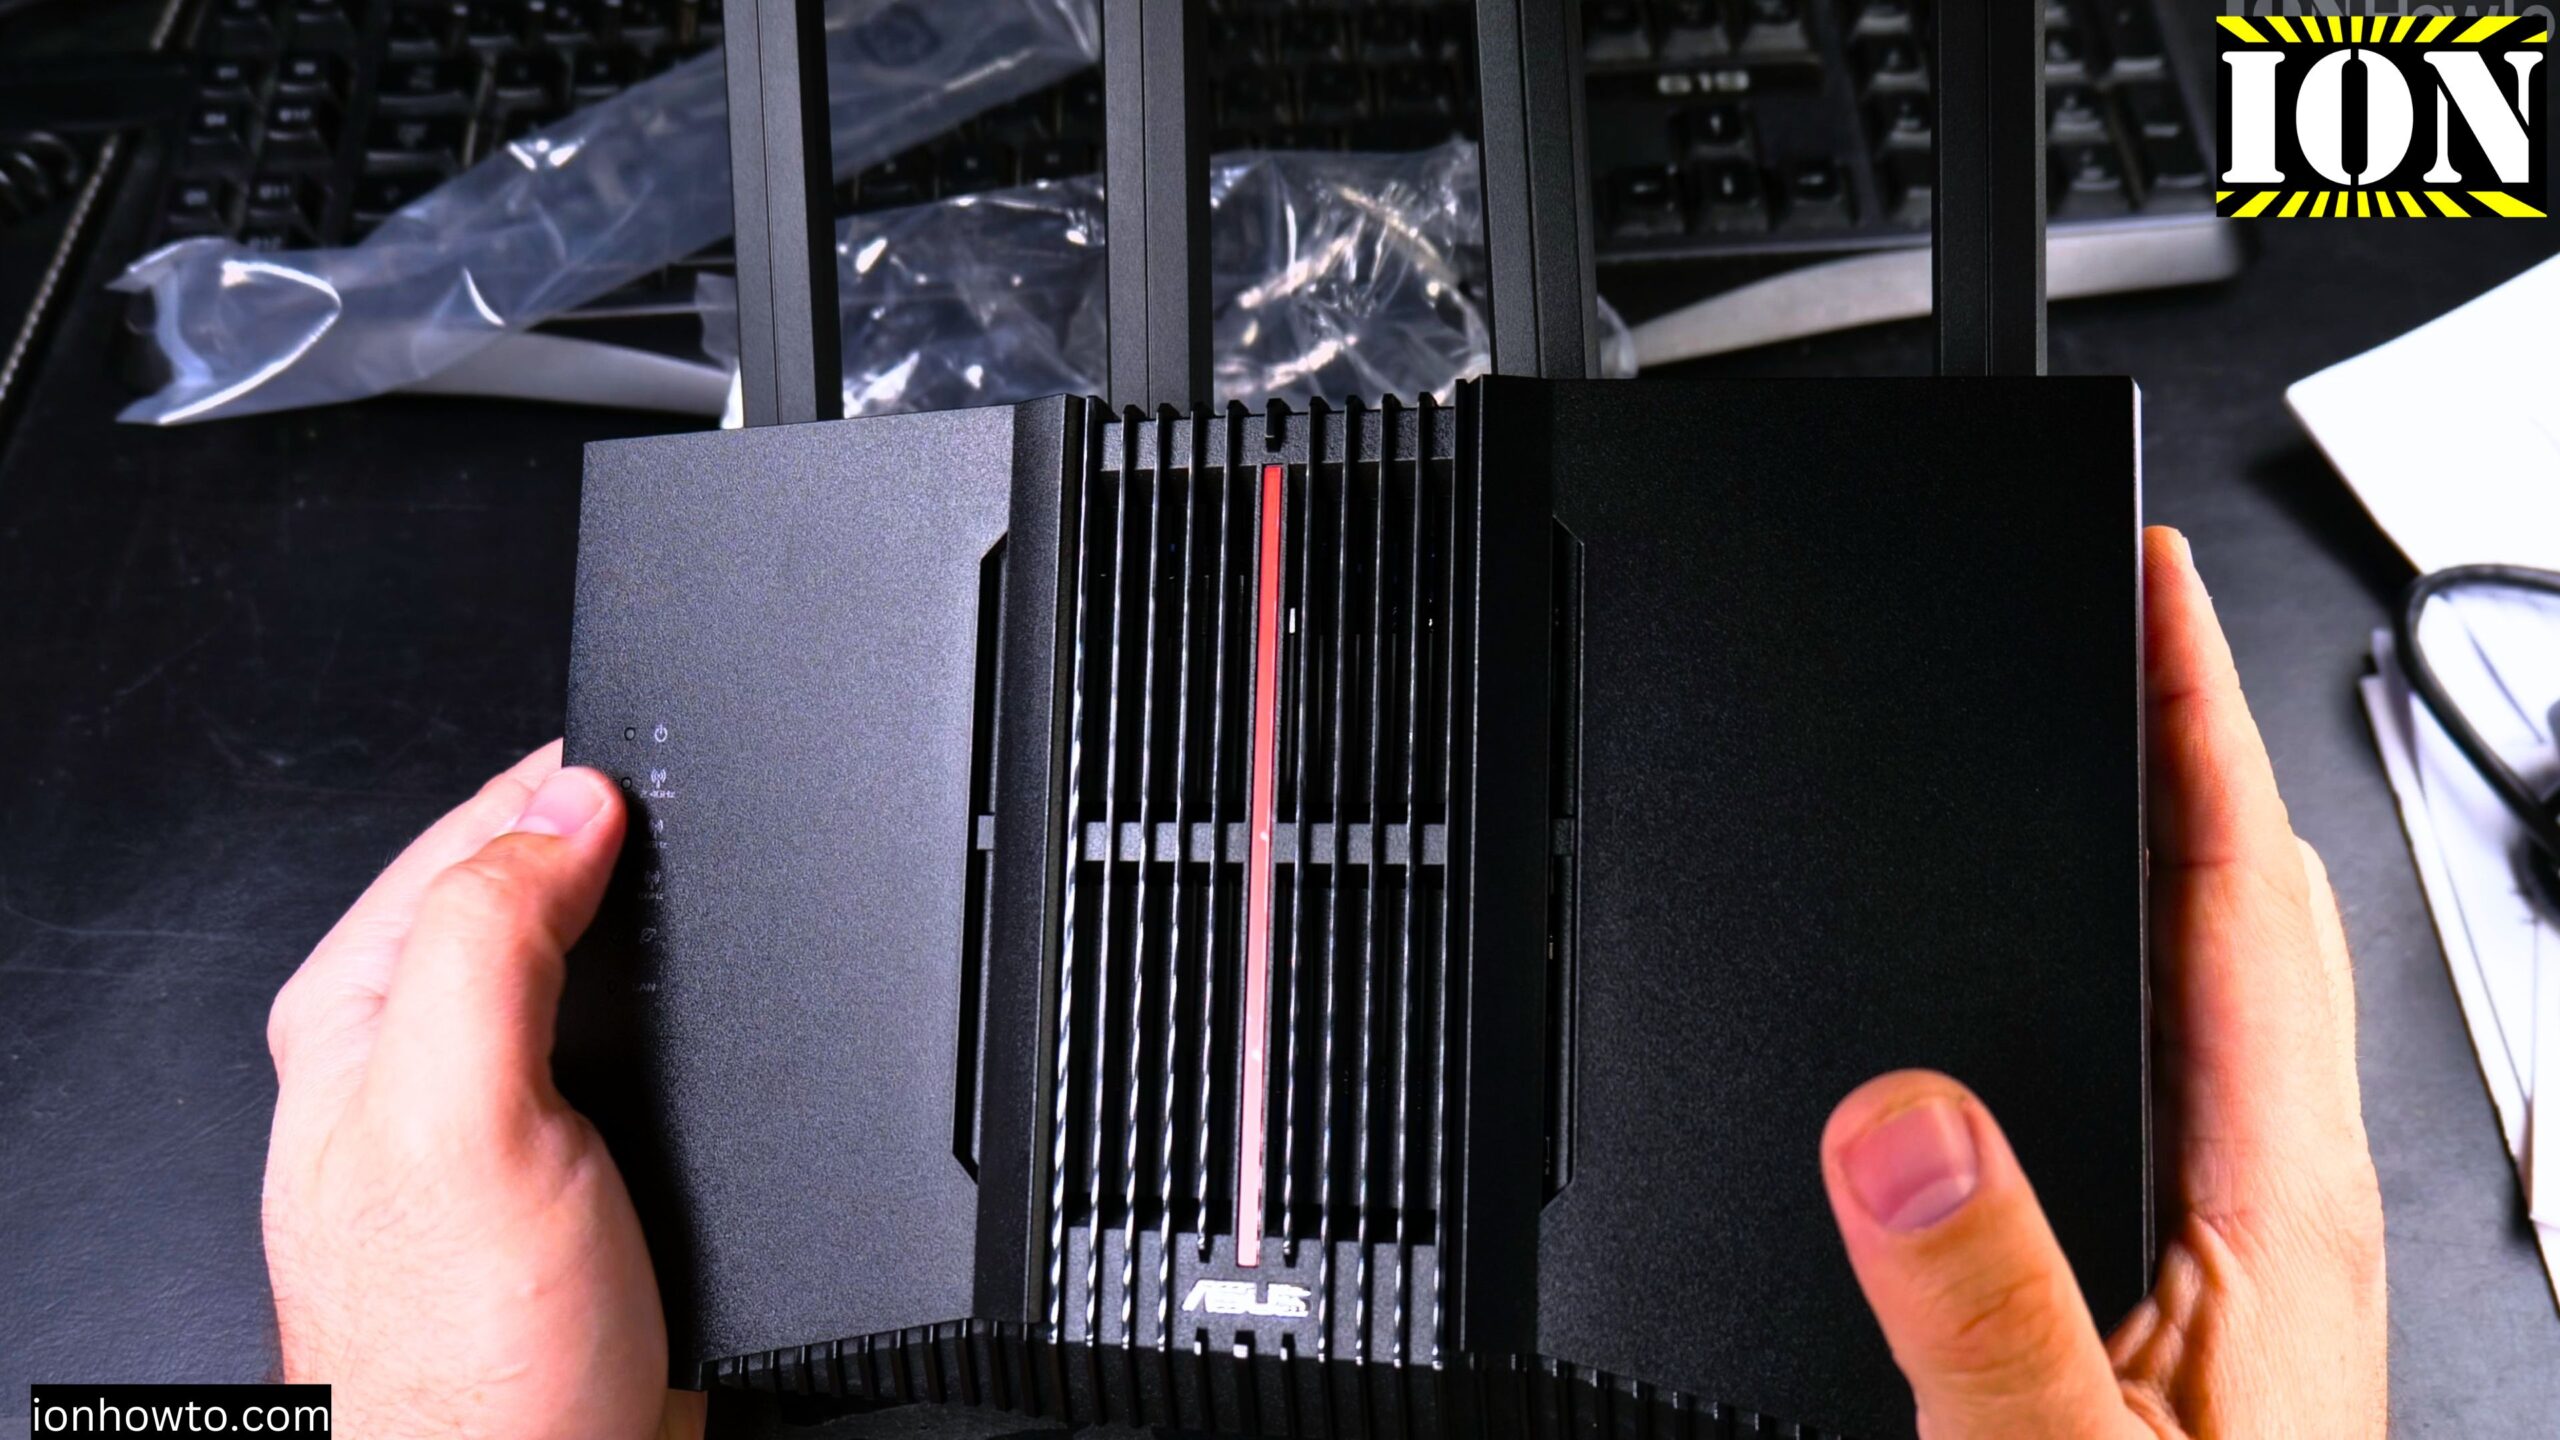
How to Set Up the Asus Router RT-BE92U Using the Web Interface.
Learn how to set up your new Asus RT-BE92U router. I show you how to use the web interface on a computer or your phone to get everything working. No need to be a networking expert.
The Asus RT-BE92U is a BE9700 Tri-Band WiFi 7 router. It supports three WiFi bands – 2.4GHz, 5GHz, and 6GHz. By default, all three are combined under one network name (SSID). But you can also give each band its own separate name if you prefer.
What You Get With This Router
Before we jump into setup, here is what this router can do:
- WiFi 7 with support for 320MHz channels and 4096-QAM – speeds up to 9700 Mbps
- Multi-Link Operation (MLO) – connects to multiple frequency bands at the same time for a more stable connection
- AI WAN Detection – automatically detects your internet connection type
- USB port for 4G or 5G mobile tethering as a backup internet source
- AiProtection Pro powered by Trend Micro – free network security with no subscription
- AiMesh support – add other Asus routers to create a mesh network
- VPN and smart home features built in
Two Ways to Set Up the Router
You have two options to set up this router:
- Use the Asus Router App on your iPhone or Android phone
- Use the web interface from any computer or phone browser
I show you the web interface method here, but both work fine. Pick whichever is easier for you.
Before You Connect: Check Your Computer IP Settings
Here is something that trips people up. If your computer has a static (manual) IP address set from an old router, you might not be able to reach the new router. Here is how to fix that on Windows 11:
- Go to your network card settings
- Change the IP settings to automatic (DHCP)
- Let your computer get an IP address from the new router automatically
Once that is done, your computer will get an IP address in the same range as the router – usually 192.168.50.x.
How to Access the Asus Router Web Interface
Follow these steps to get into the router settings:
Step 1: Connect to the Router
Plug your computer into one of the LAN ports on the router using an Ethernet cable. You can also connect wirelessly if the router is broadcasting its default WiFi network.
Step 2: Open Your Web Browser
Open Chrome, Firefox, Safari, or any browser you like.
Step 3: Type the Router Address
Type one of these addresses into the address bar:
- 192.168.50.1 (this is the most common one)
- 192.168.1.1 (try this if the first one does not work)
- router.asus.com (this also works)
Step 4: Log In
You will see a login screen. Enter the username and password you created during the initial setup. If this is a brand new router fresh out of the box, follow the on-screen setup wizard first to create an admin account.
What You Can Do in the Web Interface
Once you are logged in, here are some of the useful things you can do:
View Your Connected Devices
The dashboard shows you a client list with all devices connected to your router. You can see exactly how each device is connected – for example, it will show you if your iPhone is connected on 6GHz WiFi.
Change WiFi Name and Password
Go to the wireless settings section. From there you can:
- Change your WiFi network name (SSID)
- Change your WiFi password
- Separate the three bands into different network names if you want
- Generate a QR code for easy WiFi sharing – great for guests
Turn Off WPS
WPS is a feature that lets devices connect without typing a password. It can be a security risk. I prefer to turn it off. You can do this in the settings. If you want, you can also set the WPS button to act as an LED on/off switch instead.
Enable Multi-Link Operation (MLO)
This is a new WiFi 7 feature. It combines different frequency bands together for a stronger, faster connection. You can find and enable this in the wireless settings.
Set Up VPN Access
The router has built-in VPN support. If you want to access your home network from outside, set up the VPN first. Then connect through the VPN to reach your router remotely. Do not just open direct access from the internet.
Change Your Router Login Password
You can change both the username and the login password for the router itself at any time. This is different from your WiFi password. Do not lose this one.
Check System Resources
The web interface shows you a live graph of:
- CPU core usage
- Memory (RAM) usage
Do not worry if you see memory sitting around 70% usage. The router is designed to use available memory. It will free up space if needed for things like VPN connections.
Update Firmware
Check for firmware updates in the settings. Asus also supports third-party firmware called Asus Merlin on this router. If you like extra features, you can look into installing that later.
Run a Speed Test
There is a built-in speed test feature. It shows you what speeds your network can actually deliver.
A Few Extra Settings Worth Looking At
- AiProtection Pro – runs a security scan and tells you if anything is wrong with your router setup
- Dynamic DNS – Asus makes this easier now with free subdomains. Keeps your home network reachable even when your ISP changes your IP address
- Traffic Monitor – shows you how much data is moving through your network
- USB port features – you can plug in an external drive and use it for file sharing, but I recommend disabling cloud features and remote access unless you really need them
Final Thoughts
The Asus RT-BE92U web interface is clean and easy to navigate. The main reason to buy this router is the 10 Gig port for fast LAN connections and the 6GHz WiFi 7 support. Not many devices use 6GHz yet, which means less interference and a cleaner signal than the crowded 2.4GHz and 5GHz bands. Even through walls, the signal holds up well.
Take your time going through the settings. Change your default passwords right away. And if you get stuck, the built-in security scanner can help point you in the right direction.


Leave a Reply