
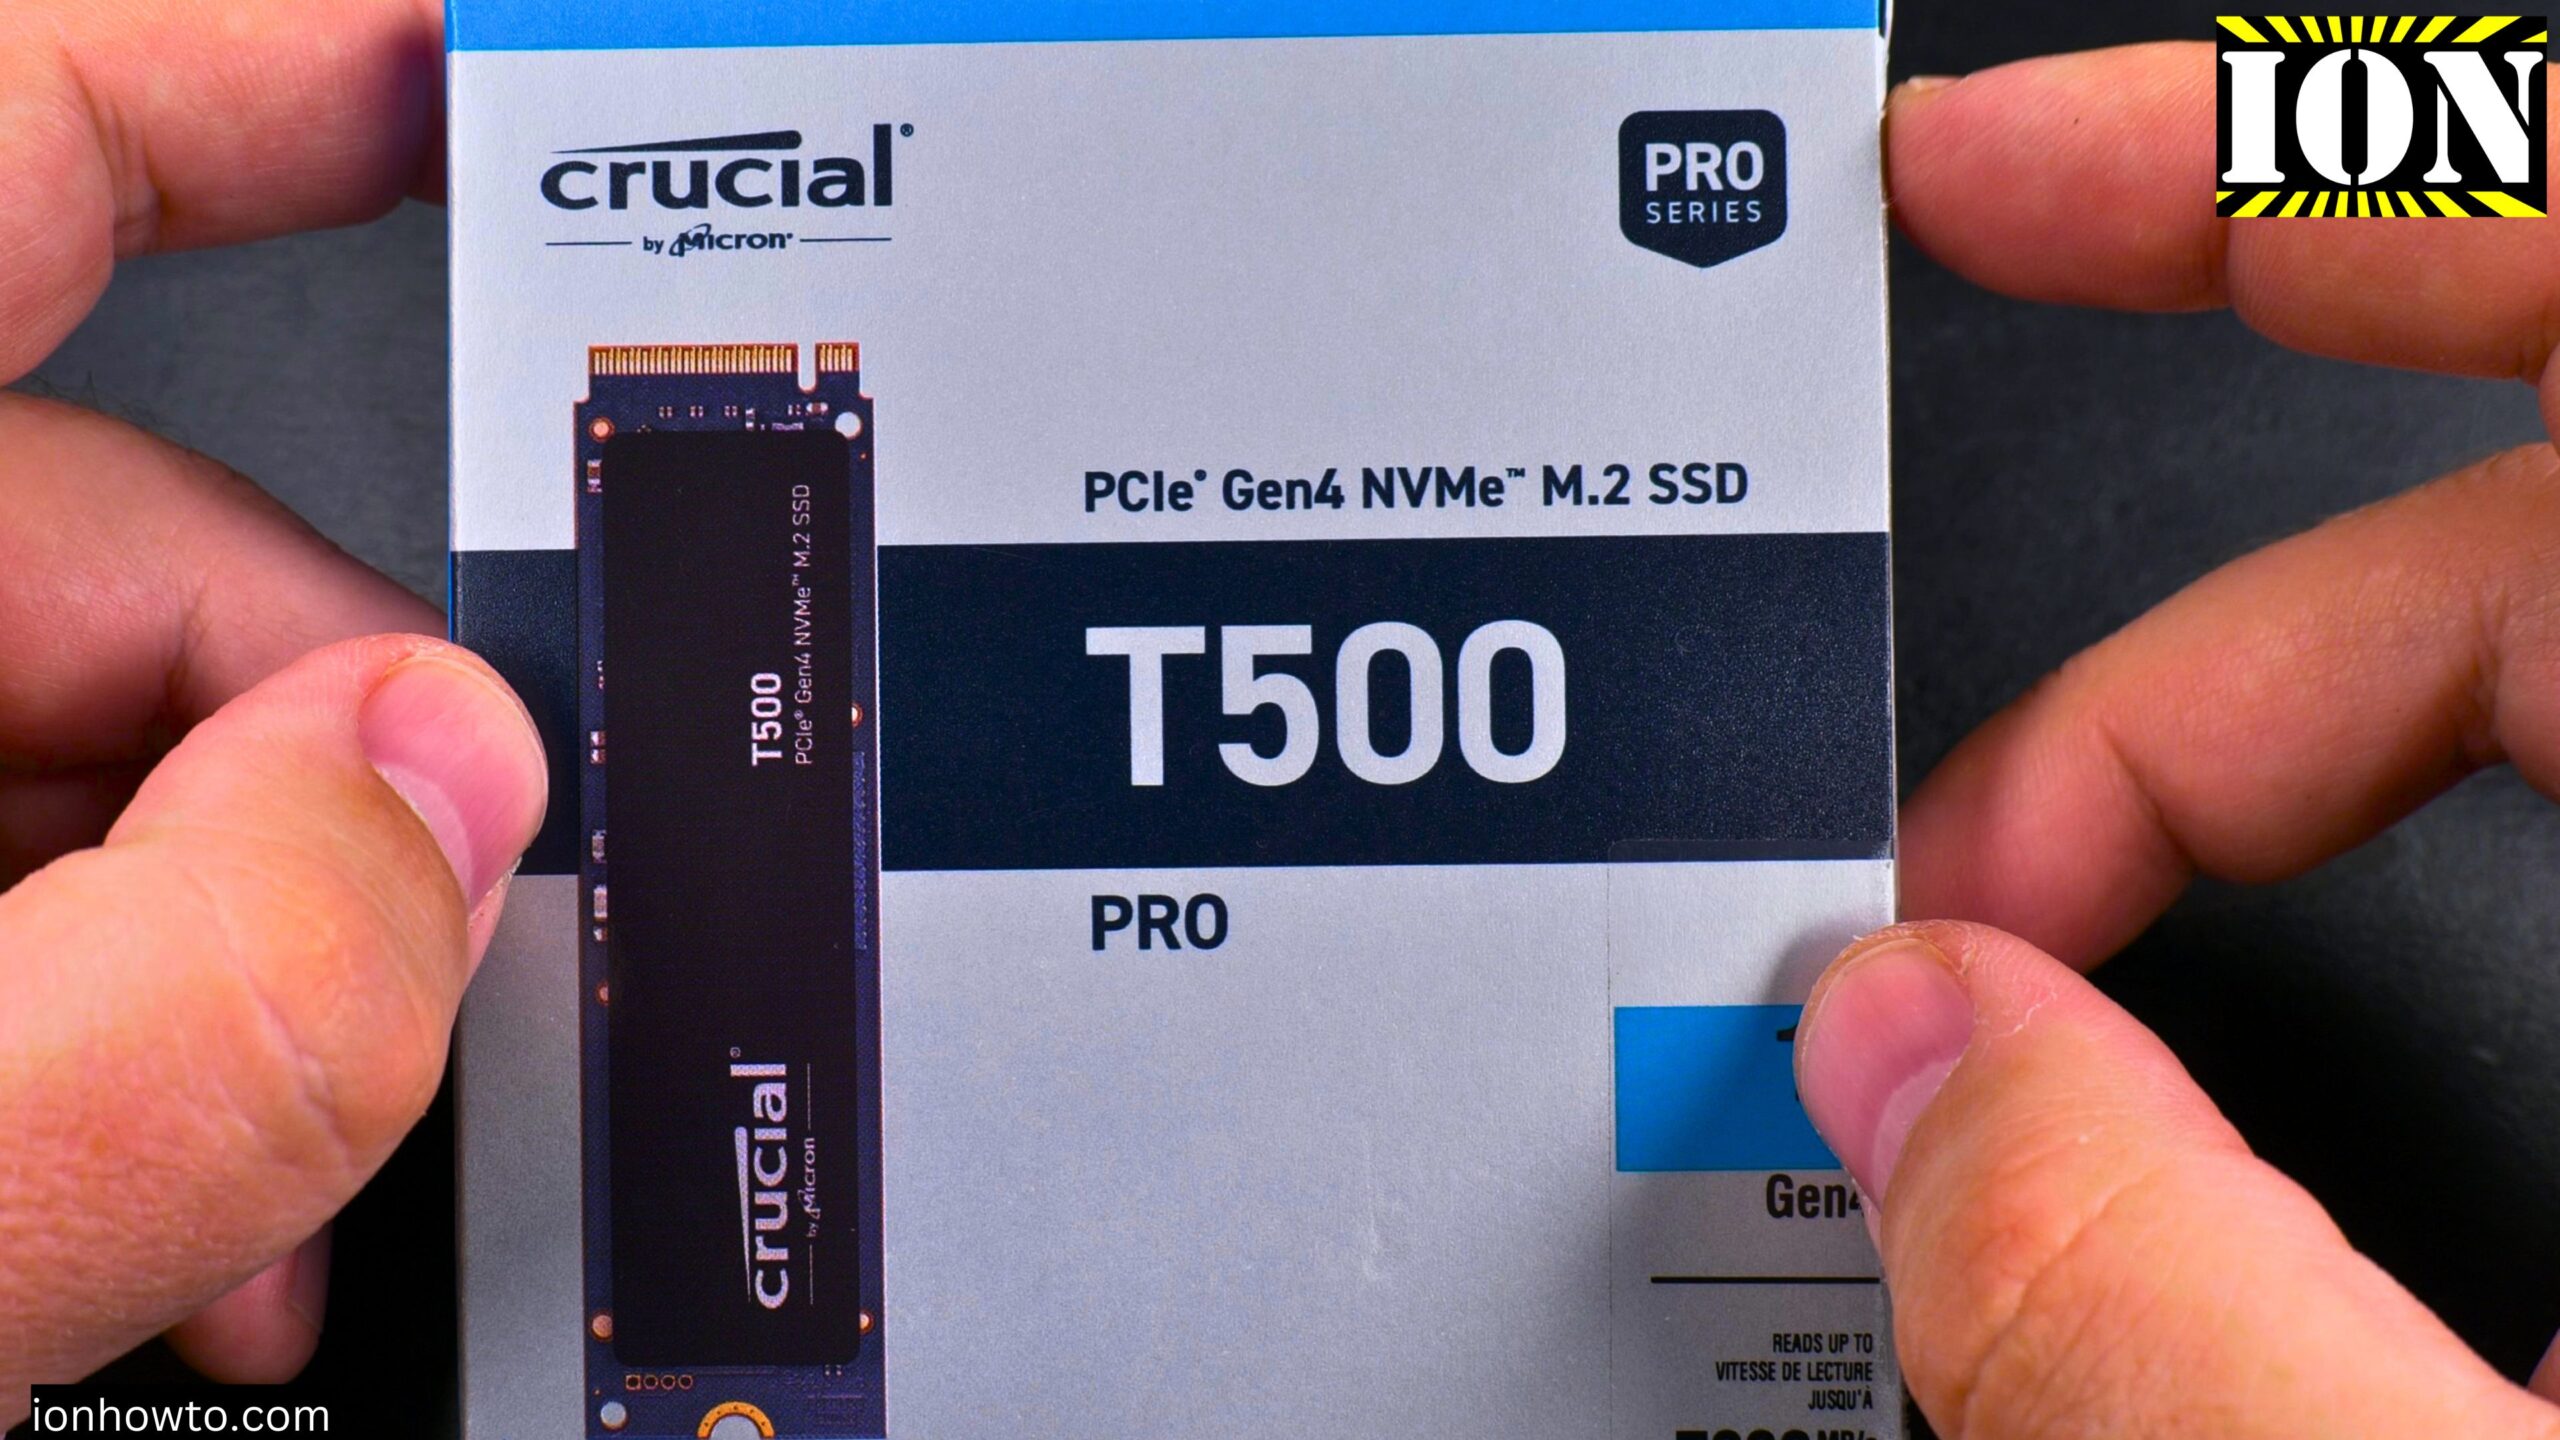
Install NVMe Crucial T500 Pro M.2 SSD in Desktop PC.
Learn how to install the Crucial T500 Pro NVMe M.2 SSD into your desktop computer. I will show you the whole process on an Asus Prime X570-P motherboard running Windows 11.
This is a PCIe 4.0 SSD. PCIe 5.0 drives are faster, but this drive is more than fast enough for most people.
Before you start
What you need:
- The Crucial T500 Pro NVMe SSD
- A Phillips head screwdriver (magnetic helps)
- Your computer (powered off and unplugged)
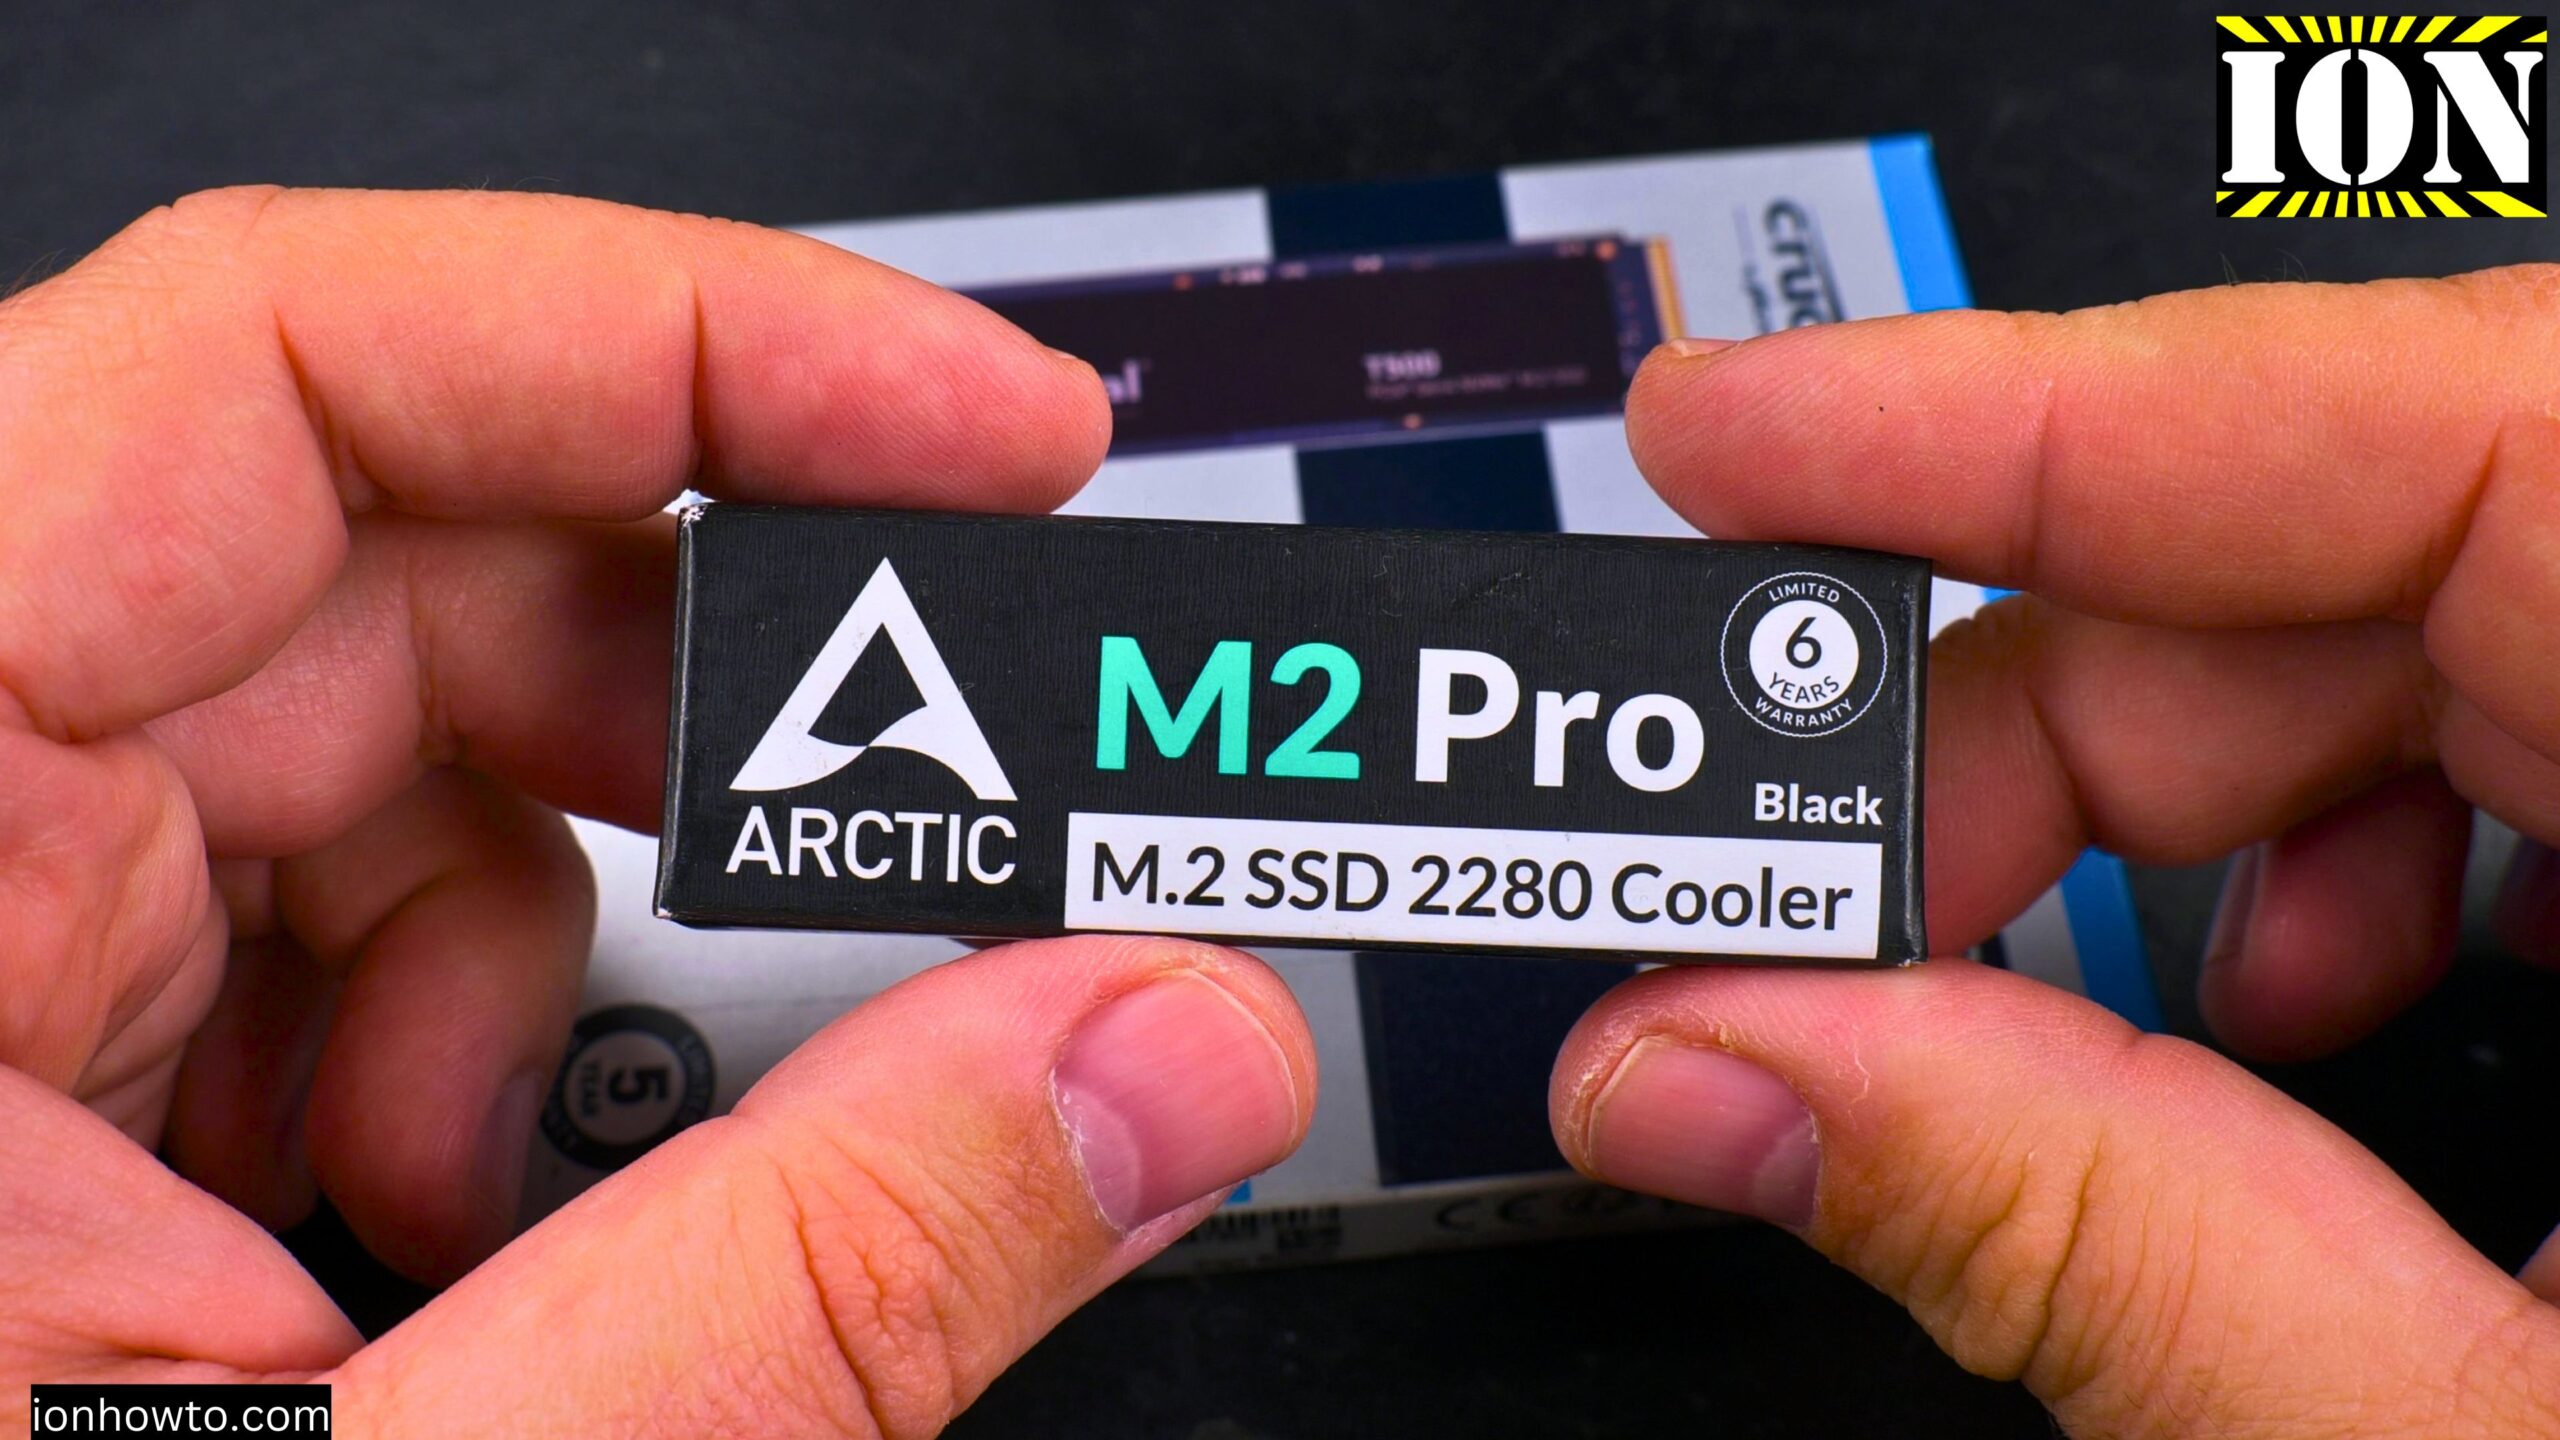
- Optional: NVMe heatsink (I used Arctic M2 Pro)
Static electricity warning: Touch a metal part of your computer case before handling the SSD. This discharges any static electricity. In dry weather with low humidity, static can build up and damage electronics. You do not want that spark to hit your new SSD.
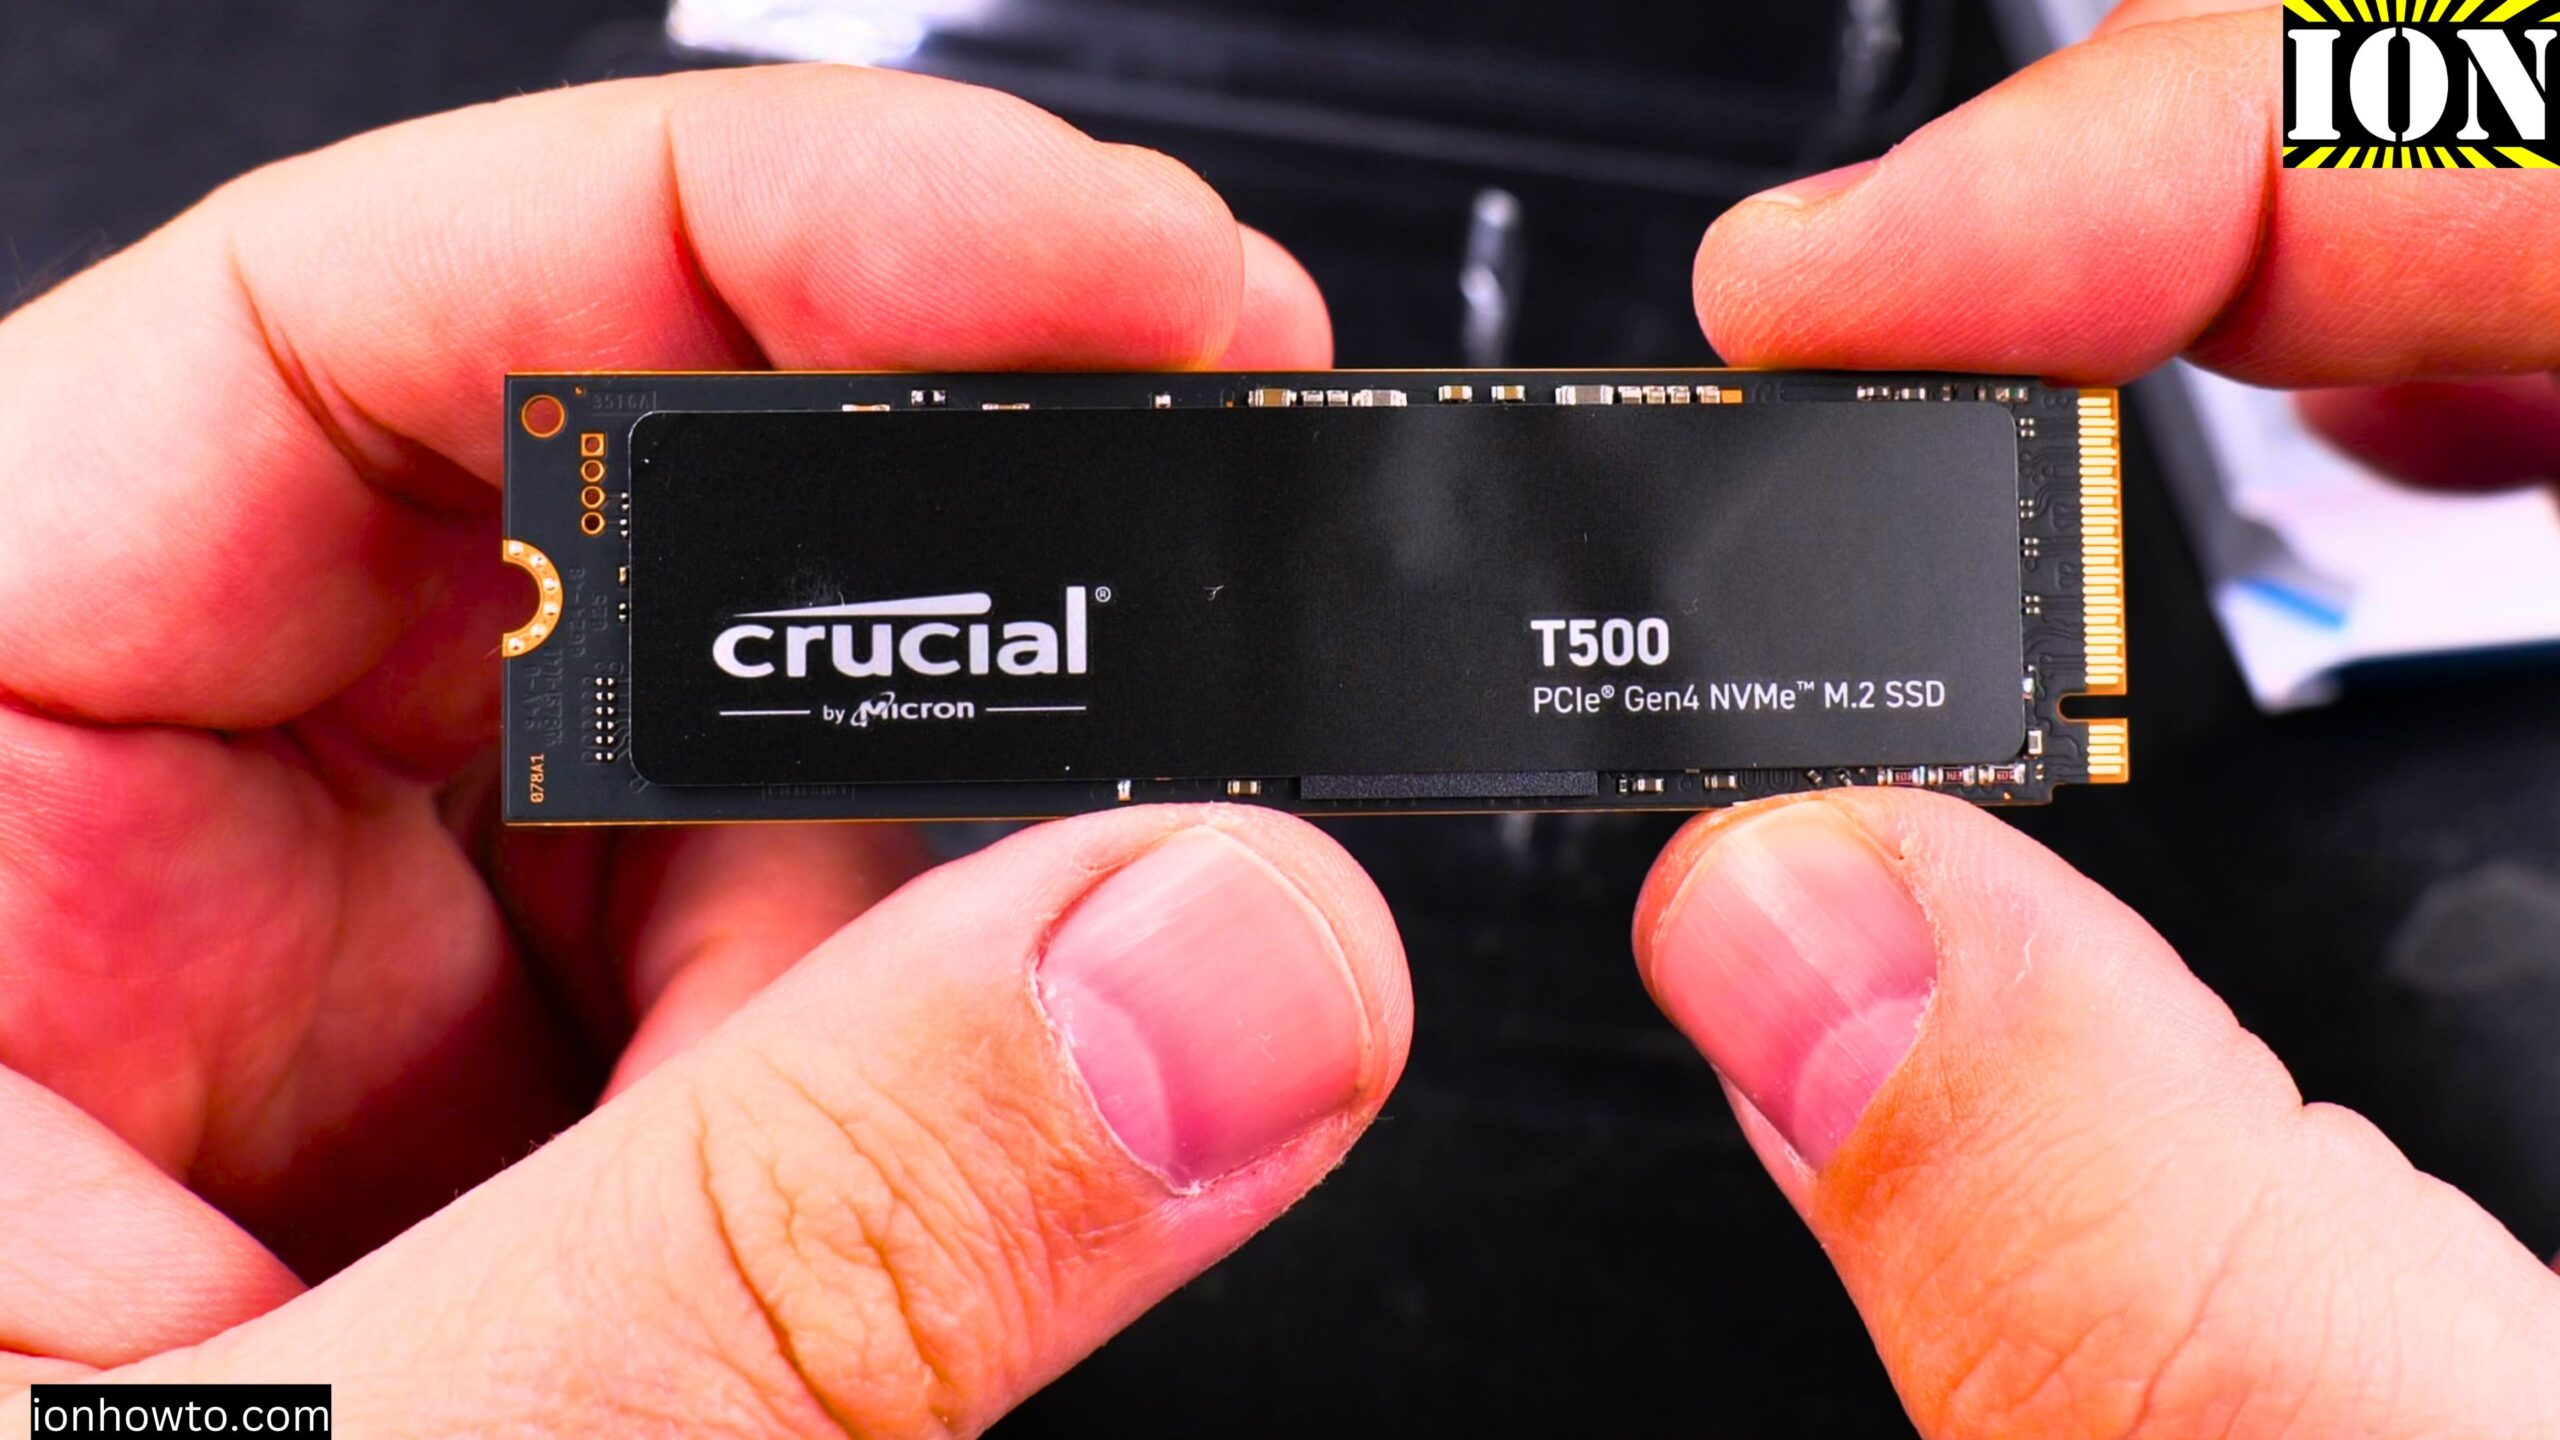
Handle the SSD carefully
The SSD is small and delicate. Hold it by the edges. Do not touch the gold connector pins or any of the small components on the board.
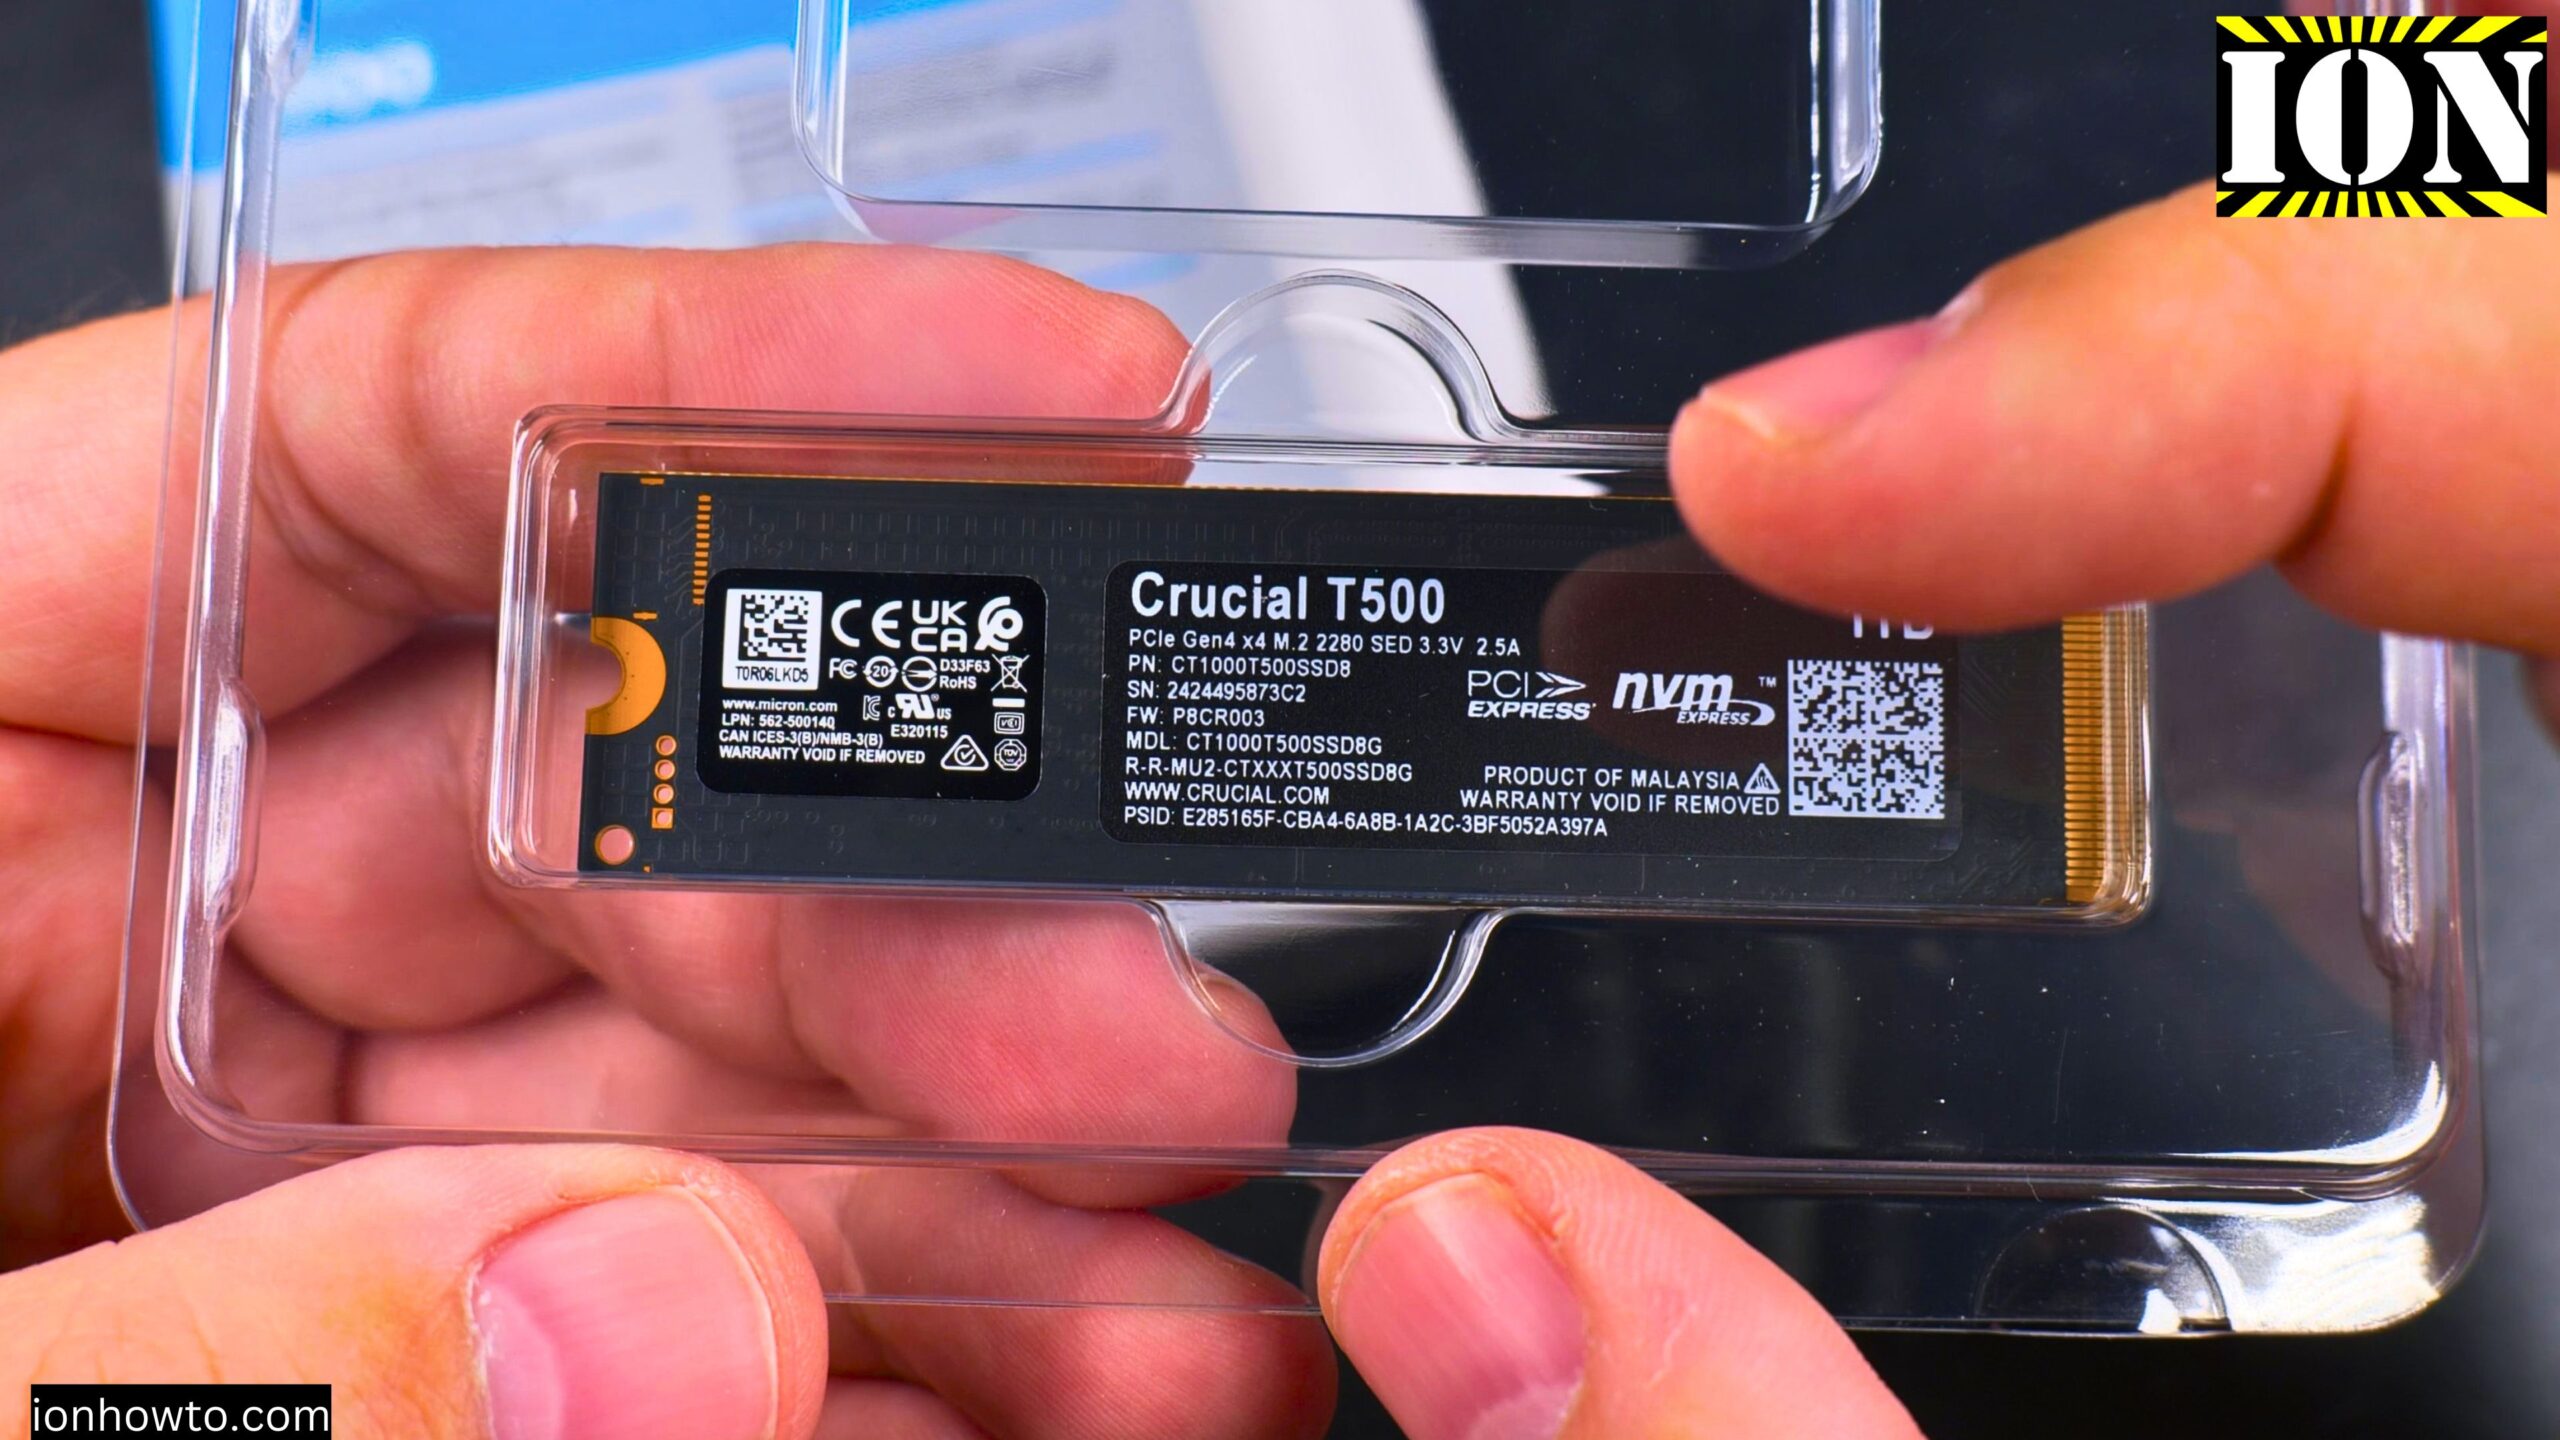
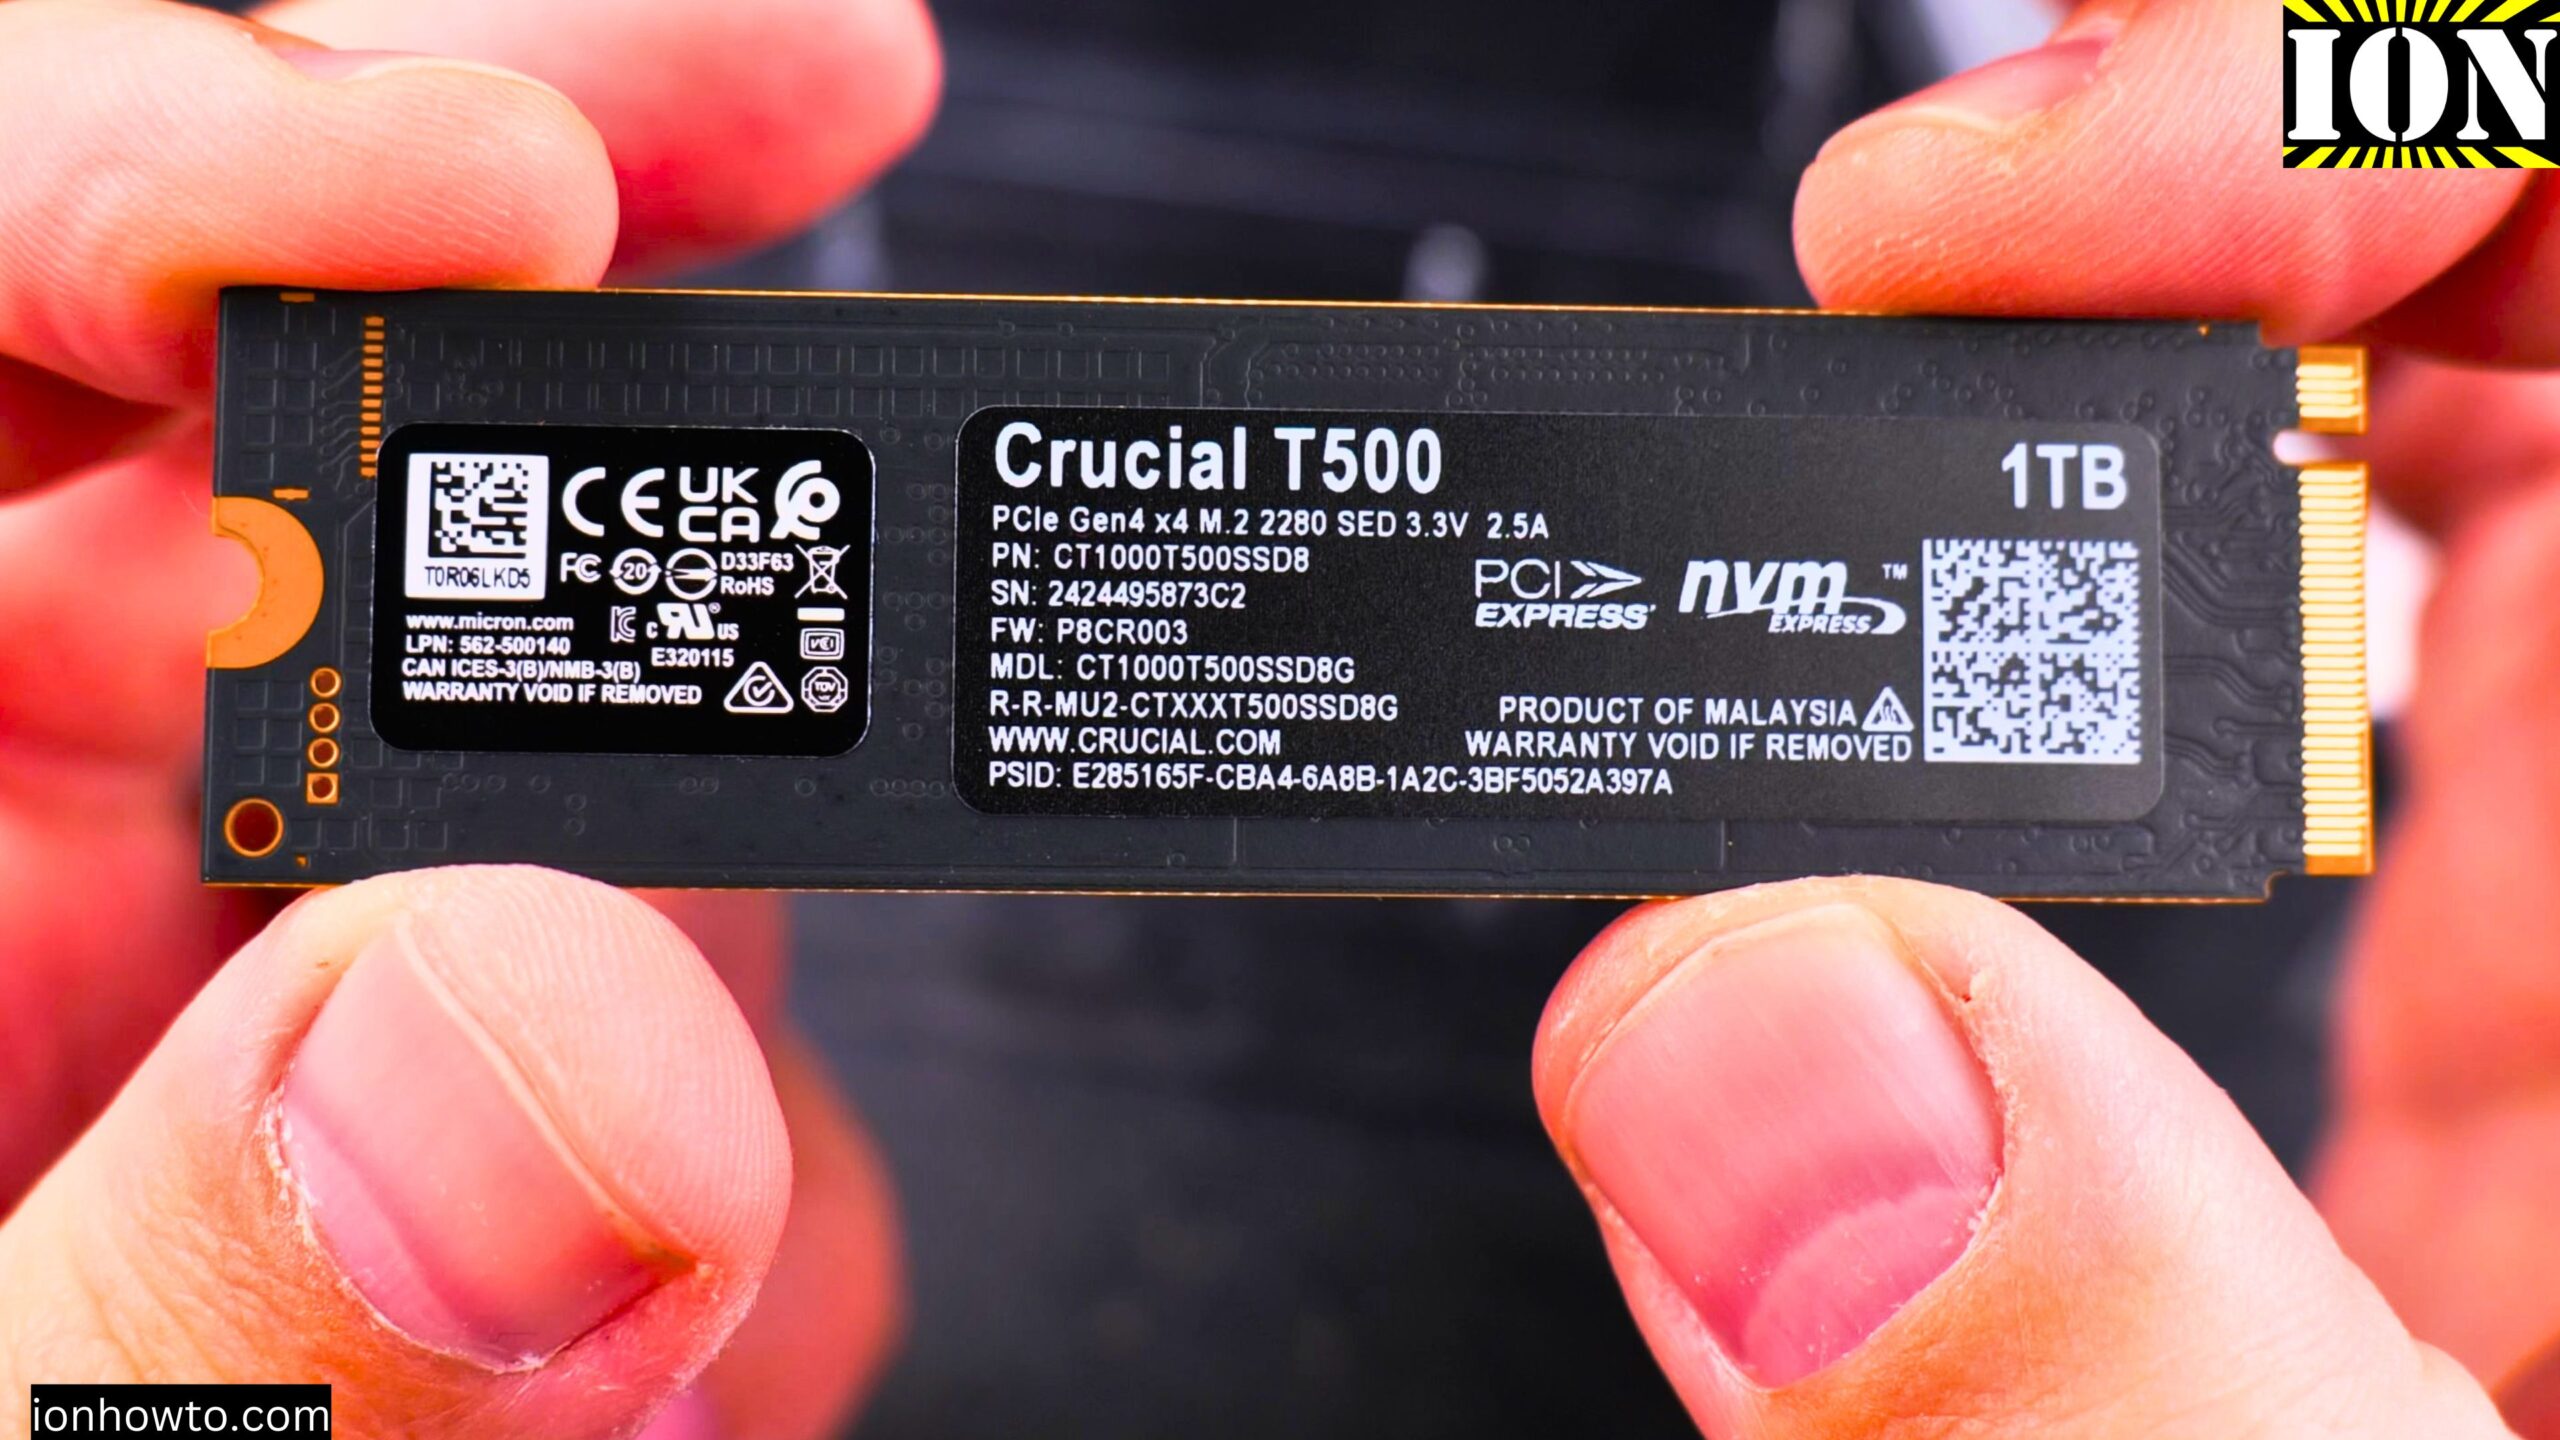
The drive has two stickers:
- Top sticker – branding only, no “”warranty void”” text
- Bottom sticker – says “”warranty void if removed””
I decided to leave both stickers on. Even with the sticker on, the drive still works well. In my temperature tests, the sticker did not cause problems.
Step 1: Power down and open your computer
Step 1: Shut down Windows completely
Step 2: Turn off the power supply switch (if your power supply has one)
Step 3: Unplug the power cord from the back of the computer
Step 4: Open the side panel of your computer case
Step 5: Touch a metal part of the case to ground yourself
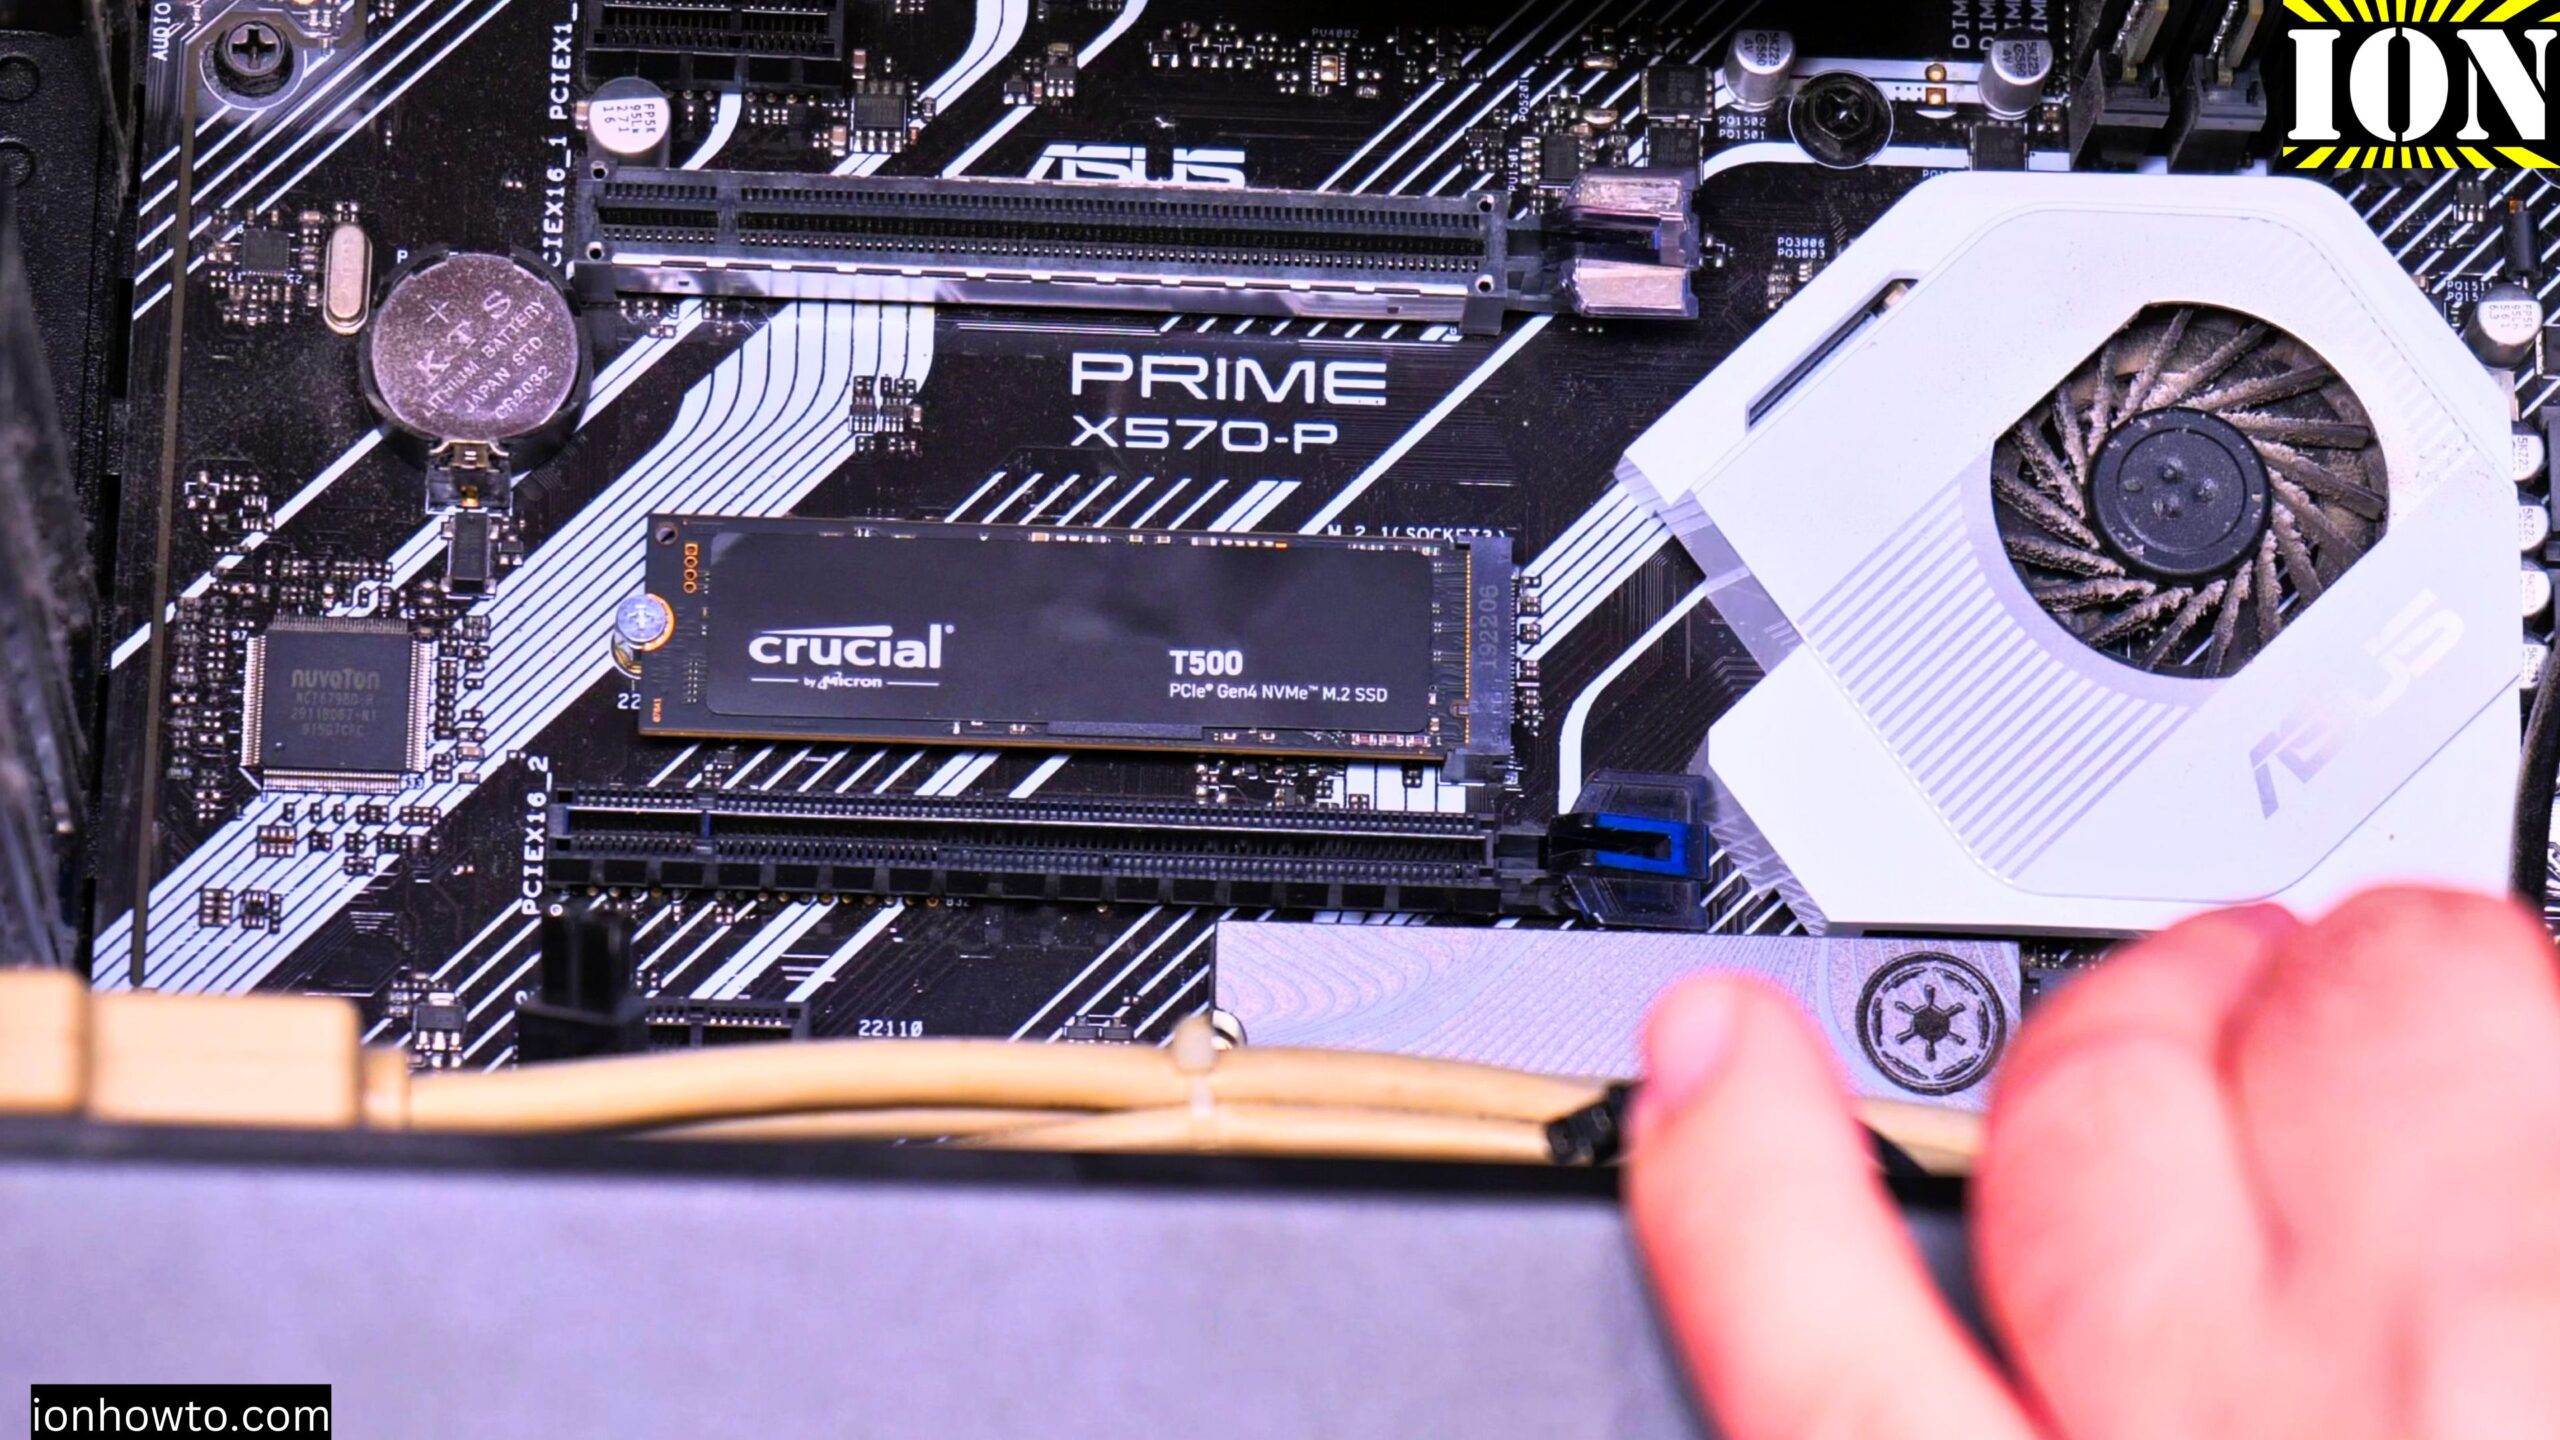
Step 2: Locate the M.2 slot
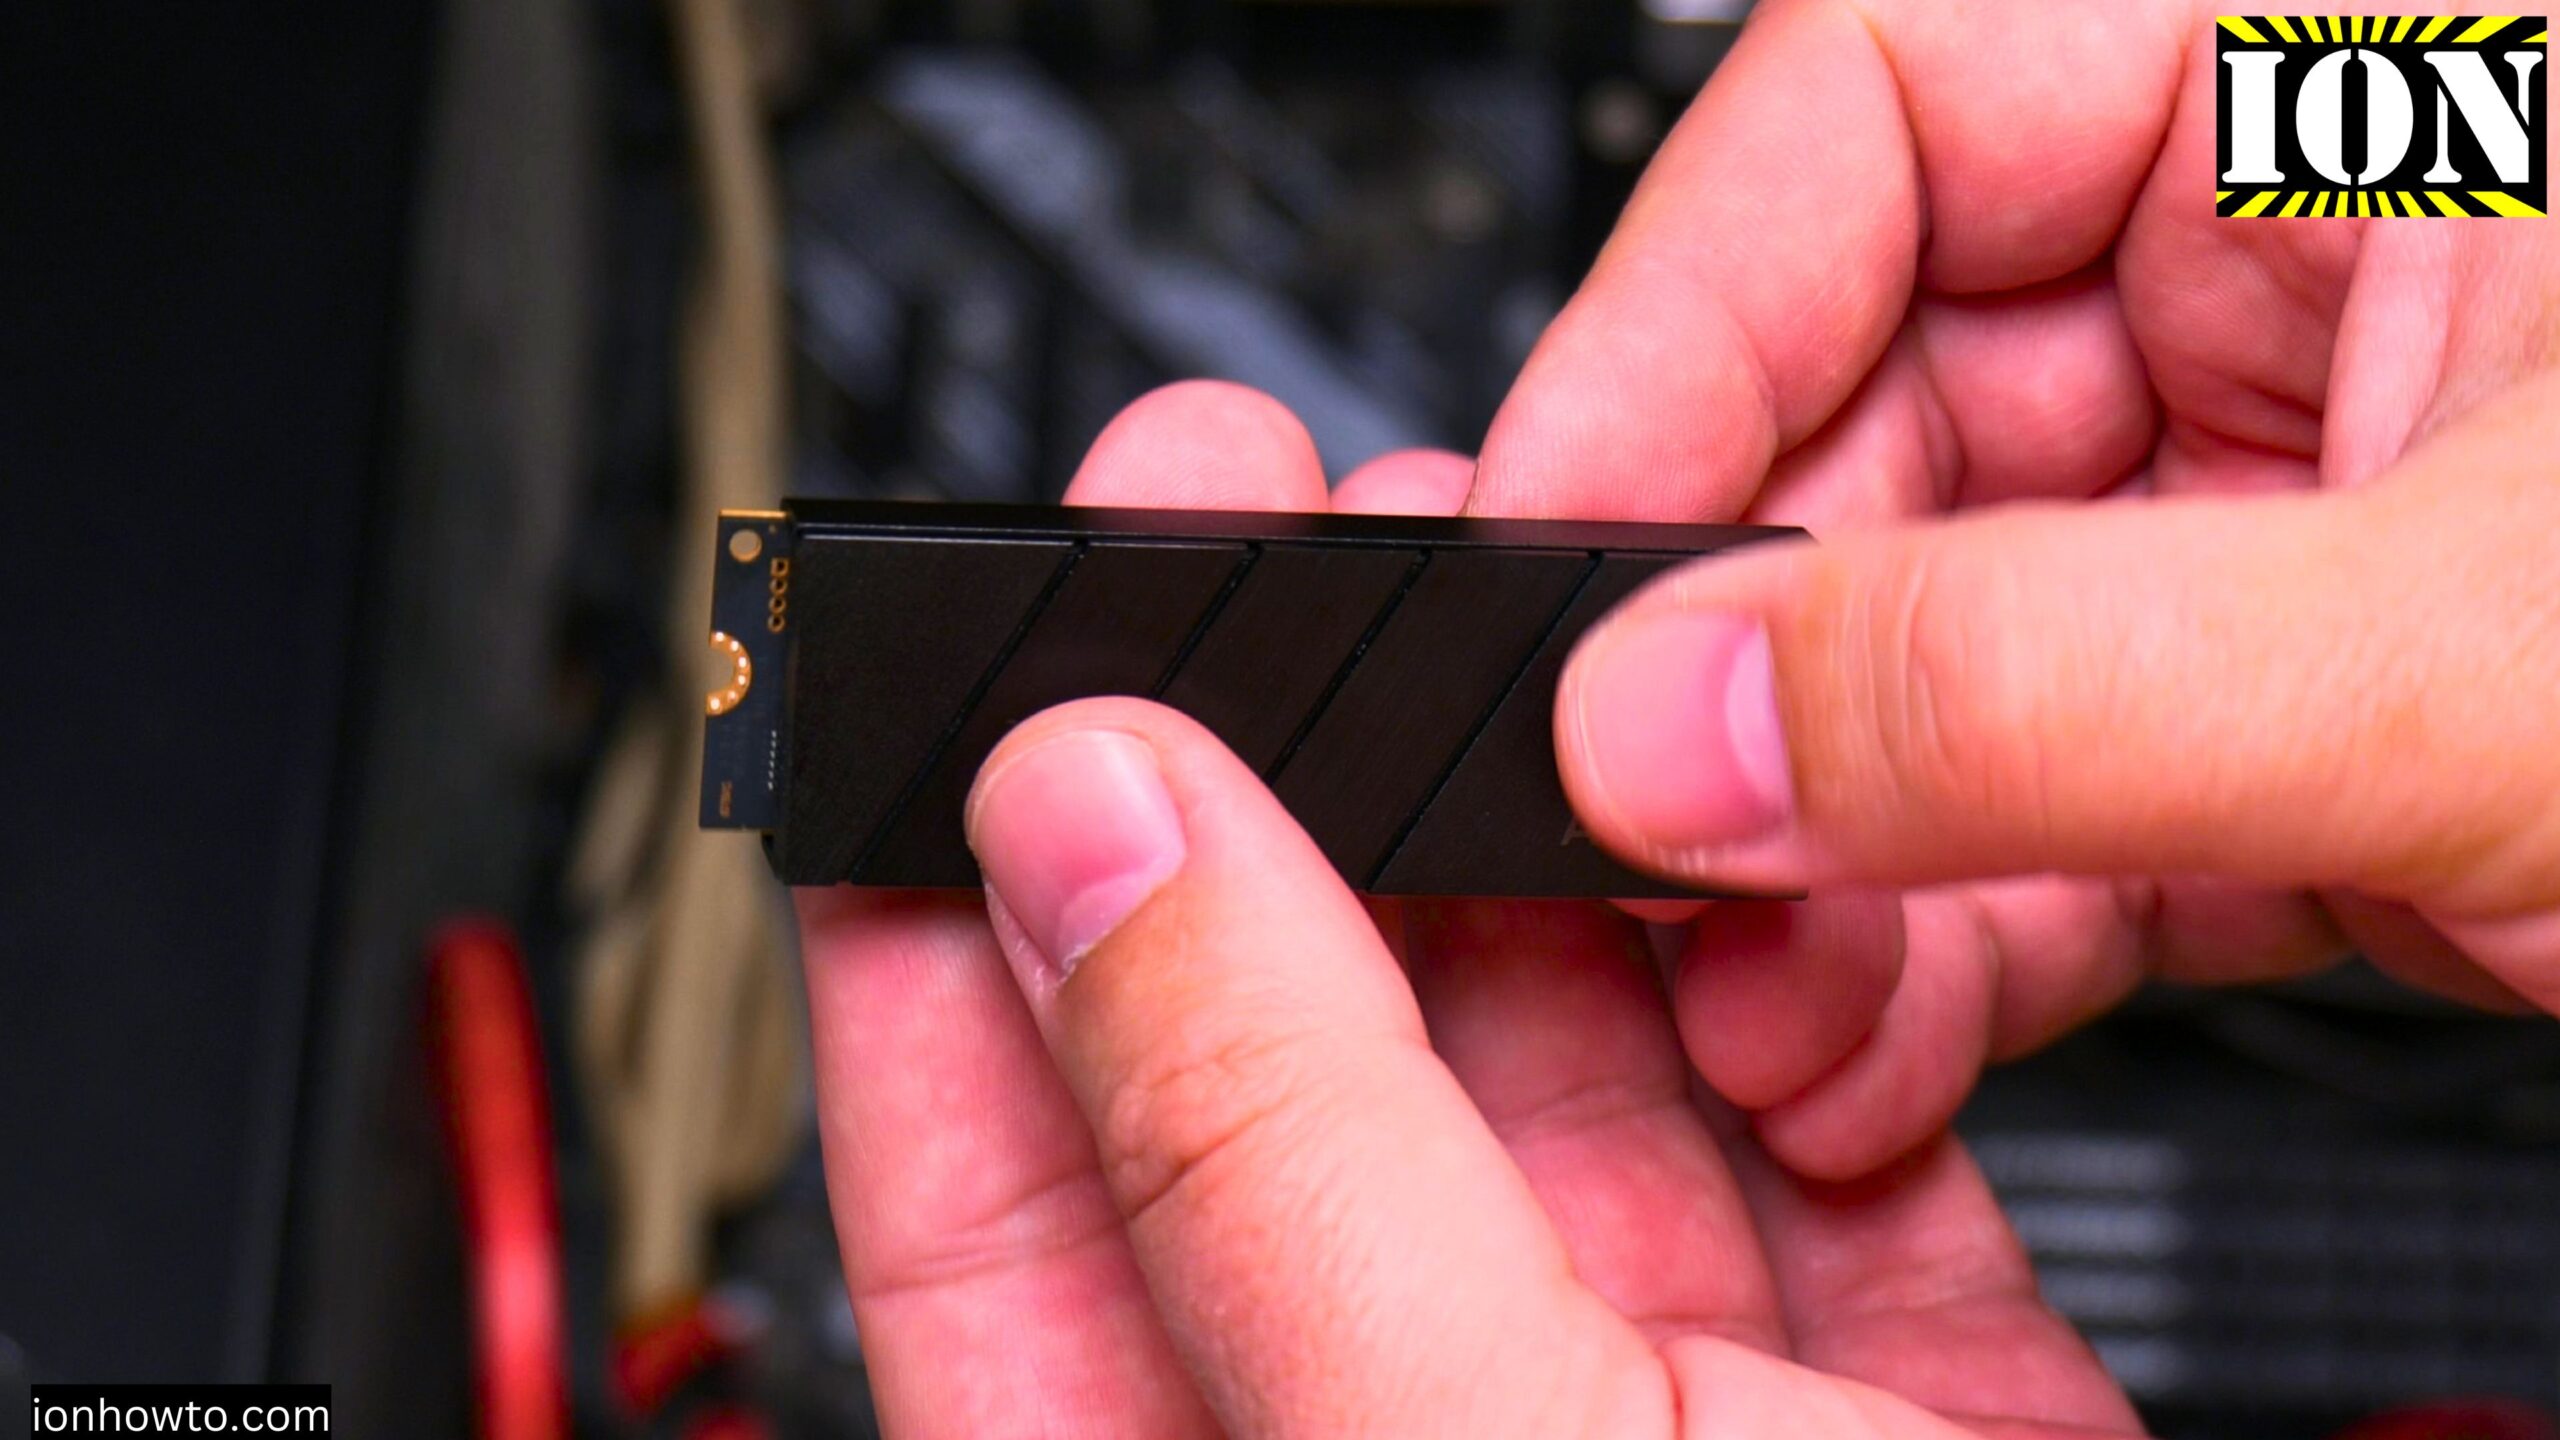
I eventually used a heatsink on the NVMe SSD drive to keep temperatures nice and low and especially constant without temperature spikes during heavy data transfers.
Find the M.2 slot on your motherboard where you will install the SSD.
On my Asus Prime X570-P motherboard:
- One M.2 slot is already used by the system SSD
- The second M.2 slot is under the graphics card
Because the second slot is under the graphics card, I had to remove the graphics card first. This may not be necessary on your motherboard. Check where your free M.2 slot is located.
Step 3: Remove the graphics card (if needed)
My RTX 2060 was blocking access to the second M.2 slot.
Step 1: Unscrew the bracket screws holding the graphics card to the case
Step 2: Press the release lever on the PCIe slot (use a plastic spudger tool to avoid damaging the motherboard)
Step 3: Gently pull the graphics card straight out of the slot
Step 4: Disconnect the power cables from the graphics card
Step 5: Set the graphics card aside in a safe place
Step 4: Prepare the M.2 slot
The motherboard may already have the standoff and screw in place. If not, you need to install them.
What is a standoff? A small brass or metal cylinder that lifts the SSD off the motherboard. The SSD screws into the standoff.
Step 1: Find the correct hole for your SSD length (2280 is the standard size for the Crucial T500 Pro)
Step 2: Screw the standoff into the motherboard at that position
Step 3: Make sure the screw is there (if you lost it, you can buy M.2 screw kits on Amazon – size M2 or #5)
Step 5: Install the NVMe SSD
Step 1: Hold the SSD by the edges
Step 2: Look at the notch on the SSD connector. Match it to the notch in the M.2 slot. The SSD only goes in one way.
Step 3: Insert the SSD into the slot at a slight angle (about 30 degrees)
Step 4: Press down gently but firmly until the gold pins are fully inserted
Step 5: Push the SSD down flat toward the motherboard
Step 6: Hold the SSD in place and screw it down using the small M.2 screw
Important: Do not overtighten. Just snug is enough.
Step 6: Reinstall the graphics card
Step 1: Insert the graphics card back into the PCIe slot
Step 2: Press down until you hear a click (the release lever should lock into place)
Step 3: Screw the bracket back to the case
Step 4: Reconnect the power cables to the graphics card
Step 7: Close up and power on
Step 1: Close the side panel of your computer case
Step 2: Plug the power cord back in
Step 3: Turn on the power supply switch
Step 4: Start your computer
Step 8: Initialize and format the new drive
When Windows starts, the new drive will not show up in File Explorer yet. You need to initialize and format it first.
Step 1: Right click on the Start button
Step 2: Click “”Disk Management””
Step 3: Windows may ask you to initialize the new disk. Choose “”GPT”” (GUID Partition Table) not MBR. GPT is the modern standard.
Step 4: The new drive will show as “”Unallocated”” with a black bar
Step 5: Right click on the black unallocated area
Step 6: Click “”New Simple Volume””
Step 7: Click Next through the wizard
Step 8: Use all the available space (do not save space for anything else)
Step 9: Assign a drive letter (I used T for T500)
Step 10: Format the drive. Choose:
- File system: NTFS (not exFAT)
- Allocation unit size: Default
- Volume label: Give it a name like “”Crucial T500″”
Step 11: Click Finish
The drive will format in a few seconds. You will see a notification that the drive is ready.
What if the drive does not show up in Disk Management?
- Check that the SSD is fully inserted into the M.2 slot
- Make sure the computer is recognizing it in BIOS (press Delete or F2 during startup)
- Try reseating the SSD
About the heatsink
I bought the version without a heatsink because the heatsink version was sold out on Amazon. Instead, I bought an Arctic M2 Pro aftermarket cooler.
I will test the drive first without the heatsink, then install the Arctic M2 Pro and test again. This will show the temperature difference.
My recommendation: If you can buy the heatsink version of the Crucial T500 Pro, do it. The price difference is small and it really helps with temperatures.
If you already have the drive without a heatsink, get an aftermarket cooler like the Arctic M2 Pro. It is cheap and works well.
About the sticker and warranty
The top sticker on the Crucial T500 Pro does not say “”warranty void if removed.”” Only the bottom sticker says that.
You could probably remove the top sticker for better cooling. But I decided to leave it on. Even with the sticker on, the drive still runs much cooler with a heatsink. In my tests, the temperature dropped by about 20°C with the heatsink and the sticker still on.
If you are worried about warranty, keep the sticker on. It still works fine.
About cloning your system drive
If you want to use this SSD as your new Windows system drive, you do not need to reinstall Windows. The Crucial T500 Pro comes with Acronis True Image as a free download. You can use it to clone your existing system drive to the new SSD.
Since I am using this as an extra storage drive, I did not need to clone anything. I just formatted it as a new empty drive.
About the Crucial software
The Crucial Storage Executive software is not good. It is very slow to start. Firmware updates are not easy to do from Windows 11. It is probably the worst SSD software I have used.
You do not need to install it. The drive works fine without it.
After installation
Once the drive is formatted and ready, you can start using it. I copied large video files to test the speed and temperature. The results were good.
In future videos, I will show:
- Full speed tests
- Temperature without heatsink
- Temperature with Arctic M2 Pro heatsink
- How much the heatsink helps
Quick summary
To install Crucial T500 Pro NVMe SSD:
- Power off and unplug your computer
- Touch metal case to ground yourself
- Open the side panel
- Locate the M.2 slot (may be under graphics card)
- Remove graphics card if blocking access
- Install the standoff if not already there
- Insert SSD at 30-degree angle
- Push SSD flat and screw it down
- Reinstall graphics card
- Close computer and power on
- Open Disk Management
- Initialize as GPT
- Create New Simple Volume
- Format as NTFS
- Assign a drive letter
Things to remember:
- Handle the SSD by the edges
- Do not touch the gold pins
- Use the correct standoff position for 2280 size
- Do not overtighten the screw
- Use GPT not MBR when initializing
- Use NTFS not exFAT for internal drives
About cooling:
- The drive works without a heatsink
- But it gets above 80°C during heavy use
- A heatsink lowers temperature by about 20°C
- The Arctic M2 Pro is a good aftermarket option
- The sticker can stay on for warranty
Thanks for reading. The installation is straightforward. Just take your time and be careful with the small screw. Do not lose it.


Leave a Reply