


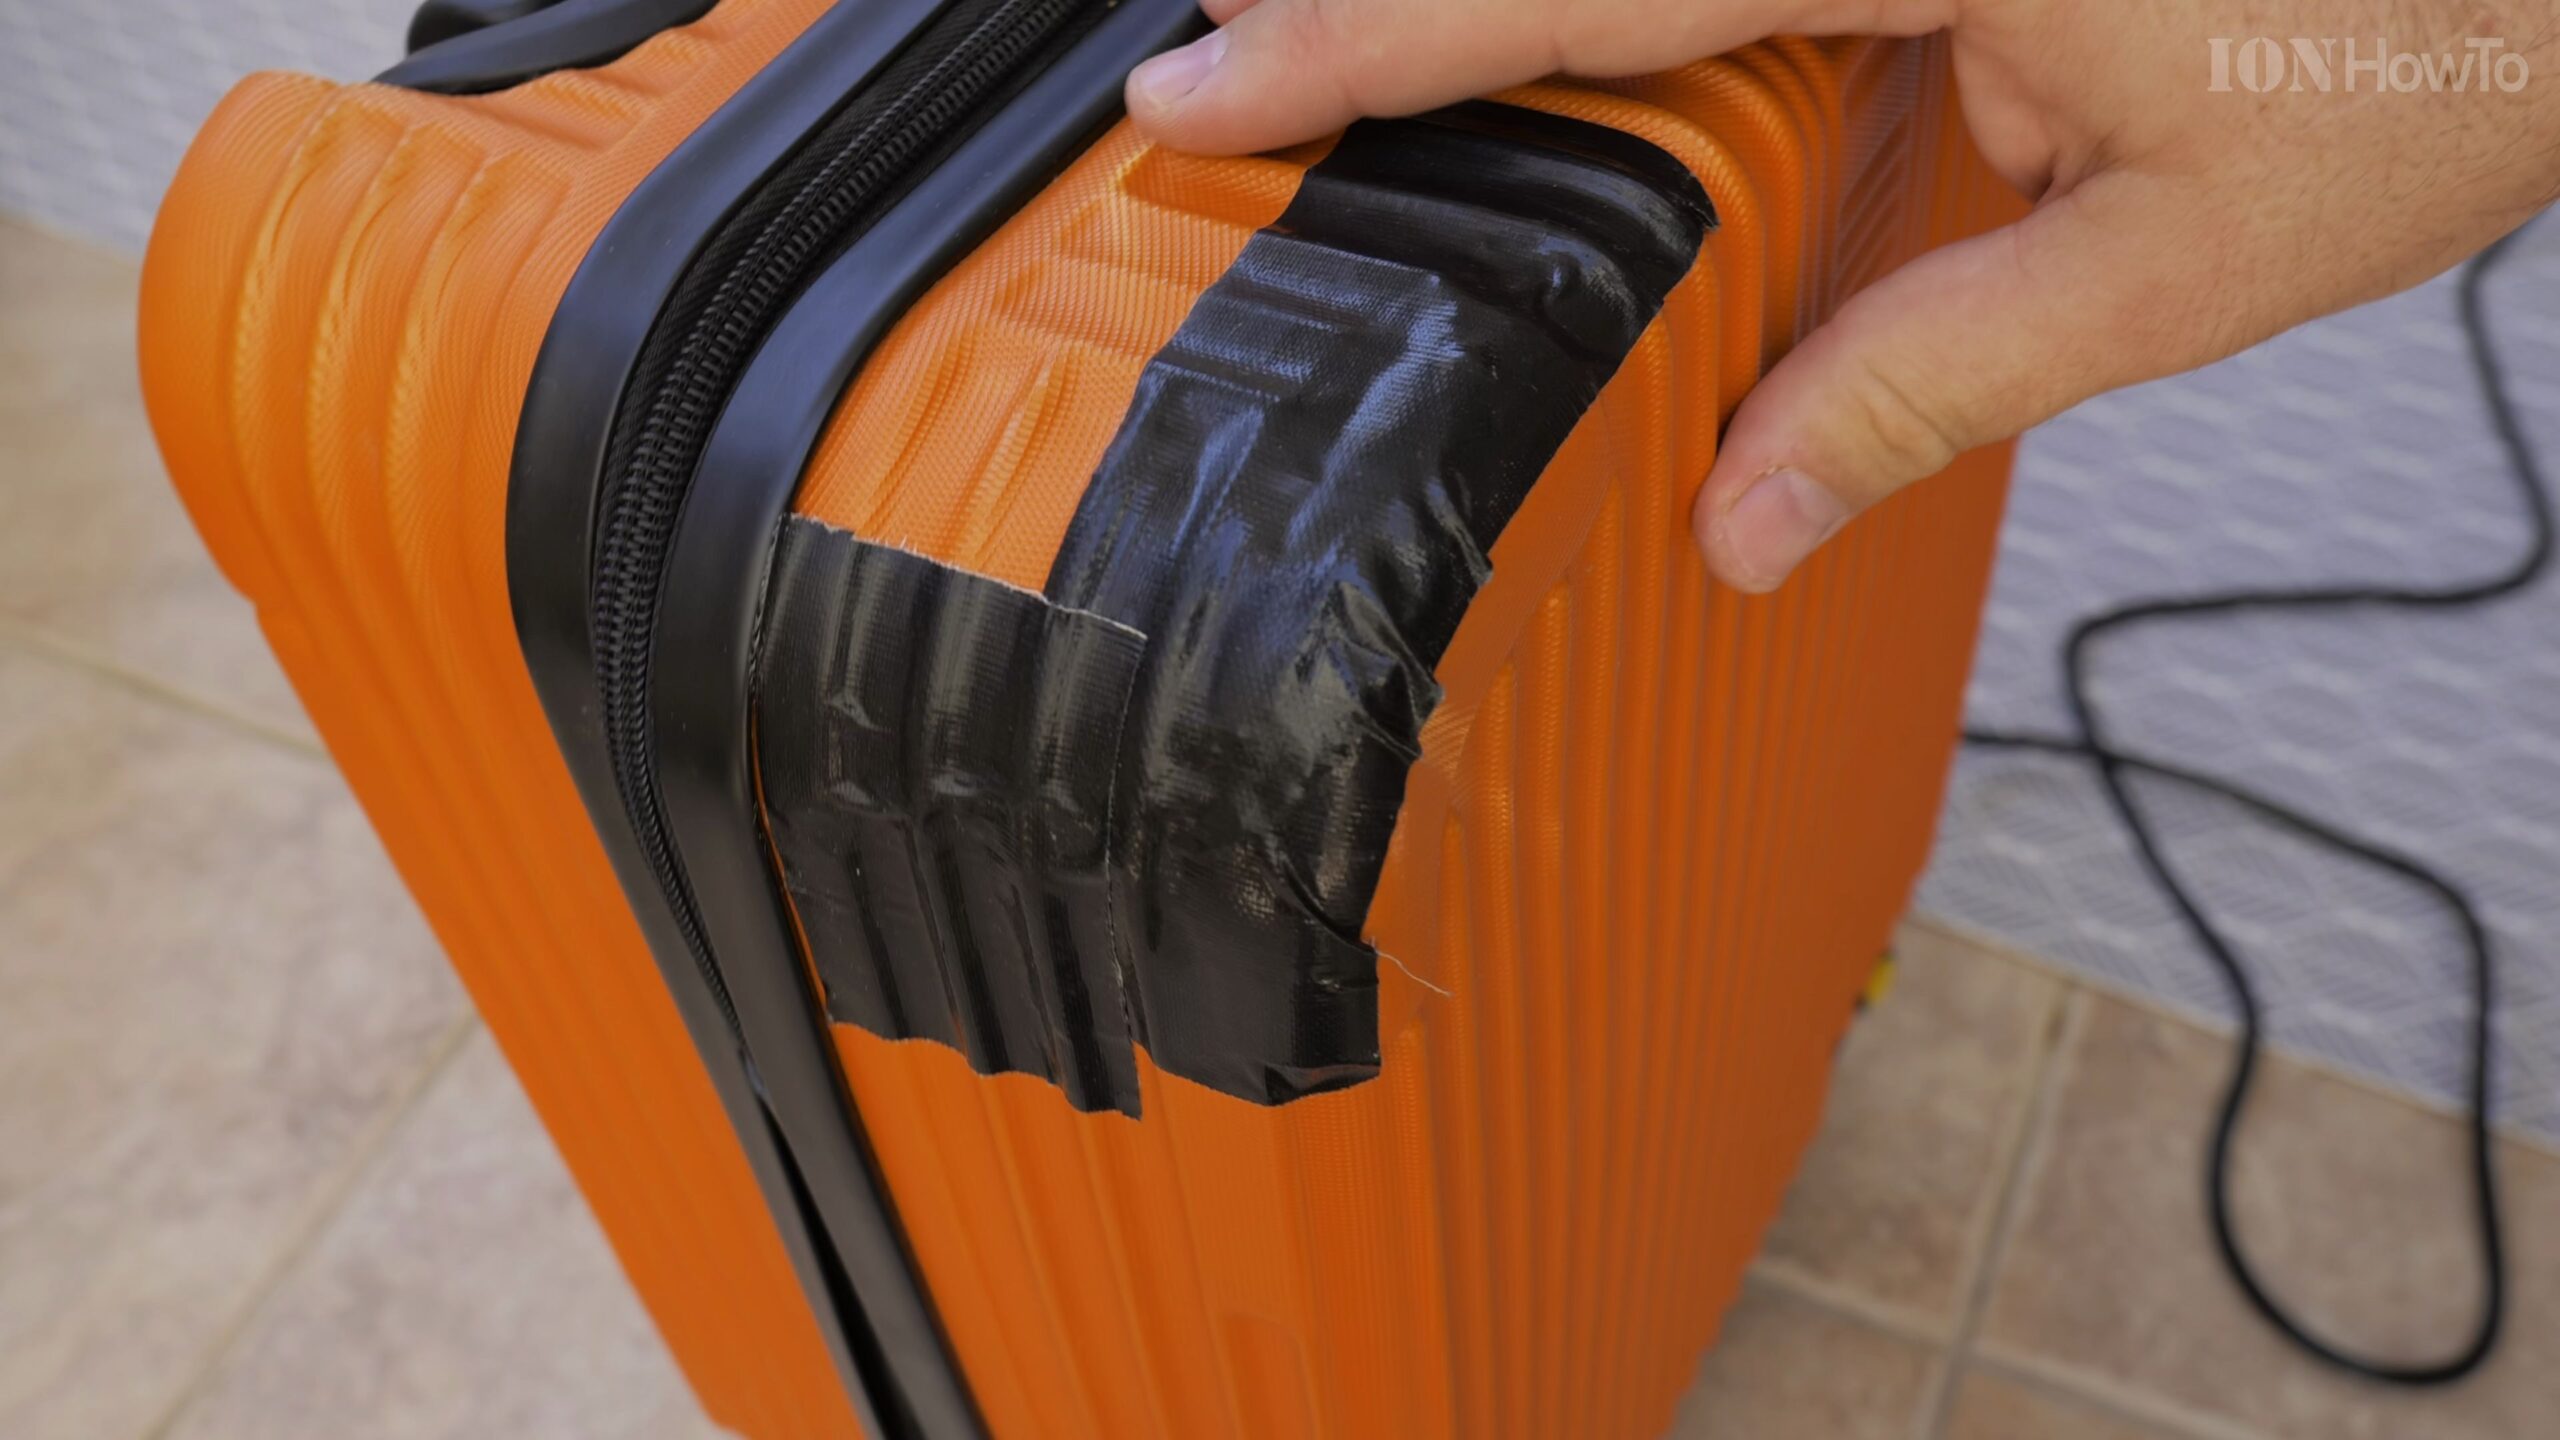
Rough baggage handling during air travel frequently leaves polycarbonate or ABS hardshell suitcases with cracked corners or split shells. Instead of throwing away an otherwise good travel bag, you can permanently reinforce and repair a cracked hardshell suitcase at home using a hot staple plastic welder.

Unzip the Inner Liner and Inspect the Crack from Both Sides
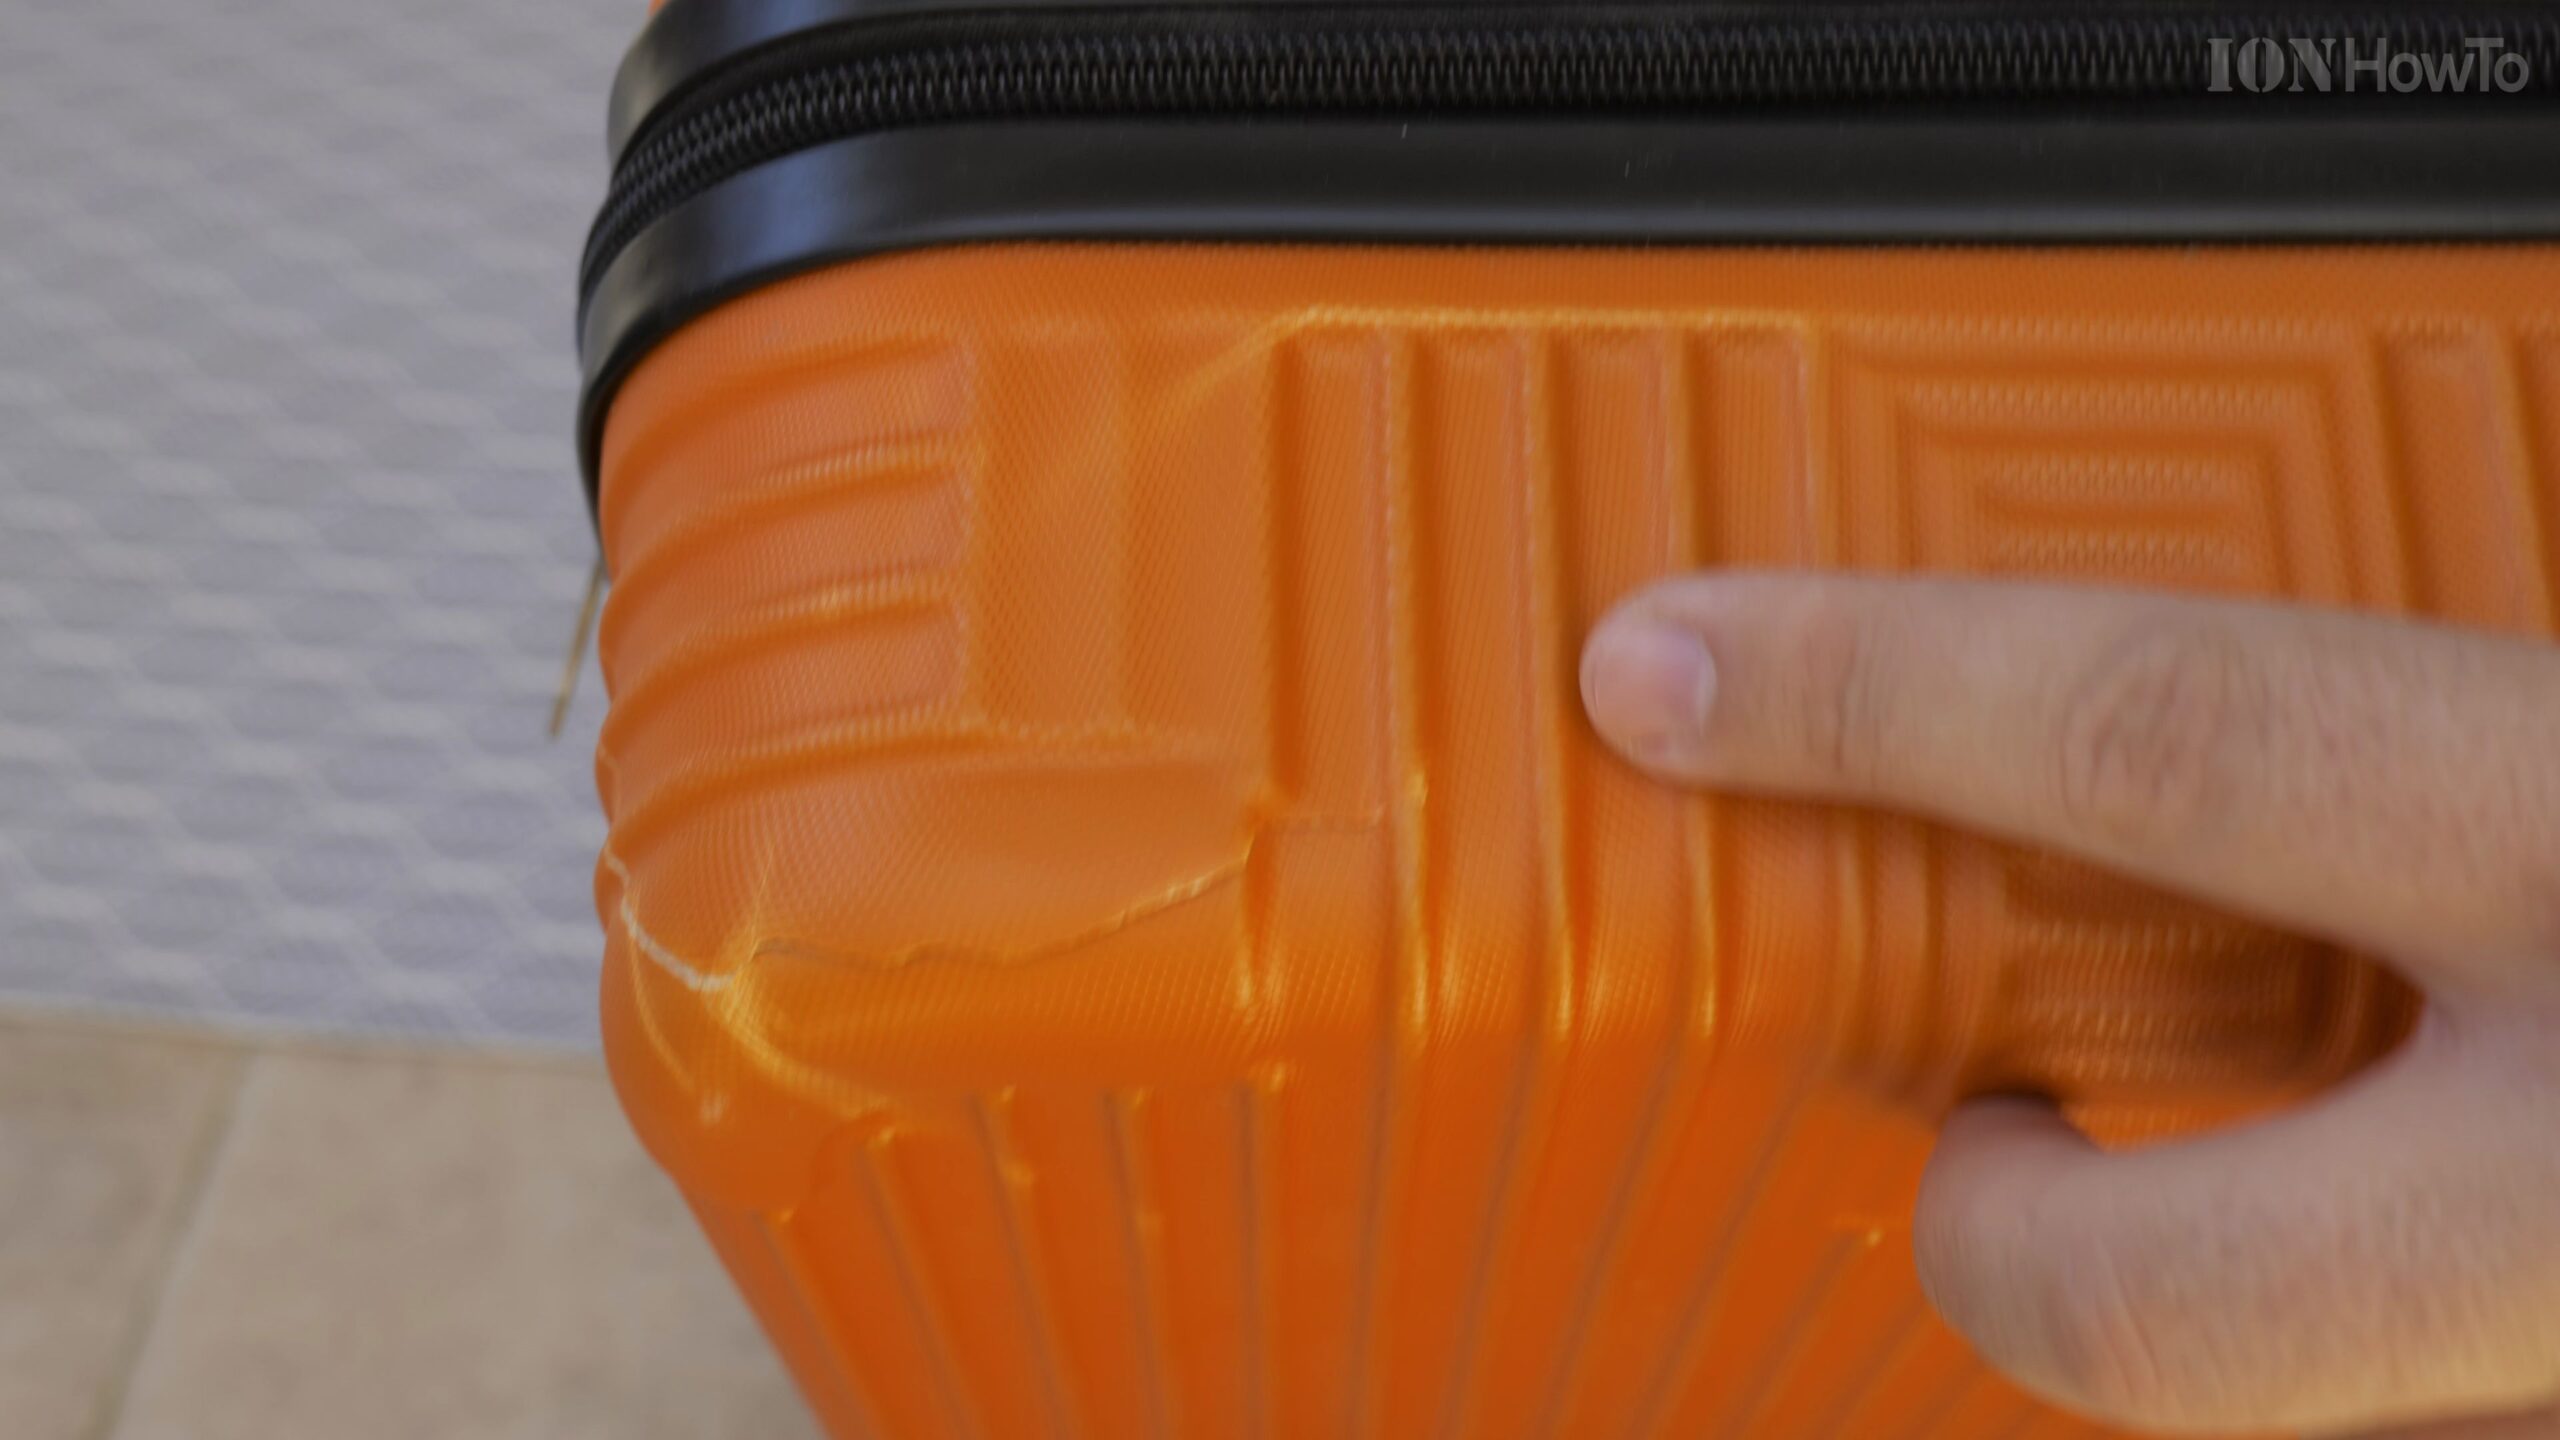
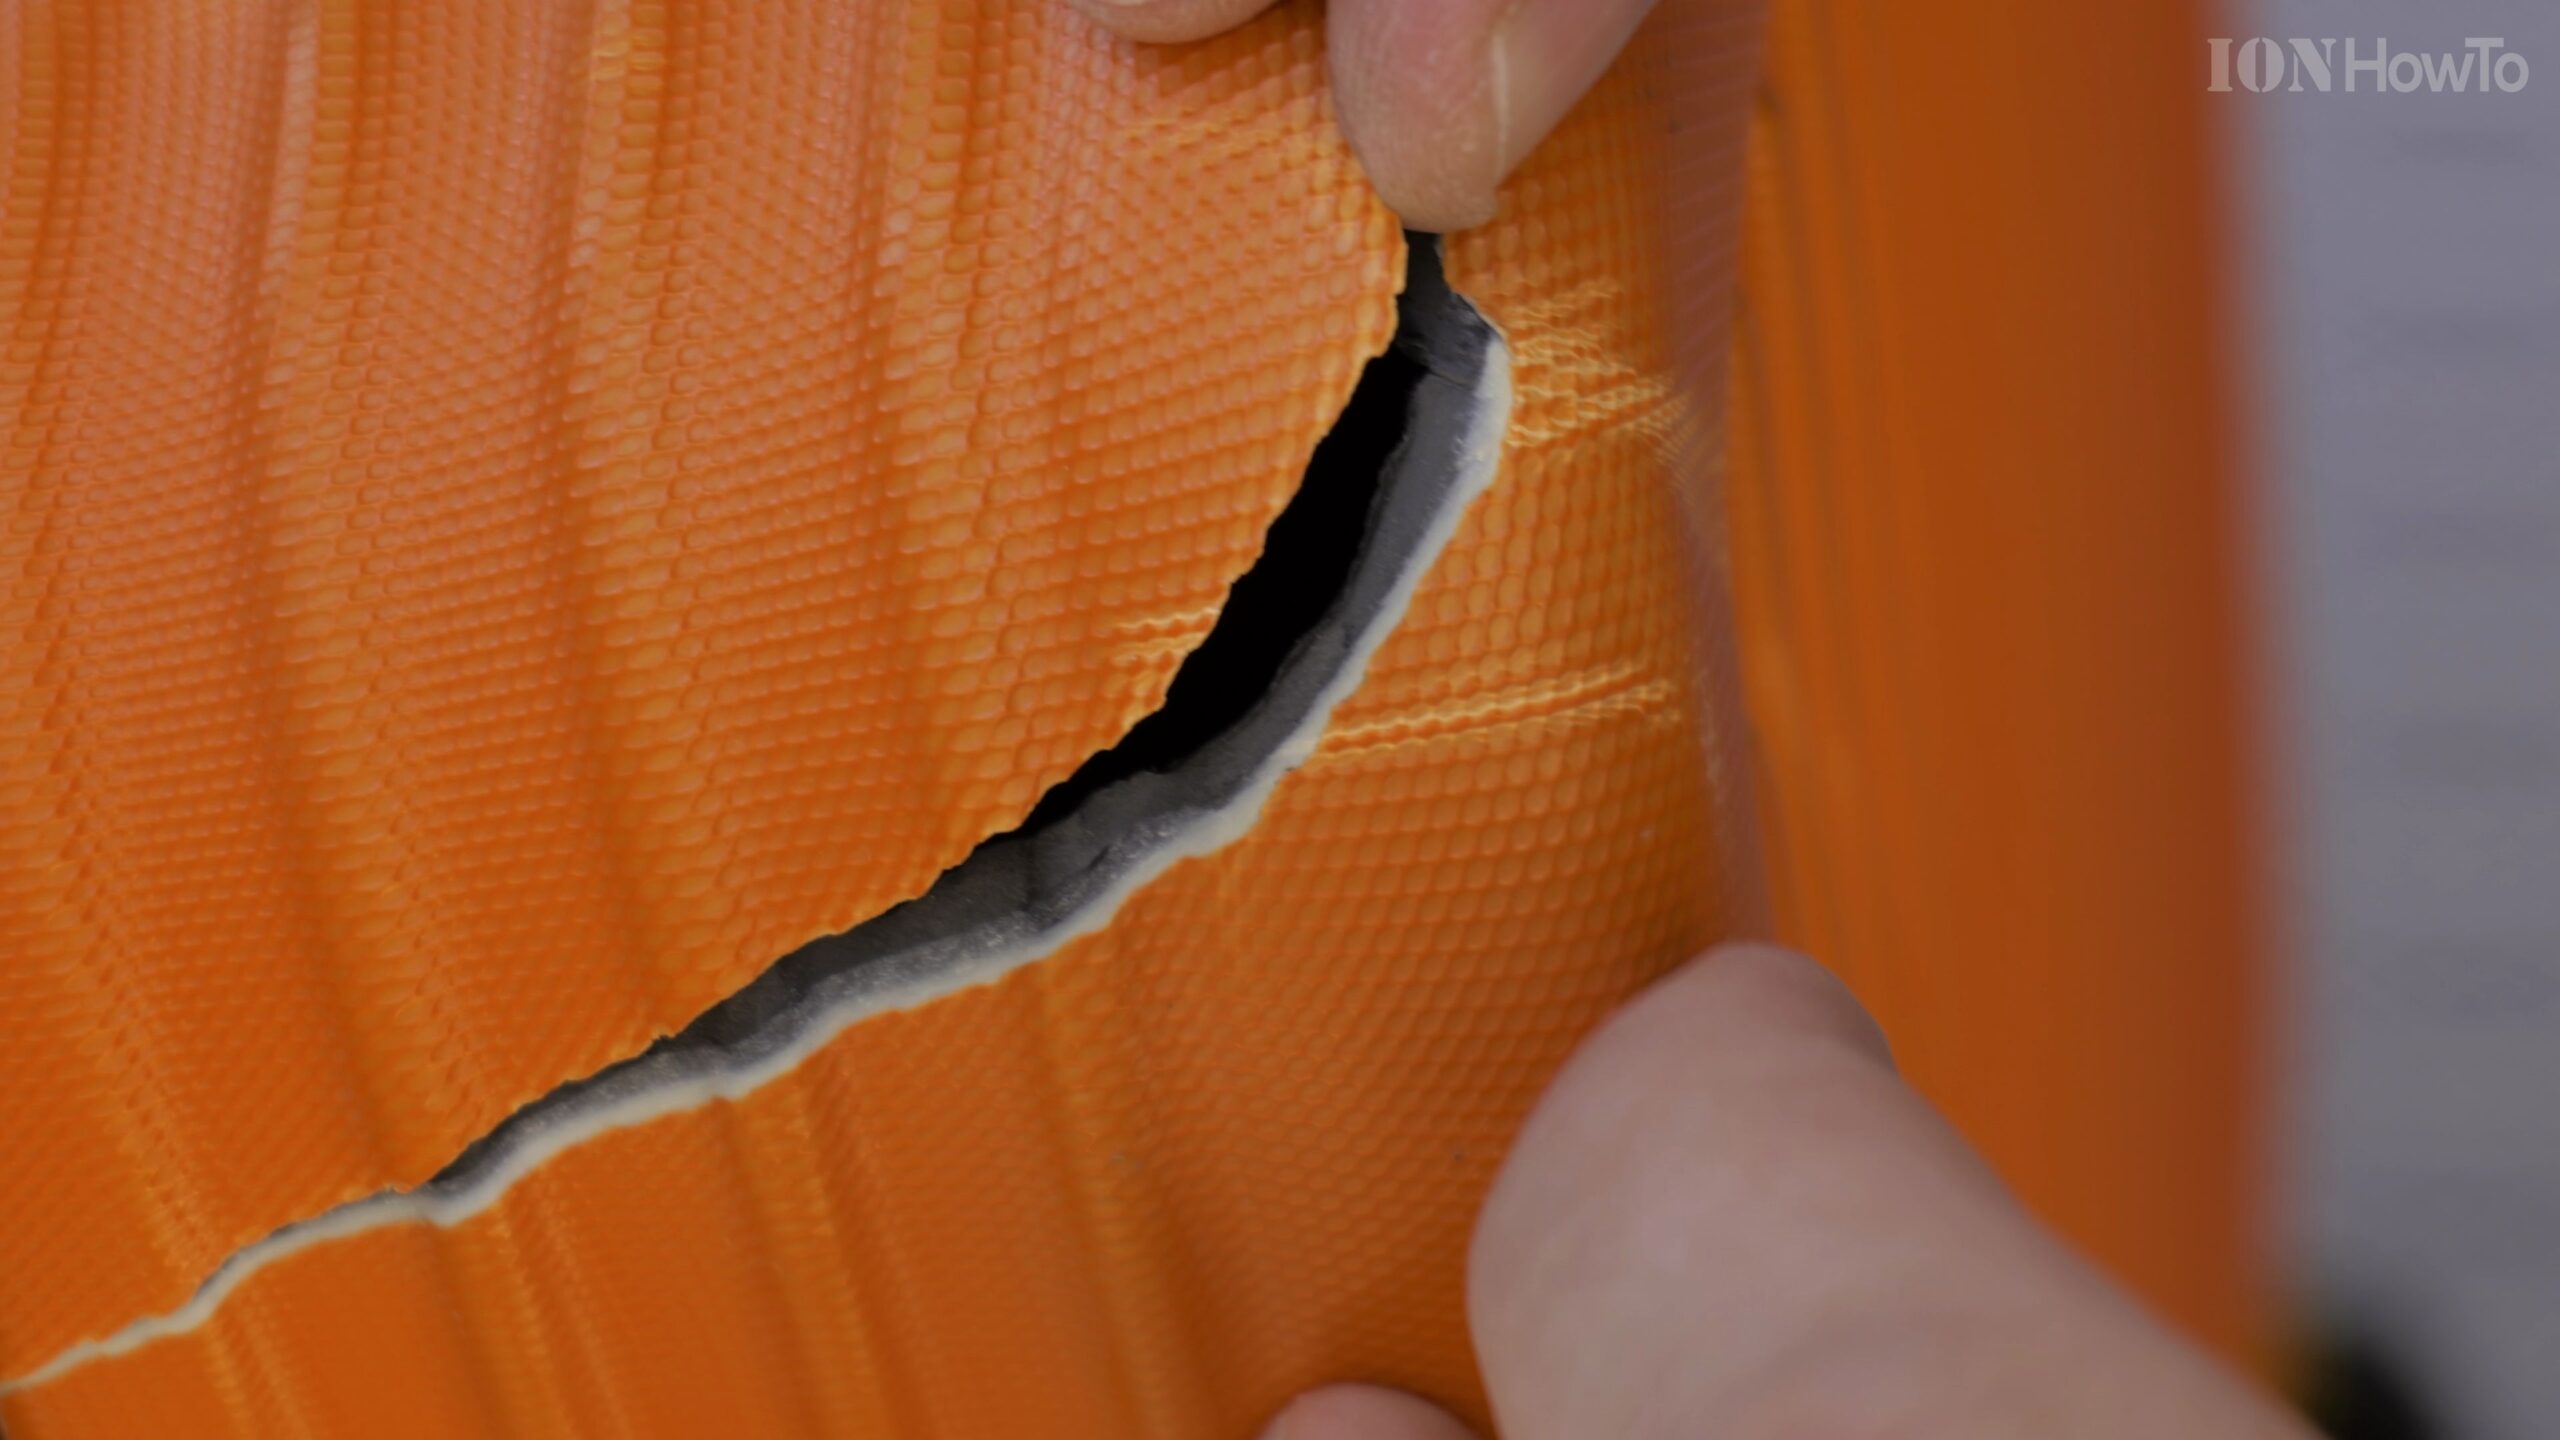
Open the suitcase and unzip the fabric maintenance liner inside so you have clear access to the inner plastic shell. Clean any dirt or loose plastic burrs around the split and press the cracked edges together so they align flush.
Insert a Wave Staple into the Plastic Welding Gun
Select a stainless-steel wave staple from your plastic welding kit and slide the two prongs into the brass terminals at the tip of the hot stapler gun. Wave staples distribute tension evenly across hardshell luggage cracks.
Heat and Press Metal Staples Across the Crack Line
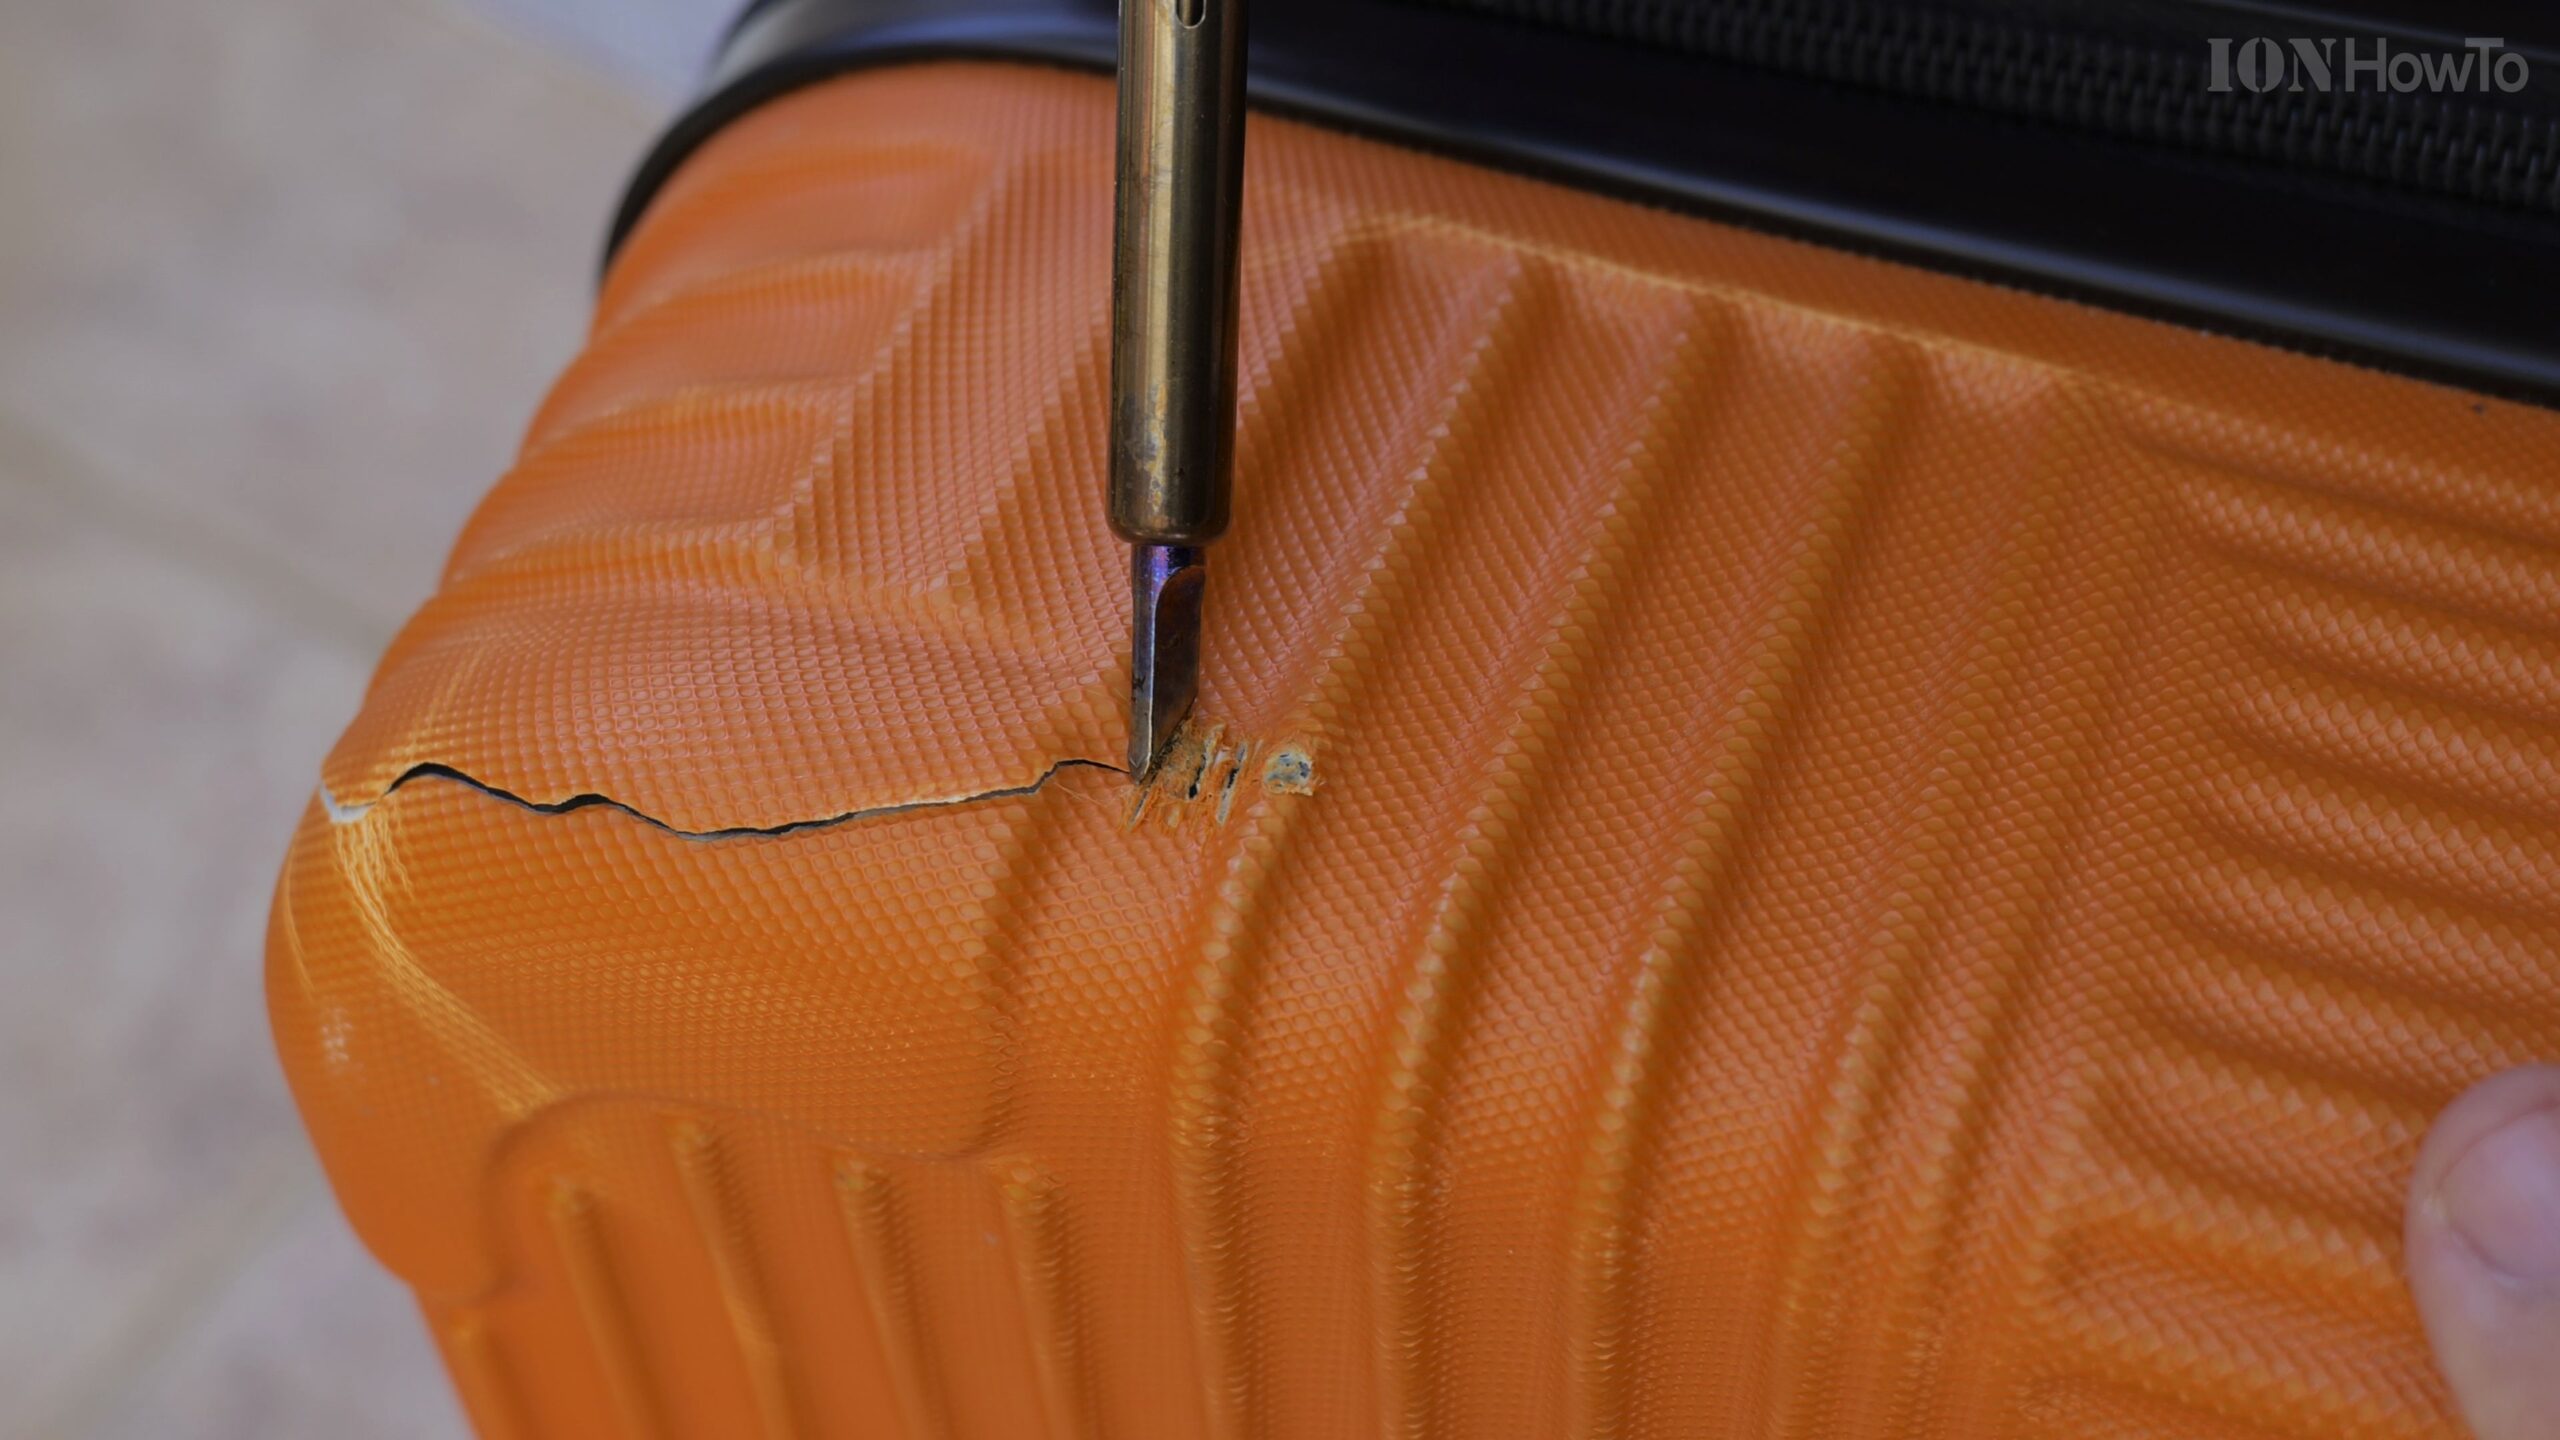
Position the staple perpendicular to the crack on the inside of the suitcase shell and squeeze the trigger for two to three seconds until the metal glows and melts halfway into the plastic. Release the trigger first, hold the gun steady for a few seconds while the plastic solidifies, and then slide the tool off.
Space Additional Staples Along the Full Length of the Split
Repeat the process every half-inch along the entire crack, including slightly past both ends of the split so the crack cannot spread further under weight. Use diagonal flush cutters to snip off the protruding wire prongs.
Smooth the Welded Seam and Reclose the Suitcase Lining
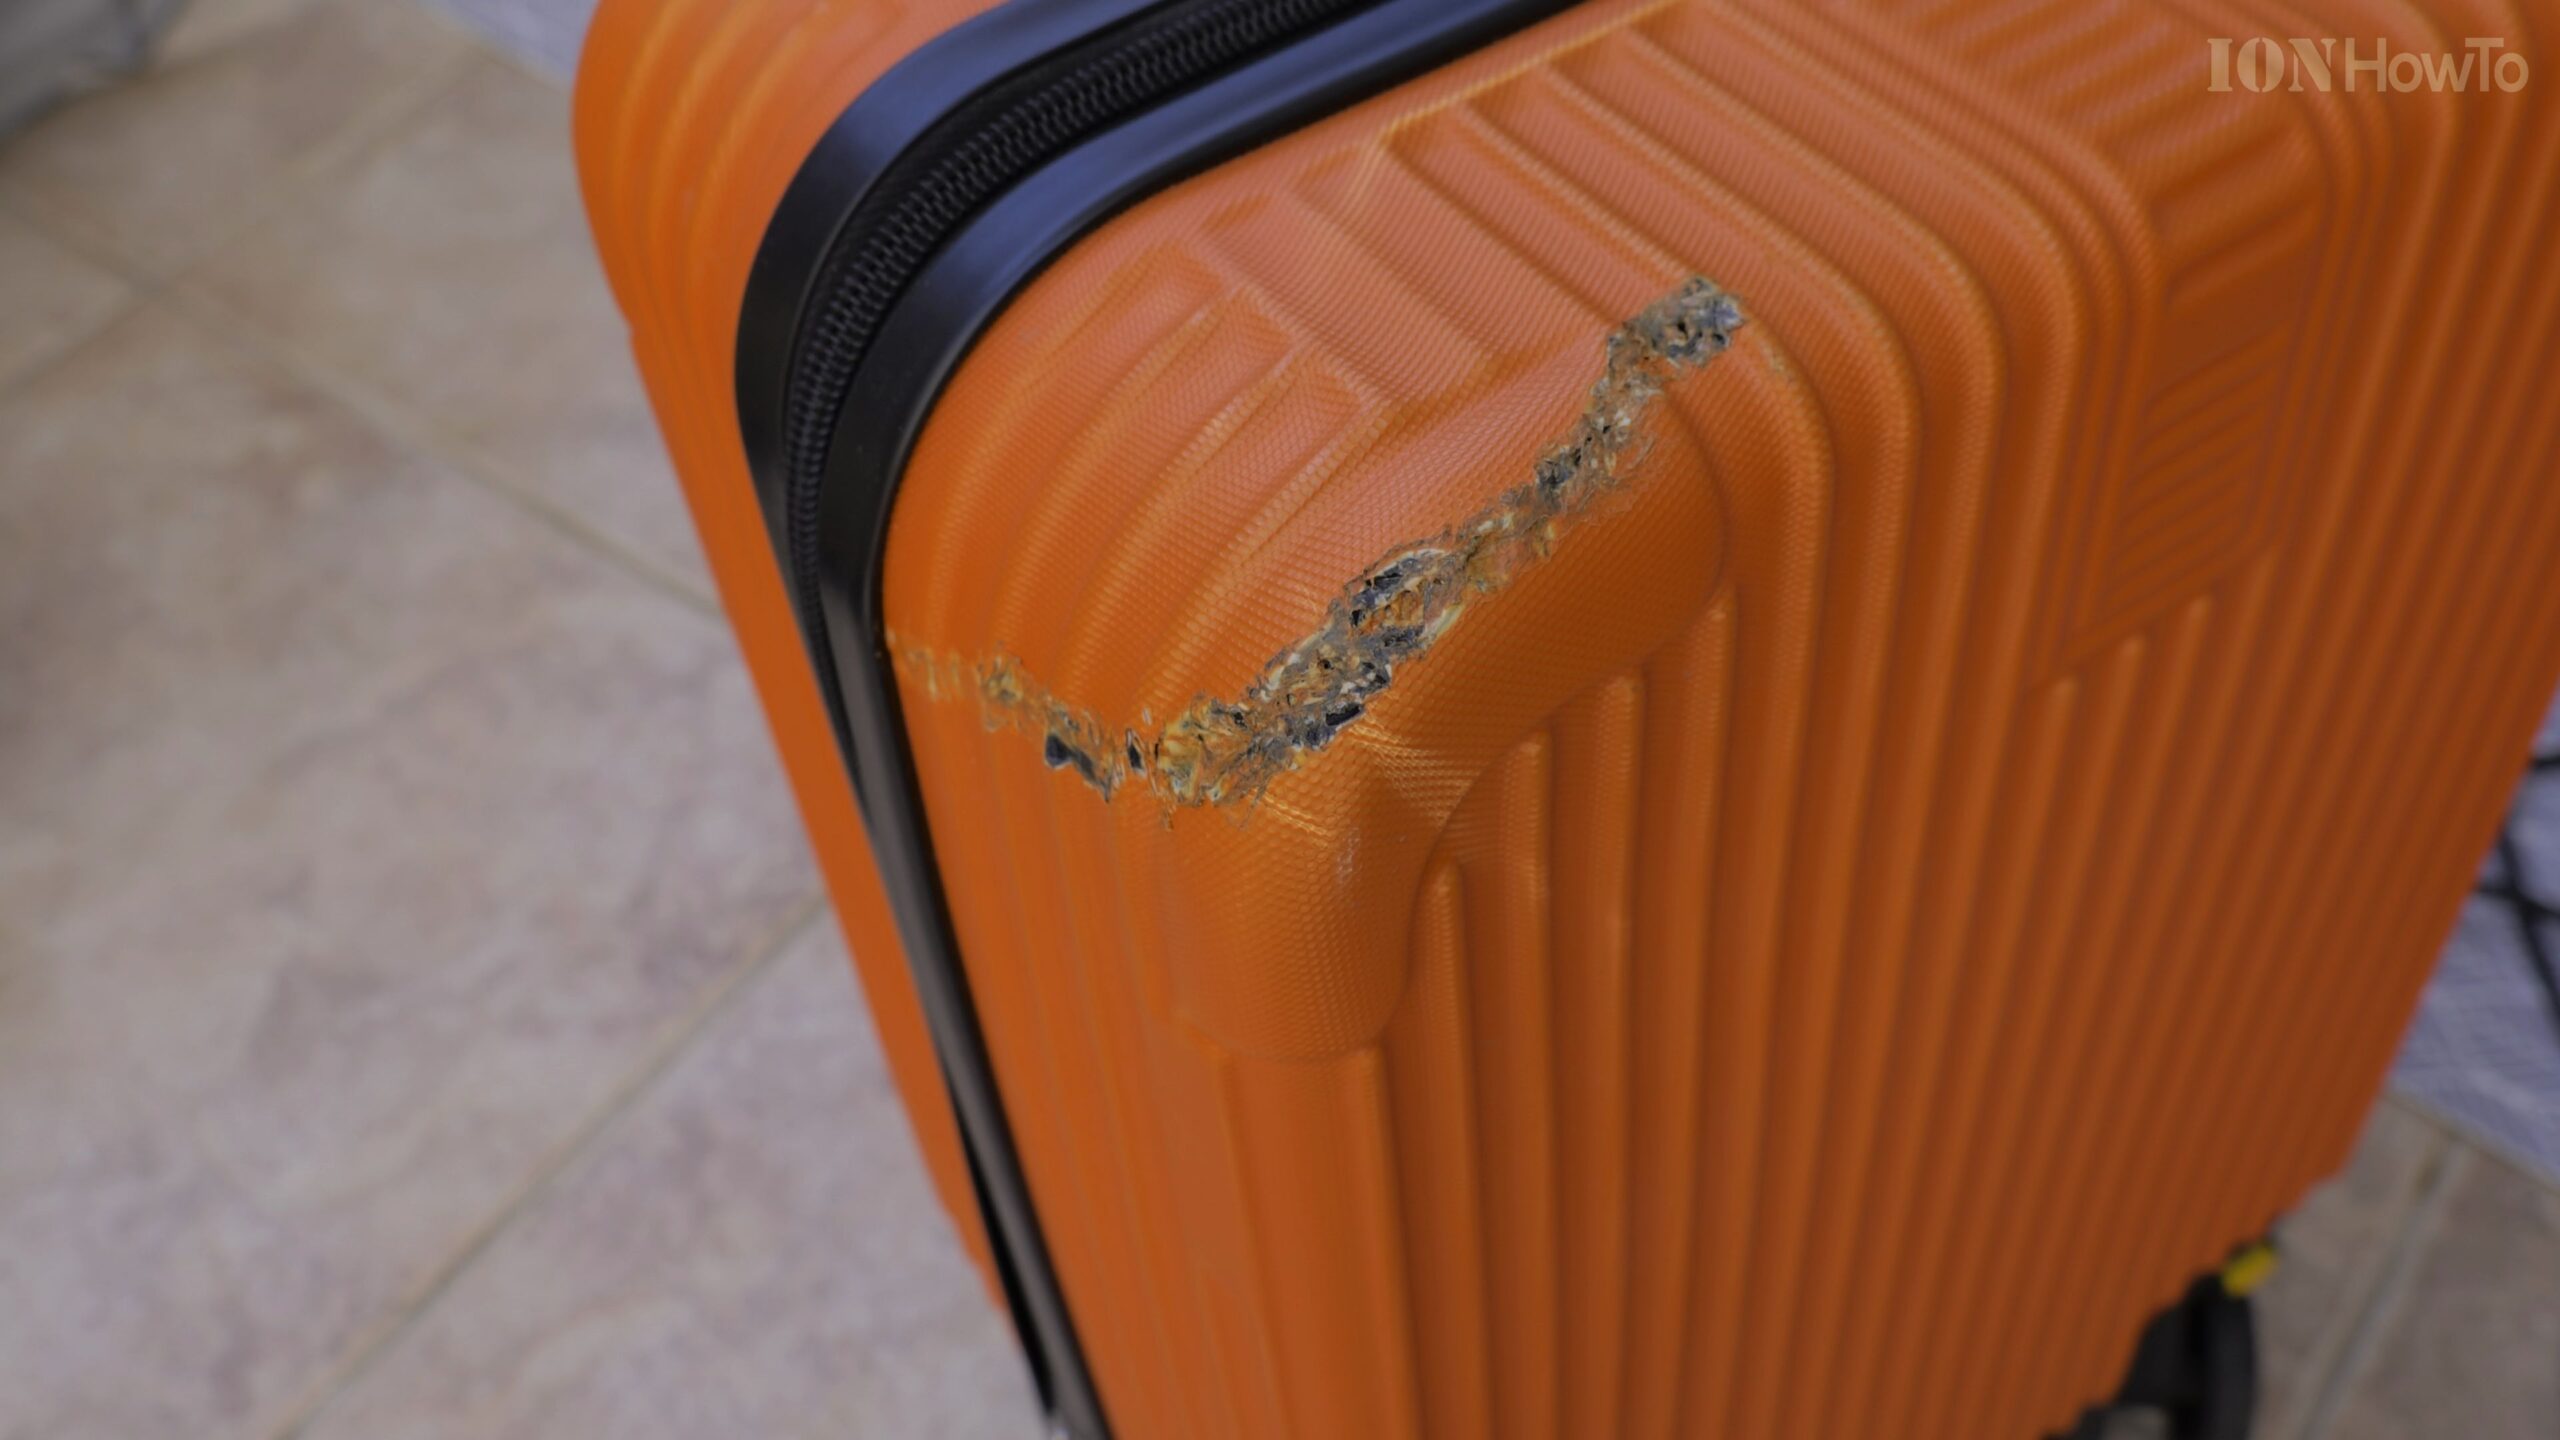
Use the flat smoothing tip or a soldering iron attachment to blend the melted plastic over the embedded staples for a clean, snag-free interior surface. Let the plastic cool completely to room temperature, then zip the fabric liner back in place.
Helpful Tips and Related Guides
Always work in a well-ventilated area when melting plastic and keep your fingers clear of the heated staple prongs. For more practical home and gear fixes, browse our Household Repairs category, explore our DIY Hacks archive, or view our How-To tutorials.
Leave a Reply Cancel reply