
Slow-Filling Toilet Fix Siamp Membrane Replacement
If your toilet filling with water too slowly the problem might be simple – a worn-out Siamp membrane (also called a diaphragm washer) in your inlet valve. This is a cheap and easy to do fix.
The Membrane
When your toilet fills slowly or won’t fill at all, a rubber membrane inside the inlet valve needs to be replaced. This part wears out over time and costs very little to replace. You don’t need to replace the entire inlet valve assembly!
What You Need
- Siamp membrane/diaphragm washer (make sure it’s the right size and shape for your Siamp inlet valve)
- Flathead screwdriver
- Towel or small bucket
- Clean cloth for drying parts
Shutting Off the Water
Before you start:
- Turn off the water supply at the isolation valve (usually near the floor)
- Flush the toilet to empty the cistern
- Remove the cistern lid carefully
There Are 2 Membrane
There are 2 membranes one on the side of the inlet valve and a second membrane on the top of the Siamp inlet valve. The problem is usually with the side membrane but the top one can also be broken.
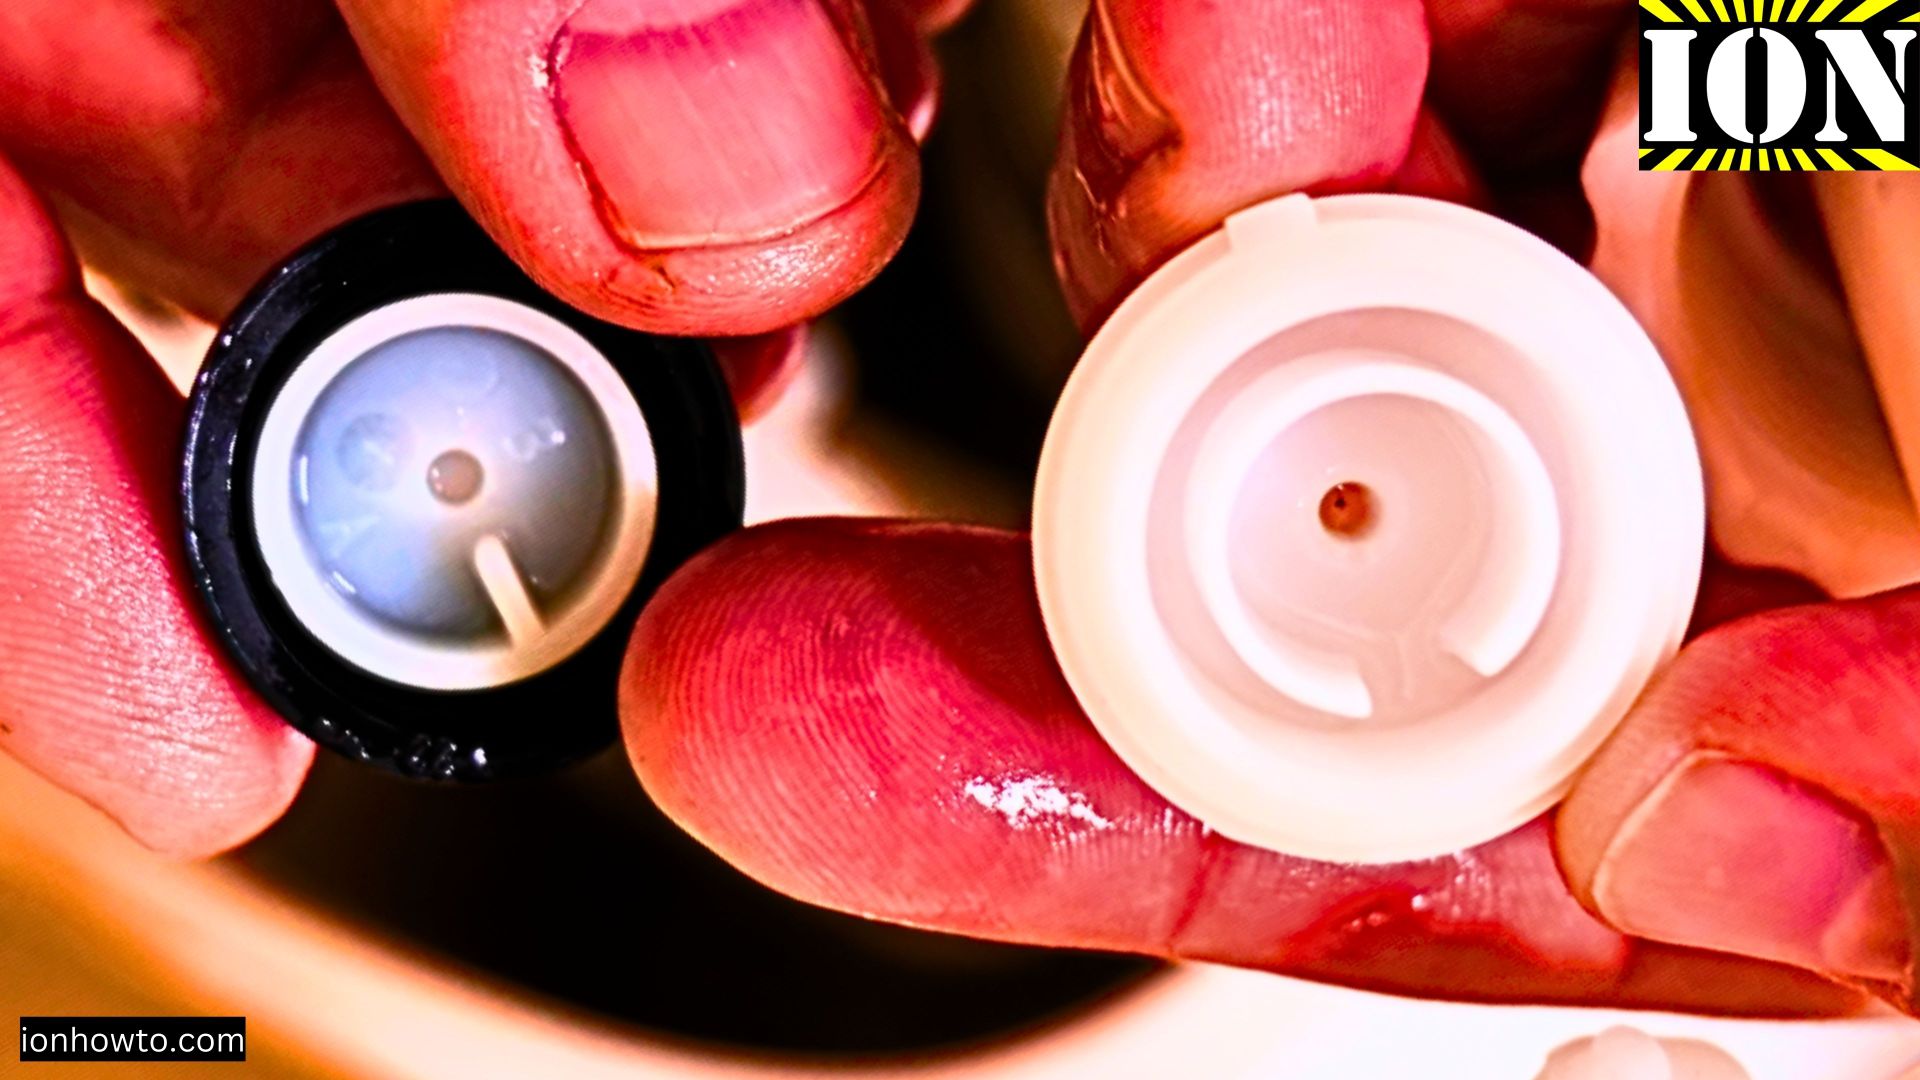
Top Membrane
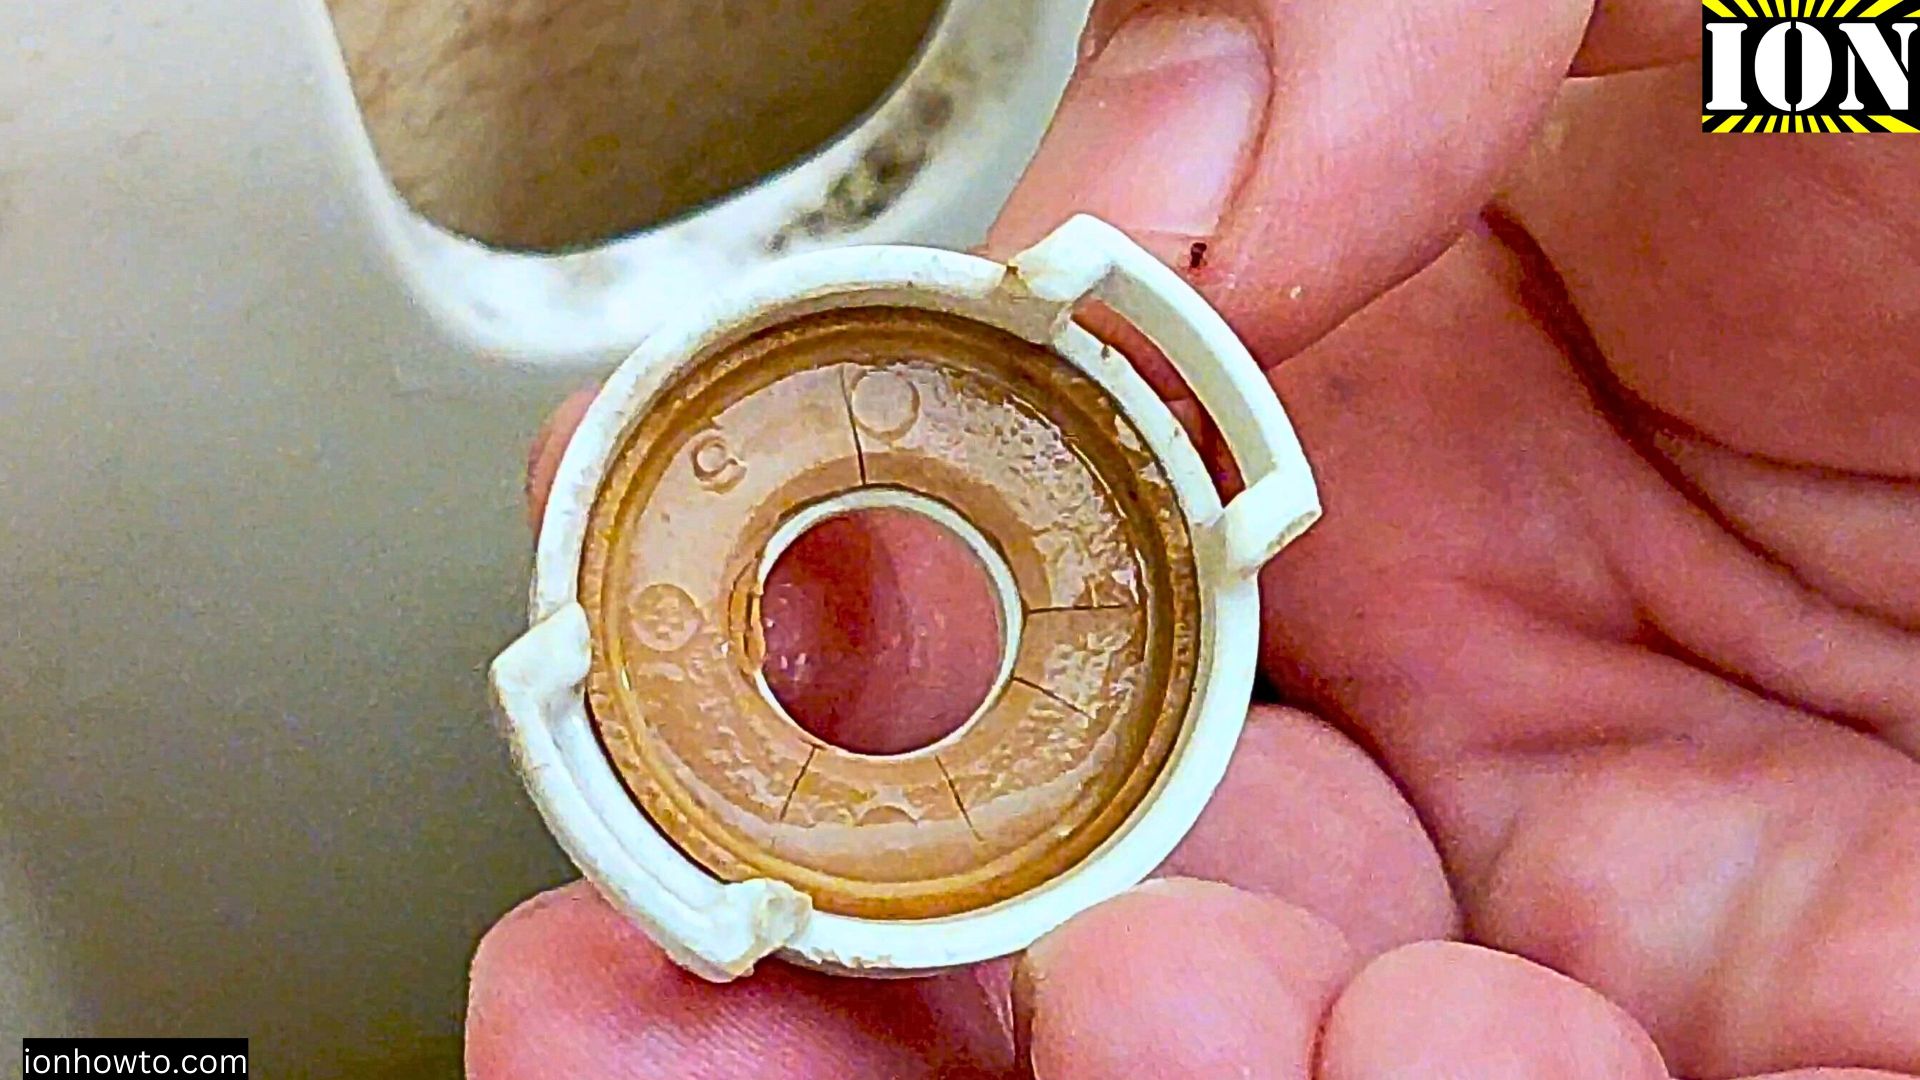
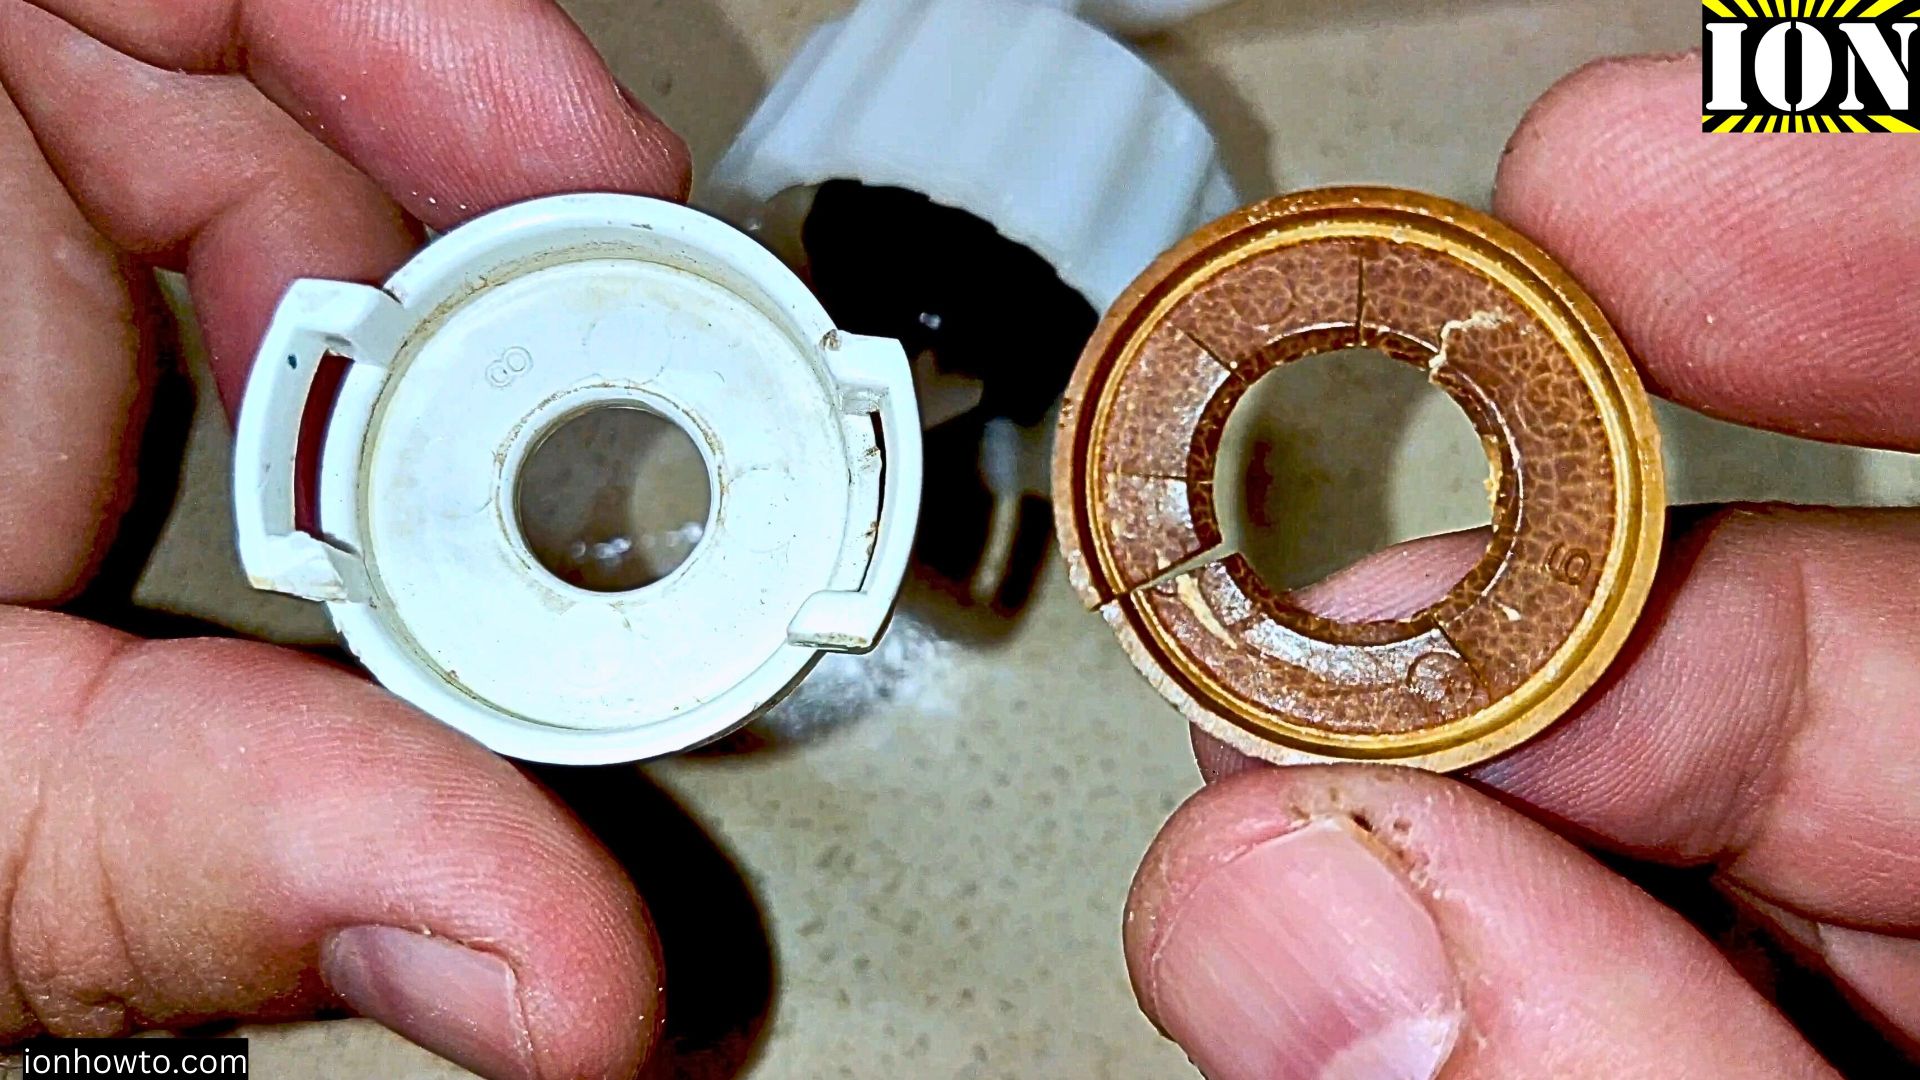
Side Membrane that you need to replace
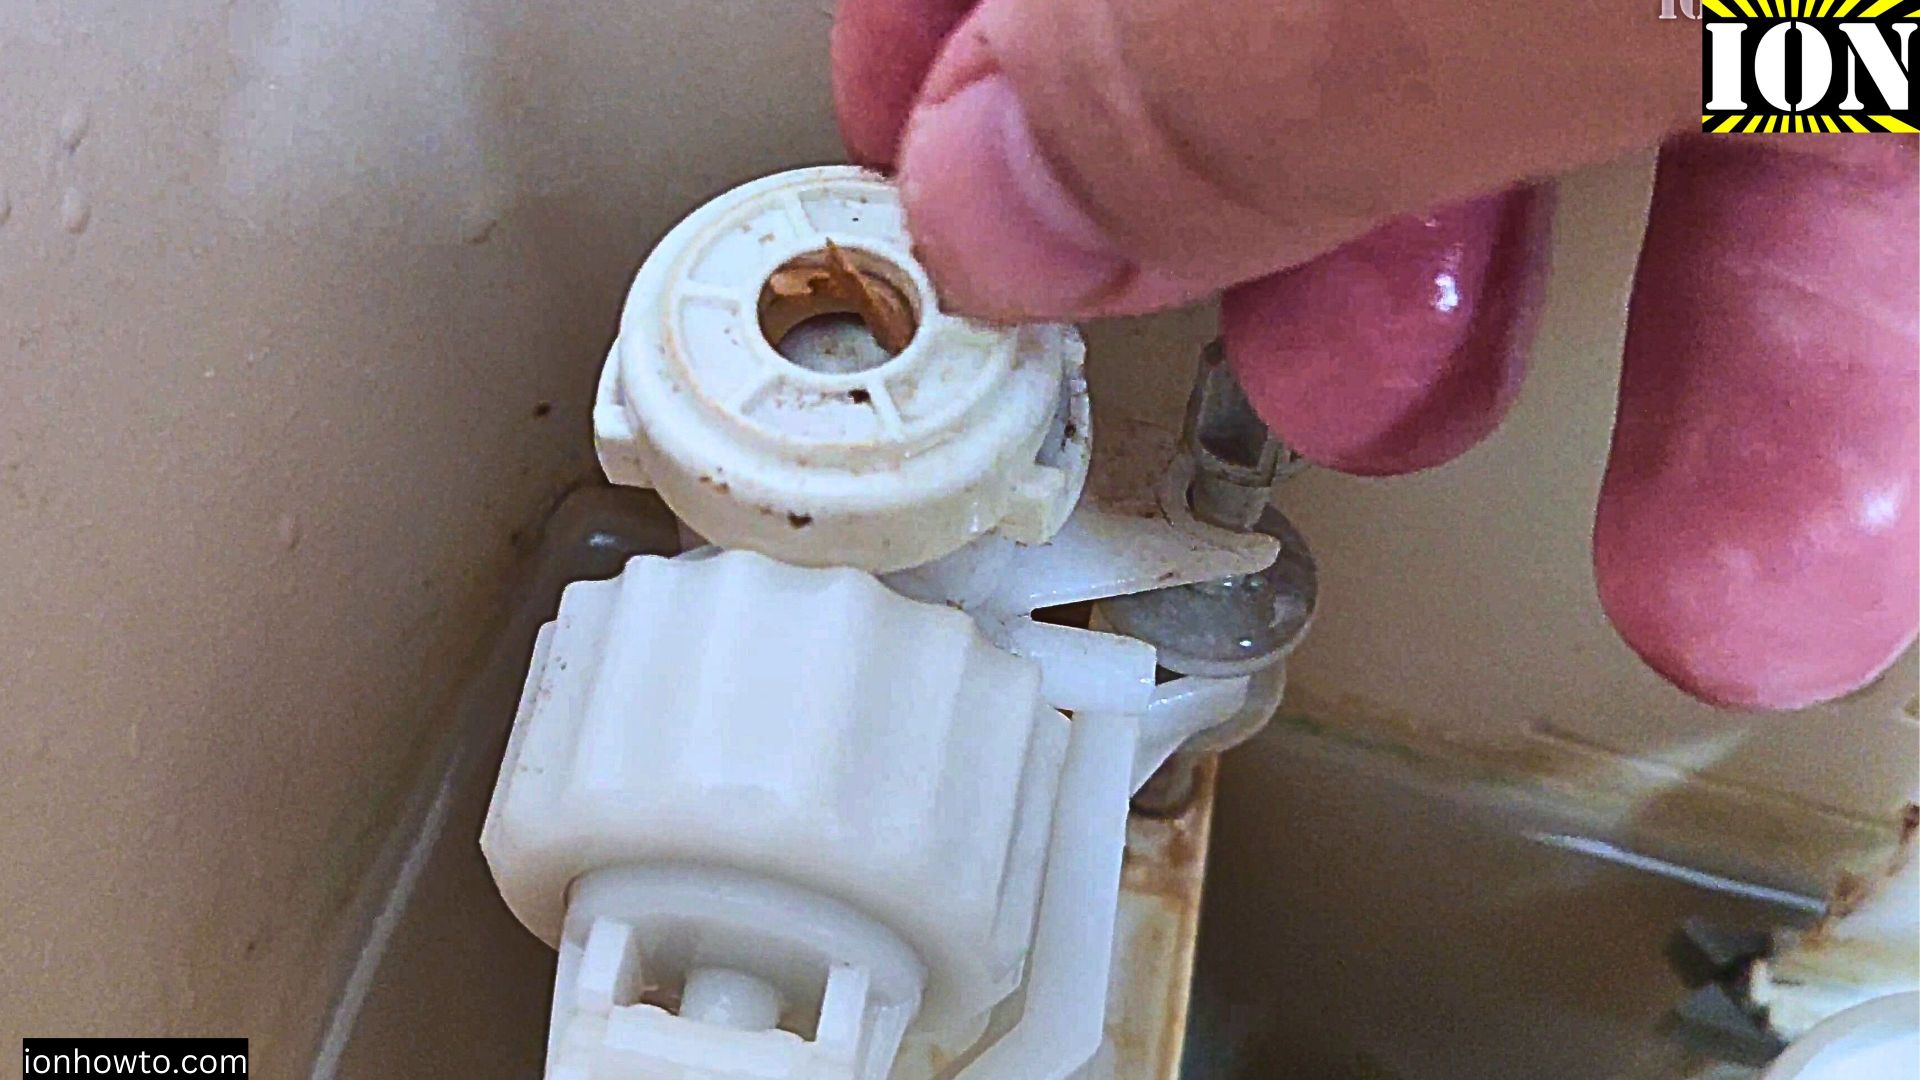
Get the Membrane Out of the Inlet Valve
Top valve Video
How to access the part:
- Locate the inlet valve (the tall mechanism in your cistern)
- Look for the cap on top or on the side of the valve assembly
- Carefully unclip or unscrew the side cap or top cap for some models
- Remove the old membrane – it’s a small rubber and plastic disc.
Installing the New Membrane
This is the easy part:
- Clean the valve housing with a cloth
- Place the new membrane exactly as the old one was positioned
- Make sure it sits flat and even
- Replace the cap and screw it back in or snap it back into place.
- Make sure the arm of the floater is connected to the membrane housing the same way as before and that as the water level goes up in the toilet cistern, it stops the water eventually.
Testing Time
Time to check if it worked:
- Turn the water back on slowly
- Watch the cistern fill
- Listen for any unusual noises
- Check for leaks around the valve
- Flush a few times to make sure everything is working properly
Troubleshooting
If it’s still not working right:
- Check the membrane is sitting flat
- Make sure the cap is properly secured
- Verify the water is turned on fully
- Listen for any hissing sounds that might indicate a poor seal
Save Money
Here’s why this fix makes sense:
- A new membrane is cheap
- A complete valve replacement costs a lot more but not always
- A plumber’s visit could cost 50-100 times more
- The repair takes less than 30 minutes
When to Call a Professional
While this is usually an easy fix, call a plumber if:
- You can’t access the valve easily
- There’s visible damage to the valve housing
- You notice cracks in the cistern
- The fix doesn’t solve the problem
Maintenance
To avoid future problems:
- Clean your cistern yearly
- Check for mineral buildup
- Listen for changes in filling sound
- Replace the membrane at first signs of slow filling
That’s all there is to it! You’ve just saved yourself some money, accomplished something useful and fixed your toilet. The new membrane should last several years before needing replacement again.
Remember, if you’re not confident about any part of this repair, it’s always ok to call a professional. But for most people, this is a simple fix.


Leave a Reply