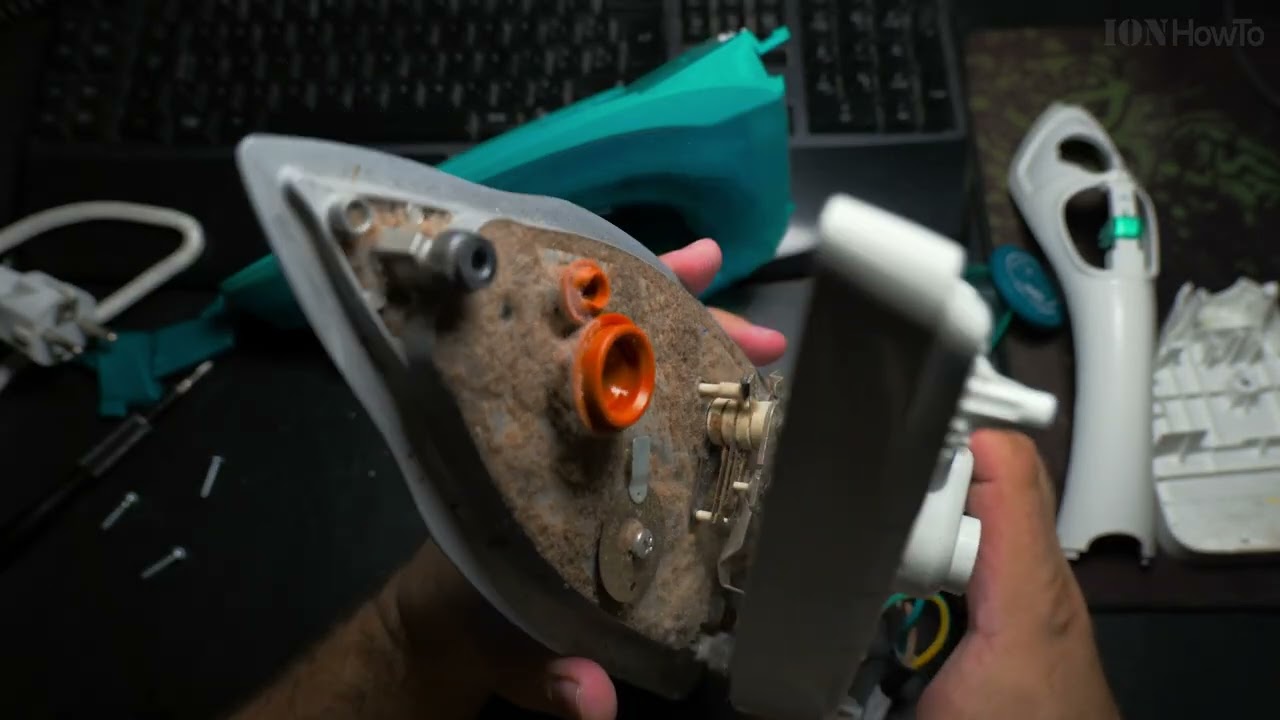
Philips steam iron model specifications Philips PowerLife SteamGlide 85g 2000W Philips SteamGlide steam iron for clothes not working. Plugged in, not starting. Philips steam iron not working silent no thermostat noises.
The problem could be damaged electrical wiring, water damage, heating element broken or thermal fuse failure. A steam iron not working even when setting the thermostat to Maximum setting and especially if you don’t head the noise in the video might mean the steam iron has a bad thermostat or a failing thermostat. Clean and reposition the thermostat if needed. A steam iron thermostat can be replaced with a new part.
Watch video for disassembly instructions and how to fix the steam iron thermostat.
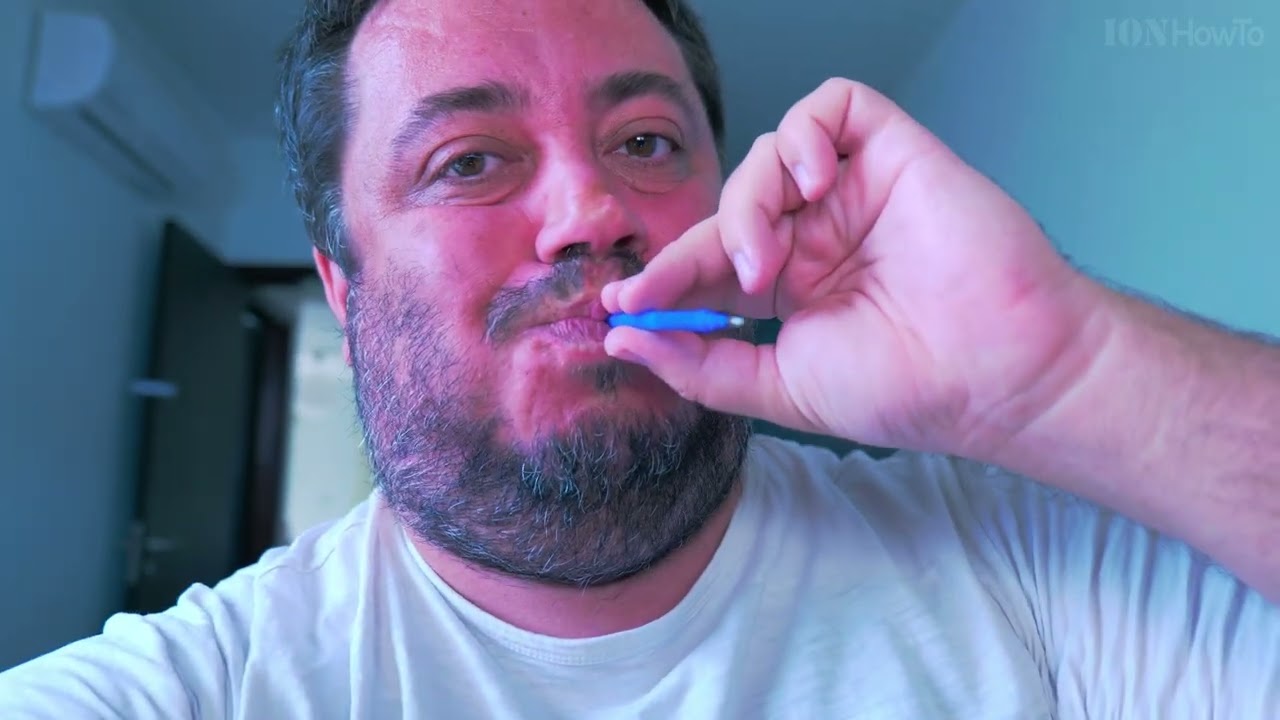
Pen not working, how to fix a ballpoint pen. Pen not working fix ballpoint pens or How to fix a ballpoint pen without any tools or ink solvents. Ink ballpoint pens will stop working if not used for a long time. Use the tips in this video to revive a ballpoint pen that doesn’t work anymore.
How ballpoint pens work
How a ballpoint pen works is by using a tube filled with pen ink similar to a fountain pen but the ballpoint pen ink is made into a thicker and sticky consistency. The Ink flows out from the tube and is restricted by a ball at the end of the pen. A ballpoint pen ball will allow ink to come out as the ball rolls on a surface such as paper.
If the surface is too smooth and shiny, the ball will not roll and the ballpoint pen ink will not be released. This makes a ballpoint pen not work in many cases.
How is a ballpoint pen made
Ballpoint pens can vary widely in shape sizes and functionality. The ball point pen components can be made of multiple material types but the main components are the same.
Ballpoint pen refills
Some ballpoint pens have a larger refill reserve and some have the standard thin ballpoint pen refill tubes. The simplest ballpoint pen refills are the thin ink tube refill with a brass end that encapsulates a Steel ball that will roll onto paper and release ink. Some ink refills contain different ink types some thicker and some ink gels smoother making writing with a ball point pen feel similar to using a fountain ink pen.
Pen types
Pen types can be fixed without moving parts and a cap to cover the ball point. These pens are the cheapest and simples to make and use.
The pen can have a mechanism to make the ball point come out or retract.
Ball point pen ink color
The most popular ink color for ball point pen refills is blue but black is used often too and red os usually used to correct previously written pages.
There are even multi color ball point pens with green, brown, yellow, orange ink too.
How to remove stains from clothes especially white t-shirt stains.
Using Evrika cholthes whitener without bleach. Active ingredient is Sodium Percarbonate.
The oxygen-based bleaching agent works well but it did not remove the stains from my T-shirt.
What worked like magic was the stain removal stick from Meine Leibe.
Dr. Beckmann would work too.
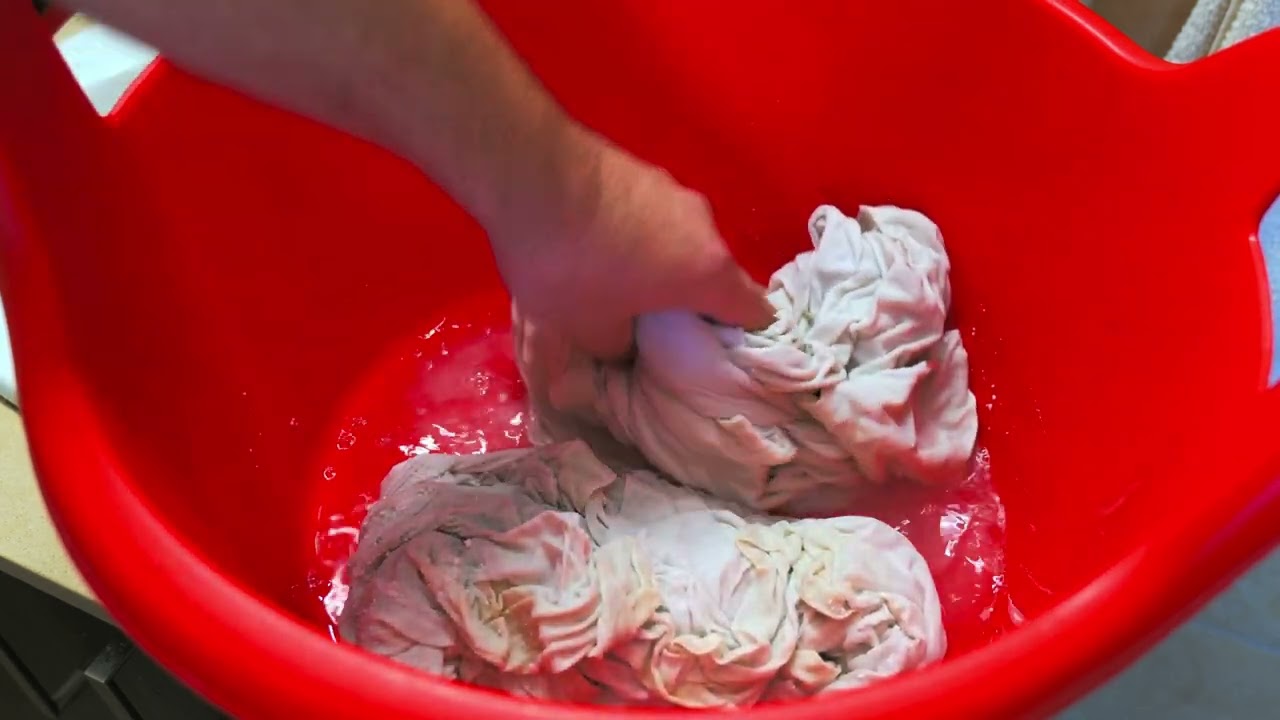
All I had to do was put hot water on the stain then use the stain remover stick on the area and let it sit 5-10 minutes. You will notice the stick forms foam around rhe area applied. After, wash rhe t-shirt as normal in washing machine or by hand.
How to use a digital multimeter for measuring electronics circuits at home or in the car.
Volt meter function
To measure DC voltage, set the multimeter dial to Continuous line V symbol and choose with the dial the maximum value measured and precision.
For example, to measure continuous current 12 Volt, set the voltmeter dial to 20V DC.
Insert the back of the black probe into Com / black port on the multimeter and the red probe into the red multimeter terminal marked with V and continuous line for DC.
How to measure voltage
You touch the red probe to the positive terminal and black probe to the negative terminal.
What voltage to measure
You can measure the voltage of your car battery before crank, during crank voltage drop and while the alternator is running.
Measure rechargeable batteries with the 2V option or the battery tester mode set to in 1.5V.
Resistance ohm meter function
To measure resistance, the red probe must be moved to the resistance measuring port.
The resistance meter function tests the value of the resistance between 2 points in Ohms.
How to measure resistance
To measure resistance in ohms, you place the probes at the 2 points you want to measure how much resistance is between them.
What to measure resistance on
You can check the resistance in Ohms of a resistor component, a diode, measuring a cable resistance at both ends. You can also use the continuity tester function that beeps when the probles touch eachother and also beeps if 2 points in a circuit or cable are connected to eachother.
DC Current measuring function
To measure DC current, the red probe must be moved to the current measuring port.
The multimeter has fuses that can be blown if you put too much current thru the multimeter by mistake. Fuses can be replaced easily.
How to measure current
Set to measure DC current at a milliamps value that matches your needs. If you need to measure amperes, you have to use the 10A function. The probles go in series in the circuit. When you comnect the probes, the circuit is closed otherwise the circuit is open and no current flows until you connect both probes in the circuit.
What to measure current on
You can troubleshoot electronics boards power usage as finding the ma / milliamps or amps value and the voltage you can use Ohms law to calculate the power used in Wats.
Ohm’s Law Formulas
Voltage, resistance, power and current are linked together and by knowing 2 you can find the third value using the simple Ohm’s law formulas.
How to find Voltage from Resistence Current or Power
V or E is voltage or energy it’s usually called E, I guess I like V more so I call it V measured in Volts.Note sqrt reffers to the Square Root function.
V = sqrt(P x R)
V = P / I
V = I x R
How to find Power from Resistence Current or Voltage
P is for power measured in watts.
P = V x I
P = I^2 x R
P = V^2 / R
How to find Current from Resistence, Power or Voltage
I is for cureent measured in Amps or Amperes, don’t ask me why it’s symbol is I.
I = V / R
I = P / V
I = sqrt( P / R)
How to find Resistence from Current, Power or Voltage
R is for reaistance and it is measured in ohms Ω symbol.
R = V / I
R = V^2 / P
R = P / I^2
Diode tester function
You can test diodes with the multimeter diode test function usually you find this at the 2k ohms on the multimeter dial.
How to measure a Diode or LED
Place the probes at both ends of a diode or LED module and measure the resistance.
The diode should allow current flow in one way but block the flow of cureent in the opposite direction.
Also in this mode if you test a LED module, the LED will start working dimly so you know the led tested works.
AC high voltage warning
It’s best not to use the AC high voltage test modes as this can be dangerous. That is made to check rhe voltage of your power sockets on the wall. If you have power supply problems, get an UPS or an extension with built in over voltage protection.
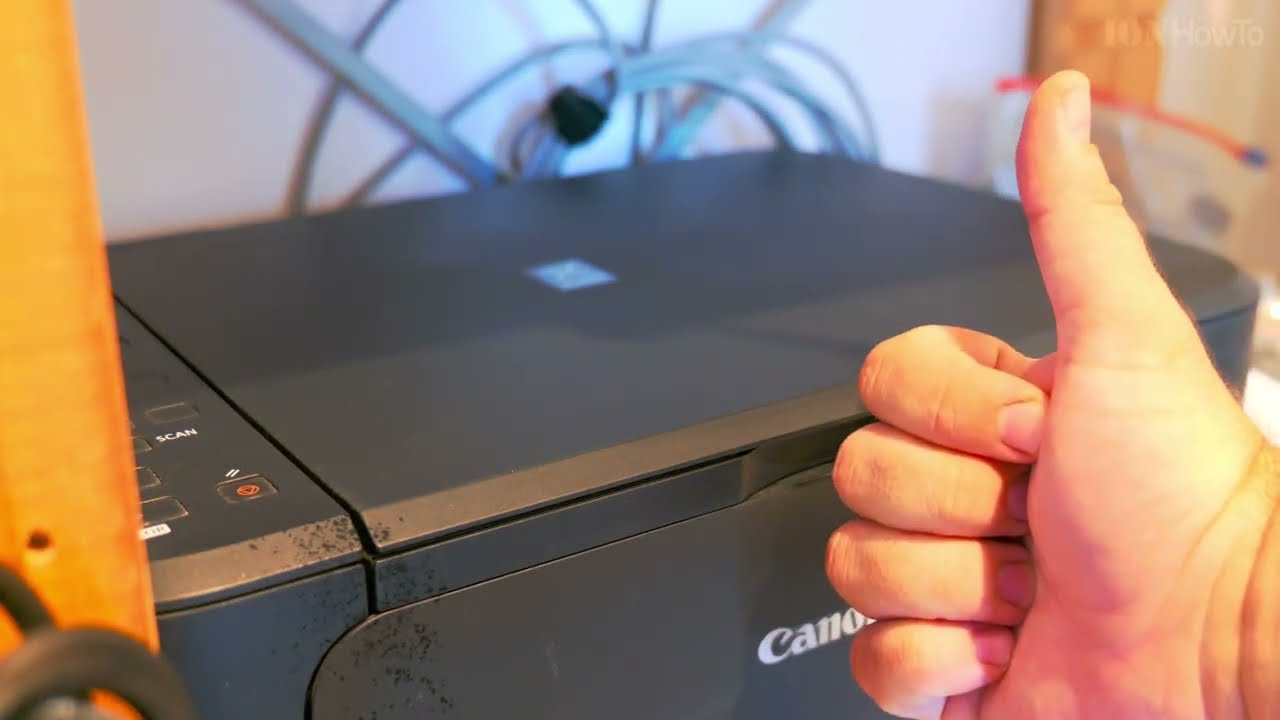
How to clean a scanner and printer multifunction printer cleaning. A flatbed scanner can get dirt on the glass of the scanner and you might see smudges or blurry areas on your scanned documents.
Clean rhe flatbed scanner and ADF scanner strip with a microfiber cloth soarked in water and squeezed well before use. You can also use Isopropyl alcohol 70% IPA or even plain window cleaner spray.
Make sure you spray on rhe cloth and not directly on the printer. Wipe gently and repeat if necessary.
You can also use plain soft toilet paper with a bit of alcohol or window cleaner sprayed onto it.
Also clean the printer feed tray to keep your multifunction printer work better and longer.
How to save electricity at home to reduce the electricity bill. There are a few simple steps to follow for saving electricity and reducing power consumption.
Other than installing photovoltaic solar panels at home to reduce the cost of electricity in your home there are steps you could follow to reduce your power consumption.
In the video you will see how to change your electricity usage to reduce power consumption.
Fridge freezer temperature control
Change the fridge temperature control to a setting from 1 to 5. On 5 the fridge uses more power to cool down the food more and at 1 it uses the least electricity and it will result in an increase of temperature in the fridge.
A good setting is 3 for the fridge but you can try to reduce power consumption of the fridge further by changing the fridge temperature control to the number 2.
The freezer also has a temperature control setting and you should keep it at normal or between lowest and normal instead of the maximum setting for the freezer.
Use a freezer thermometer to be sure your freezer has a temperature of -15 degrees Celsius instead of -25.
Turn off the lights
Turn off the lights you don’t use and during the day, open the curtains and use natural sunlight instead of light bulbs. The sun light is much better and it’s free.
Replace CFL light with modern LED light bulbs
Replace CFL light with modern LED light bulbs and LED light fixtures.
Do not use any incandescent light bulbs at all.
Any 8W LED light bulb makes more light than a 25W CFL light bulb and it is a lot better than incandescent 60W or 100W old light bulbs.
Turn off power to appliances when not in use
Turn off power to appliances when not in use. Use a switch to turn the TV on and your TV box or media players and speakers.
Turn off power to kitchen appliances when not in use, this reduces power consumption and makes your kitchen safer.
Use central heating or Air conditioners for heating
Use central heating or Air conditioners for heating.
For heating, use Aircon A/C instead of electric heaters or oil heaters.
The energy efficiency of a modern heat pump or heat exchanger aircon heater is much more efficient than a simple electric heater.
Central heating systems are better when available.
Set your central heating system thermostat to 19 degrees Celsius or 20 degrees in the winter to consuming less energy to heat your home.
Use fans instead of Air conditioners
For cooling use a fan on low speed instead of the air conditioners or aircon, A/C and use the aircon only on the hottest days or during the night.
Washing machine Eco mode
Washing machine should be loaded to full capacity but not overloaded.
Use the temperature control setting to 0 degrees Celsius or 30 degrees Celsius to reduce power consumption from the washing machine.
Also use the washing machine Eco modes when available.
Keep the fridge full
Keep the fridge full at all time when in use. A full fridge keeps cool with less electricity consumption than an empty fridge. More food in the fridge increase the thermal mass and the fridge environment will not warm up so much when you open the fridge door.
If you travel, empty the fridge, turn it off and keep fridge freezer doors open to avoid mold growth.
Water pressure pump
If you have a pressure pump and a direct tap drinking water faucet, use the drinking water faucet for washing food instead of pressure pump.
It will keep the pump off and you can reduce the water consumption too. Drinking water here refers to a direct utility supply not a reverse osmosis filter system. If you have a reverse osmosis filtration system, use that only for drinking water.
Fix washing machine won’t open when pressing the washing machine door open handle nothing happens and the washing machine does not open.
Watch all the video for steps to check and how to open the washing machine, how to open the washing machine door latch and how to repair plastic with plastic welding.
Washing machine door won’t open
Most important is to understand what is the reason the washing machine is not opening.
There is a time delay unlock switch that usually makes a click sound approximately 2 minutes after the washing cycle ends.
You should be able to recognize that click sound as you have heard it many times.
In case that timed switch is blocked for any reason it could help to press on the door of the washing machine or gently hit the washing machine door with your hand.
Set the washing program to drain and start the washing machine. Let it run a few seconds 5 to 10 seconds should be enough. Set the washing machine to stop and wait 2-5 minutes.
There should be a click sound.
The click sound means the door is free to be opened but there is a hook in the door that you have to pull when pressing on the door opening handle.
If there is a broken part in the washing machine door, you will see that the washing machine handle feels a bit more loose and it does not make the door open at all.
That plastic piece can be repaired or replaced if you’re lucky and there are spare parts available for your washing machine.
Opening a stuck washing machine door
First and most important is to get the door open so you can take the clothes off before they start to smell like mold.
For this you can use an old expired debit or credit card or an old membership card.
You should bend the card slightly when inserting it to go beyond any screws that might be blocking the way.
If the card does not work, use a plastic string or thick fishing line.
Pull the string from the edge of the door until it goes between the door and washing machine.
Once you have both ends of the string around the opening handle, pull firmly and the door opens like it’s magic.
If it didn’t open, try to use a thin wire to fish the string thru the other side of the door before the hinge of the door.
Then pull the string slowly from the opposite side until you reach the door handle. It’s the same as before but from the other side of the door and pull firmly to open the door.
You might have to do it like this in case the washing machine hook is orientated inwards instead of outwards. On most washing machines, the door latch hook is orientated outwards.
If the door still didn’t open, make sure you hear the click when the washing cycle is finished and try to press the washing machine door a few times again.
After opening
Once opened, take pictures of the door latch hook and try to see how many screws you have to remove to get the door handle removed from the door.
These steps are important so take lots of pictures to be sure you can put it back the same way.
Remove the door cover if needed and check for broken plastic pieces around.
In the video bellow I was lucky to find the broken piece so I was able to weld it back in place.
Plastic welding
You can practice plastic welding on any plastic piece before doing it on the irreplaceable part you need.
Usually, you would use a soldering iron to melt the plastic pieces together and use metal reinforcement inserts. The plastic welding reinforcement parts can be special parts made for plastic welding or you can use staples, paperclips even clothespins springs for this.
Reinstall
When you put all parts back together again, make sure you don’t lose any parts and check the photos you took earlier as a reference to be sure the part is installed correctly. When reassembled, if you press the door unlock handle, you should see the door catch hook moving. This means it’s fixed and working now.
Reinstall all the door parts and close the washing machine door then open it!
The interlock with time delay switch
If none of the above works and you hear a click or no click at all 2 minutes after washing machine cycle ends, the timed delay switch might be bad and needs to be replaced.
To replace the time delay switch, you might want to call a washing machine technician as the top of the washing machine needs to be removed to gain access to the part and it’s not a user replacement friendly part. Also, you might not be able to find the part but techs usually have a stock of most common parts needed.
Water pressure pump not working humming not starting.
Multistage pressure pump for clean water used for water heater boiler or pool.
Pump not starting humming or buzzing
The pump works less and eventually it can even stop working completely.
The auto pump control works and tries to start the water pump motor but the motor makes a humming noise or buzzing noise and the motor is not spinning not working.
If the motor is humming stop the power immediately and follow the steps in the video to prevent motor coil damage and having to replace the whole pump.
Replacement Pump
Check for leaks
Expansion tank
WARNING!
Before opening any electrical box please read the safety warnings and call a plumber or electrician to repair or replace your water pump. Do not try this at home! This video and post is not meant to be an instructional video, I just show you how I did it and it might be wrong for your country or pump model.
Danger, high voltage electricity! If you try to do this, you are doing it at your own risk. I am not responsible for your actions.
Call a plumber, watch them fix it while you relax.
How to weld plastic at home with a paperclip staple or stainless steel metal mesh.
If you don’t want to reinforce the broken plastic part with stainless steel mesh or plastic welding staples and a plastic welding tool, you can follow the steps in the video bellow.
Repairing household appliances is easy with plastic welding.
Repair standing cooling fan with plastic welding
Plastic welding with filler plastic material and a soldering iron. Diy fix broken parts from the car, home, toys and more.
Place the paperclip on the area where the plastic is cracked or broken.
Using a soldering iron, heat-up the paperclip until the paperclip begins to sink into the melted plastic.
Continue until the paperclip is completely embedded in the plastic part.
If needed, use a small piece of the same type of plastic from some other part to fill-up the area around the broken plastic to provide a bit more reinforcement.
This part is from our washing machine and it fixed the washing machine.
Some home appliances have plastic parts that are difficult to replace and in this case there was no part number or any way to find a replacement.
Welding plastic can save you a lot of money b fixing your devices or appliances instead of throwing them away and replacing them.
You are also more eco-friendly this way by reducing e-waste since you use a device or appliance longer.
Try plastic welding and you’ll see it’s pretty easy to do.
The best part about welding plastics is that once the temperature of the part goes down to room temperature, the plastic part is fixed and ready to use.
Glue can also fix many plastic parts but might not be as strong as plastic welding and it takes a long time usually until fully cured.
How to replace a toilet seat do it yourself home improvement repair. Most important is the get a toilet seat that matches the size of your toilet bowl.
Measure the width and length of the toilet ceramic bowl or measure the old toilet seat and purchase a similar size toilet seat.
Best is to buy a toilet seat with strong metal hinges and metal mounting brackets so that he seat does not move sideways or break easily.
Follow the steps in the video without skipping please so you don’t miss important steps.
Most important is for the new toilet seat to match the size of your toilet bowl.
Usually there are not many size options but it’s best to use measuring tape to check the size of your existing toilet seat and get a similar or slightly larger replacement toilet seat.