
How to Fix a Leaky Faucet or Pipe
A leaky faucet or pipe might seem like a small problem, but it can waste a lot of water and drive up your utility bill.
Fixing it is easier than you think! With a few basic tools and a little patience, you can do this DIY project and stop the annoying drip.
Step 1: Identify the Problem
Before you start, figure out where the leak is coming from:
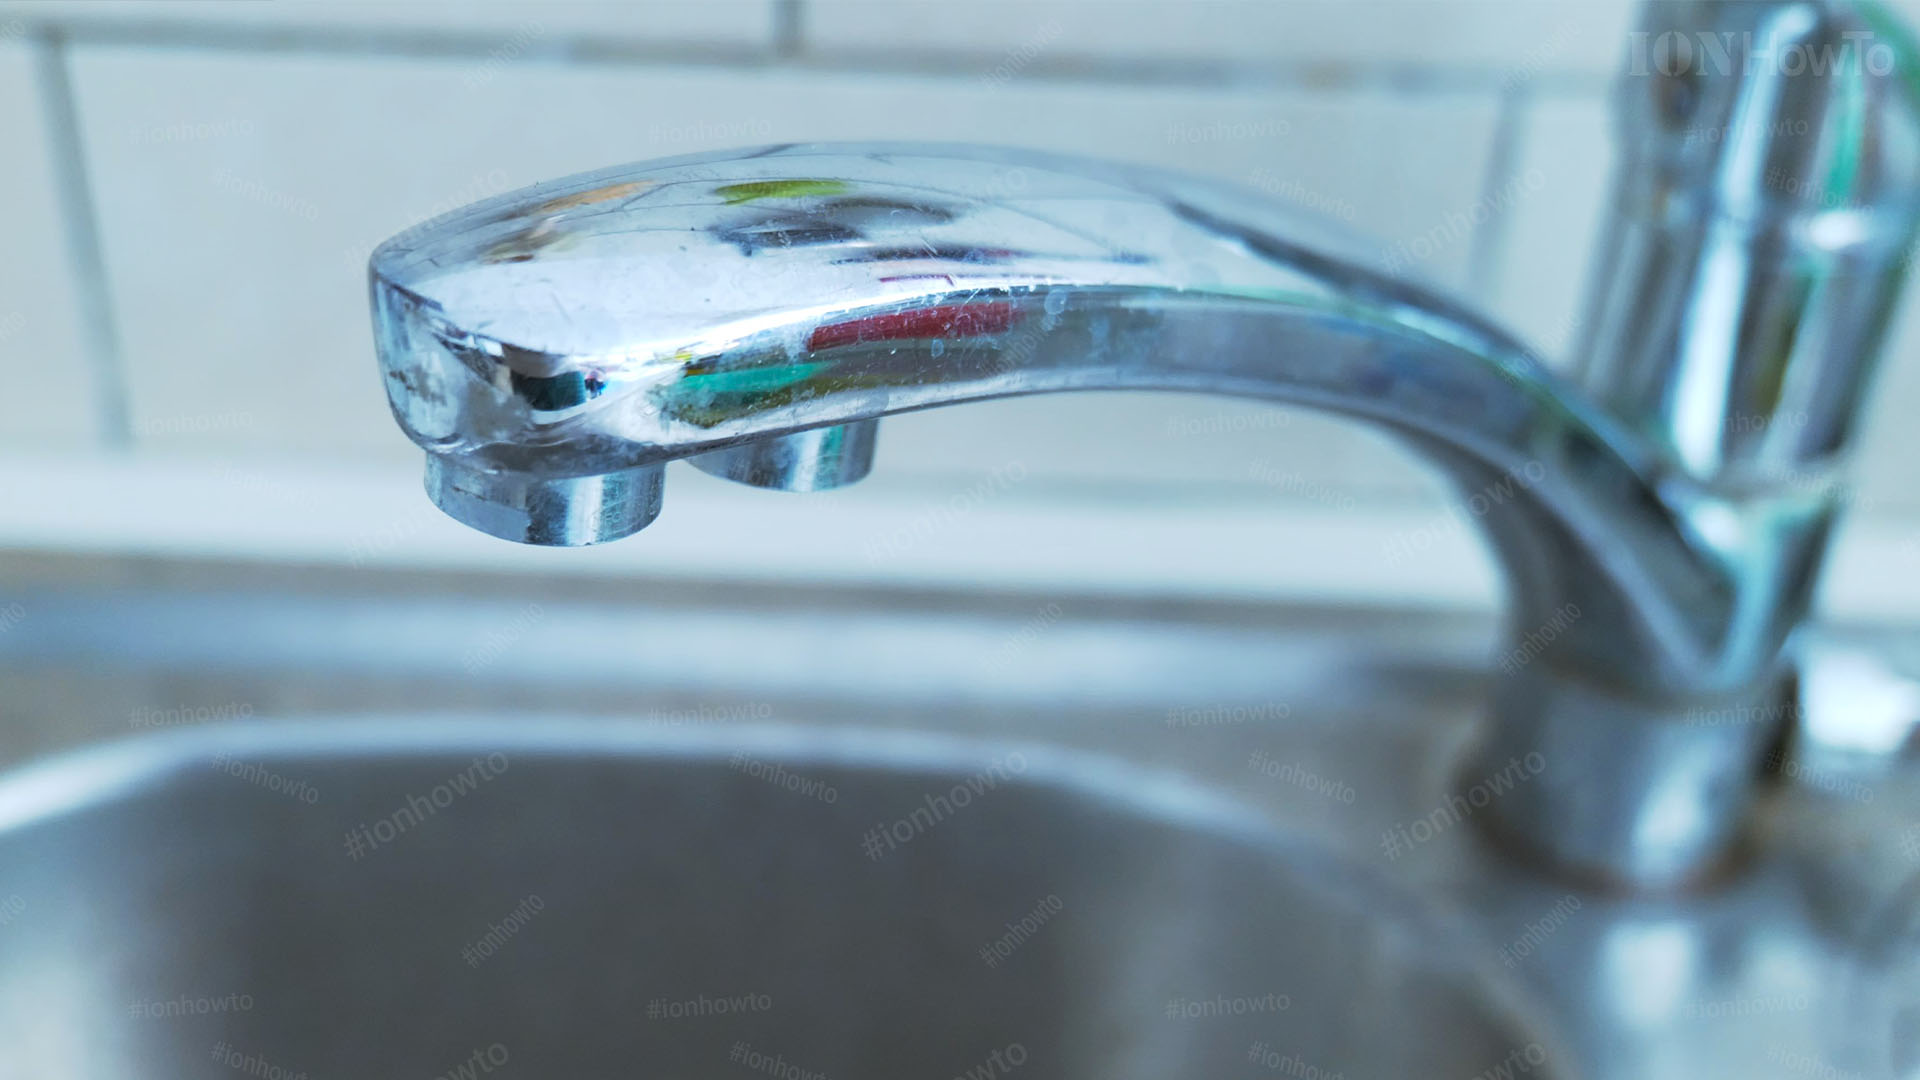
- Leaky Faucet: If water is dripping from the spout, the issue is likely with the faucet’s internal parts, like the washer or O-ring.
- Leaky Pipe: If water is dripping from a pipe under the sink, the problem could be a loose connection, a cracked pipe, or a worn-out seal.
Once you know what you’re dealing with, you can gather the right tools and parts.
Step 2: Gather Your Tools and Supplies
Here’s what you need for most faucet and pipe repairs:
- Adjustable wrench
- Screwdriver (flathead or Phillips, depending on your faucet)
- Replacement parts (washers, O-rings, or pipe tape)
- Bucket or towel (to catch water)
- Plumber’s tape (also called Teflon tape)
Step 3: Fix a Leaky Faucet
If your faucet is the problem, follow these steps:
- Turn Off the Water Supply: Look under the sink for the shut-off valves. Turn them clockwise to stop the water flow. If there are no valves, you may need to shut off the main water supply.
- Plug the Drain: Place a plug or rag in the sink drain to avoid losing small parts.
- Remove the Faucet Handle: Use a screwdriver to remove the decorative cap on the handle, then unscrew the handle. You may need to gently pry it off if it’s stuck.
- Inspect the Washer or O-Ring: Once the handle is off, you’ll see the valve stem. Remove it and check the washer or O-ring at the bottom. If it’s worn or damaged, replace it with a new one.
- Reassemble the Faucet: Put everything back together in reverse order. Turn the water supply back on and test the faucet to make sure the leak is gone.
Step 4: Fix a Leaky Pipe
If the leak is coming from a pipe, here’s what to do:
- Turn Off the Water Supply: Shut off the water to the affected area or the entire home if necessary.
- Dry the Pipe: Use a towel to dry the area around the leak.
- Tighten Connections: If the leak is at a joint, use an adjustable wrench to tighten the connection. Be careful not to overtighten, as this can cause more damage.
- Replace a Cracked Pipe: If the pipe itself is cracked, you’ll need to replace it. Cut out the damaged section with a pipe cutter and install a new piece using pipe connectors and plumber’s tape to seal the joints.
- Use Pipe Tape: For small leaks at threaded connections, wrap plumber’s tape around the threads before reassembling. This creates a watertight seal.
Step 5: Check for Leaks
Once you’ve made the repair, turn the water supply back on and check for leaks. Run the faucet or let the water flow through the pipes for a few minutes to ensure everything is working properly.
Step 6: Prevent Future Leaks
A bit of maintenance can go a long way in preventing leaks. Here are some tips:
- Regularly check faucets and pipes for signs of wear or damage.
- Replace washers and O-rings before they wear out completely.
- Avoid overtightening faucet handles or pipe connections.
- Insulate pipes in cold areas to prevent freezing and cracking.
Conclusion
Fixing a leaky faucet or pipe is a simple DIY project that can save you money and prevent bigger problems down the road. With just a few tools and a little effort, you can stop that drip and feel like a real pro plumber.
If you ever feel stuck, don’t hesitate to call a professional.


Leave a Reply