
How to take a screenshot on Windows 10 faster new way.
A screen capture or a screen print / print screen is taking a photo of your desktop to share or save for later.
This is the new improved way in Windows 10 .
Showing 3 ways to capture the screen aka. screenshot.
Oldest way
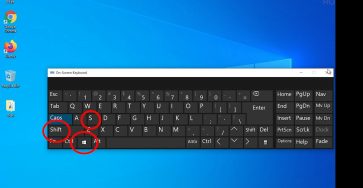
Hit the Prt Scr Sys Rq button on your keyboard.
This takes a screenshot of the whole desktop and copies it to your clipboard so you cna paste that anywhere you want.
Using the Snipping tool
As shown in the video, with the snipping tool you can take a screenshot of the desktop or specific areas drawing a rectangle to capture or a free-form screen capture.
You can also capture a specific window.
After you can copy it to the clipboard or save it as a .png or .jpg file on your computer.
Snip & Sketch Newest and best way (so far)
Using the new Windows 10 Snip & Sketch tool.
This works in a mode similar to the old Snipping tool but has a new cool mode where all you have to do is press a shortcut key combination and you can take an instant screen capture as a rectangle, window capture or free-form screenshot.
The combination is Win Key + Shift + S
screen dims a bit and you see on the top area a few options buttons.
In this moment all you have to do is draw a rectangle and it copies the image to the clipboard automatically.
Hope this helps.


Leave a Reply