


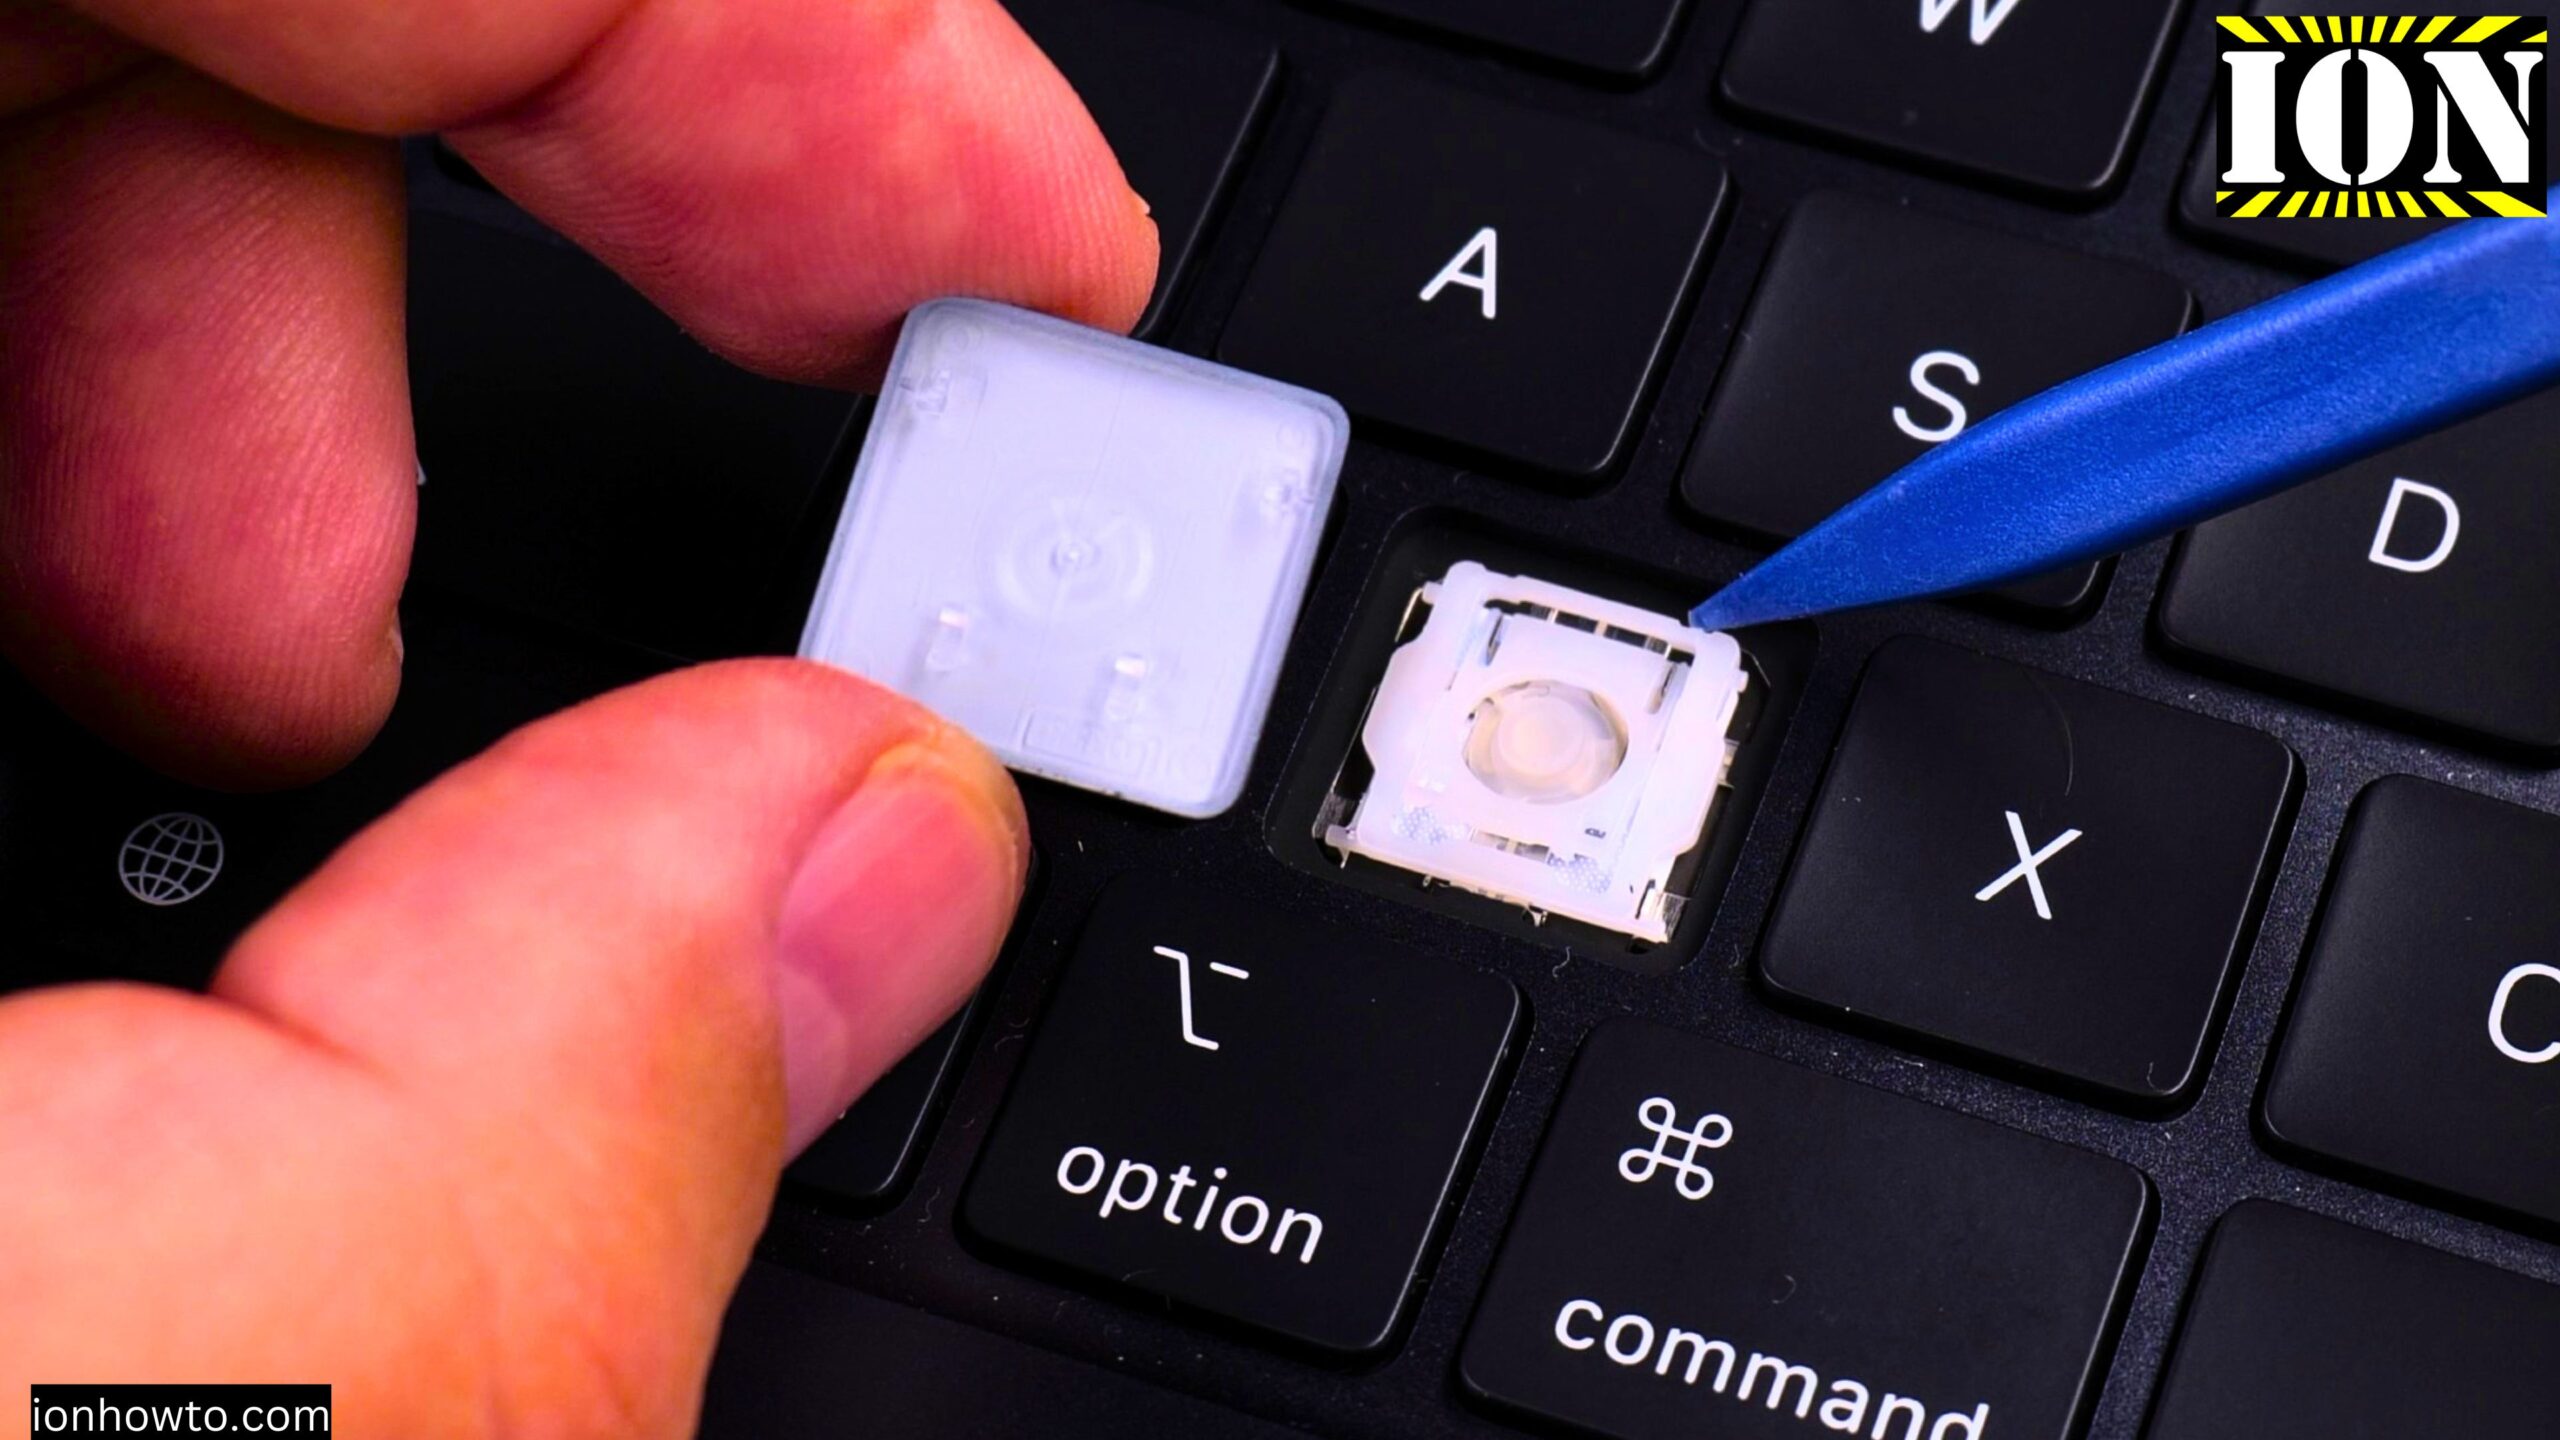
MacBook Air M5 How to Replace Keyboard Keys Keycaps.
MacBook Air M5 How to Replace a Key KeyCaps Removal and Keycaps Installation.
I show you how to replace keyboard keys or keycaps in the MacBook Air M5 13 inch 16GB RAM 512GB SSD base MacBook Air model.
This step-by-step guide shows you all the steps from what tools to use on your MacBook Air or MacBook Pro keyboard to remove and replace keys or keycaps.
MacBook Air M5 How to Replace Keys Video Guide
MacBook Air M5 How to Replace Keys KeyCaps Removal and Installation

You can also replace the butterfly scissors mechanism under the keys if they are broken.
Most important is to look at the official Apple support guides for your keyboard type ANSI vs ISO differences.
Also keys will have different locations for the snap-ins.
The highlighted parts in the Apple diagrams show you where the snap-ins are located.
When you buy the original Apple MacBook replacement keys set you get the special tool needed to remove the old keys.
That tool uses glue pads to hold the keycaps secure while removing.
Most important is to know for the key you replace where you should lift and where to press down.
Most keys are to be lifted from the edge towards you and you should keep your finger of the top of the key closer to the display to prevent it from lifting and breaking the hinges.
Please watch this video without skipping from start to finish before you attempt to remove your MacBook keyboard keys or keycaps.
You can use paper or plastic film to lift the keycap from the side with the snapins then use any soft plastic tool to lift the keycap as you see in the video.
Ideally you would use a mobile phone repair tools set especially with tools that are new unused so they still have a good thin edge to lift the key caps without damaging the mechanism under the key.
You can replace keys on your MacBook Air or MacBook Pro with the official keys replacement kit if your MacBook keyboard keys became shiny and you want the keyboard to look like new.
You can also use the replacement keys to change the keyboard layout on your Mac.
Setup Software and Keyboard
MacBook Air M5 13 inch First Setup As New Mac with iPhone.

The software keyboard layout can be easily changed. I have the keyboard set to English US international but the physical keyboard is still German Qwertz and I wanted to convert Qwertz to Qwerty or as much as possible.
MacBook Air M5 First Impression First Use Charging MagSafe 3 and USB-C Chargers for New MacBook.

The biggest difference to make the Qwertz keyboard look like a qwerty keyboard is to swap the Z and Y letters. This is what I show you in this video.
MacBook Air M5 13 inch Unboxing.

I will make a video later when I get the keyboard keys kit how to replace all the MacBook Air M5 keys. For now this is good enough for me.
When you place the key cap back, you should slide the top part first at an angle – it doesn’t need any force. The latches need to go under the mechanism under the key. Then you press the bottom part of the key to lock it in. You should feel 1 snap for lower left and a second snap for the lower right. Then you press the key and it should feel normal. The keys are workkng fine as you see in the video.
While doing this you can power off your MacBook ideally.
Model number A3449
Part number MDHE4D/A
EAN Barcode: 195950690064
Color Midnight.
More information
MDHE4D/A MDN/10C CPU/8C GPU/16GB/512GB Model No. A3449
10-Core CPU und 8-Core GPU. Thunderbolt 4(USB-C), MagSafe 3. Dimensions and Weight: 1,13 x 30,41 x 21,5 cm; 1,24 kg – weight varies depending on the configuration you have.
Package content 13″ MacBook Air and USB-C to MagSafe 3 cable(Power Adapter not included in this configuration – sold separately).
Display: 13.6-inch (diagonal) Liquid Retina LED-backlit display with True Tone technology; 2560×1664 pixels.
12MP Center Stage camera
Four-speaker sound system
Full-size backlit Magic Keyboard and Touch ID
Force Touch trackpad
Connectivity: Wi-Fi 7, Bluetooth 6.
Charging modes PD specifications:
20V at 1.5A = 30W
20V at 1.75A = 35W
20V at 3A = 60W
20.6V at 3.4A = 70W
This is the German version with the Qwertz keyboard instead of Qwerty but I will use the new MacBook with the US International language.
This is the model without a power brick.
No power adapter included and no stickers included also.
You get the MacBook Air M5 and a USB-C to MagSafe 3 charger connection cable. The charging MagSafe cable is built really well surprisingly.
To charge your MacBook Air or MacBook Pro you can use any good known brand chargers that can deliver the charging modes needed by your new MacBook.
I have a 65W SJOSS charger from IKEA that works perfectly with my MacBook Air.
You can charge your MacBook from the MagSafe port and also using any of the 2 thunderbolt 4 usb-c ports on your MacBook Air.
This MacBook Air also has a headphone jack on the right side of the laptop or Mac.
The feel of this MacBook is really good. It’s metal body aluminum I believe makes it feel really premium and I used it with DaVinci Resolve Studio 21 and Logic Pro 12 without any problems.
The memory pressure is nothing to worry about even with only 16GB RAM.
I showed you how to setup your MacBook Air for the first time as a new device and you can setup your MacBook using your iPhone or iPad to transfer apps and settings.
Leave a Reply Cancel reply