
How to Glue Hiking Boots with E6000 Glue.
Do the soles of your favorite hiking boots or walking shoes need repair? Don’t throw them out just yet. Learn how to use a strong, flexible adhesive like E6000 to glue them back together and get more life from your gear. I’ll show you the process I used to fix my own Salomon walking boots.
Why E6000 Glue is Great for Boots
First, let’s talk about why E6000 is a good choice for this job. Regular super glue is brittle and will crack when your boot flexes. E6000 is different. It’s an industrial-strength adhesive that dries into a strong but flexible, rubber-like seal. This flexibility is key for shoes, which bend and move with every step.
What You’ll Need
Gathering the right materials makes the job smoother.
- E6000 Glue (or B-7000): These are very similar and work the same way. Use whichever you can find easily.
- Duct Tape or Strong Masking Tape: To hold the boot together while the glue cures.
- Stuffing Material: Old plastic bags, paper, or rags to stuff inside the boot.
- A Weight or Jar: Something heavy to apply pressure, like a glass jar.
- Rubbing Alcohol & A Rag (Optional): To clean the surfaces for a better bond.
The Steps to Glue Your Boots
Follow these steps carefully for a strong, lasting repair.
Step 1: Clean and Prepare the Surfaces
Start by cleaning the area you need to glue. If the old sole is peeling back, make sure both surfaces (the sole and the upper part of the boot) are free of dirt, old glue, and grease. A quick wipe with rubbing alcohol can help. Let it dry completely.
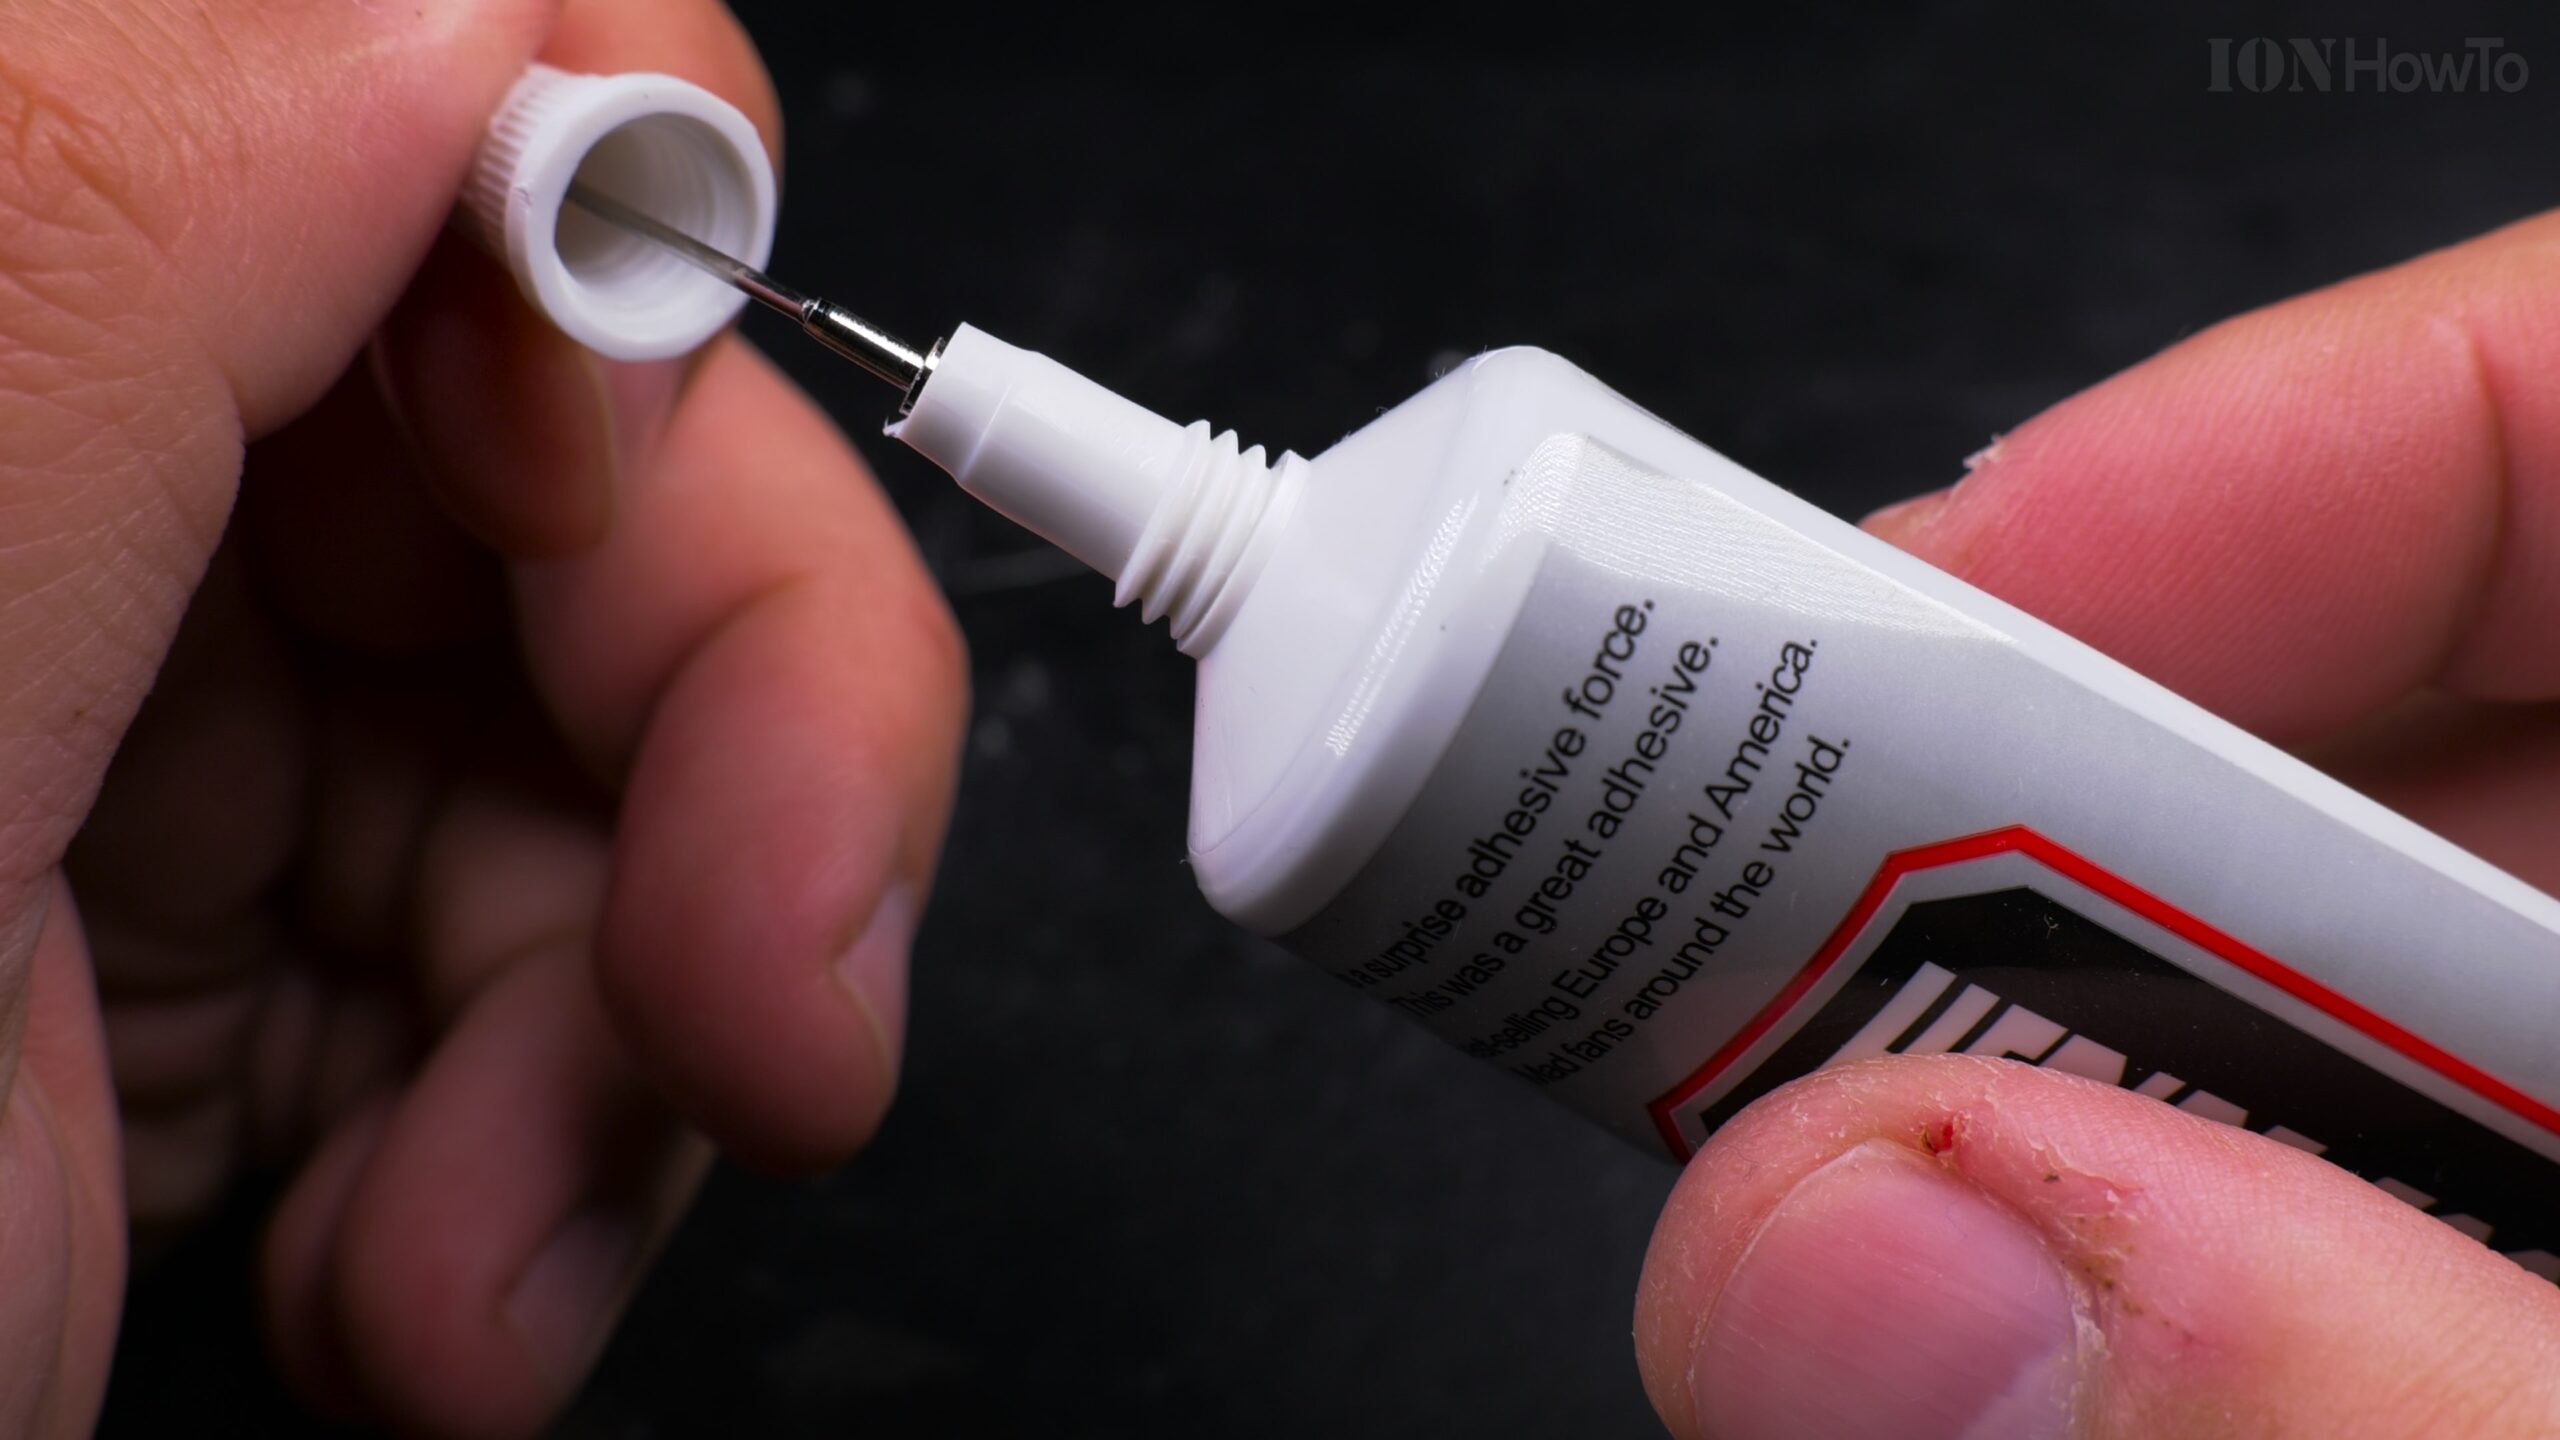
Step 2: Apply the E6000 Glue
Squeeze a generous bead of E6000 glue along the edge of the sole that needs reattaching. Apply it to both surfaces if you can. Don’t be shy – it’s better to use a little too much than too little. The excess can be cleaned up later.
Step 3: Press the Sole Back into Place
Carefully press the sole back against the boot. Align it as perfectly as you can. Once you press it down, the glue will start to hold, but it won’t be strong yet.
Step 4: Secure the Bond with Tape
Wrap duct tape firmly around the entire glued section of the boot. The tape’s job is to hold the sole tightly in place while the glue cures. Make sure it’s snug.
Step 5: Stuff and Weight the Boot (Crucial Step)
This is the secret to a great bond. Stuff the inside of the boot firmly with plastic bags, paper, or rags. You want to fill the boot to its natural shape. Then, place a heavy object like a glass jar inside, right against the repaired area. This applies constant, even pressure from the inside, pushing the upper material out against the sole.
Step 6: Let It Cure – Be Patient!
This is the most important step. E6000 glue needs time to develop its full strength. Do not wear the boots right away.
- Let them sit, taped and weighted, for a minimum of 48 hours (2 days).
- For the best, strongest bond, let them cure for 3-4 days, or even a full week if you can.
- Leave them in a well-ventilated area like a garage or porch while they cure.
After the Cure Time
After your waiting period, you can carefully remove the tape and the stuffing from inside the boot. Check the bond by gently flexing the sole. Any small gaps or edges that didn’t stick perfectly can be fixed with a tiny extra dab of E6000. You can peel off any excess glue that squeezed out from the sides.
Important Safety Tip
E6000 has strong fumes. Always use it in a well-ventilated area. Open all your windows, or better yet, do the whole gluing process outside. Let the boots cure somewhere you don’t spend a lot of time, like a shed or balcony.
Final Thoughts
Gluing your boots with E6000 is a straightforward DIY fix that can save you money and extend the life of your favorite footwear. The keys are using the right flexible glue, applying steady pressure with stuffing and weight, and most importantly, giving it plenty of time to cure completely. With a little patience, you can get back on the trail with boots that feel good as new.


Leave a Reply