
Huawei WS5200 Router Unboxing & Setup Guide
Learn how to unbox and set up the Huawei WS5200 v2 Wi-Fi router as an access point. If you want to extend your existing network with a solid, affordable device, I’ll show you what’s in the box and the steps to get it running.
Unboxing the Huawei WS5200 v2 Router
Opening the box, you get everything you need to get started:
- The Huawei WS5200 Router: A compact, white device with four fixed, non-detachable antennas.
- A Power Adapter: Comes with a long cable, which is handy for placing the router where you need it.
- An Ethernet Cable: A basic Cat 5e cable to connect the router to your modem or main network.
- A Quick Start Guide: Basic setup instructions.
First Impressions: The Good and The Not-So-Good
After looking it over, here’s the honest breakdown:
The Good Stuff:
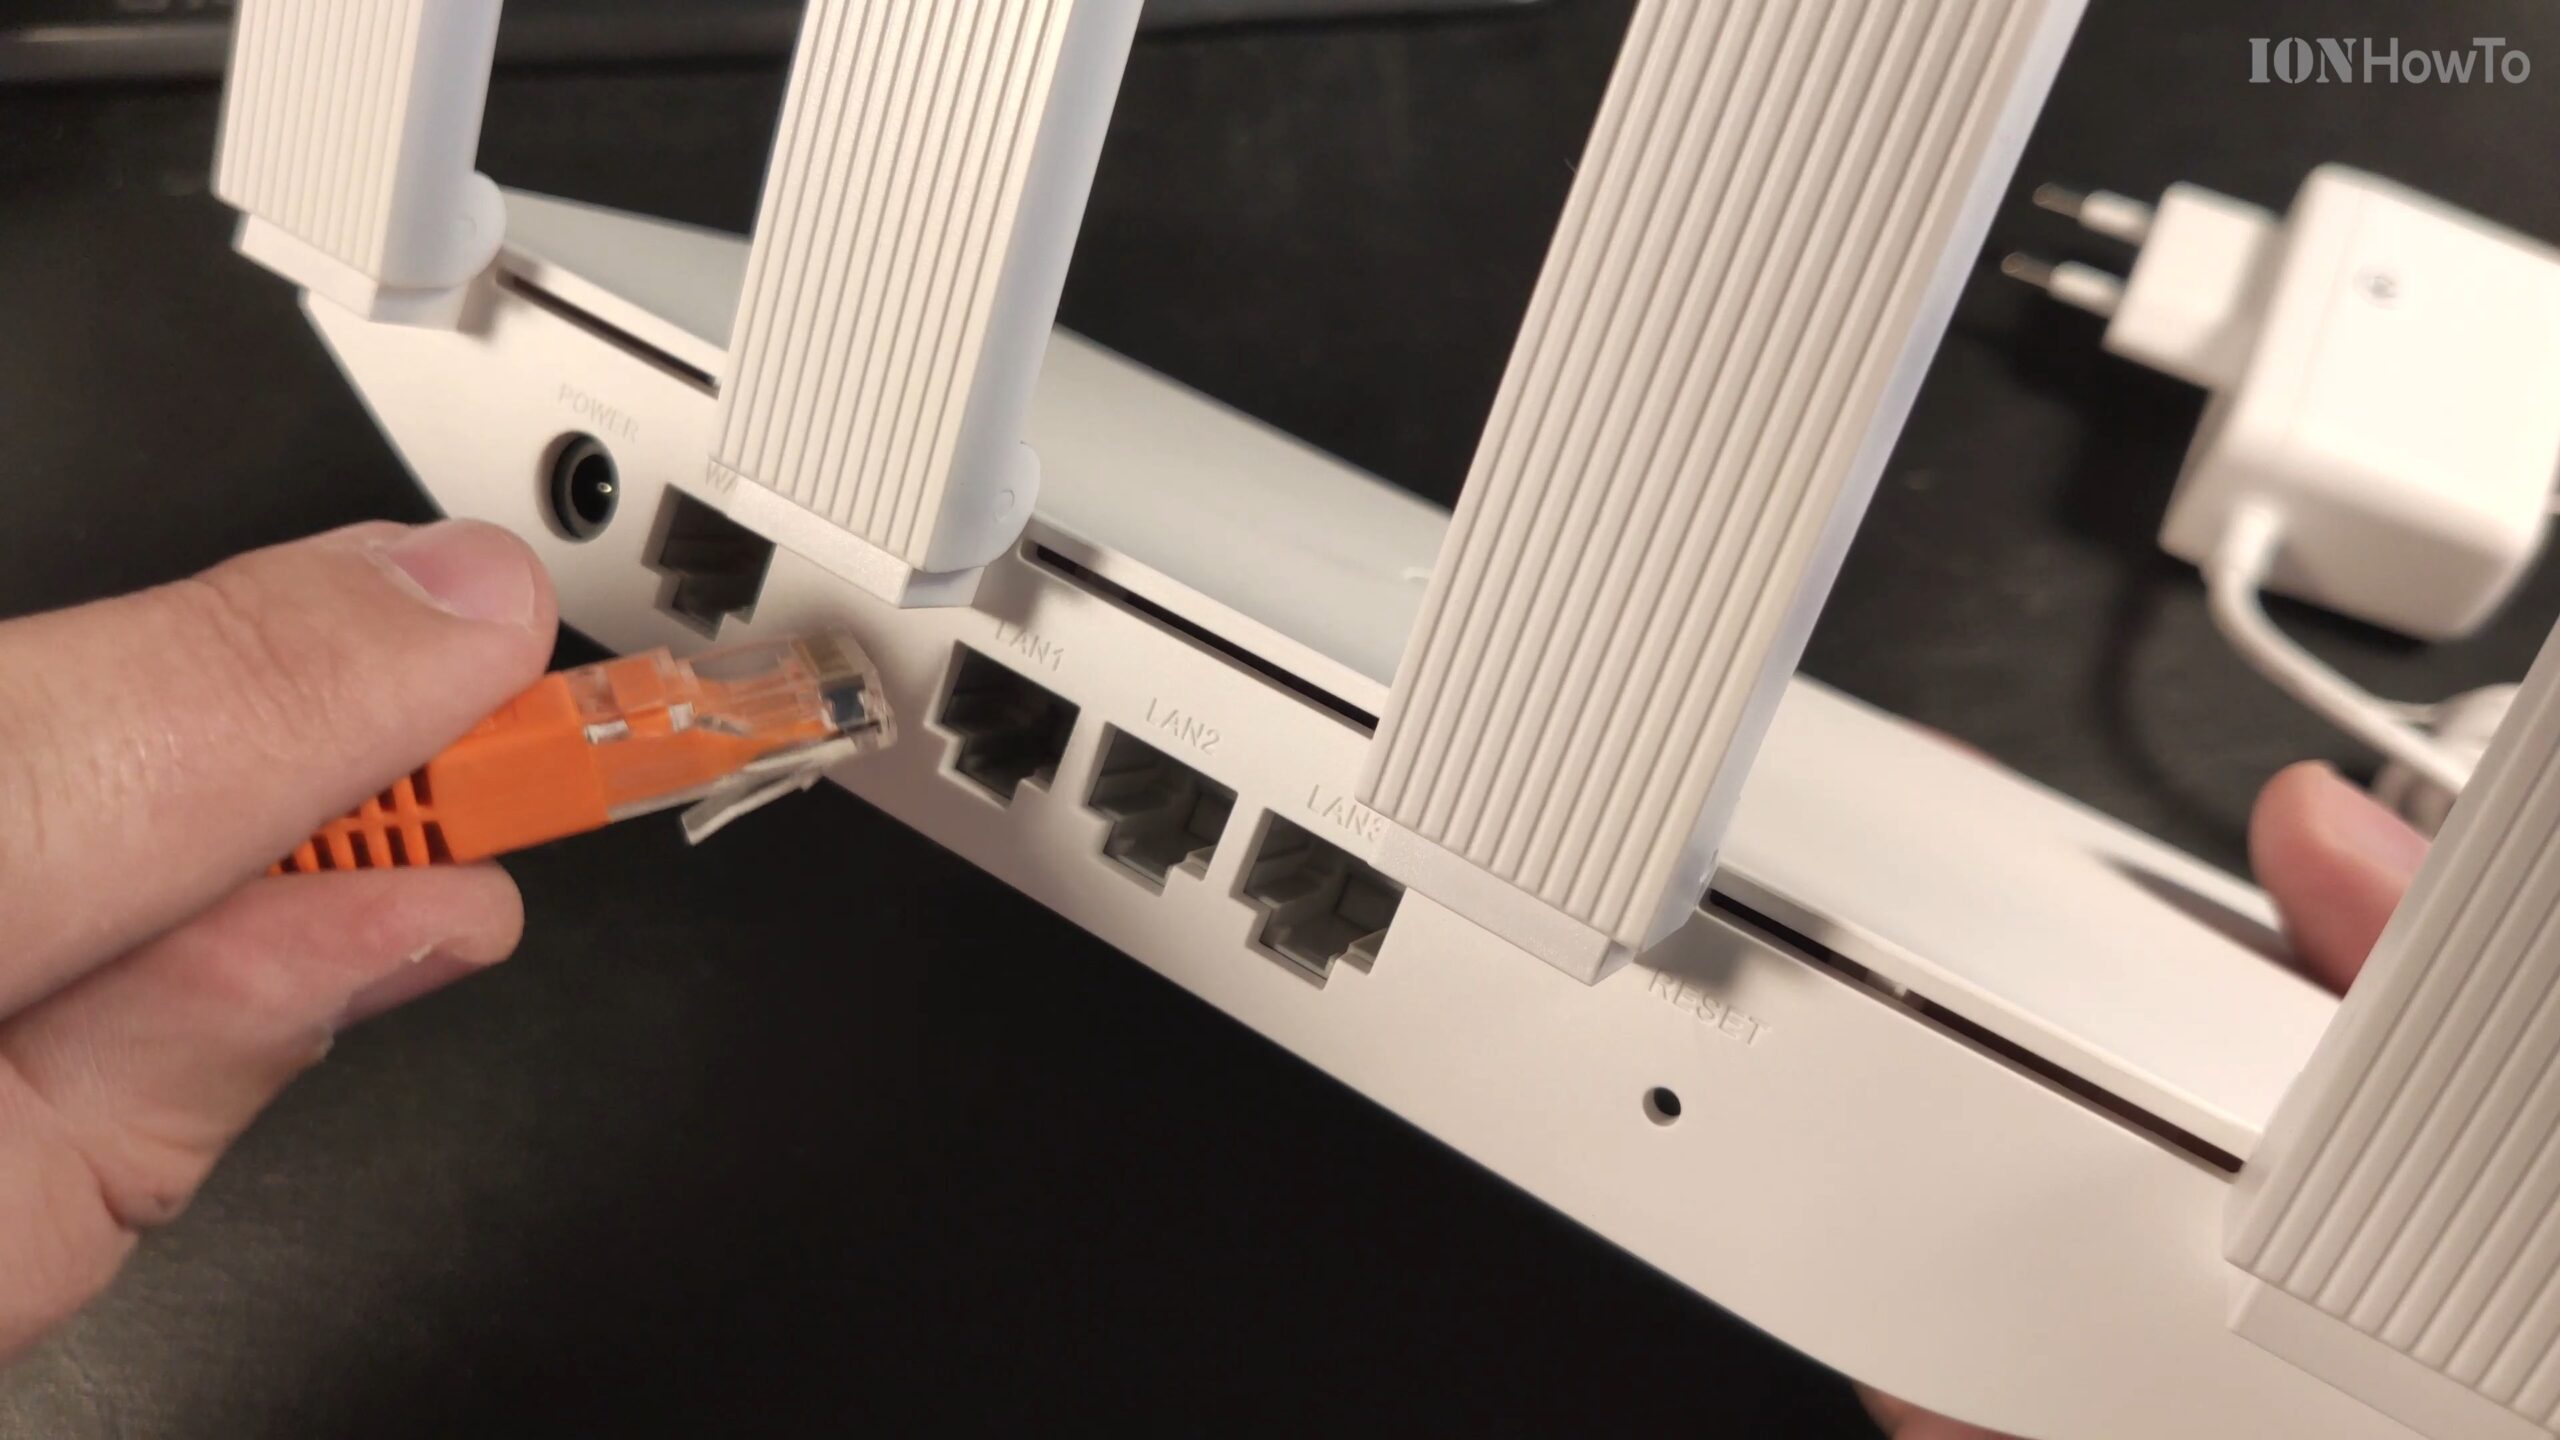
- Solid Ports: It has 4 Gigabit Ethernet ports (1 WAN, 3 LAN), which is great for fast wired connections.
- Strong Wi-Fi: The dual-band (2.4GHz and 5GHz) signal is impressively strong and reaches far, even outside the house.
- Easy Setup: The web interface is straightforward for basic configuration.
- Great Price: It’s a very affordable router for the features you get.
The Not-So-Good Stuff:
- Fixed Antennas: The Wi-Fi antennas do not detach and have limited positioning (they mostly lay flat or can stand up).
- Basic Included Cable: The provided Ethernet cable is a standard Cat 5e, not a higher-grade Cat 6.
- Limited Advanced Features: I couldn’t find a built-in VPN server option, which some other routers offer.
- VLAN Passthrough: It mentions VPS/VLAN passthrough in the specs, but setting it up wasn’t obvious in the menus.
How to Set It Up as an Access Point (AP Mode)
The main reason I got this router was to use it as a Wi-Fi access point to extend my network. Here’s how to do it.
What you’ll need:
- Your main router (the one connected to your modem).
- One Ethernet cable.
- A computer or phone to configure the Huawei.
The steps:
- Connect the Huawei to your computer. Use an Ethernet cable to plug your computer into one of the LAN ports (1, 2, or 3) on the Huawei router. Do not plug anything into its WAN port yet.
- Log into the Huawei’s settings. Open a web browser and go to the router’s address, usually
192.168.3.1. The default username and password are oftenadmin(check the sticker on the router). - Navigate to AP Mode. Once logged in, look for the “Internet” or “Network” settings. Inside, you should find an option called “Access Point (AP) Mode” or similar. Select it and enable this mode. The router may restart.
- Change the IP Address (Important). Go to the LAN settings. You need to give the Huawei an IP address on the same network as your main router but outside its DHCP range. For example, if your main router is
192.168.1.1, set the Huawei to192.168.1.2. Save the settings. - Set up your Wi-Fi. Go to the Wireless Settings. Here, you can:
- Set the Wi-Fi Name (SSID): You can make it the same as your main network for seamless roaming, or give it a different name.
- Set the Wi-Fi Password: Use a strong password you’ll remember.
- Configure Bands: You can set up both the 2.4GHz and 5GHz networks.
- Make the final connection. Now, take an Ethernet cable and plug one end into any LAN port on your main router. Plug the other end into any LAN port (1, 2, or 3) on the Huawei router. Do not use the Huawei’s WAN port.
- Test it. Disconnect your computer from the Huawei, connect to the new Wi-Fi network you just set up, and test your internet connection. You should be online!
Final Thoughts
The Huawei WS5200 v2 is a great budget-friendly choice for a simple, powerful access point. Its strong Wi-Fi signal and Gigabit ports make it perfect for extending your network to a dead zone or adding more wired connections in a room.
Just know its limits: the antennas can’t be upgraded or repositioned much, and it lacks some prosumer features like a VPN server. But for a basic, reliable AP, it does the job very well and is easy to configure.


Leave a Reply