
How to Sign Out and Factory Reset Your iPhone – Erase All Data Before Selling.
Amazon links
As an Amazon Associate I earn from qualifying purchases:
- iPhone Accessories
- iPhone Charger
- iPhone Cases
- iPhone Screen protector
- iPhone Magsafe
- iPhone Wallet
- iPhone Usb c cable
If you’re selling, returning, or giving away your iPhone, you’ll want to wipe all your personal data first. A proper factory reset ensures your info stays safe and the next owner can set it up like a brand-new phone.
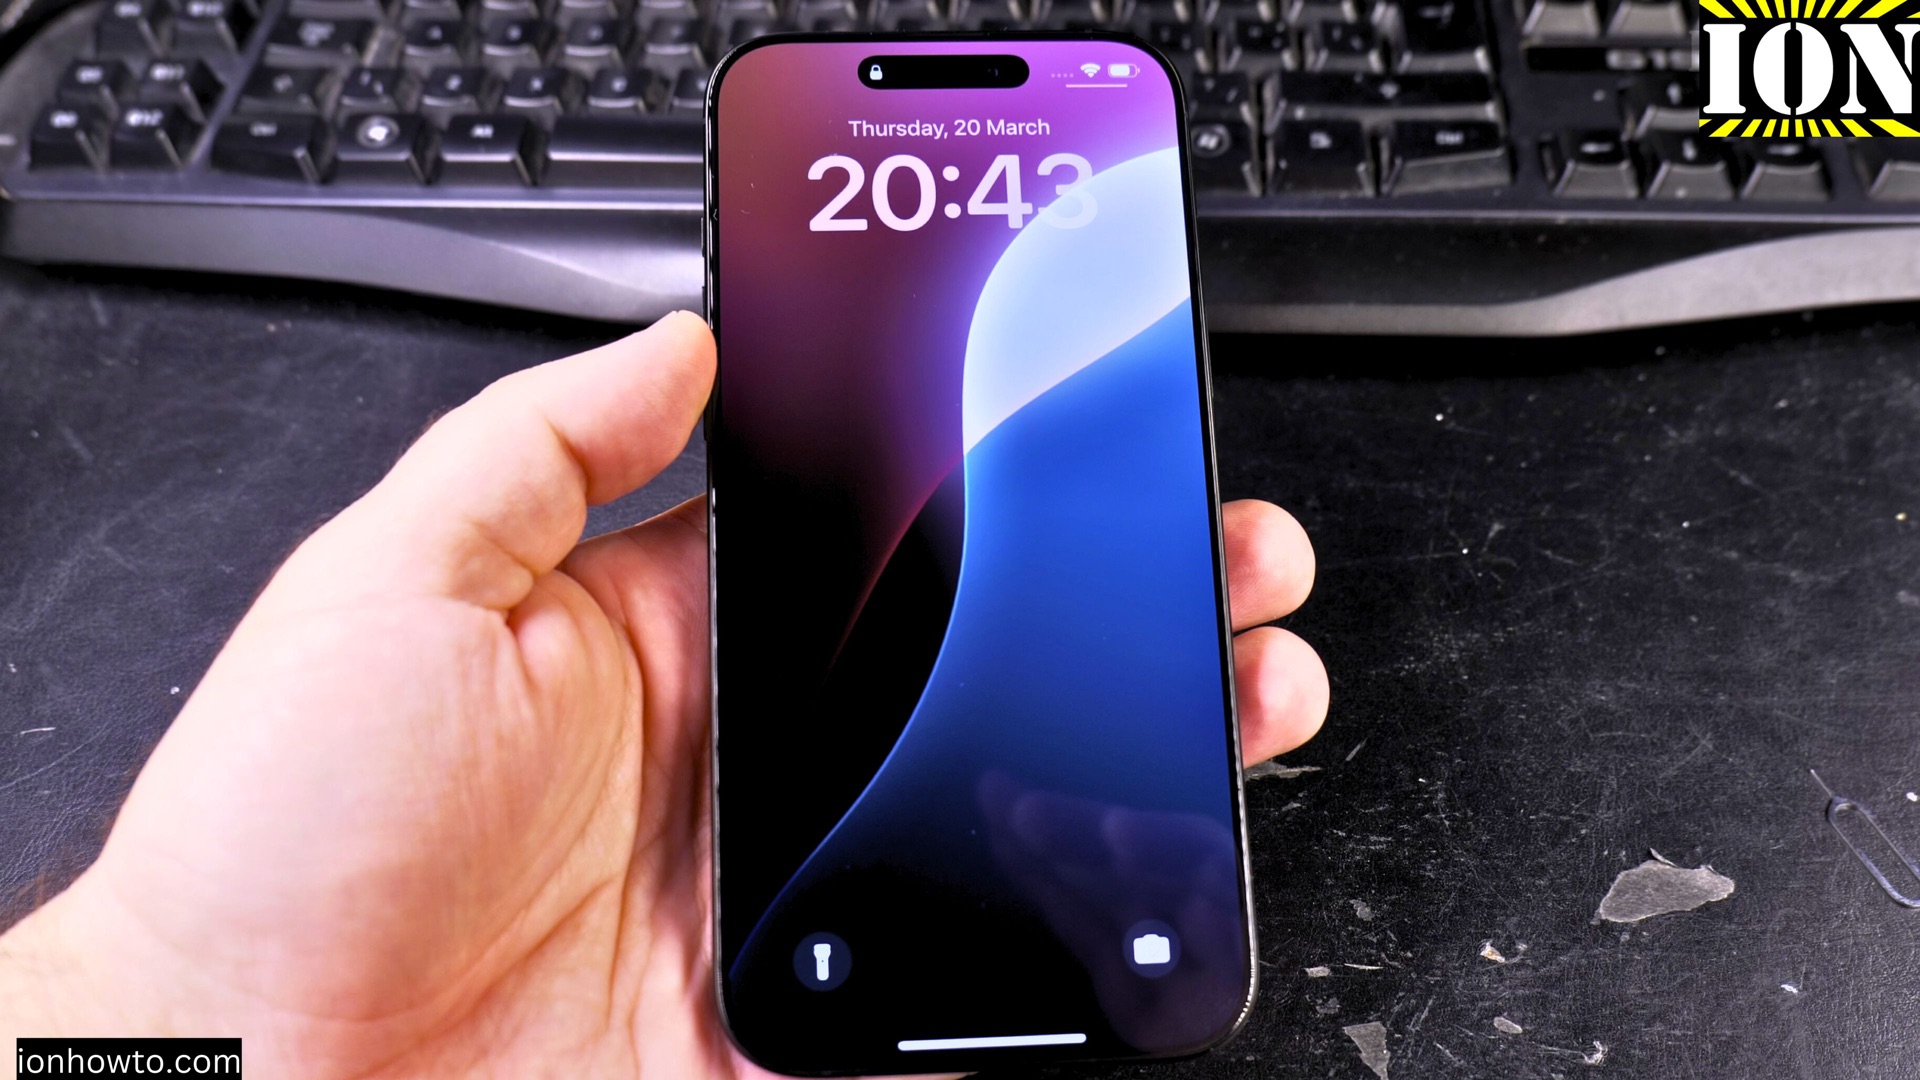
This guide is based on iOS 18.3.2 (iPhone 16 Pro Max Titanium Black 256GB, Model A3296 – MYWV3ZD/A), but the steps are similar for most iPhones.
How to Sign Out and Factory Reset Your iPhone – Erase All Data Before Selling.
Step 1: Back Up Your iPhone
Before resetting, save your data so you don’t lose anything important.
- iCloud Backup:
- Go to Settings > [Your Name] > iCloud > iCloud Backup.
- Tap Back Up Now and wait for it to finish.
- Computer Backup (recommended):
- Connect your iPhone to a Mac or PC.
- On a Mac (macOS 10.15 or later), use Finder. On a PC or older Mac, use iTunes.
- Select Back Up Now and wait for completion.
Step 2: Sign Out of iCloud & Turn Off Find My iPhone
This removes the iCloud lock so the new owner can activate the phone.
- Open Settings > tap your Apple ID (top of the screen).
- Scroll down and tap Sign Out.
- Enter your Apple ID password and tap Turn Off (for Find My iPhone).
- Confirm by tapping Sign Out again.
Step 3: Erase All Content & Settings
This performs a full factory reset.
- Go to Settings > General > Transfer or Reset iPhone.
- Tap Erase All Content and Settings.
- If prompted, enter your passcode and Apple ID password.
- Confirm by tapping Erase Now.
- Wait for the process to complete, now your iPhone will restart as if it’s brand new.
Step 4: Remove SIM Card (If Applicable)
If your iPhone has a physical SIM:
- Eject the SIM tray (use a paperclip or SIM tool) and remove the card.
For eSIM users:
- Go to Settings > Cellular > Remove Cellular Plan before resetting.
Final Check Before Selling
After resetting:
- The iPhone should show the “Hello” setup screen.
- Try turning it on to confirm no activation lock appears.
- If the new owner gets an iCloud lock, you may need to remove it via Apple.
That’s it! Your iPhone is now clean, secure, and ready for its next owner.


Leave a Reply