Plastic Welding With a Paperclip.
How to weld plastic at home with a paperclip staple or stainless steel metal mesh.
If you don’t want to reinforce the broken plastic part with stainless steel mesh or plastic welding staples and a plastic welding tool, you can follow the steps in the video bellow.
Repairing household appliances is easy with plastic welding.
Repair standing cooling fan with plastic welding
Plastic welding with filler plastic material and a soldering iron. Diy fix broken parts from the car, home, toys and more.
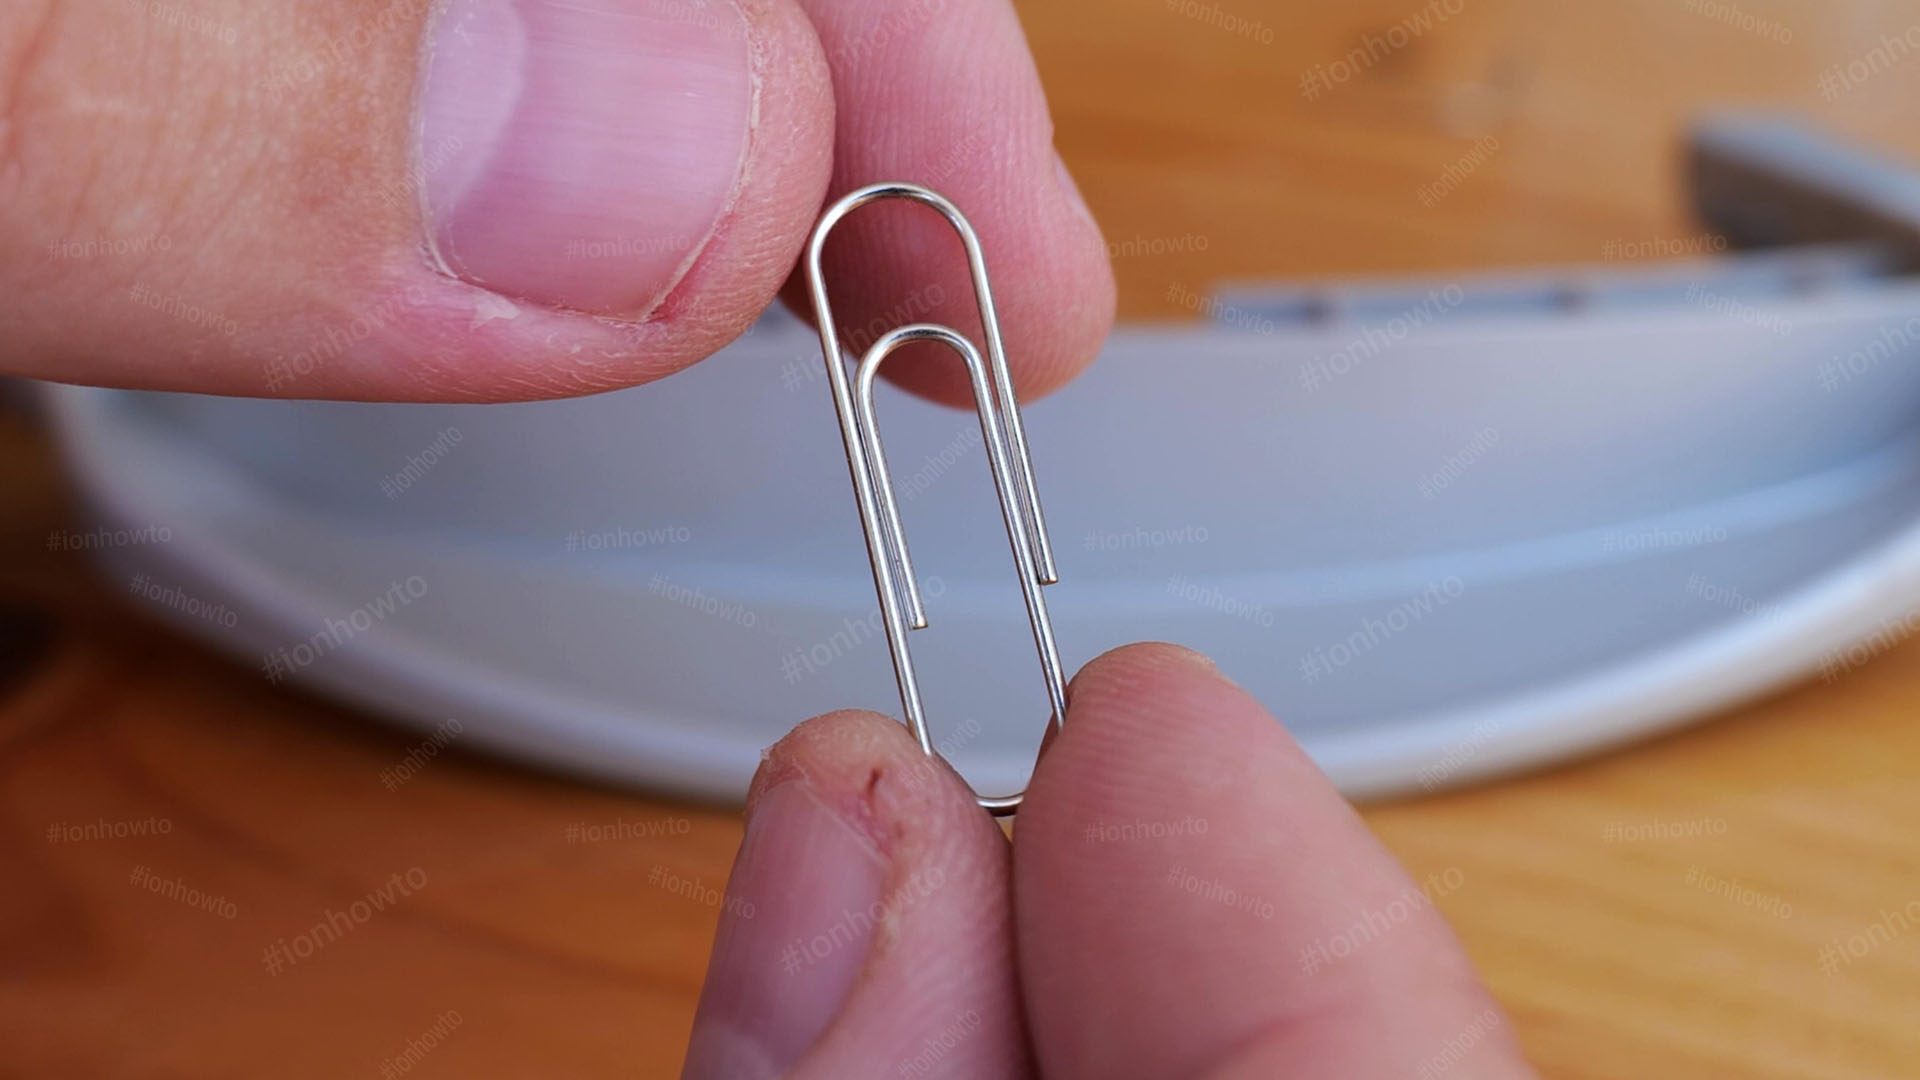
Place the paperclip on the area where the plastic is cracked or broken.

Using a soldering iron, heat-up the paperclip until the paperclip begins to sink into the melted plastic.

Continue until the paperclip is completely embedded in the plastic part.
If needed, use a small piece of the same type of plastic from some other part to fill-up the area around the broken plastic to provide a bit more reinforcement.
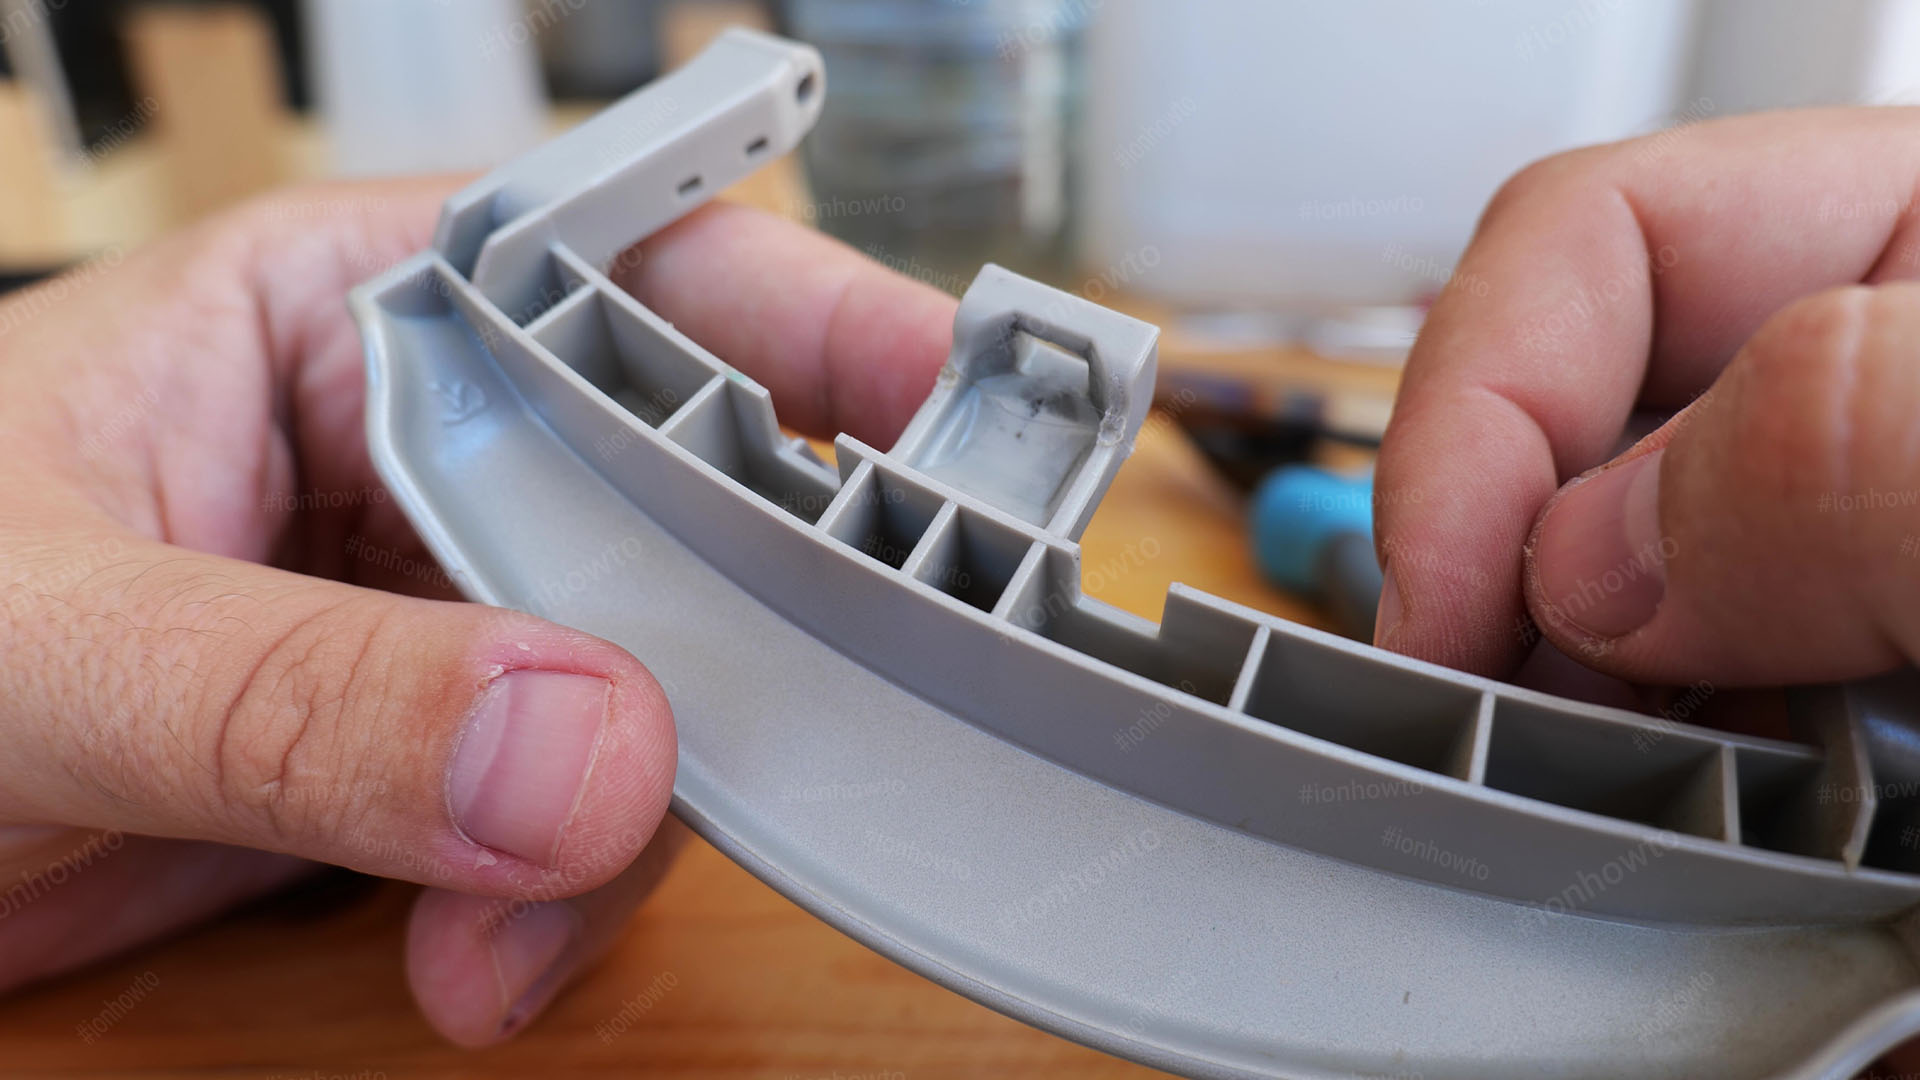
This part is from our washing machine and it fixed the washing machine.
Some home appliances have plastic parts that are difficult to replace and in this case there was no part number or any way to find a replacement.

Welding plastic can save you a lot of money b fixing your devices or appliances instead of throwing them away and replacing them.
You are also more eco-friendly this way by reducing e-waste since you use a device or appliance longer.
Try plastic welding and you’ll see it’s pretty easy to do.
The best part about welding plastics is that once the temperature of the part goes down to room temperature, the plastic part is fixed and ready to use.

Glue can also fix many plastic parts but might not be as strong as plastic welding and it takes a long time usually until fully cured.
Even 24 hours in case Epoxy glue is used.


Leave a Reply