
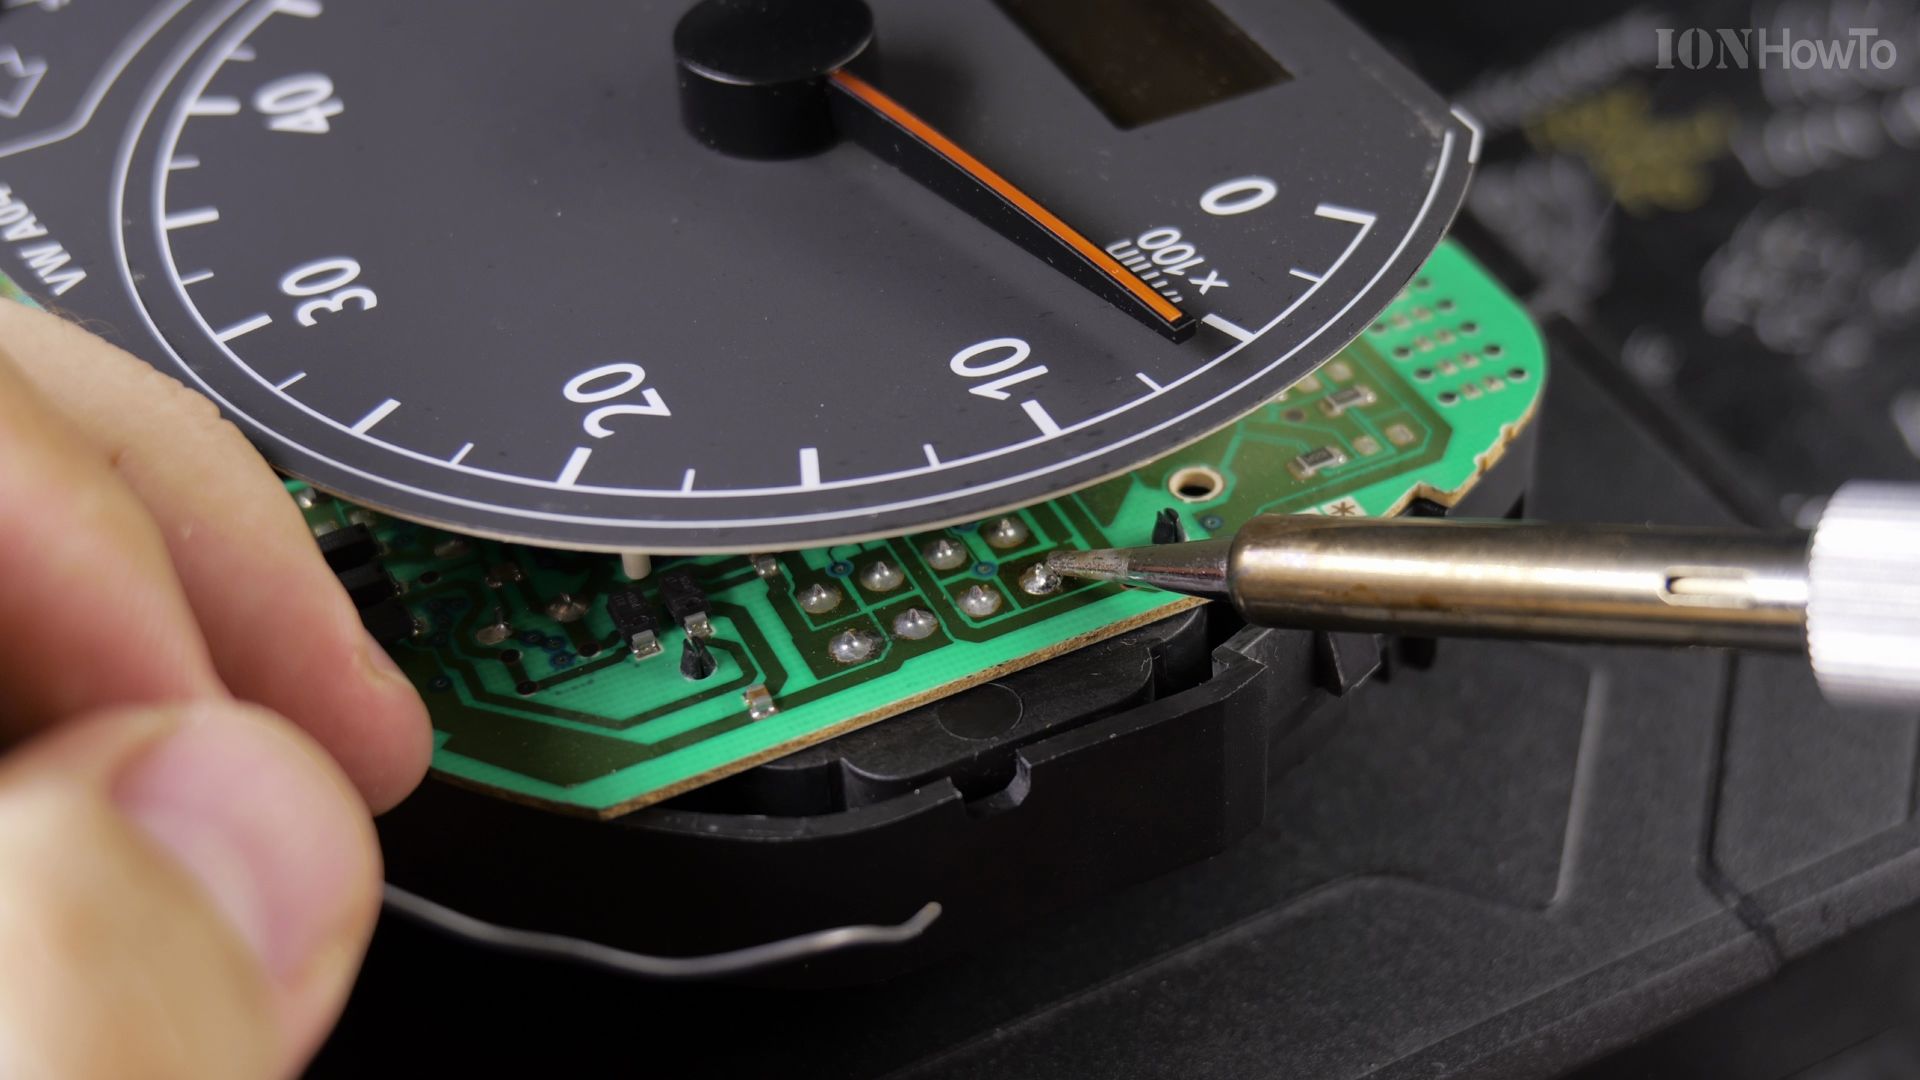
If your Volkswagen Polo 9N turns over and stalls right away with a flashing orange key light on the dash, the immobilizer cannot read the cluster safely. In this guide, I show you the quick temporary checks and the permanent solder fix on the instrument cluster pins.
Why This Problem Happens
On aging Volkswagen Polo 9N Mk4 dashboards, tiny hairline cracks form around the solder joints on the 32-pin connector sockets behind the speedometer dials. Heat from summer sun or engine vibration widens those gaps so the immobilizer loses signal and blocks fuel injection.
Step-by-Step Guide
- Read the Dashboard Warnings and Test a Temporary Wait
- Remove the Steering Column Trim and Cluster Screws
- Unplug the Connectors and Open the Plastic Cluster Shell
- Inspect and Re-Solder Cold Joints on the Connector Pins
- Reassemble the Cluster and Verify Reliable Engine Starts
Helpful Tools and Supplies
As an Amazon Associate I earn from qualifying purchases:
- Soldering Iron Kit
- Lead Free Rosin Core Solder Wire
- Torx Screwdriver Set T20
- Mechanic Car Tools Kit
- OBD2 Diagnostic Scanner Cable
- Car Battery Repair Charger
- Precision Screwdriver Set
1. Read the Dashboard Warnings and Test a Temporary Wait
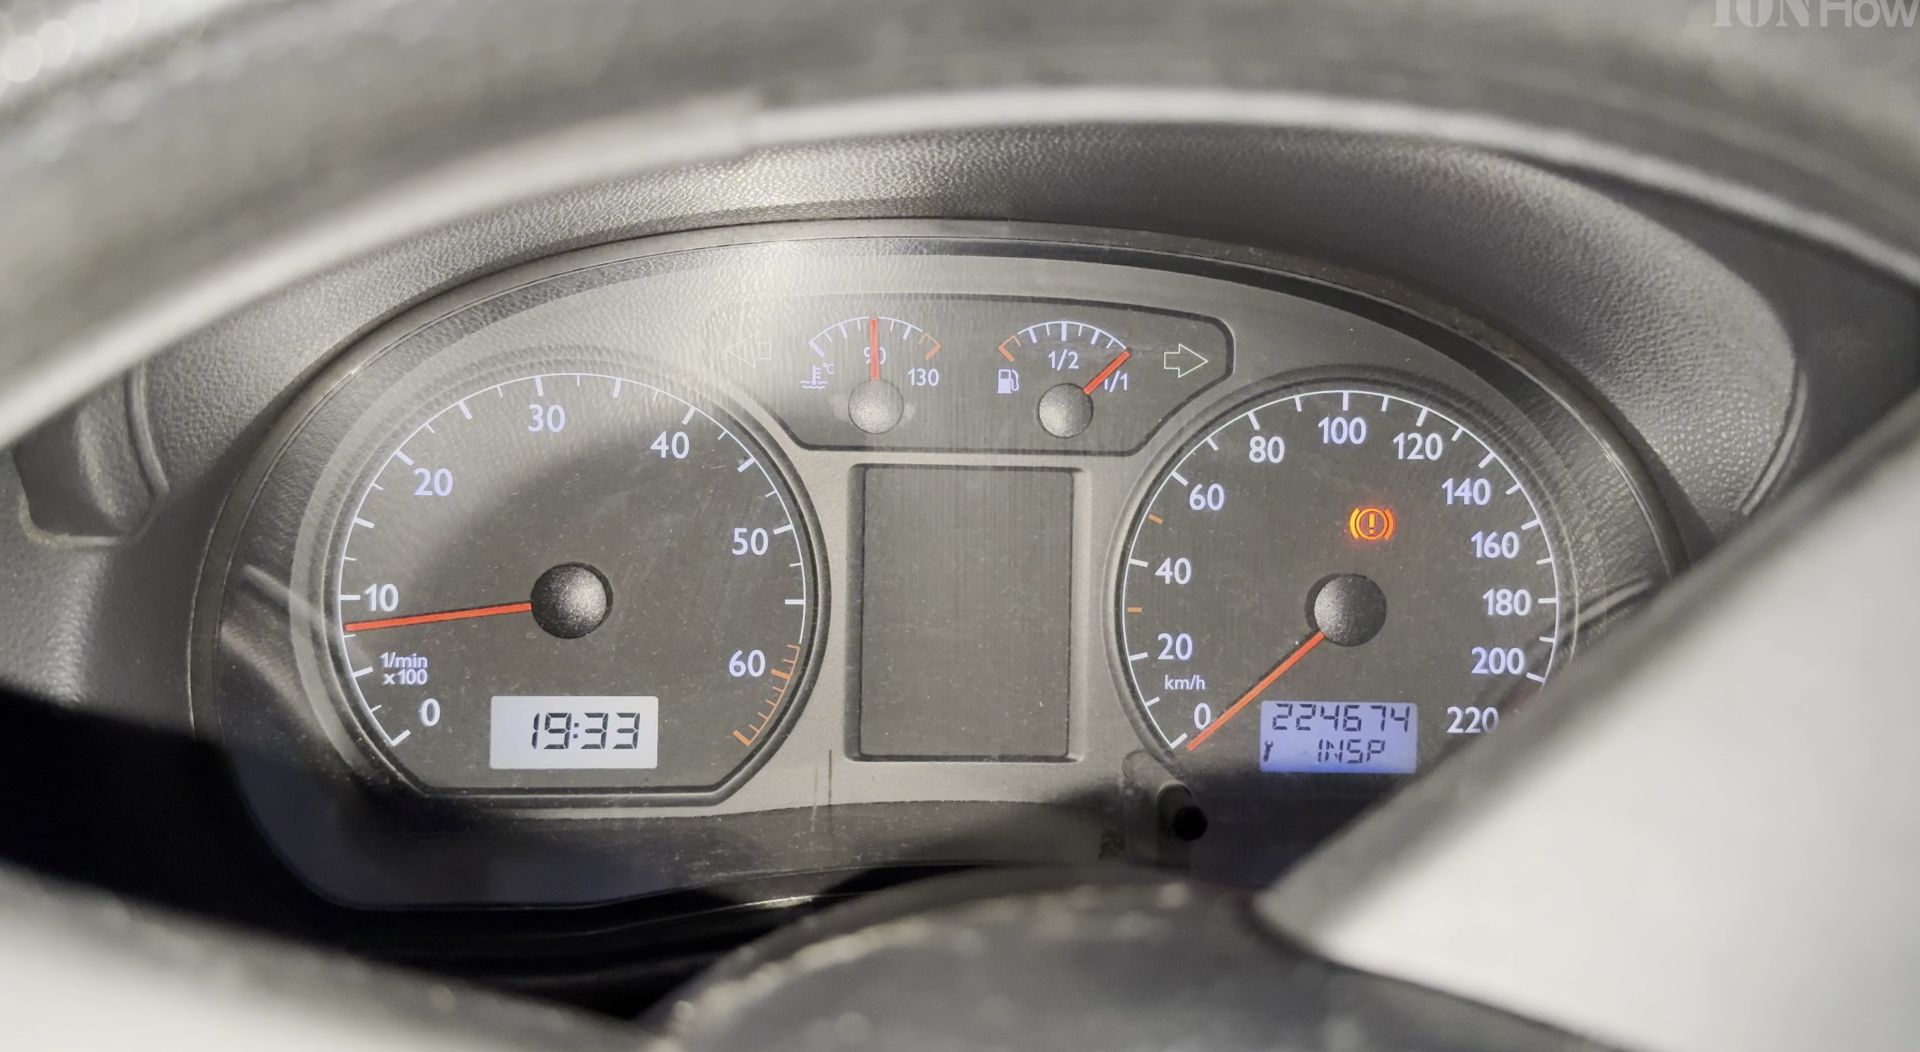
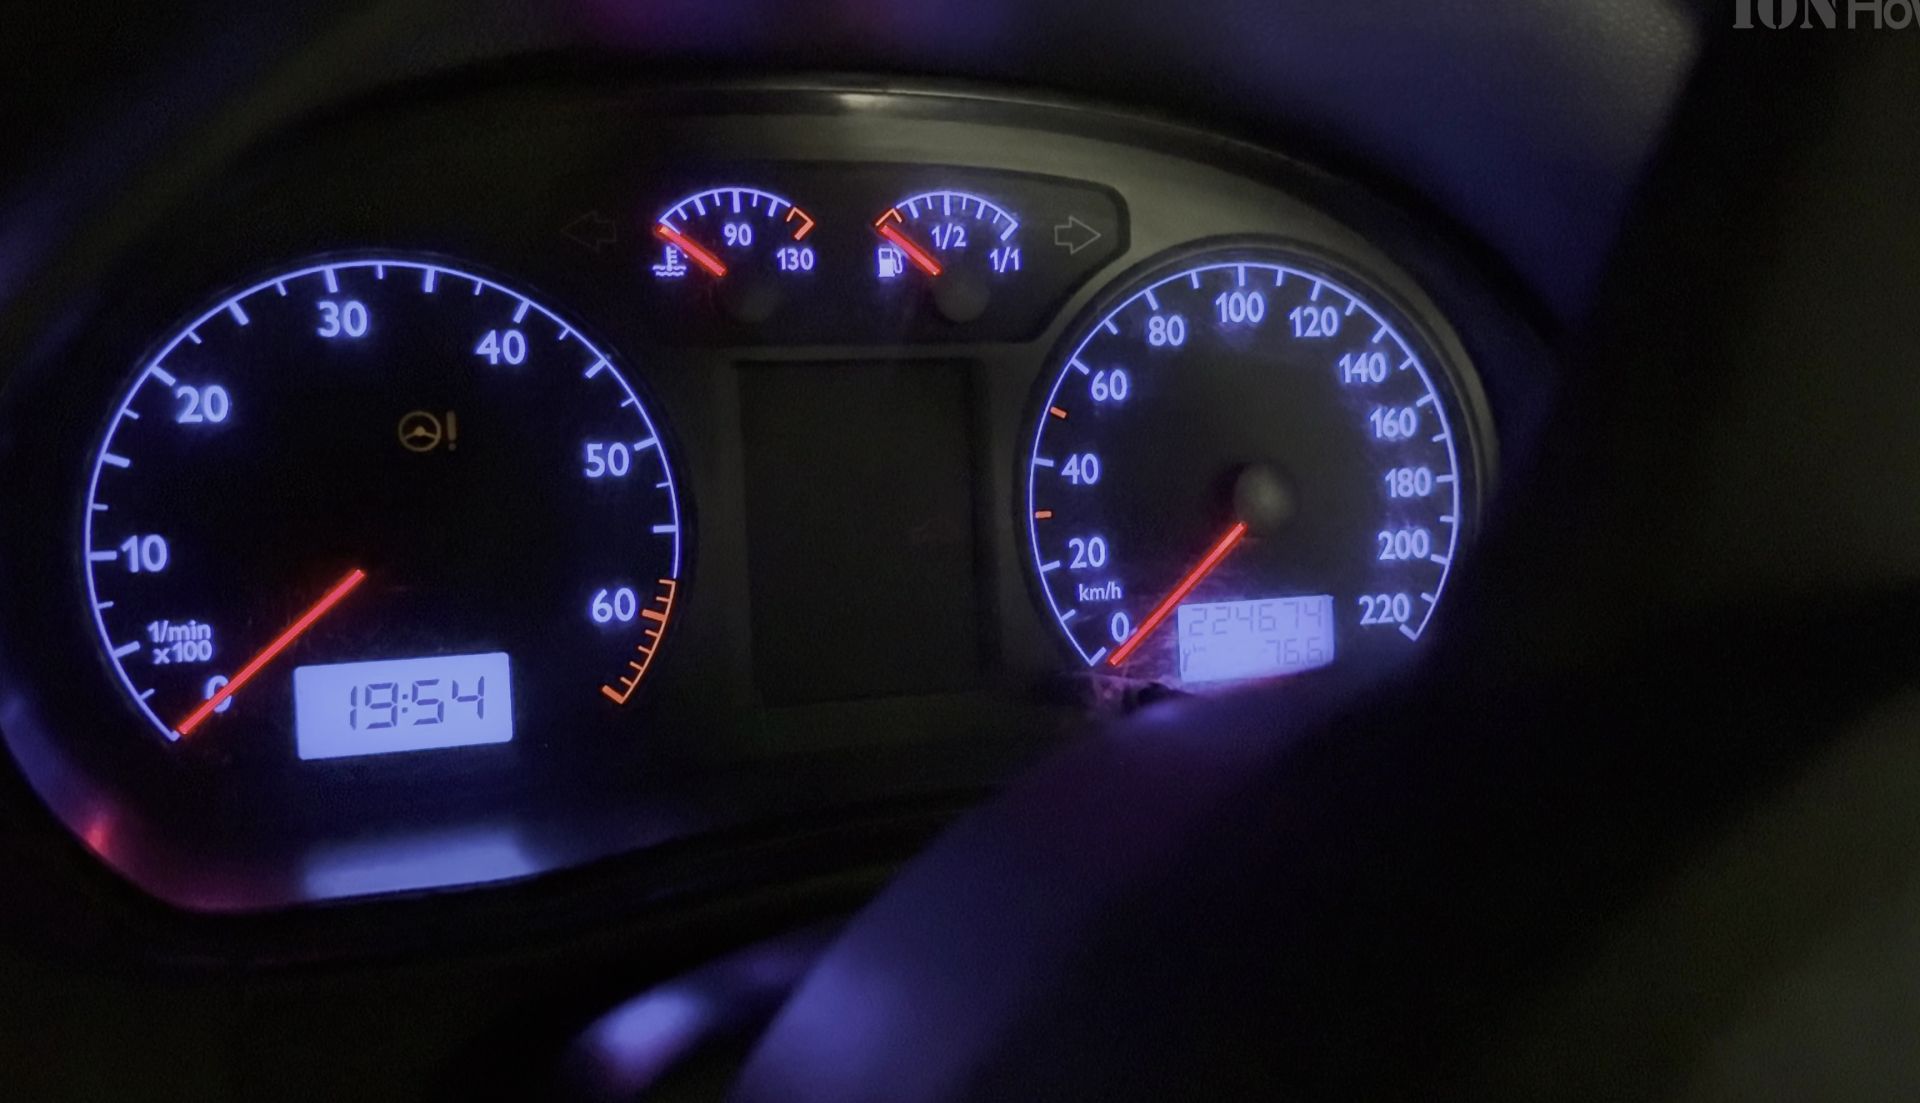
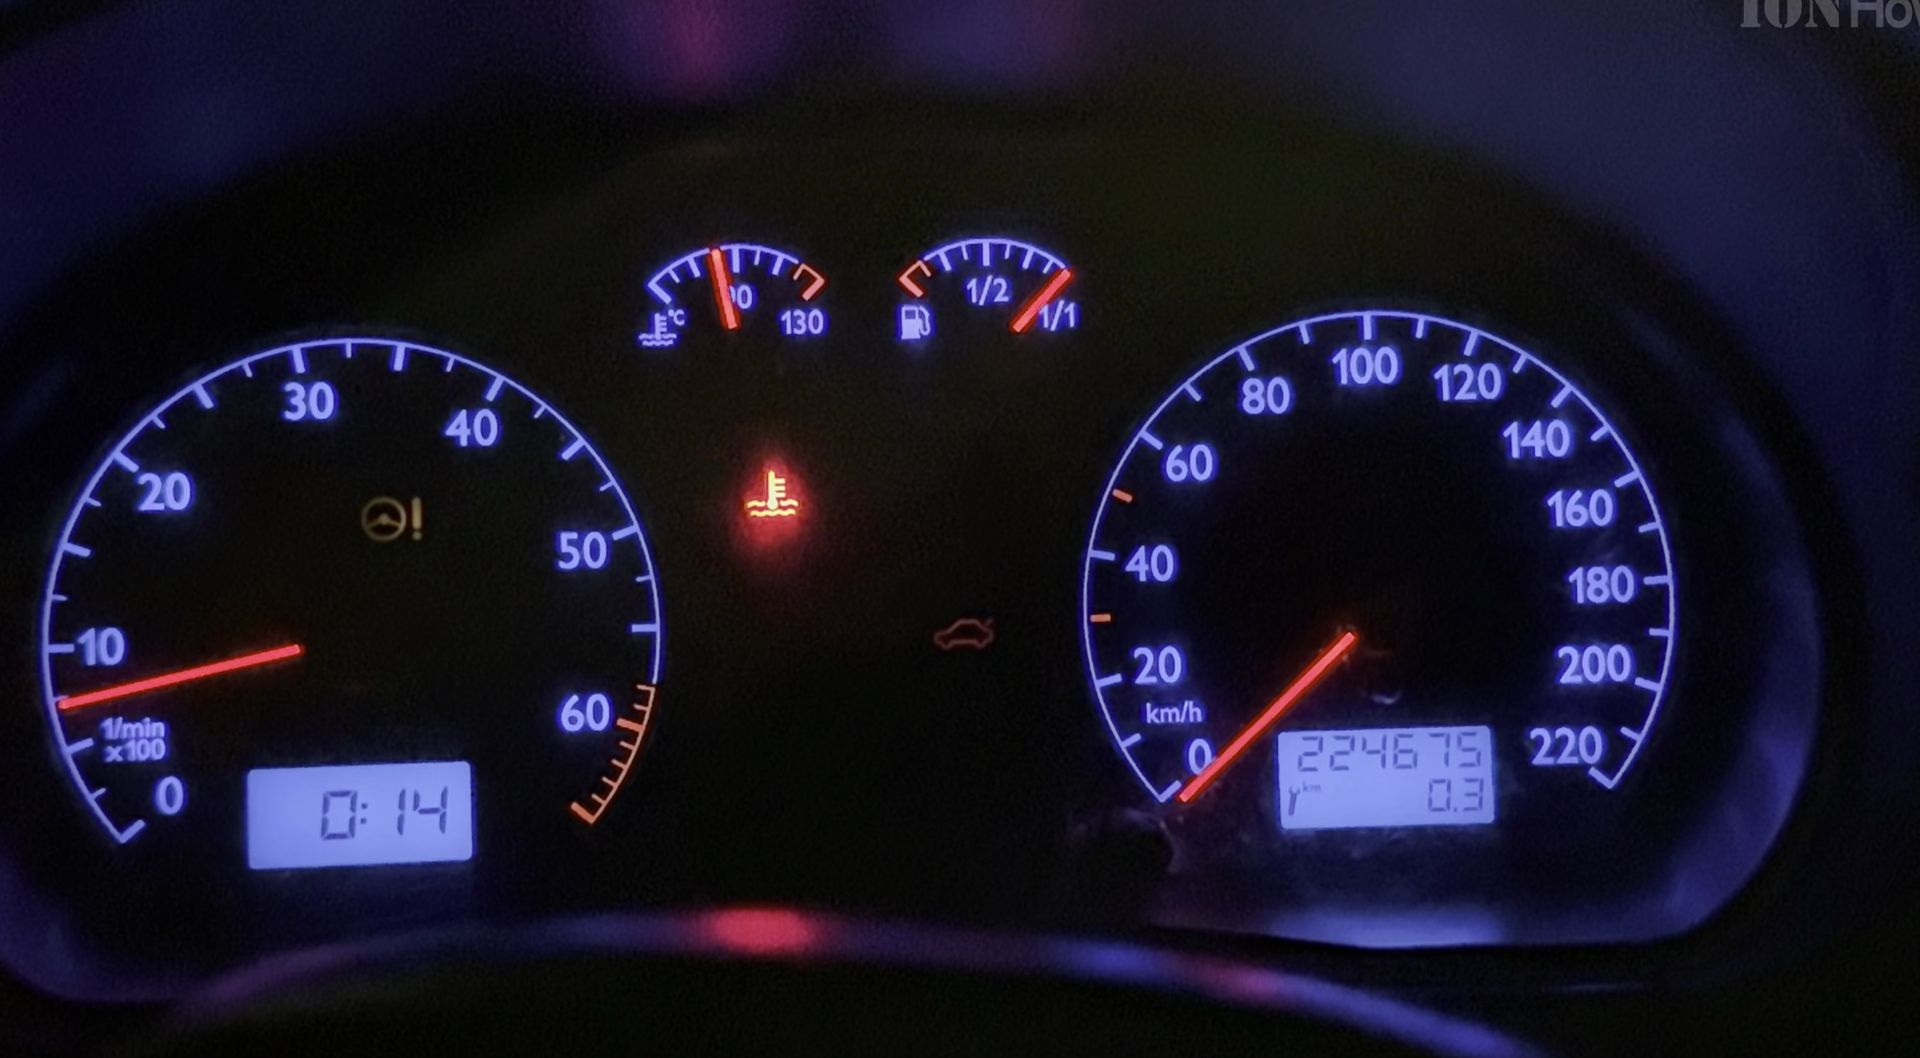
Watch the instrument cluster when you turn the key to ignition. An immobilizer block starts the engine for one second and shuts it down while flashing the car-and-key symbol.
If you are stranded in a parking lot, lock the car, wait five to ten minutes for the electronics to cool down, or disconnect the negative battery terminal for ten minutes before trying again.
2. Remove the Steering Column Trim and Cluster Screws
Lower the steering wheel tilt lever all the way down for working clearance. Pry off the narrow plastic trim strip just above the steering column boot.
Remove the two Torx T20 screws at the bottom corners of the instrument cluster and pull the gauge assembly forward slightly to reach the rear plugs.
3. Unplug the Connectors and Open the Plastic Cluster Shell
Flip the locking levers on the green and blue wiring plugs at the back of the speedometer and lift the instrument cluster out of the dashboard.
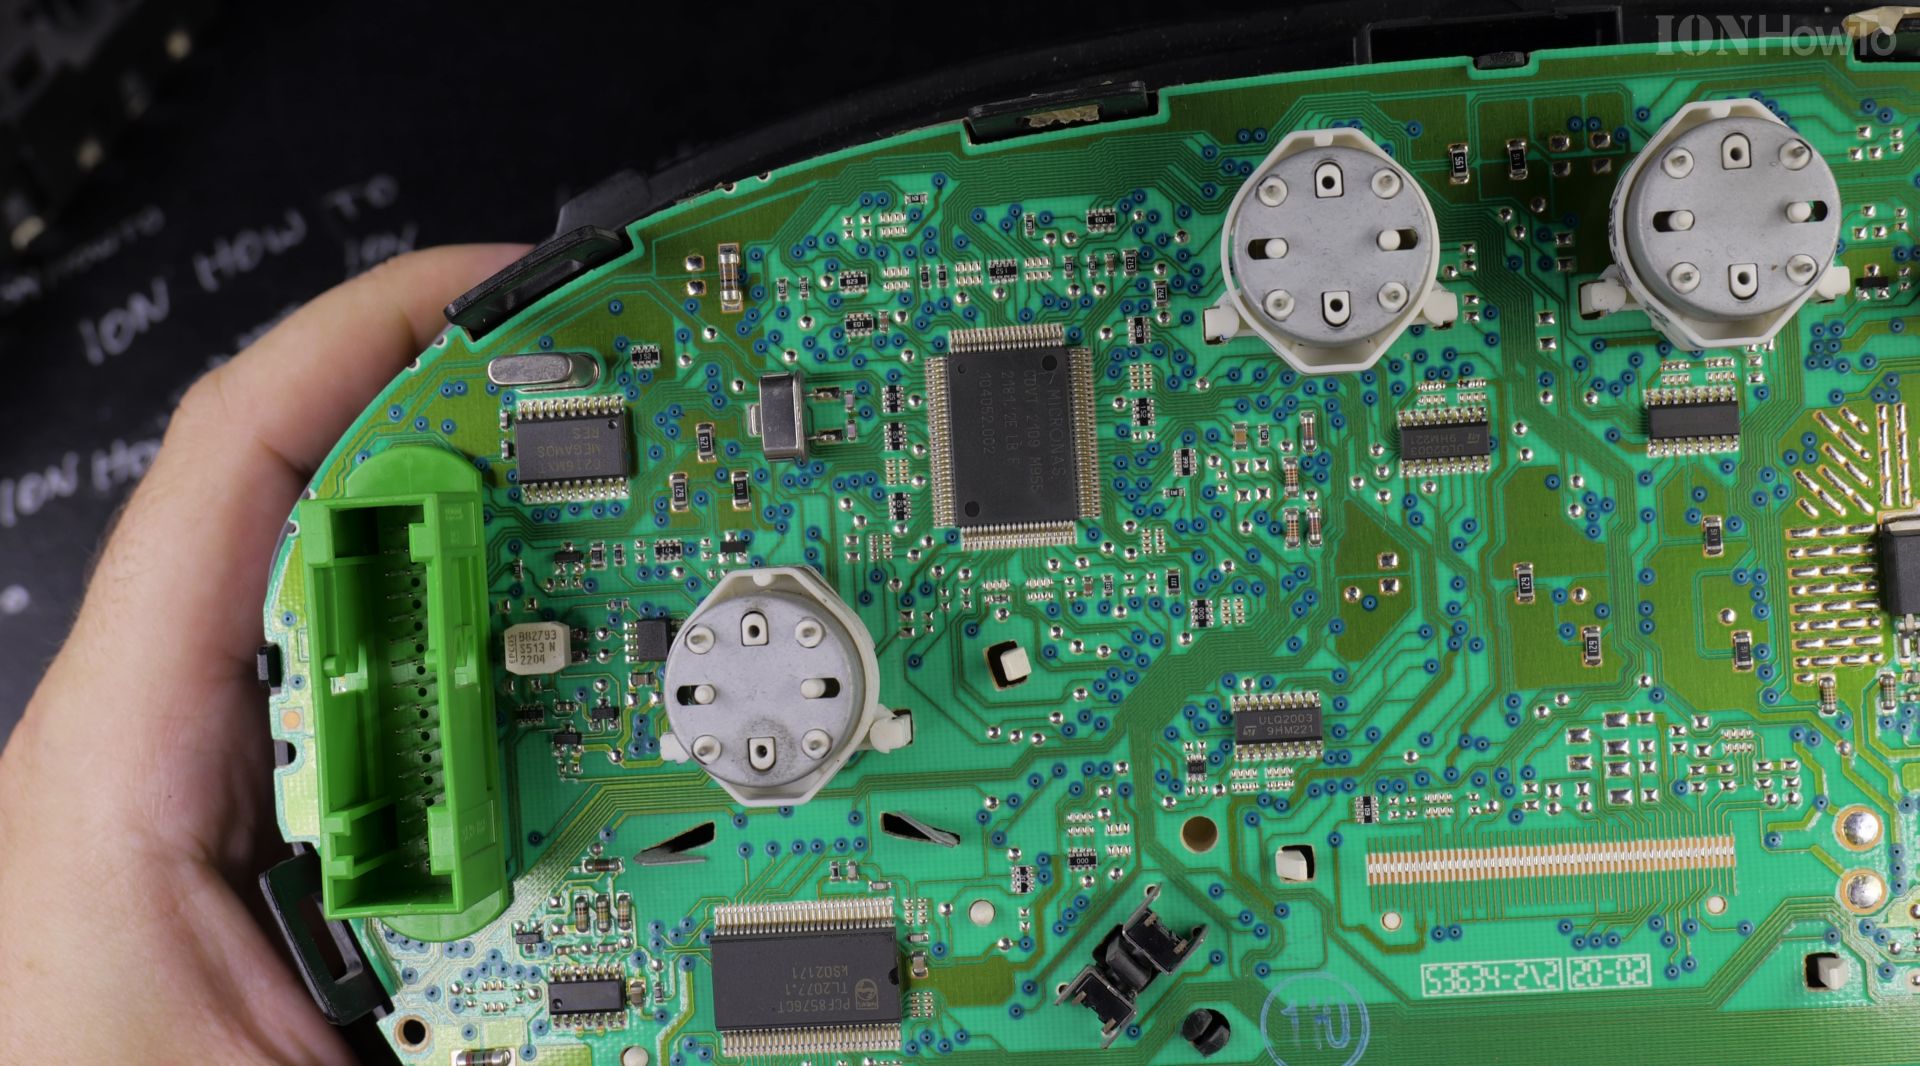
Release the plastic clips around the housing on a clean table so you can access the back side of the green printed circuit board.
4. Inspect and Re-Solder Cold Joints on the Connector Pins
Look closely under bright light at the rows of thick connector pins soldered onto the green board. Cracked dull rings around a pin indicate a broken electrical contact.
Set your soldering iron to around 370 degrees Celsius, apply fresh rosin-core solder cleanly to each connector pin, and avoid bridging neighboring solder pads.
5. Reassemble the Cluster and Verify Reliable Engine Starts
Snap the plastic gauge cover back together, reconnect both wiring plugs tightly inside the dashboard, and bolt the two T20 screws back in.
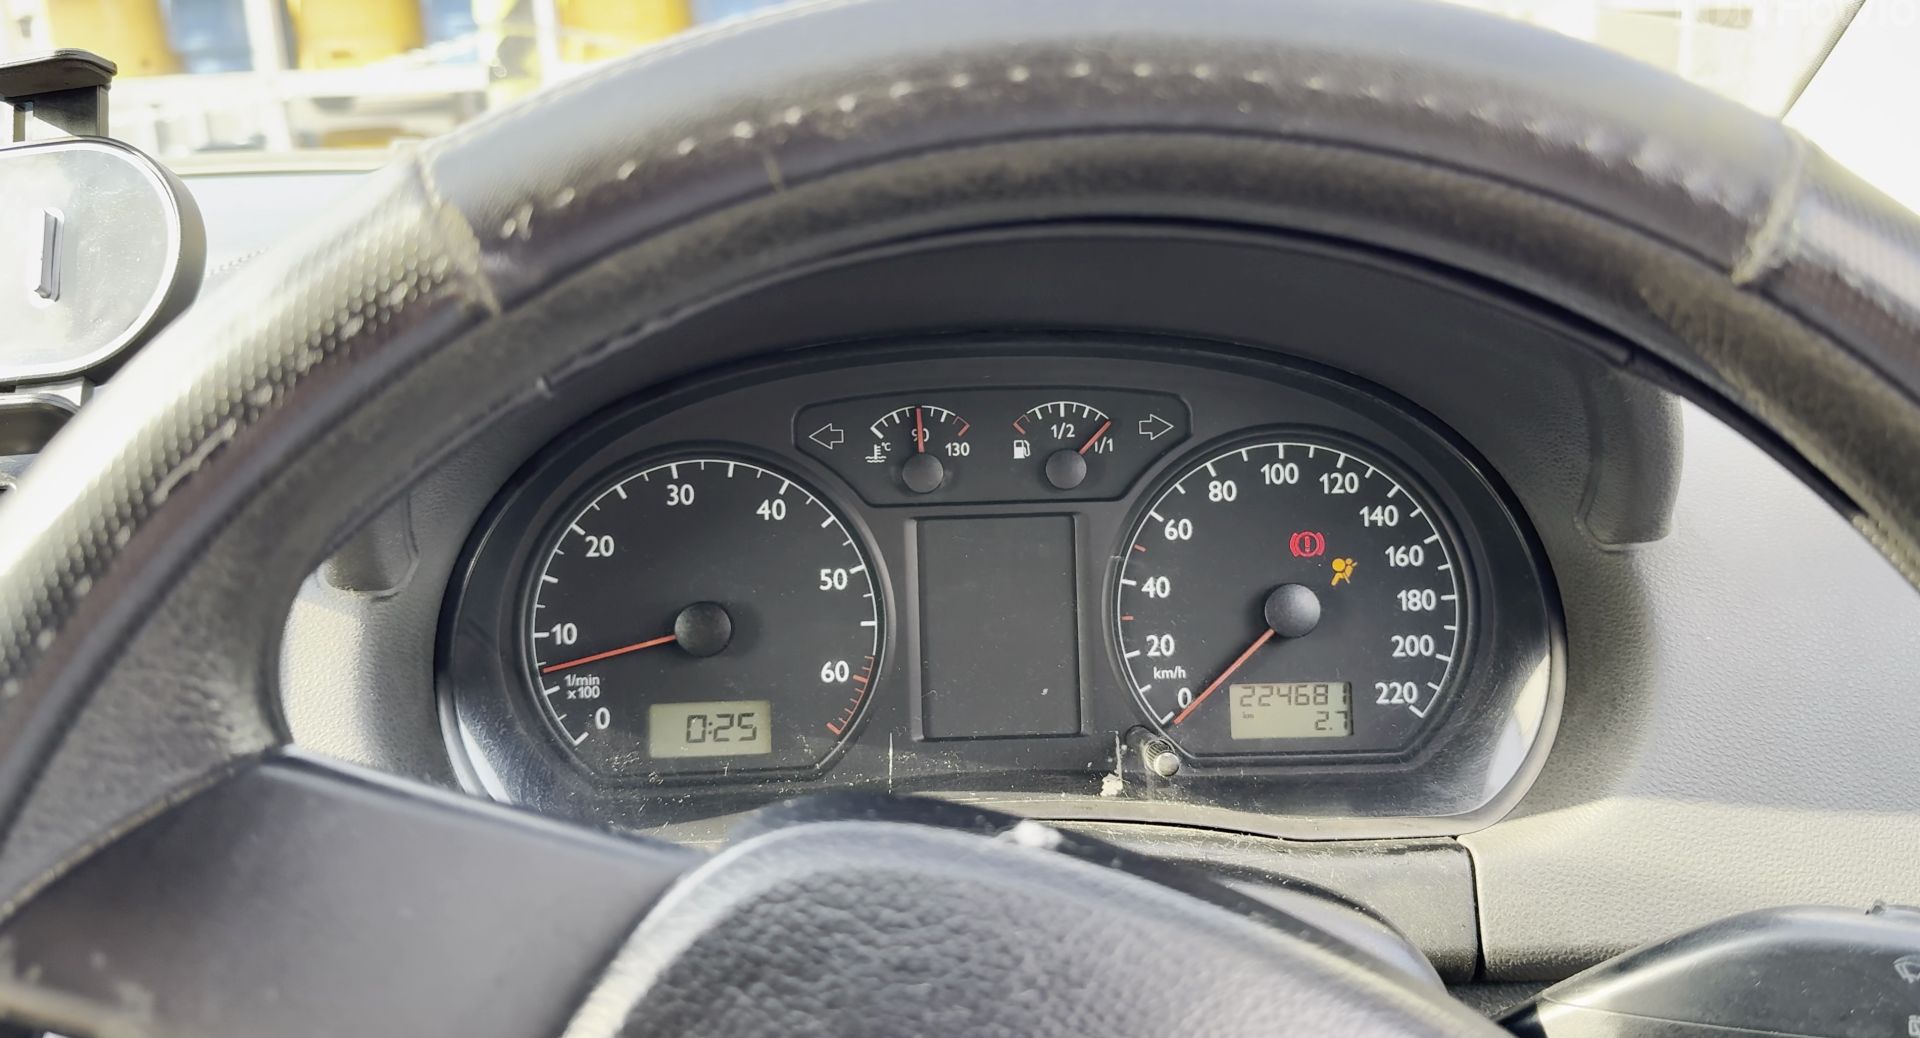
Start the engine and drive around the block for ten minutes to confirm that the flashing key, airbag, and CAN bus warning lights stay off.
Helpful Tips
- Keep the two Torx T20 cluster screws in a magnetic tray so they cannot drop inside the steering column trim.
- Do not turn the ignition key on while the instrument cluster or airbag warnings are unplugged, or you will need VCDS to clear stored warning lights afterward.
- Wait five minutes after parking in hot sunlight before trying a stalled engine again when symptoms are intermittent.
Related Guides
- Fix VW Polo 9N Boot Shelf – Fixing Broken Hooks on a VW Polo 9N Boot Shelf.
- Fix VW Polo 9N Coolant Leak with Leak Stop Solutions – My VW Polo 9N coolant radiator started leaking and i needed a radiator leak fix but didn't want to replace the radiator.
- Car Cranks But Won't Start VW Polo 9N – My car was cranking but not starting.
- VW Polo 9N Mk4 – Browse more tutorials and practical guides in this section.


Leave a Reply