
Amazon links
As an Amazon Associate I earn from qualifying purchases:
- iPhone Accessories
- iPhone Charger
- iPhone Cases
- iPhone Screen protector
- iPhone Magsafe
- iPhone Wallet
- iPhone Usb c cable
Want to capture what’s happening on your iPhone screen? If you need to record a tutorial or capture gameplay, your iPhone has built-in screen recording tools. This is how to use them properly with or without audio.
How to Screen Record on iPhone.
Quick Steps and Scenarios Overview
| What You Need to Do | Quick Jump |
|---|---|
| How to Add Screen Recording to Control Center | Jump to Step 1 |
| How to Record Your Screen Without Microphone Audio | Jump to Step 2 |
| How to Record With Microphone Audio | Jump to Step 3 |
| Where to Find Your Recordings | Jump to Step 4 |
| Editing Your Screen Recordings | Jump to Step 5 |
| Tips for Better Screen Recordings | Jump to Step 6 |
This guide works on all iPhones running iOS 11 or later, including the iPhone 16 Pro Max (iOS 18.4.1) and older models.
How to Add Screen Recording to Control Center
First, make sure the screen recording option is easily accessible:
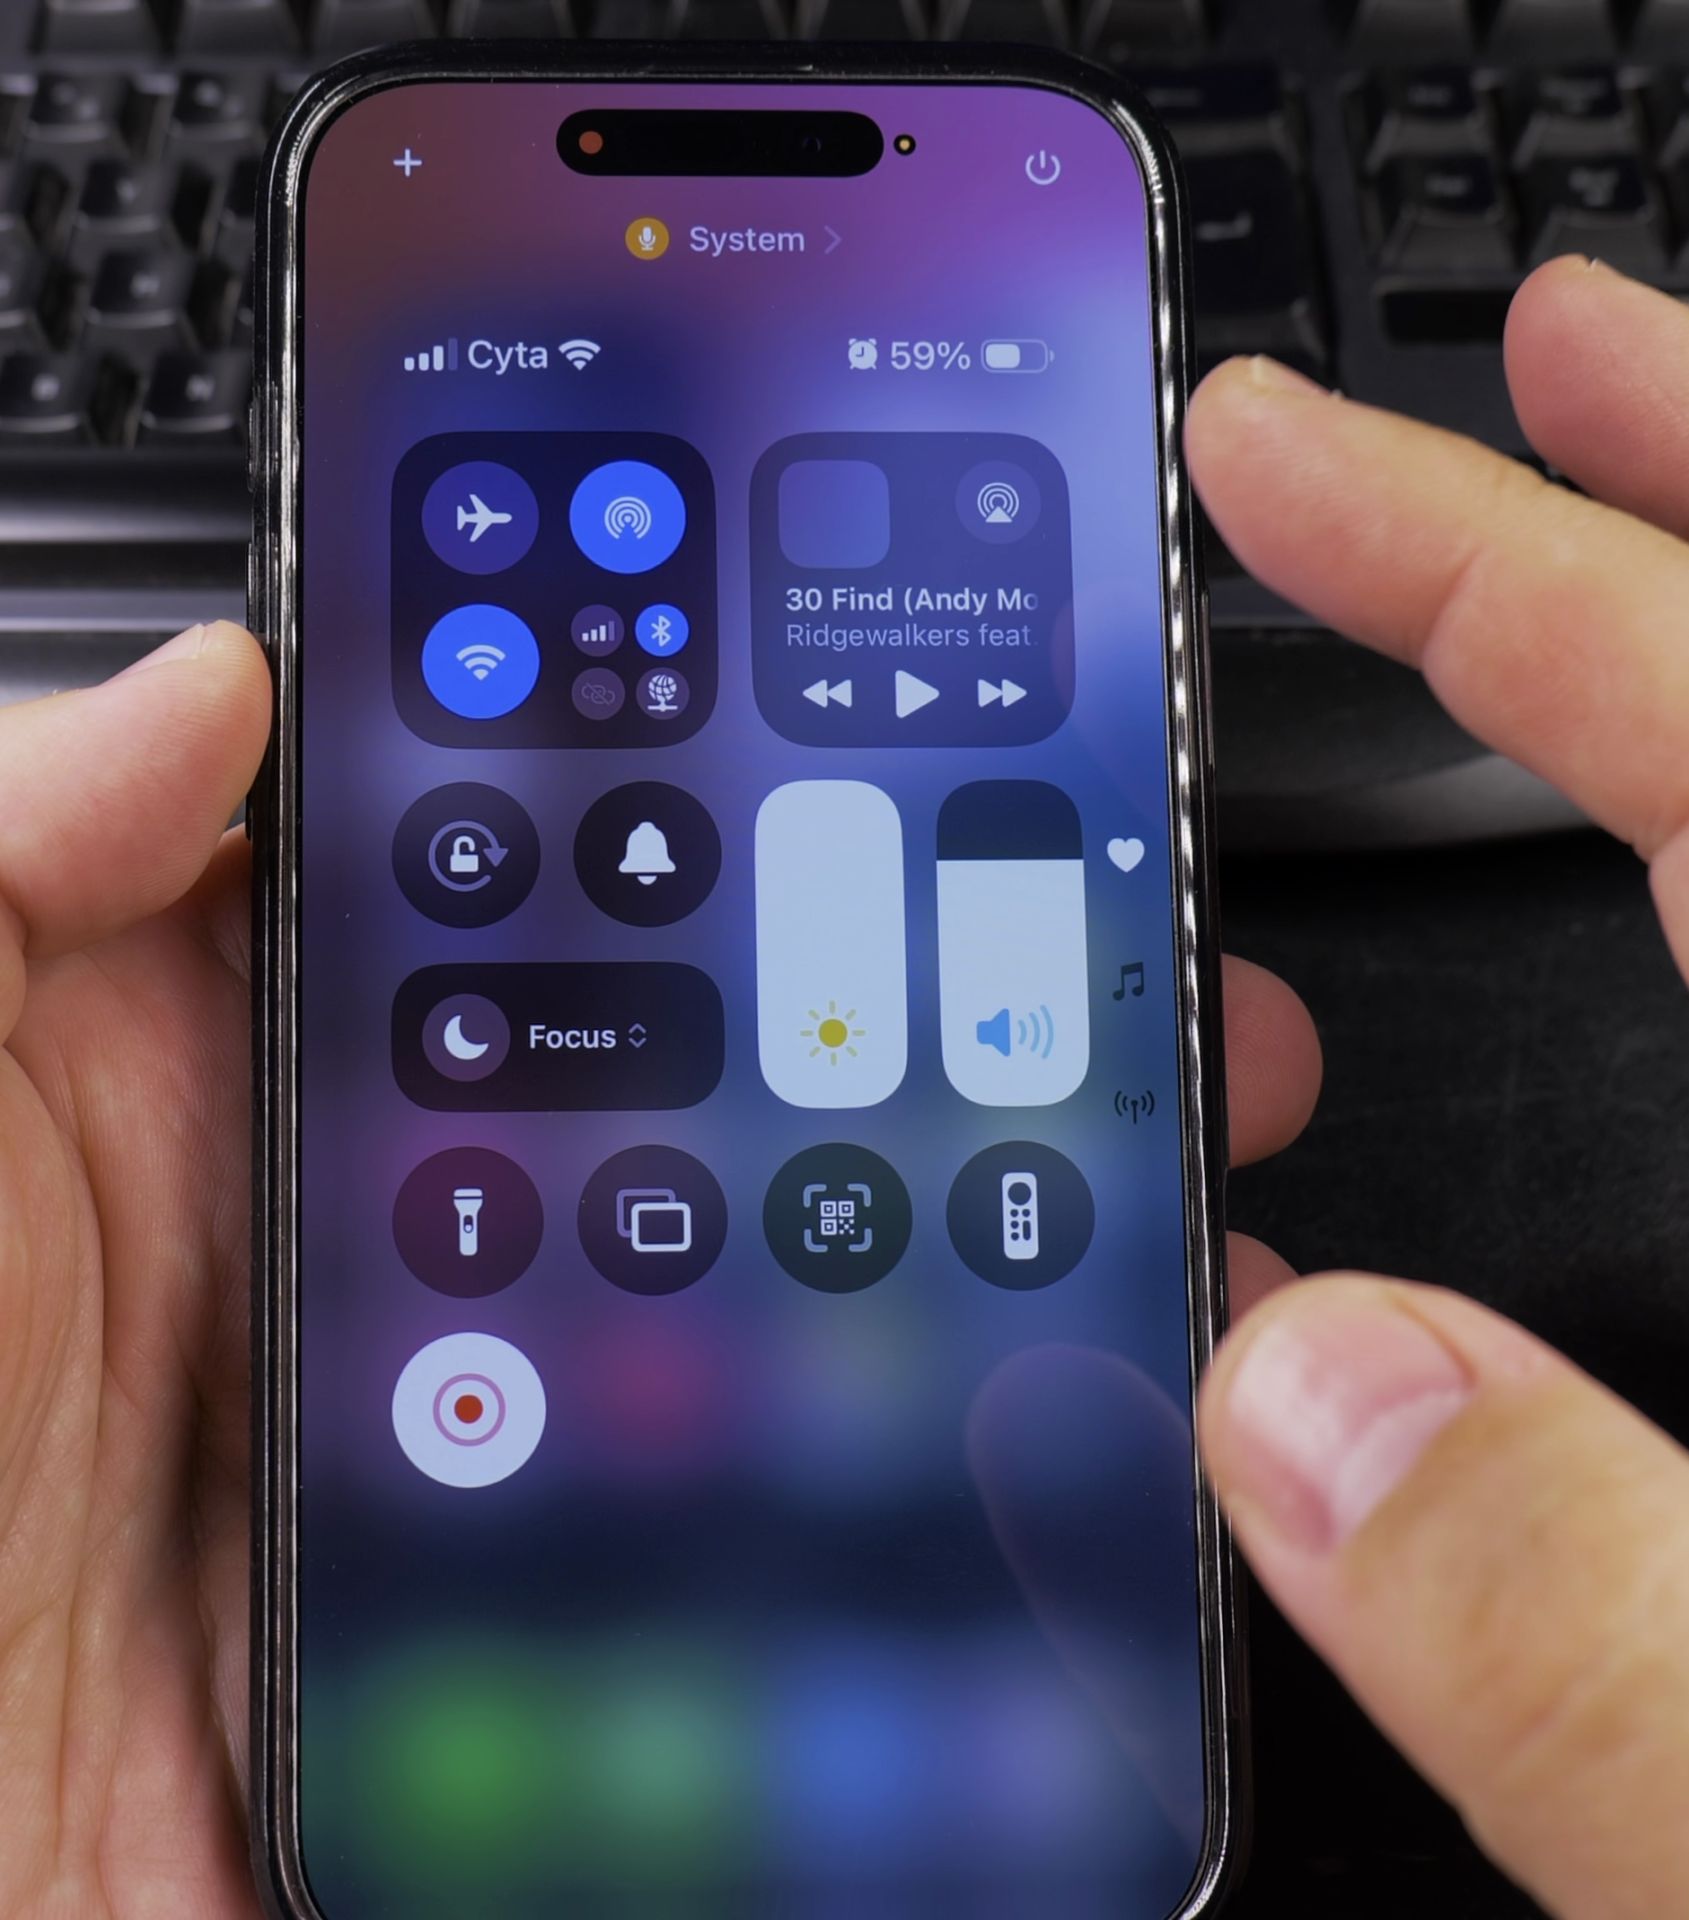
- Open Settings
- Tap Control Center
- Scroll down to More Controls
- Tap the + next to Screen Recording
- It will now appear in your Control Center
How to Record Your Screen Without Microphone Audio
For basic screen recordings (capturing only device sounds):
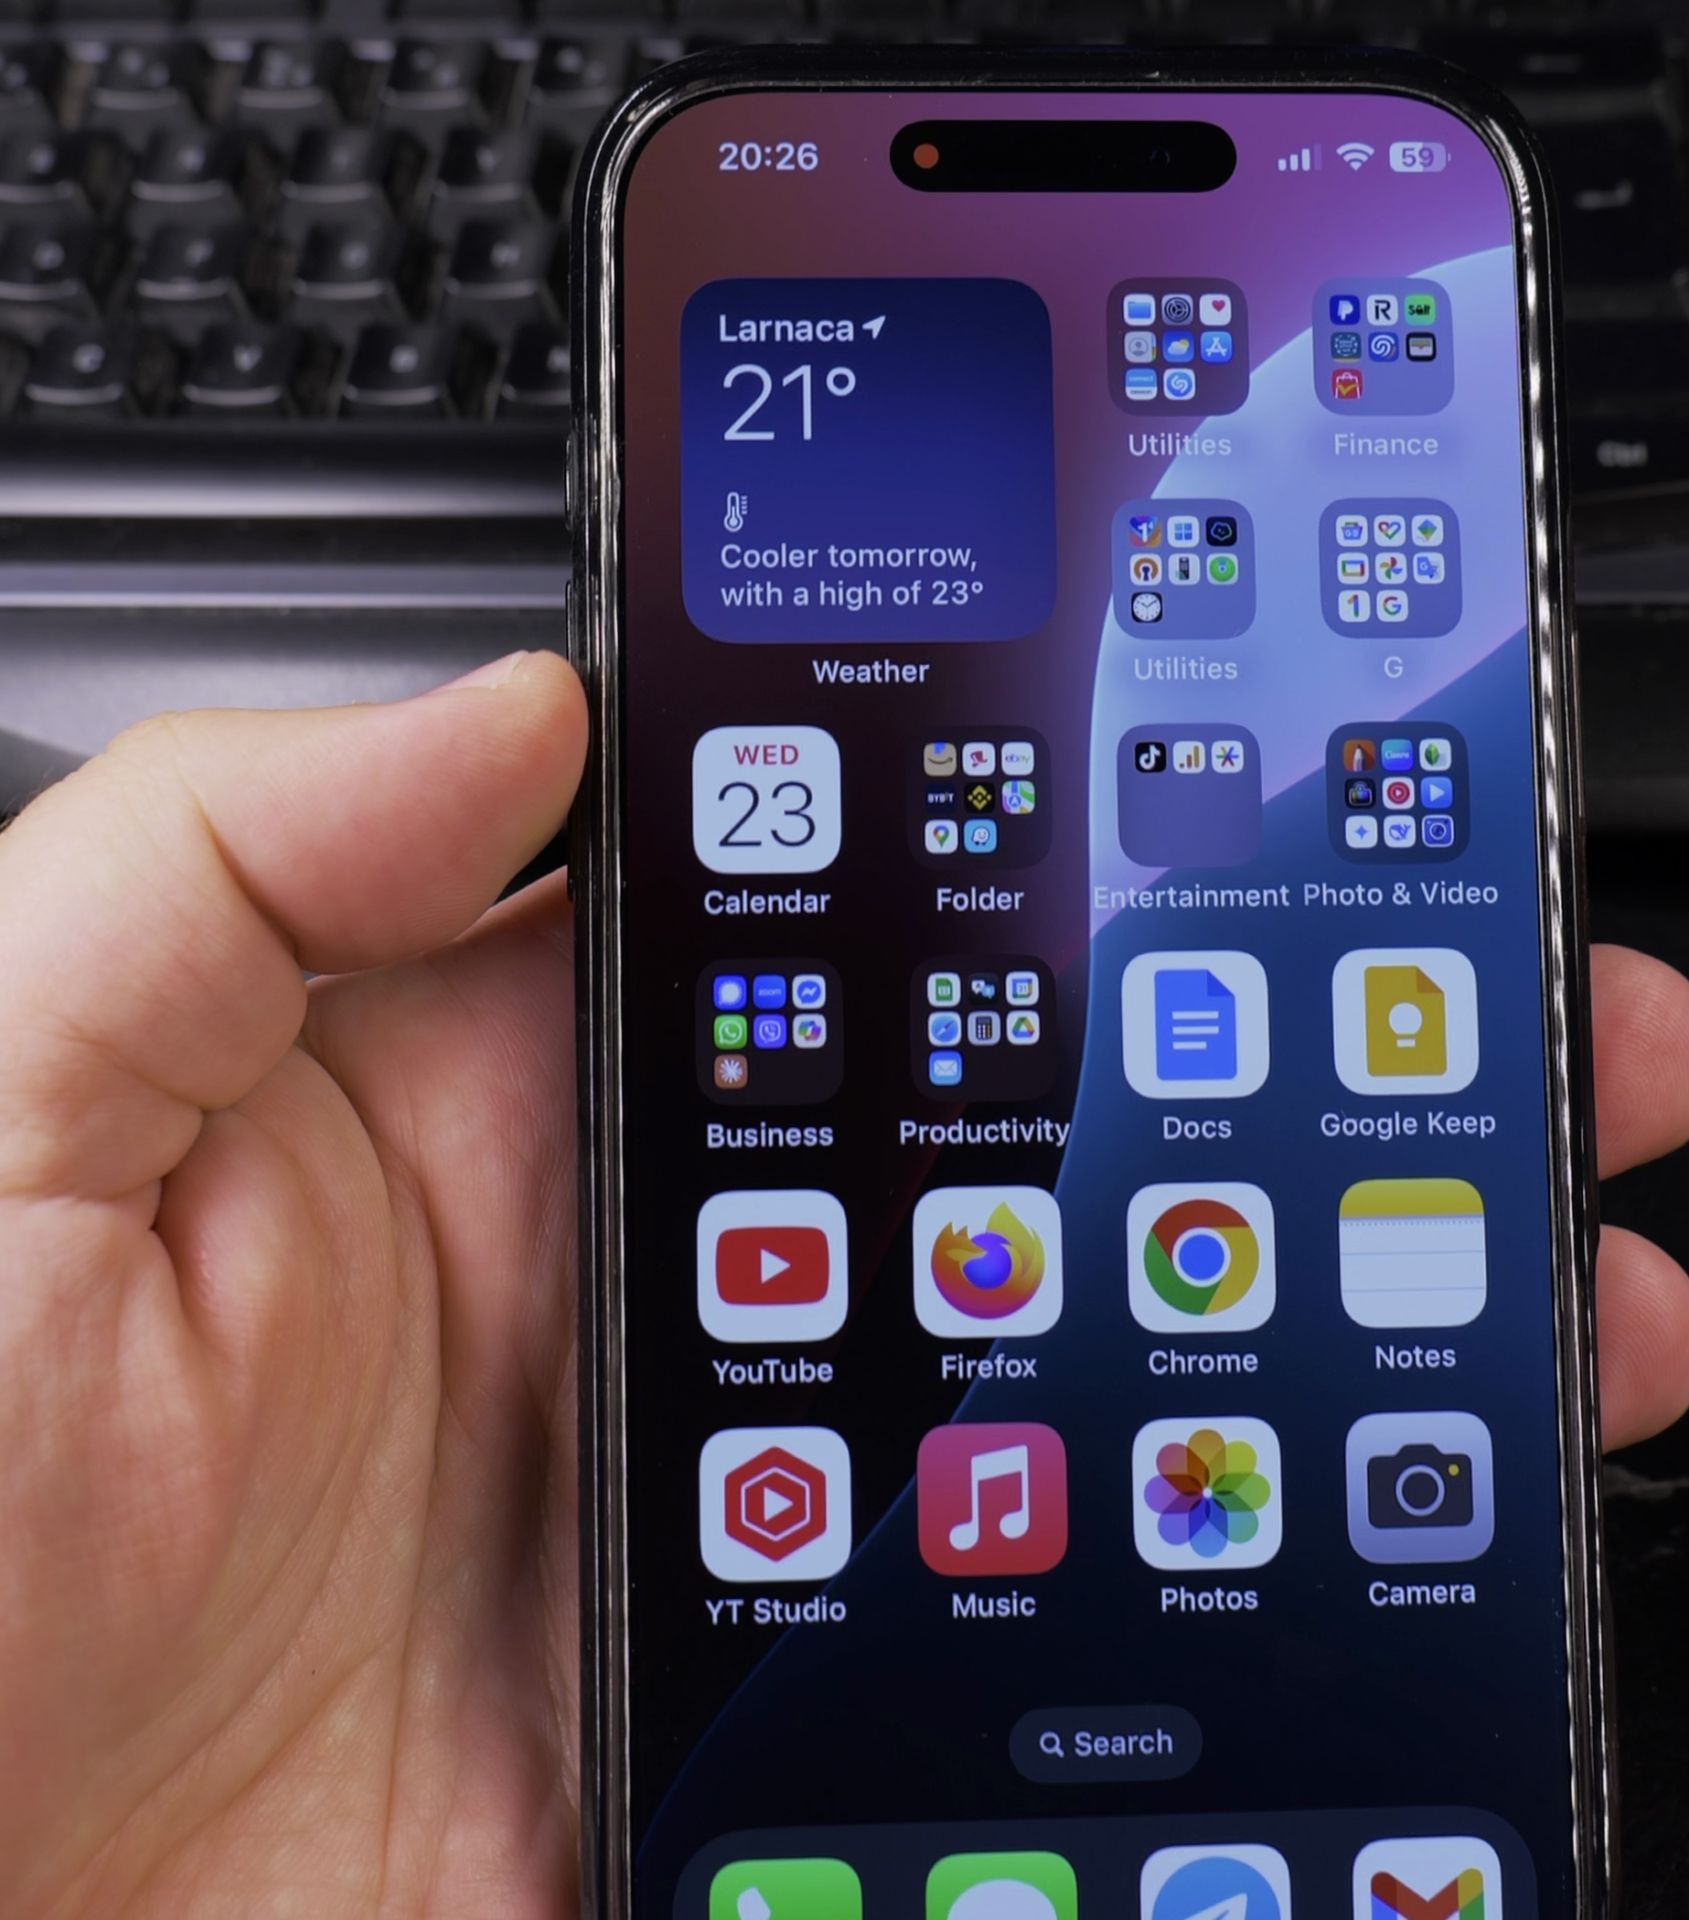
- Swipe down from the top-right corner to open Control Center
- Press and hold the Screen Recording button
- Make sure the Microphone icon is off (gray)
- Tap Start Recording
- Wait for the 3-second countdown
- Your recording has started (red status bar appears)
- To stop, tap the red status bar or reopen Control Center and tap the recording button
How to Record With Microphone Audio
To include your voice narration or external sounds:
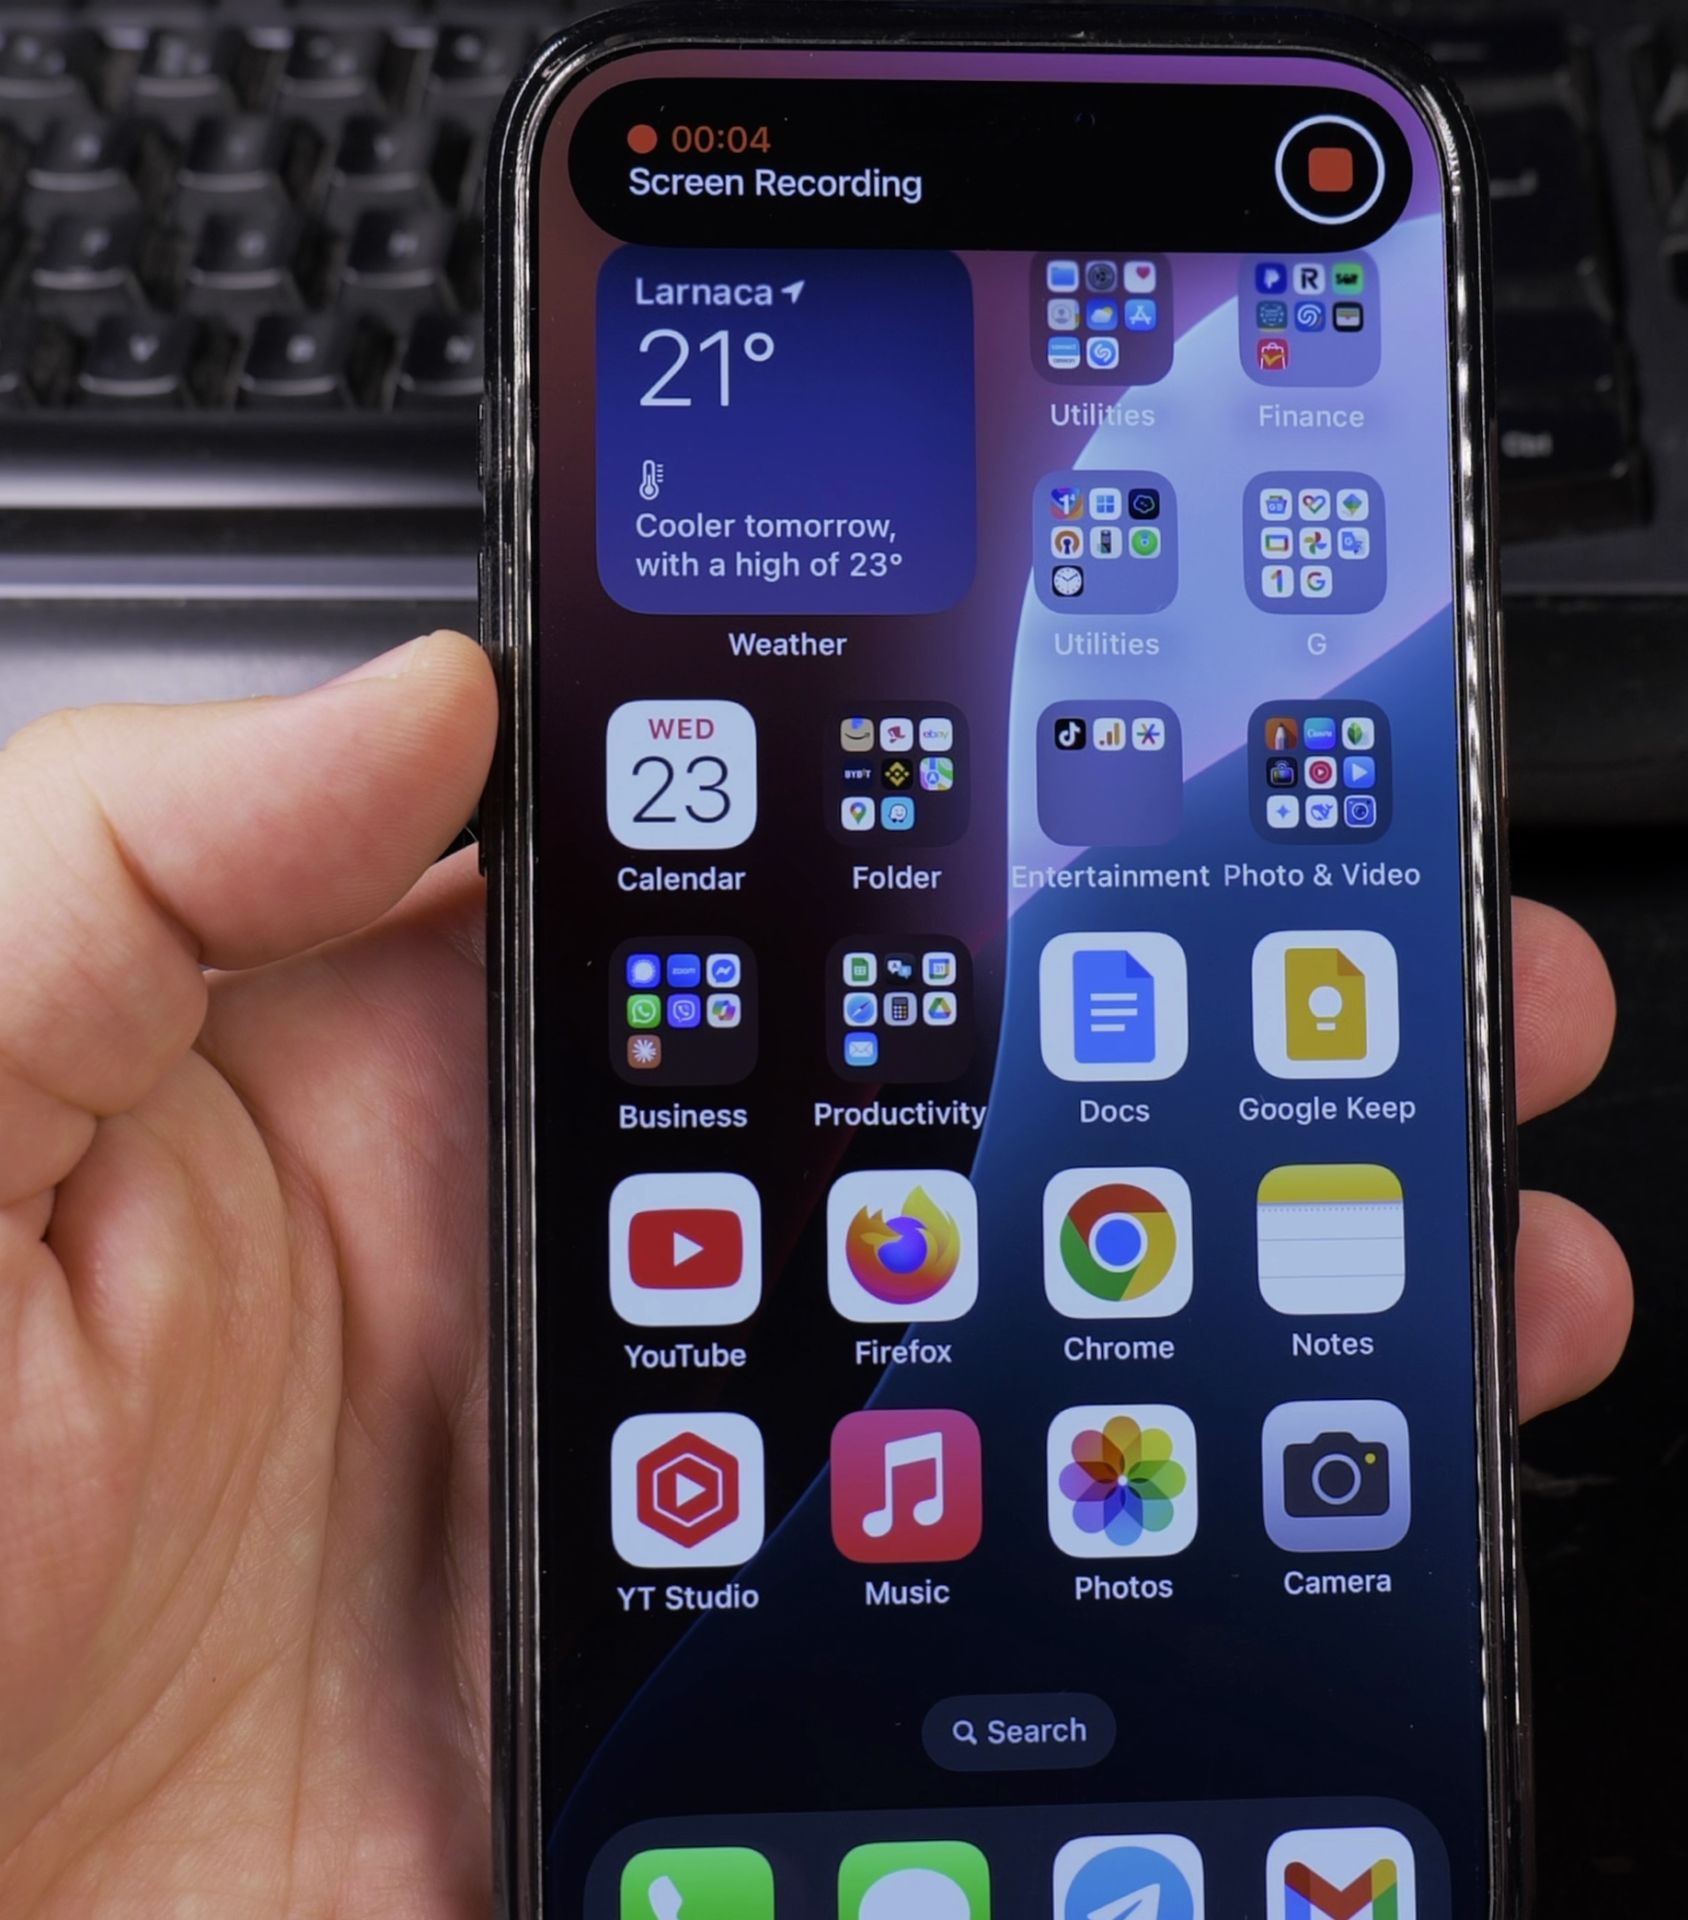
- Open Control Center
- Press and hold the Screen Recording button
- Tap the Microphone icon to turn it on (red)
- Tap Start Recording
- Speak normally – your voice will be recorded along with the screen
- Stop recording using the same method as above
Where to Find Your Recordings
All screen recordings save automatically to:
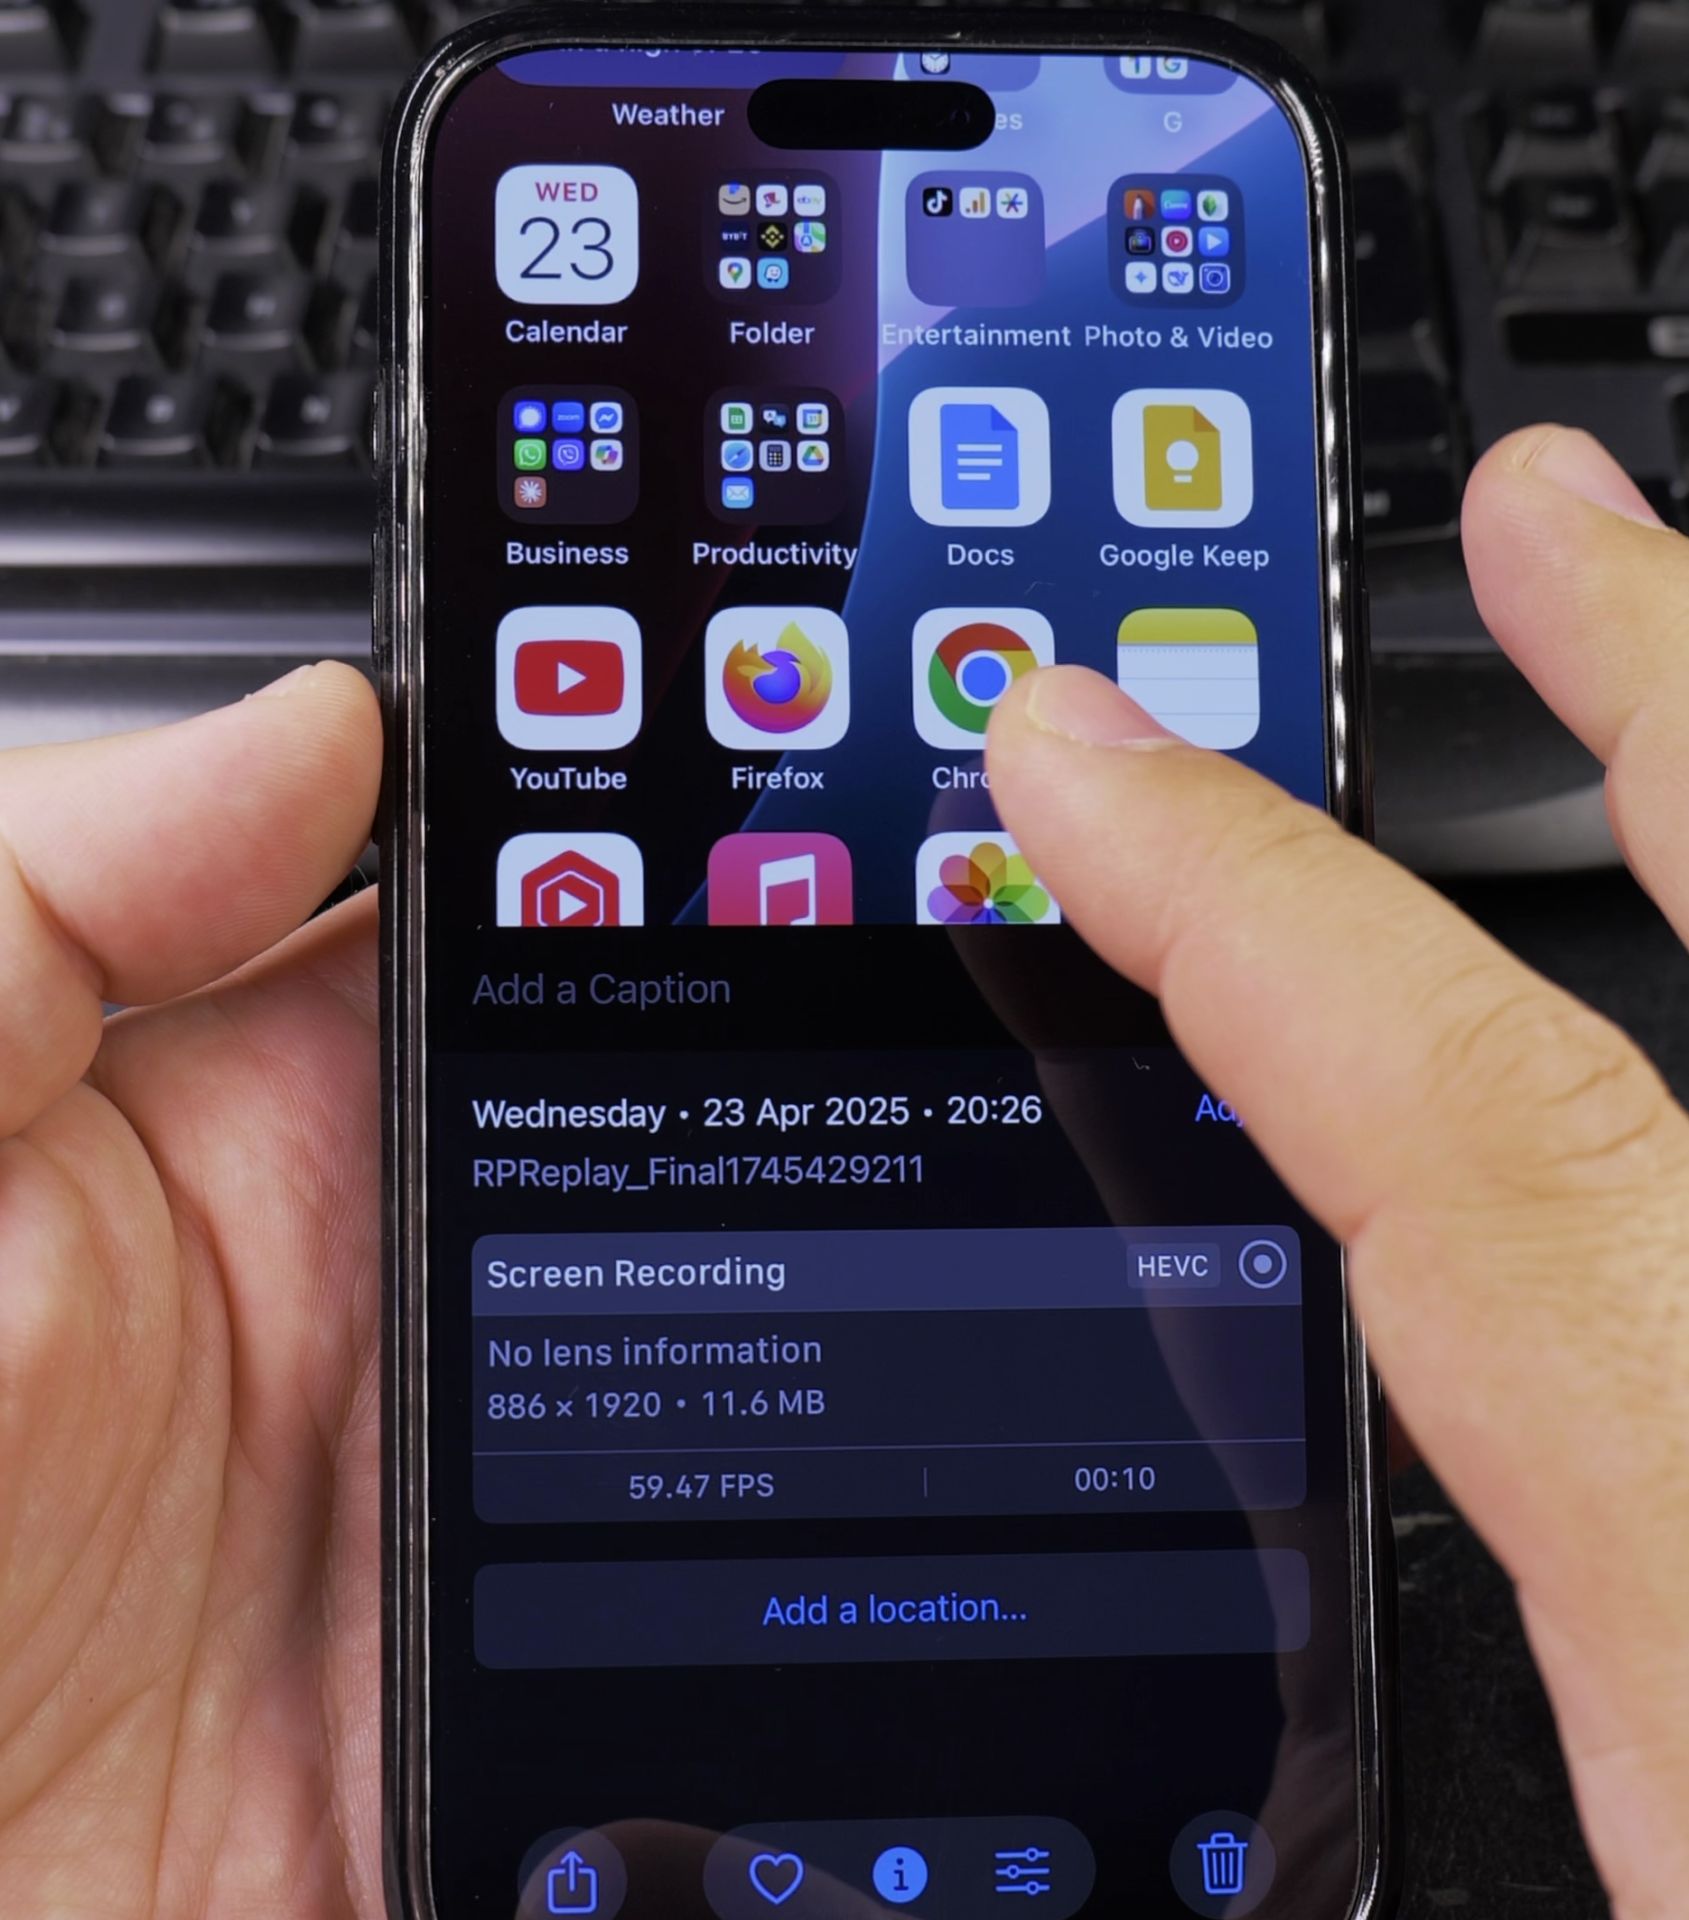
- Open the Photos app
- Go to Albums
- Select Screen Recordings
Editing Your Screen Recordings
You can trim recordings right in the Photos app:
- Open the recording in Photos
- Tap Edit
- Drag the handles at either end of the timeline to trim
- Tap Done to save changes
Tips for Better Screen Recordings
- Clean up your home screen first if recording app tutorials
- Turn on Do Not Disturb to avoid interruptions
- Landscape mode works best for most recordings
- 30 seconds before you start speaking to avoid cutting off your intro
Troubleshooting Common Issues
If screen recording isn’t working:
- Restart your iPhone
- Check iOS is updated
- Ensure you have enough storage space
- Verify microphone permissions in Settings > Privacy > Microphone
Now you’re ready to create perfect screen recordings anytime. If you’re making tutorials, preserving memories, or reporting bugs, these tools have you covered.
Need to record something longer than 30 minutes? Your iPhone can automatically split recordings at the 30-minute mark.
Did this guide help you with your iPhone screen recording? Let us know if you have any other questions!
Helpful Tips
Take your time and check the screen carefully after each tap so you can confirm the setting changed as expected. If an option appears in a slightly different spot on your device, watch the embedded video above for a closer look.
Related Guides
- How to Add Flashlight Button to iPhone Lock Screen – If your iPhone lock screen is missing the flashlight button in the bottom corner, you can put it back in seconds.
- How to Add an App Icon Back to the Home Screen on iPhone – If an application icon disappeared from your iPhone Home Screen even though the app is still installed on your device, it is…
- How to Allow Siri on iPhone Lock Screen – How to Allow Siri and Apple Intelligence on iPhone Lock Screen.
- iPhone How-To Guides – Browse more tutorials and practical guides in this section.


Leave a Reply