
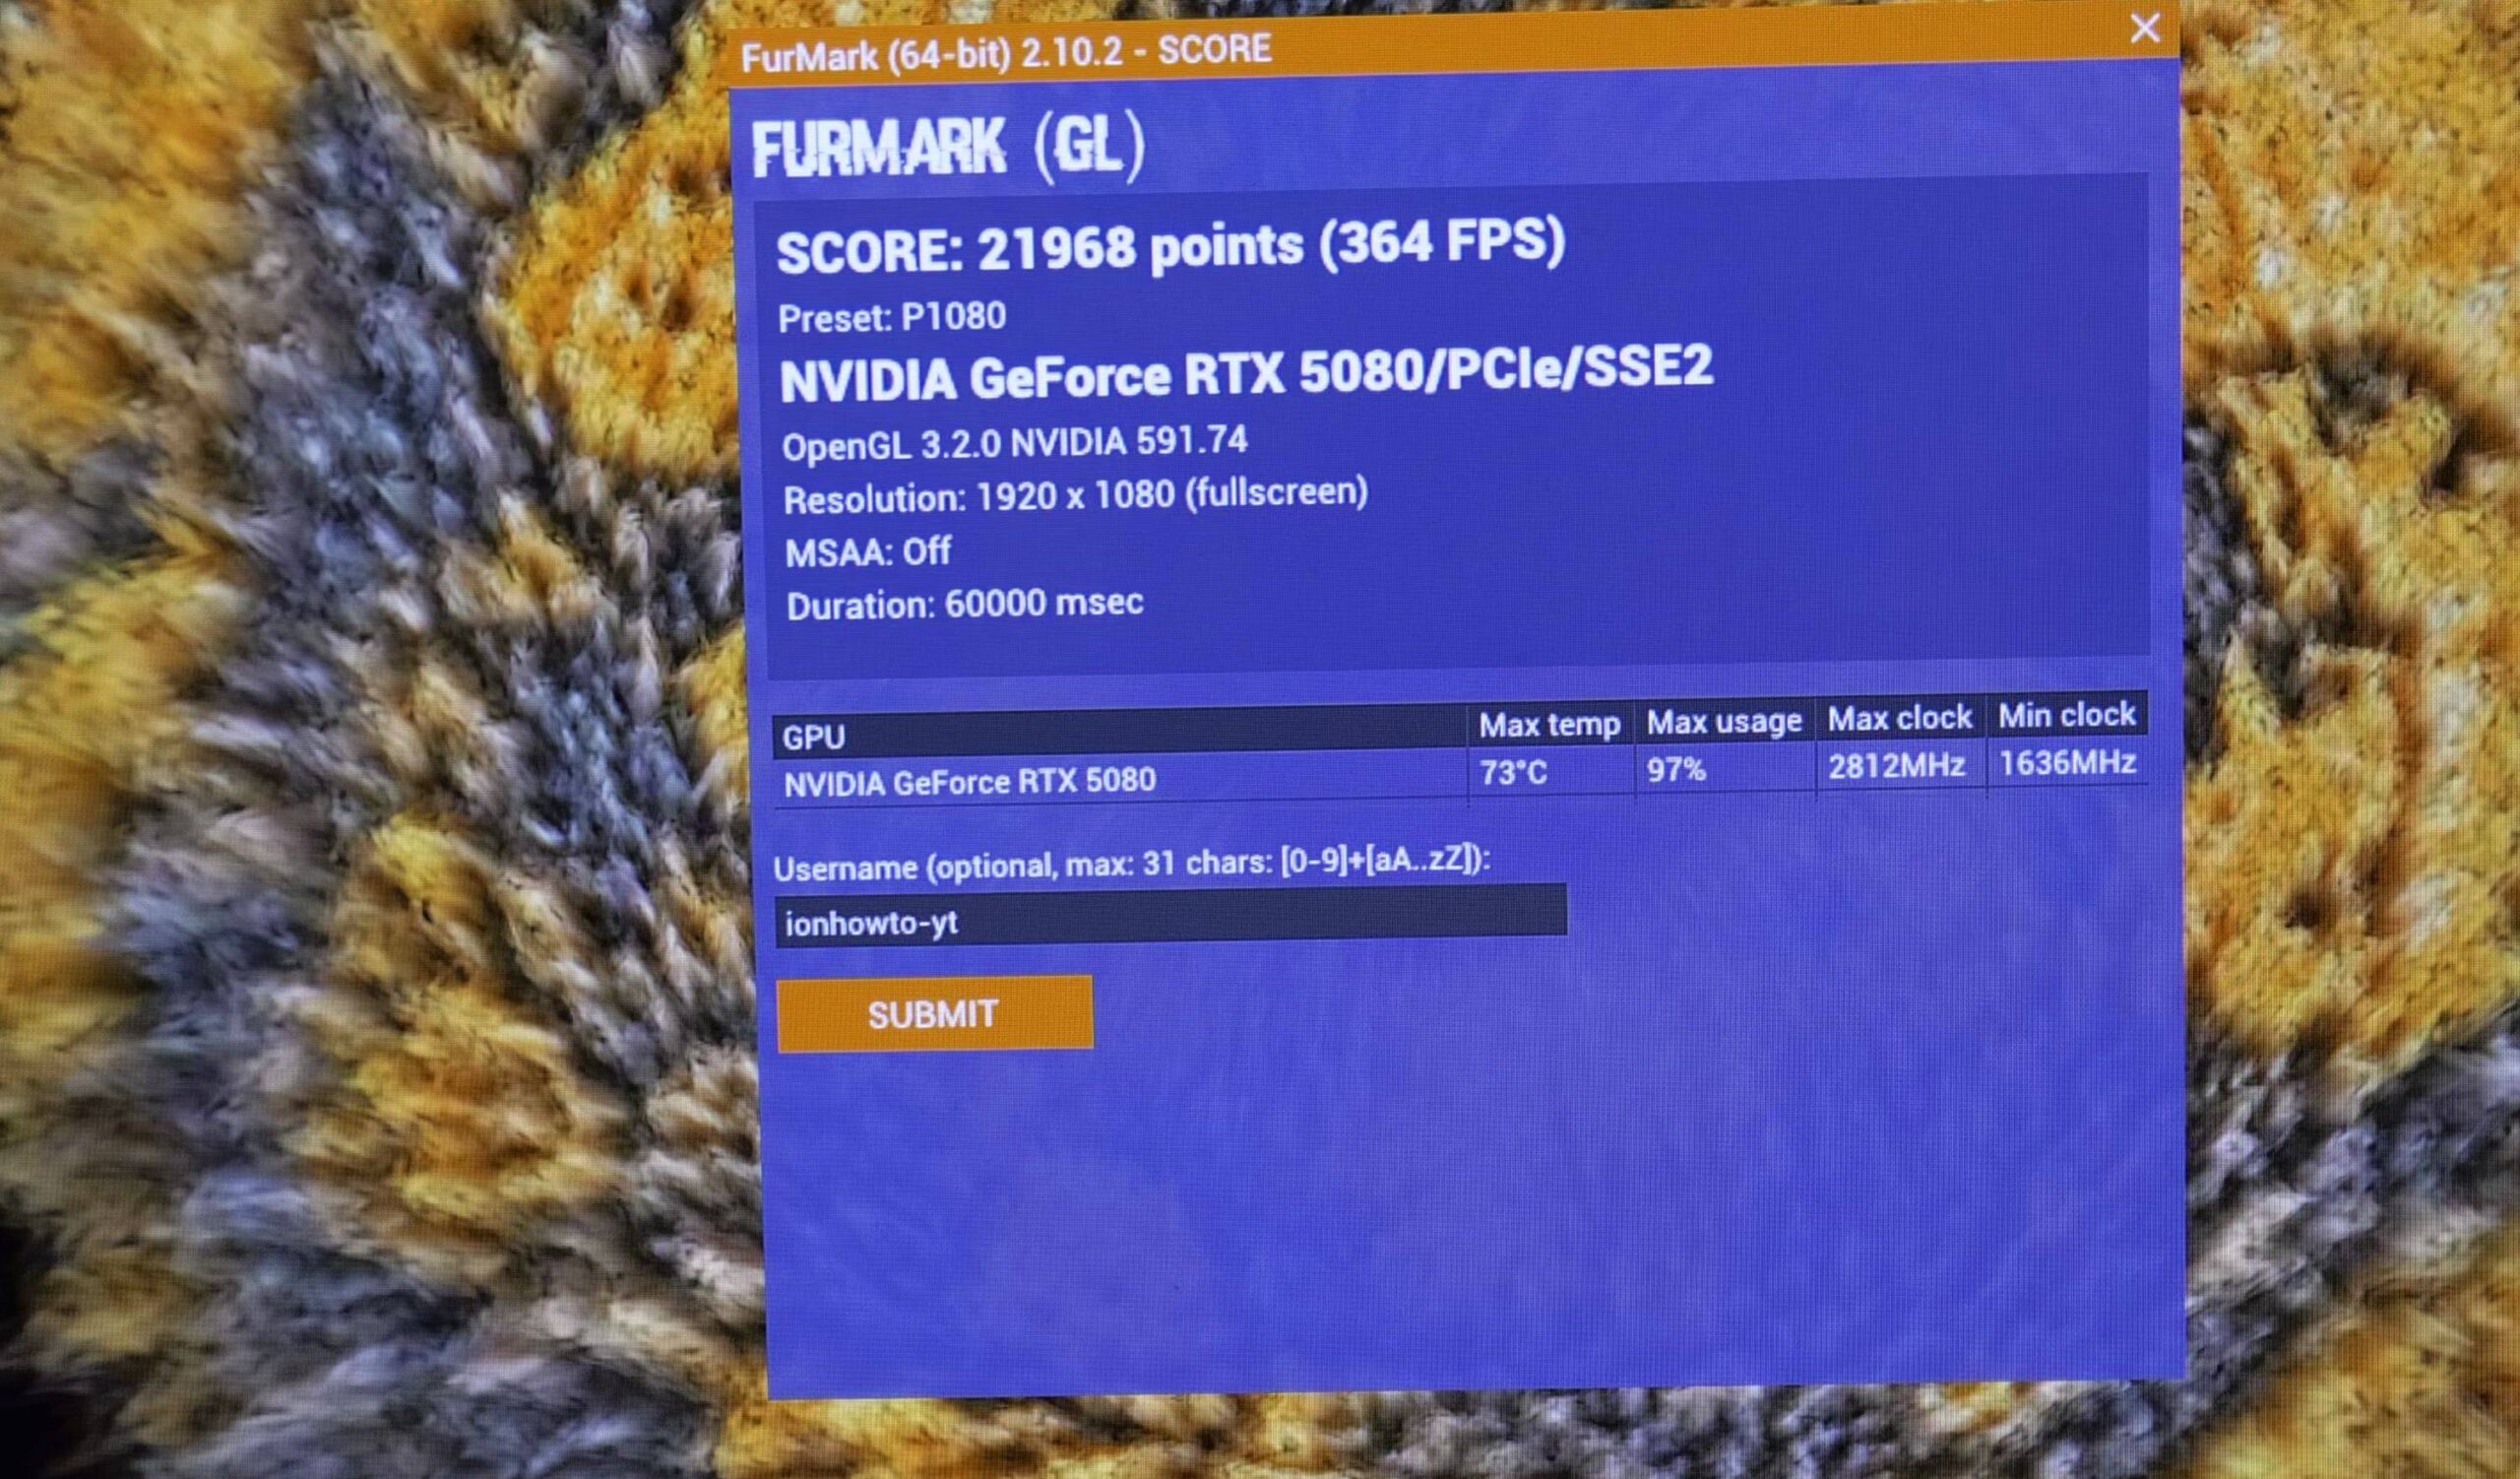
If you are upgrading to an NVIDIA GeForce RTX 5080 and wondering whether a PCIe 4.0 motherboard holds back performance, real-world benchmarks show the exact difference. I’ll show you how to configure your BIOS for Gen 4 speeds and test graphics stability with FurMark and DaVinci Resolve.
1. Enable PCIe Gen 4 Link Speed in Motherboard BIOS
Restart your computer and tap the Delete or F2 key repeatedly to enter the BIOS menu.
Navigate to Advanced Mode, open PCIe Subsystem Settings, and locate your primary graphics slot.
Change the link speed from Auto or Gen 3 to Gen 4 to ensure the motherboard delivers the maximum 16 gigatransfers per second lane speed.
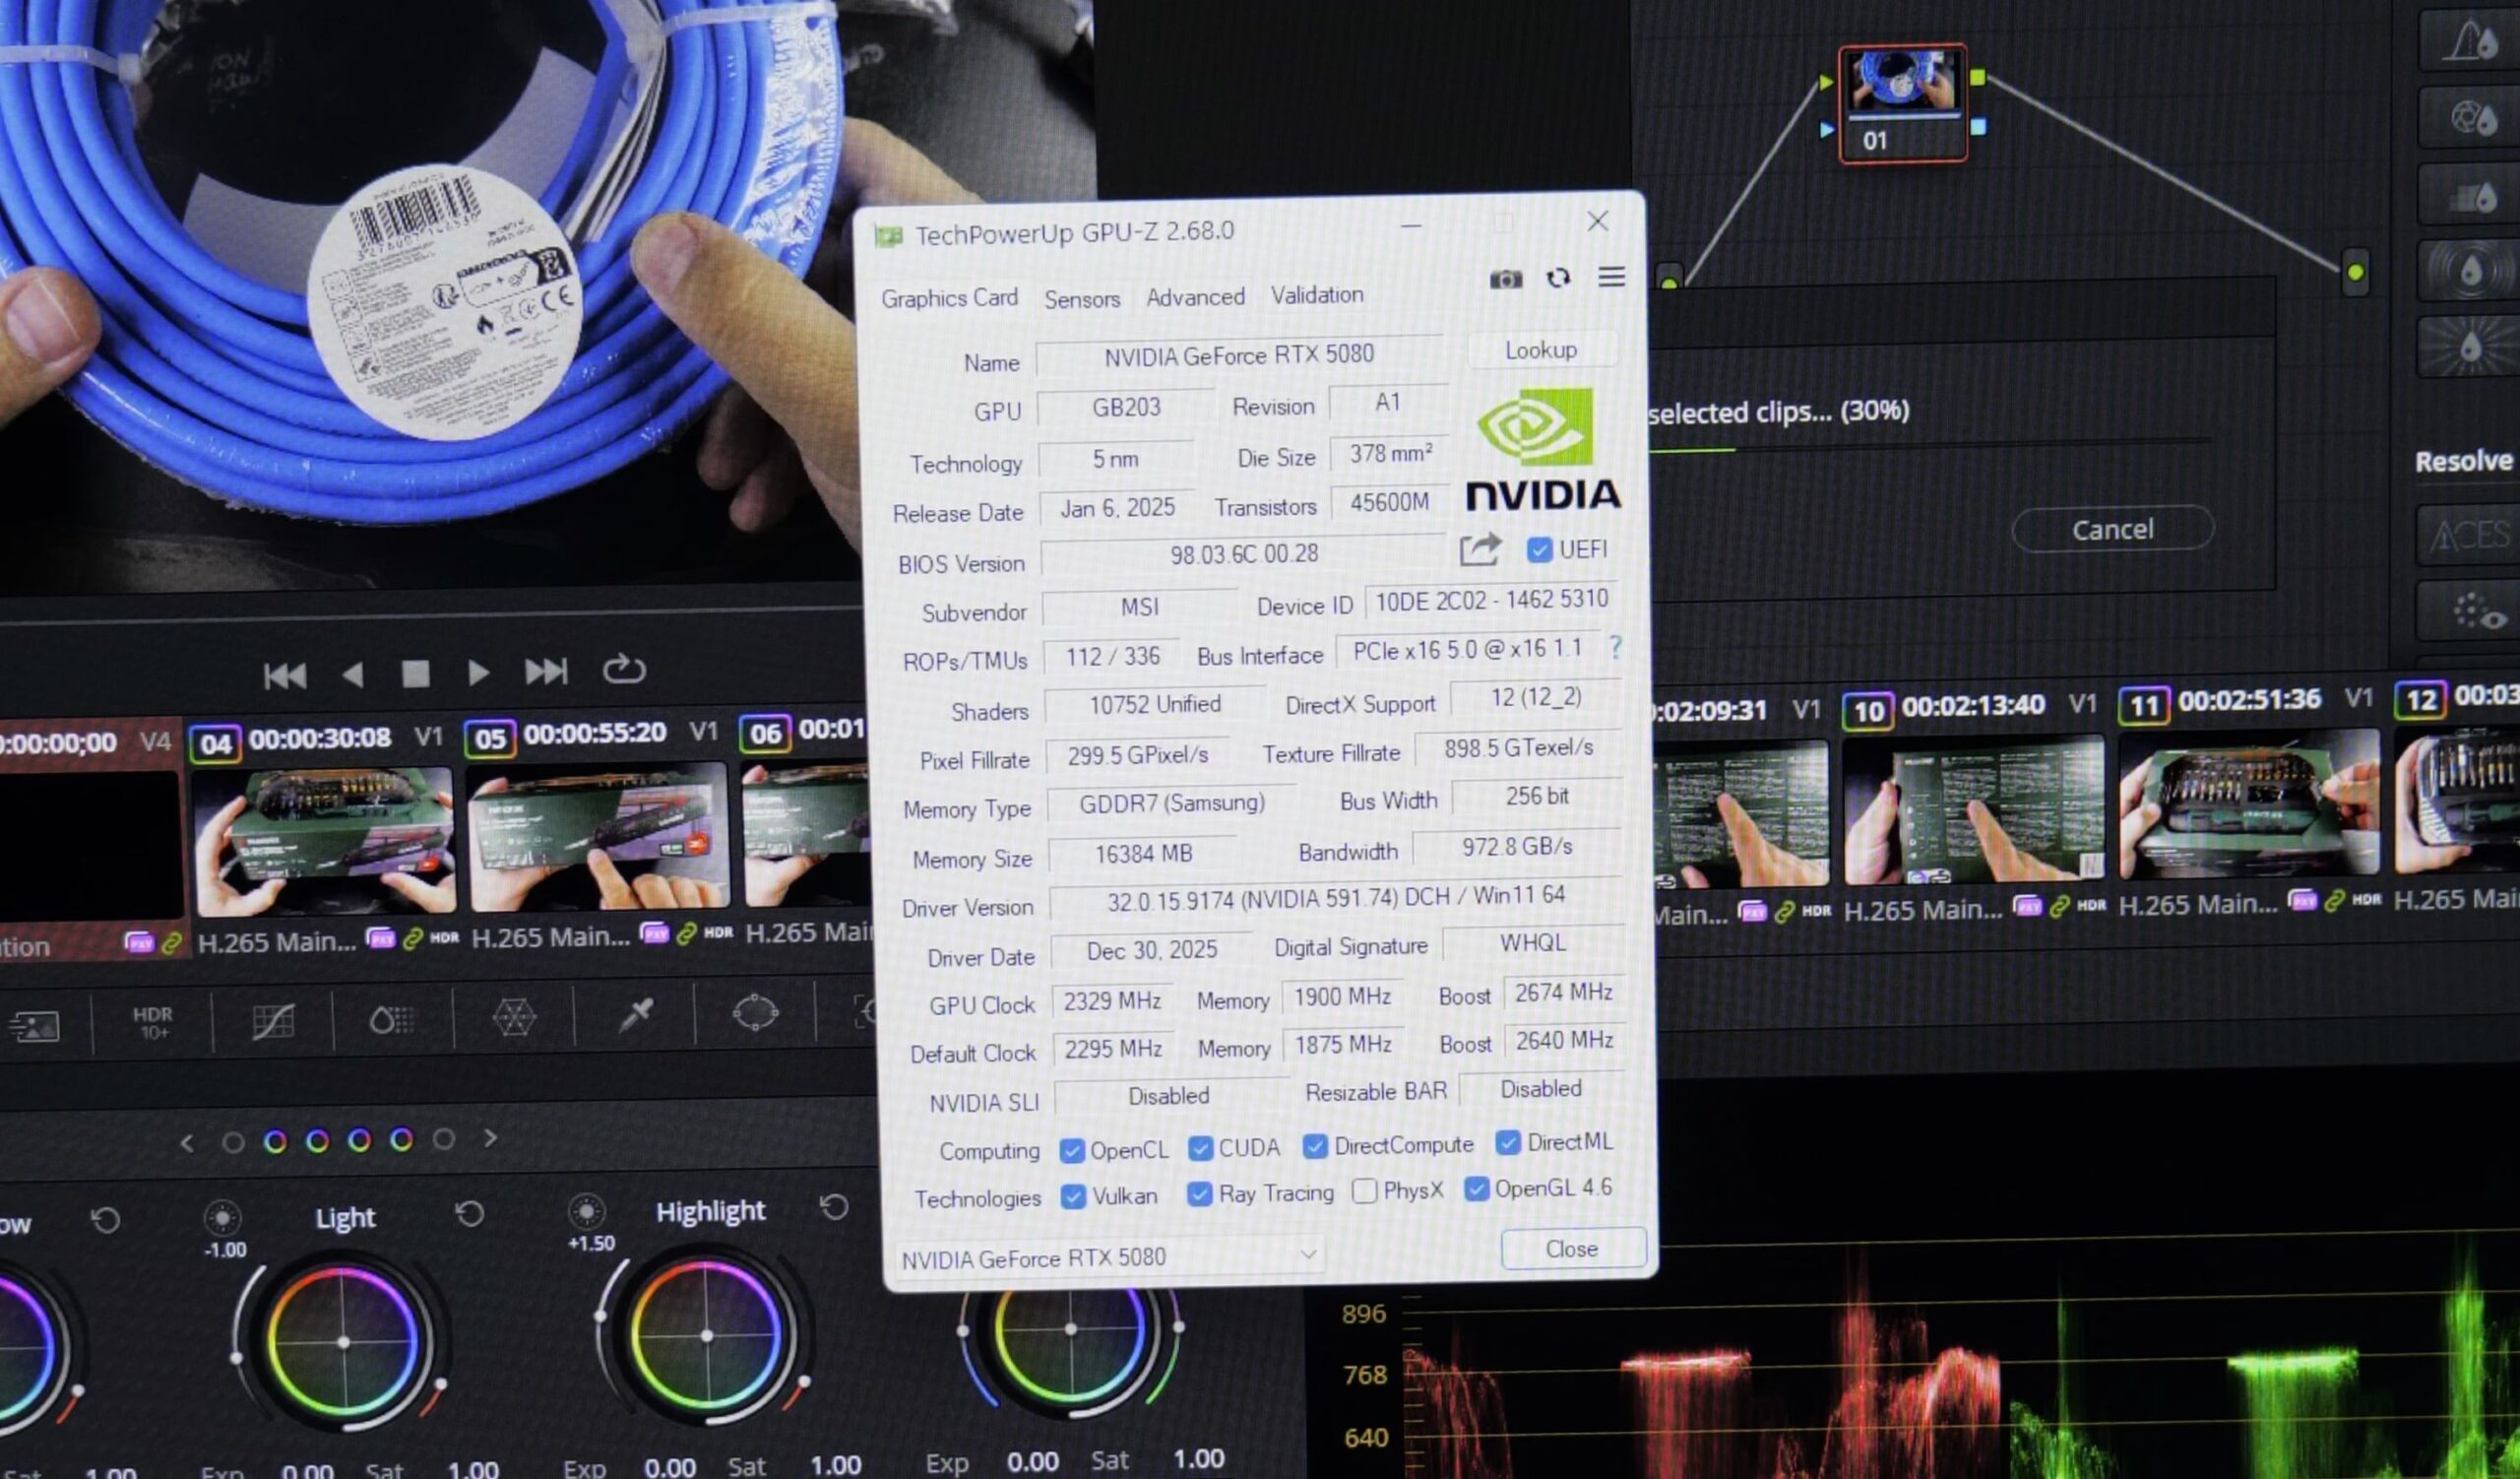
2. Verify PCIe 4.0 x16 Bus Speed in GPU-Z
Boot into Windows and launch the free utility TechPowerUp GPU-Z.
Look at the Bus Interface row on the main Graphics Card tab.
Click the small question mark icon to trigger a light 3D load. Verify the reading displays PCIe x16 4.0 @ x16 4.0, confirming full bandwidth without downclocking.
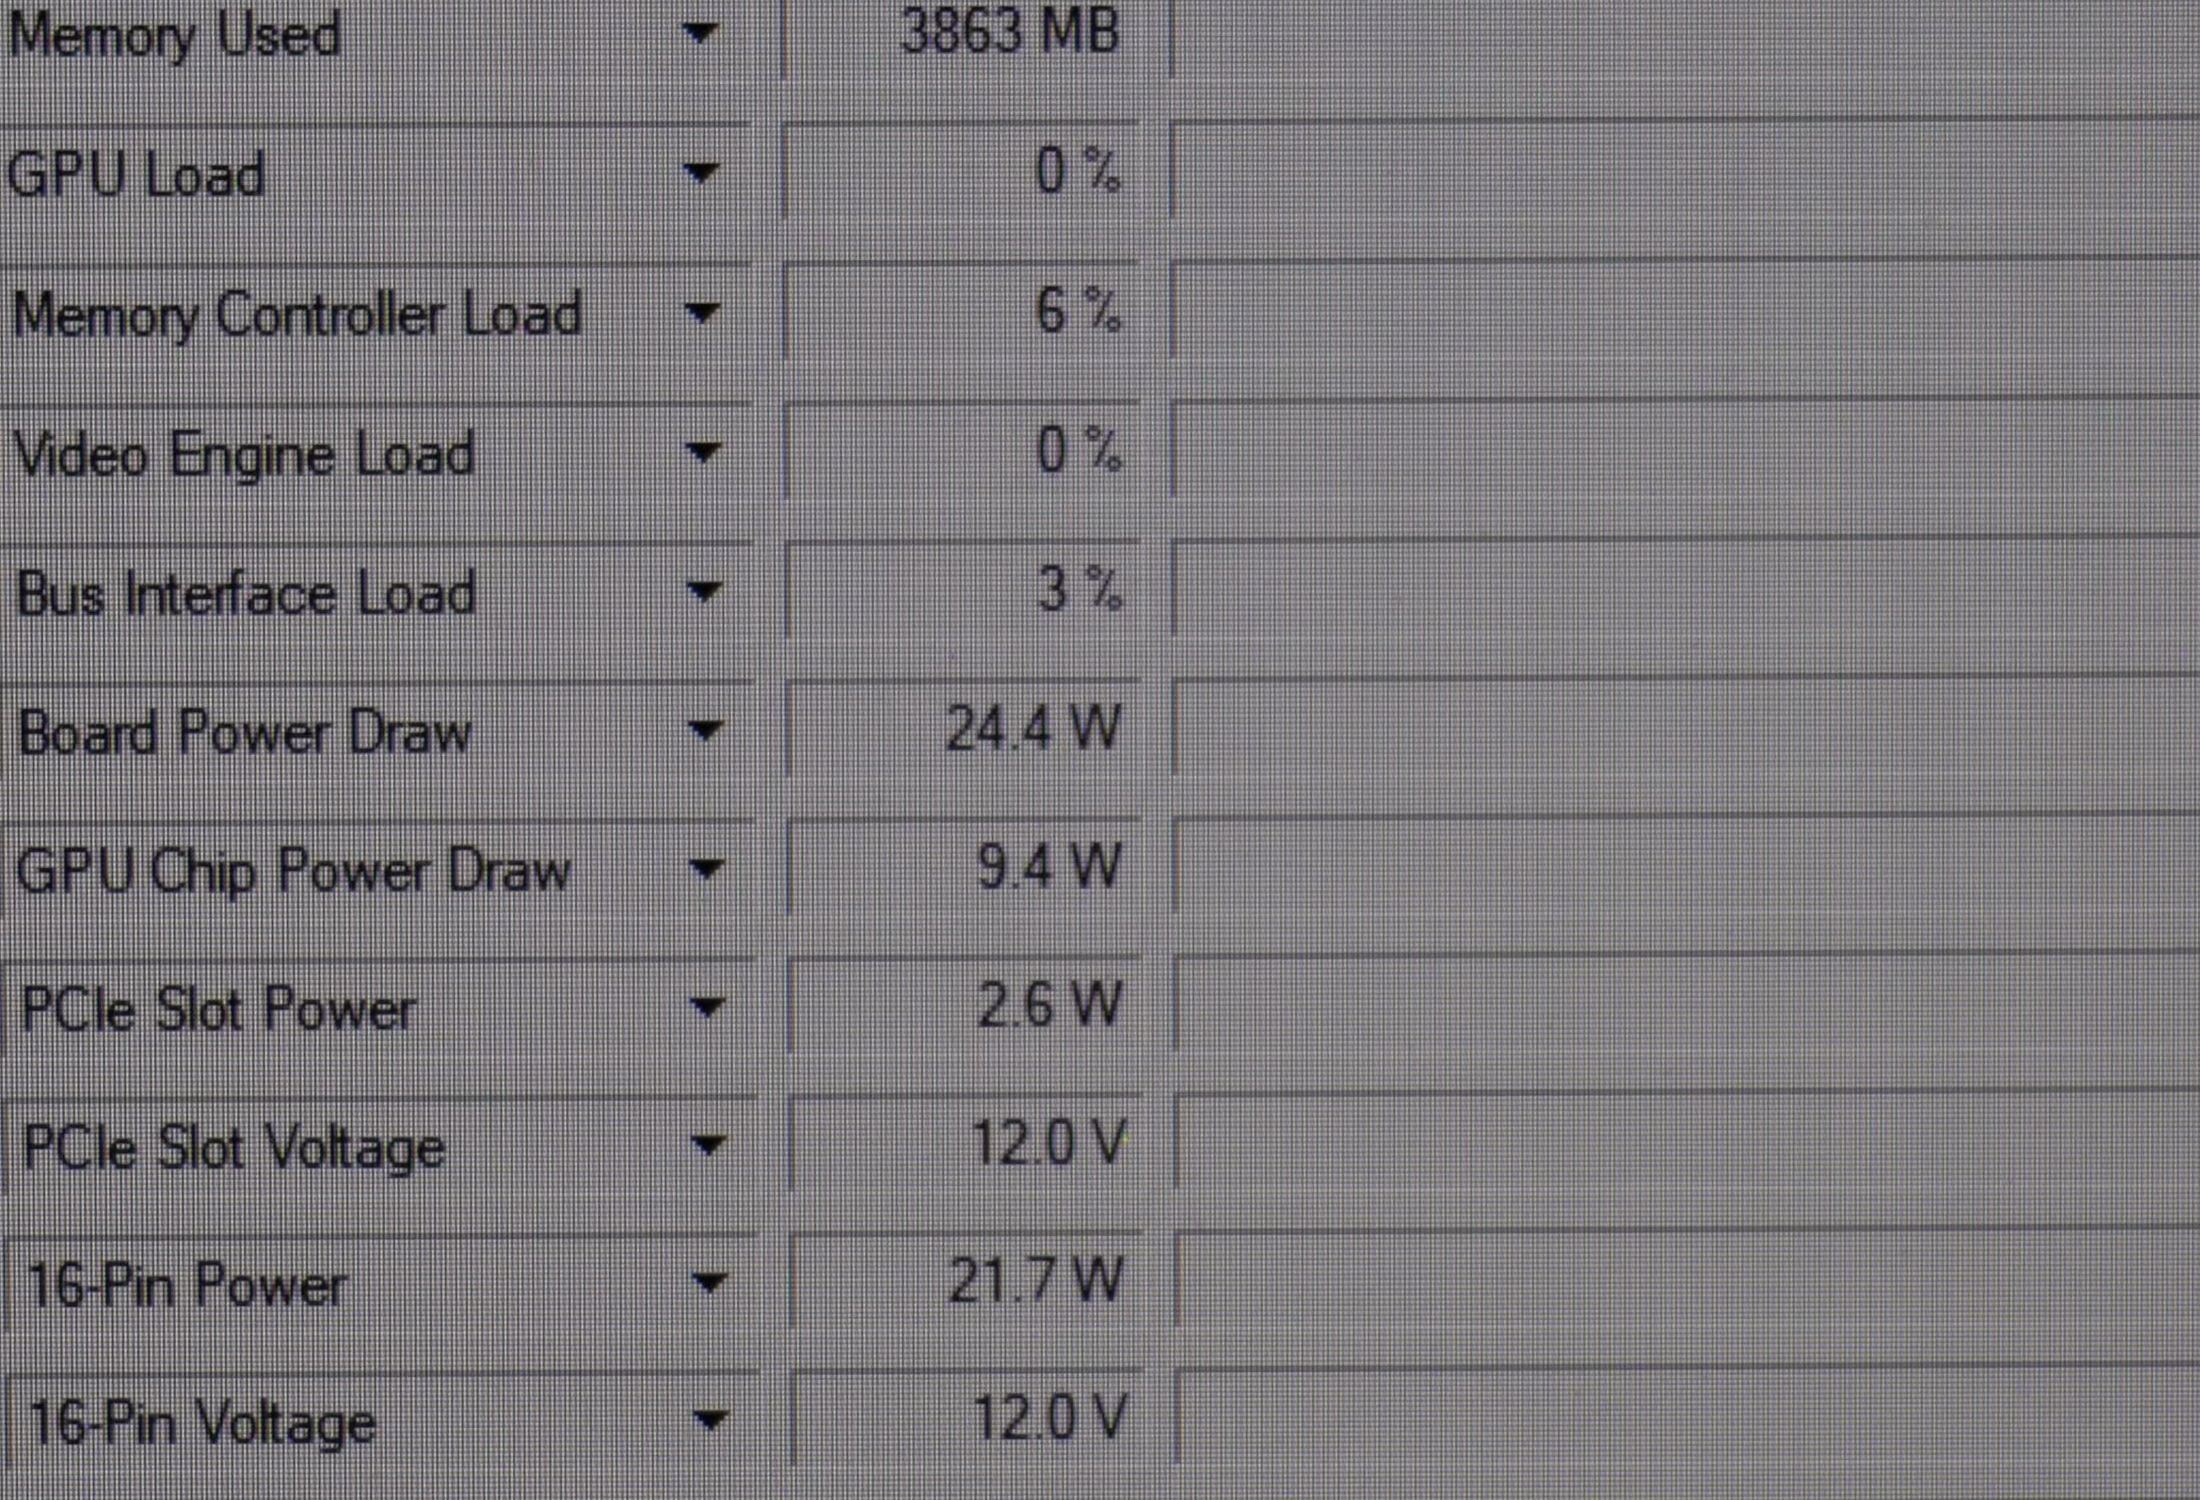
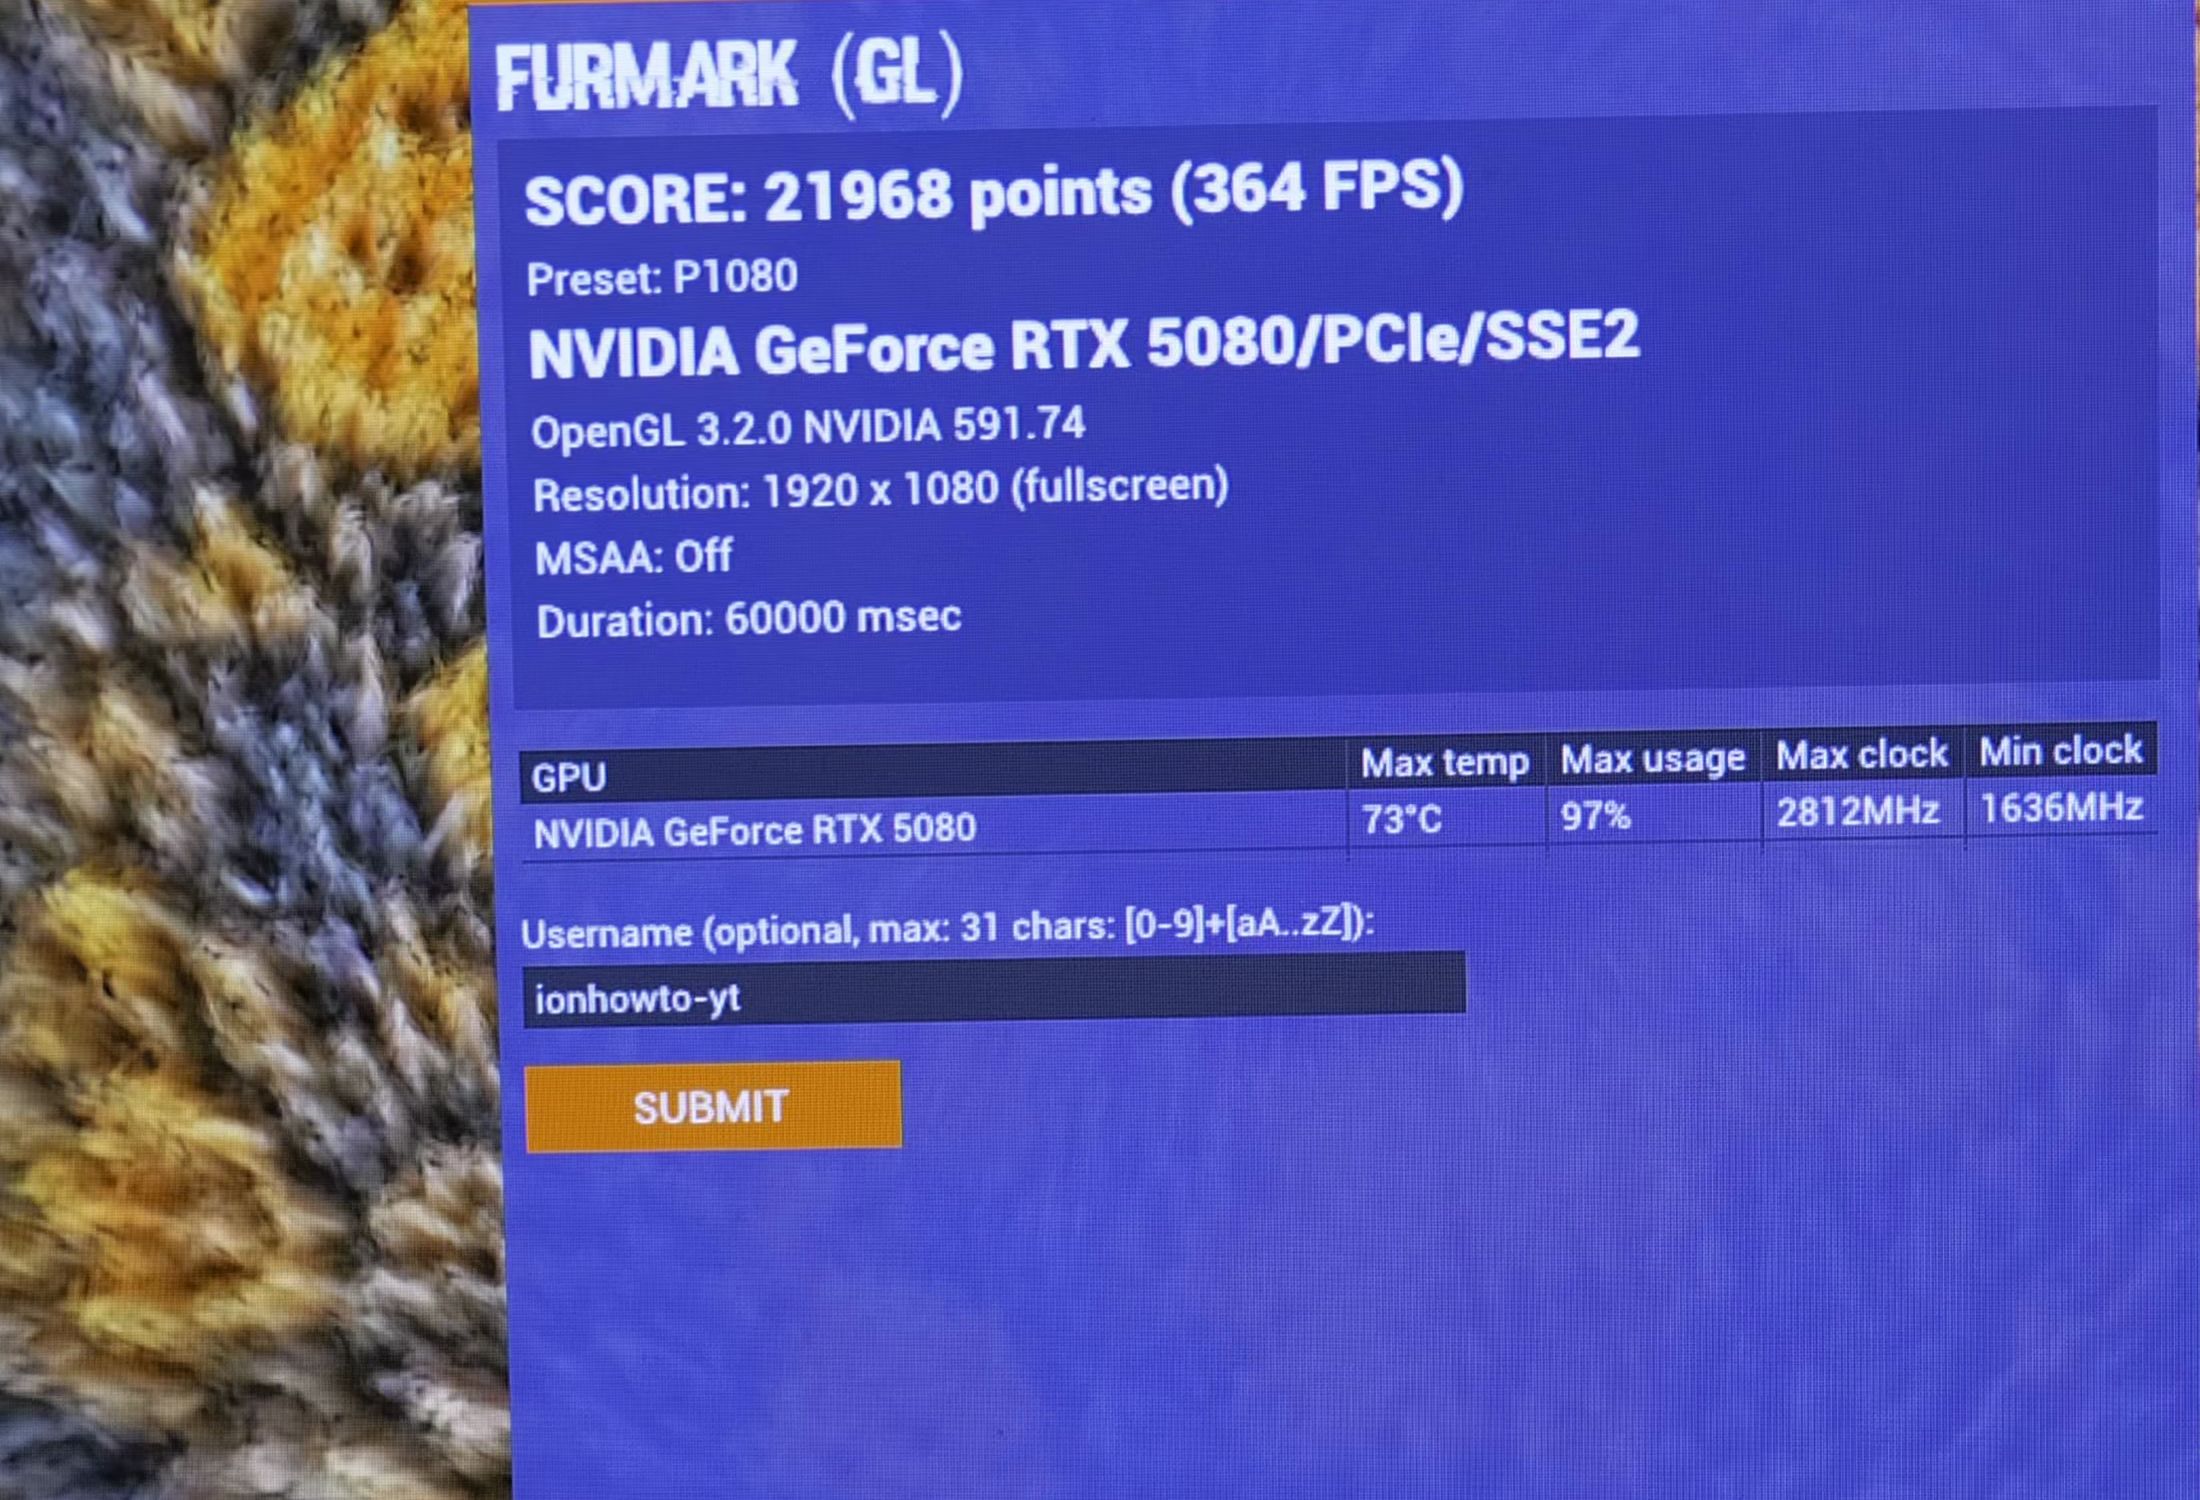
3. Run FurMark Stress Test and Monitor Thermals
Open FurMark and select your native monitor resolution (such as 1440p or 4K).
Click GPU Stress Test and let the fuzzy donut render for 10 to 15 minutes.
Observe the live chart at the bottom: the RTX 5080 maintains smooth frame rates while temperatures stabilize well under thermal throttling limits.
4. Test DaVinci Resolve Studio 20 Video Export Speed
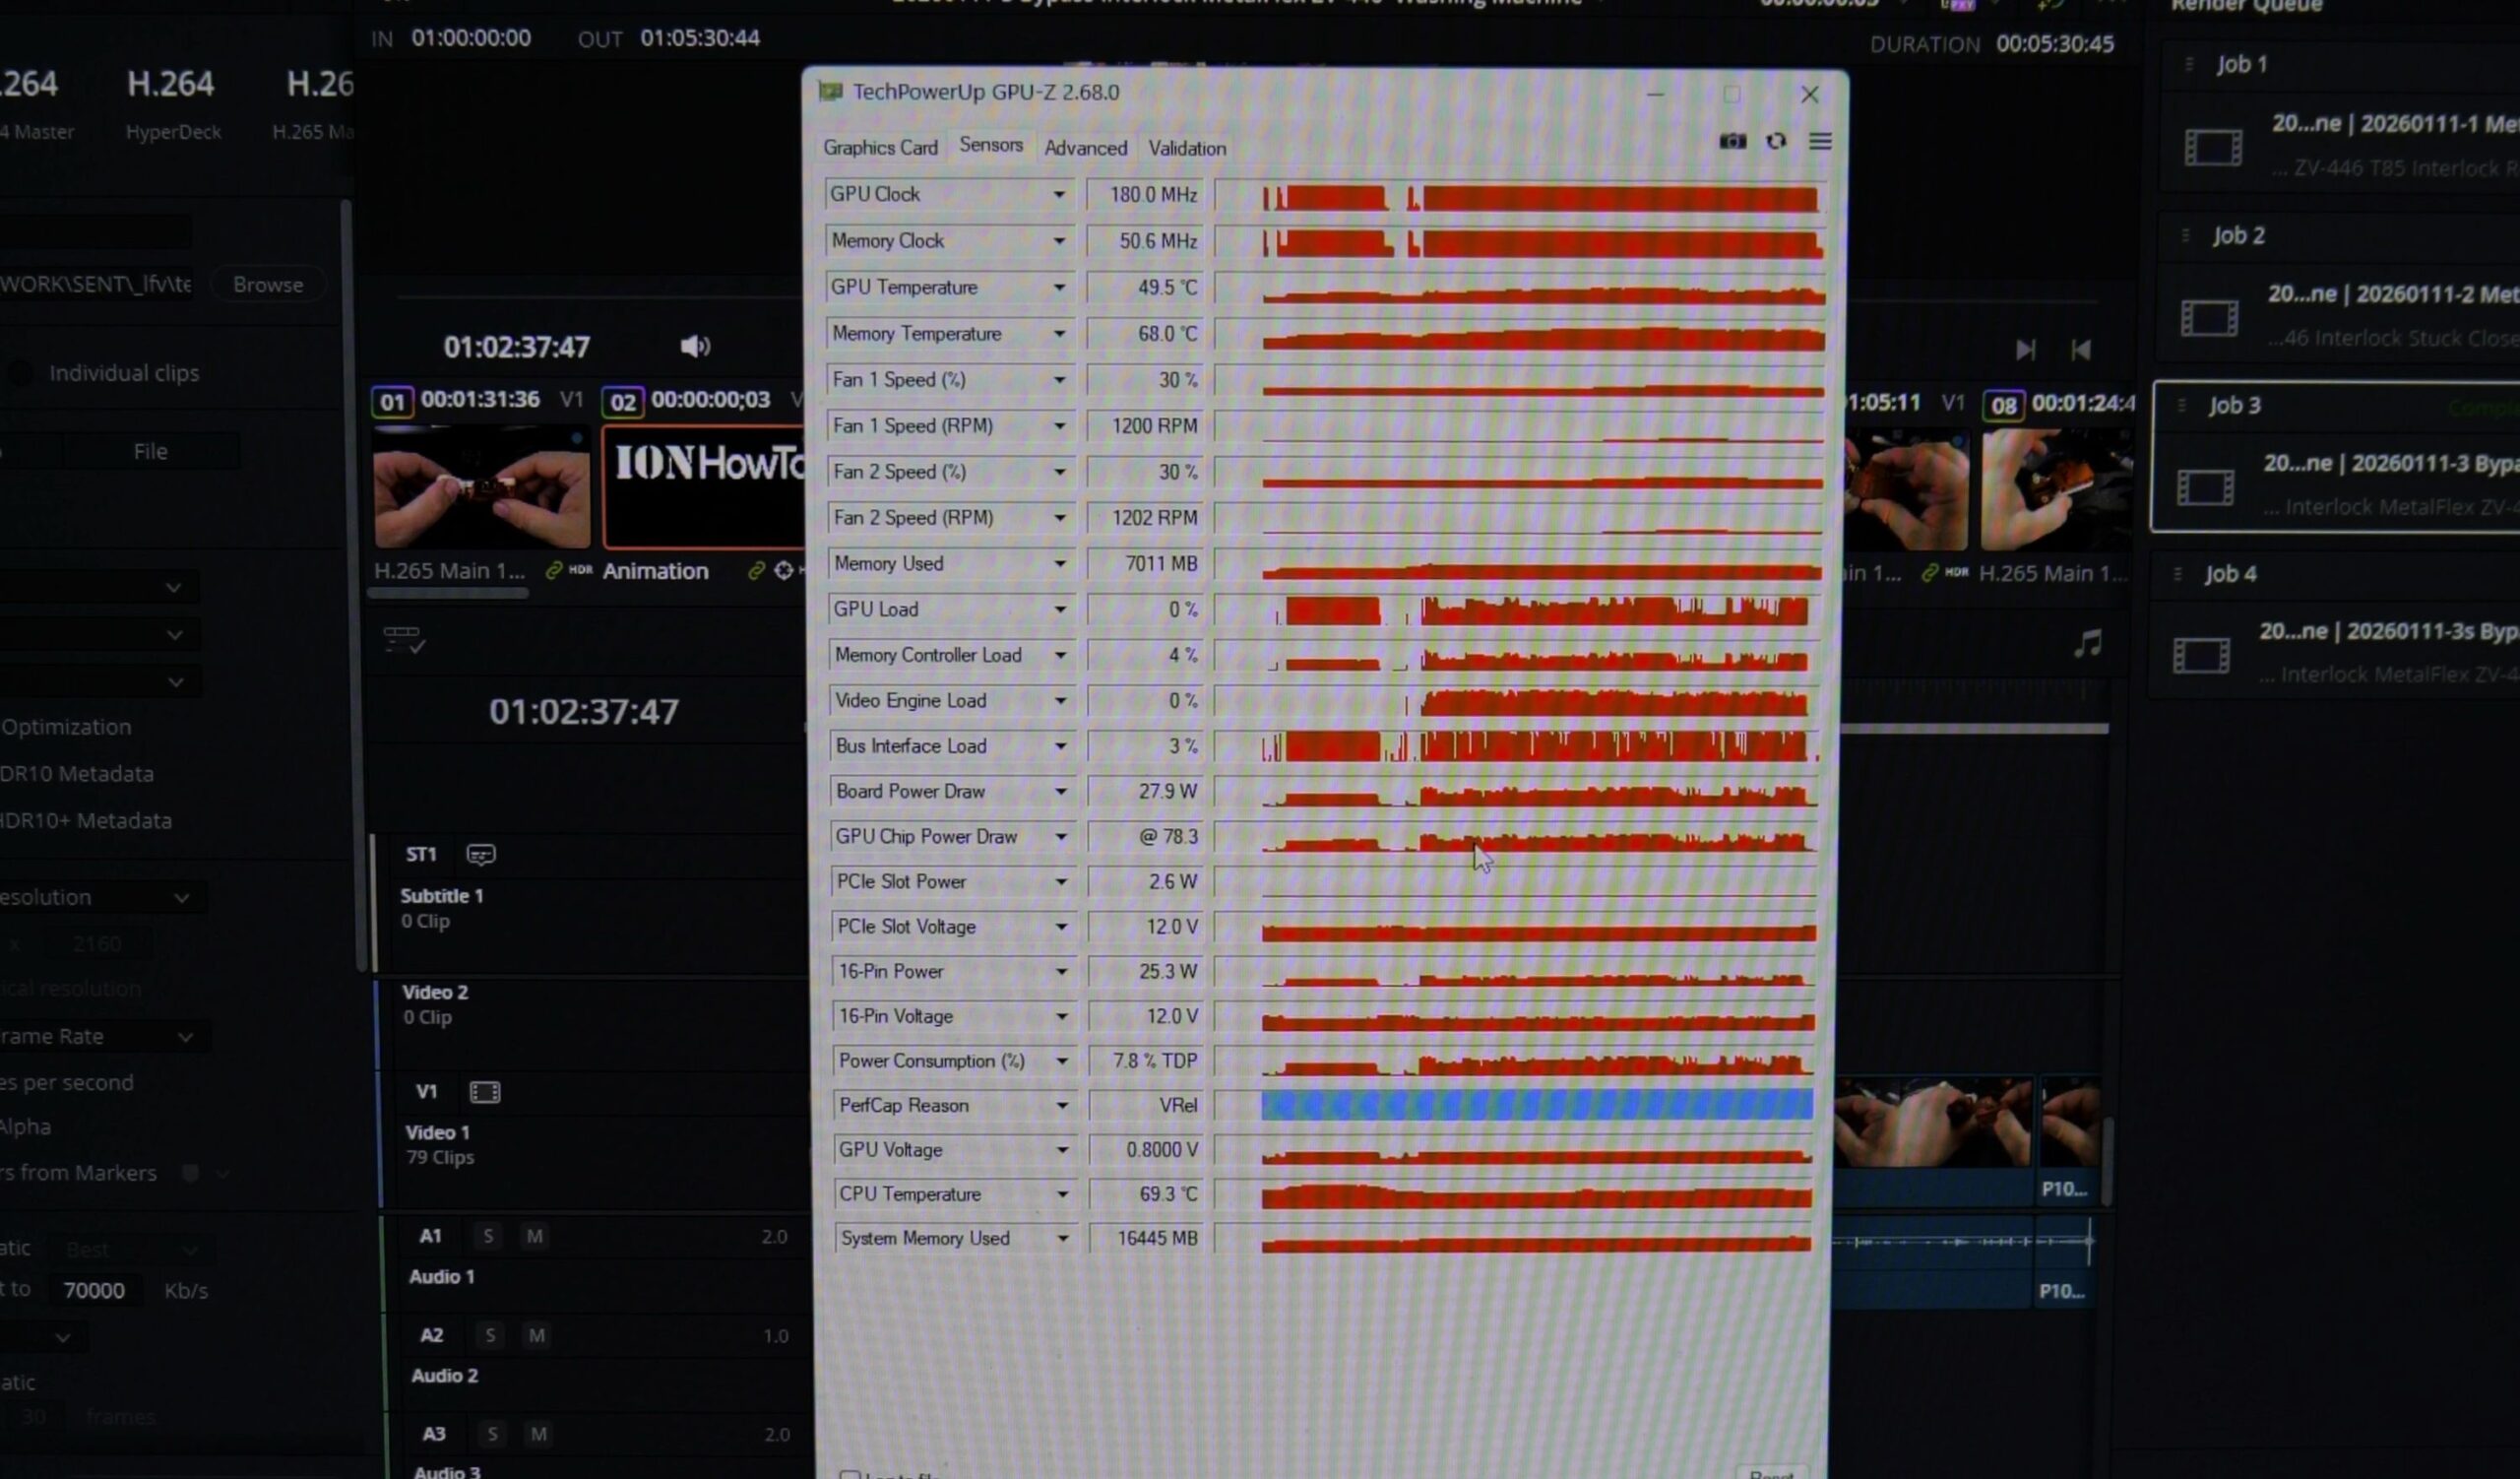
Open a heavy 4K 60fps timeline with color grading and effects in DaVinci Resolve Studio 20.
Navigate to the Deliver workspace tab and set your render preset to H.265 or ProRes using NVIDIA NVENC encoder acceleration.
Click Render All. The RTX 5080 exports video clips in record time, confirming that PCIe 4.0 provides ample throughput for demanding video editing tasks.
Helpful Tips
Always install your primary graphics card into the topmost PCIe x16 slot on your motherboard. Lower slots often connect through the motherboard chipset with fewer electrical lanes (such as x4 or x8), which can limit GPU performance.
For more hardware build guides, explore our full collections on Computer Build & PC Hardware and GPU PC Components.


Leave a Reply