
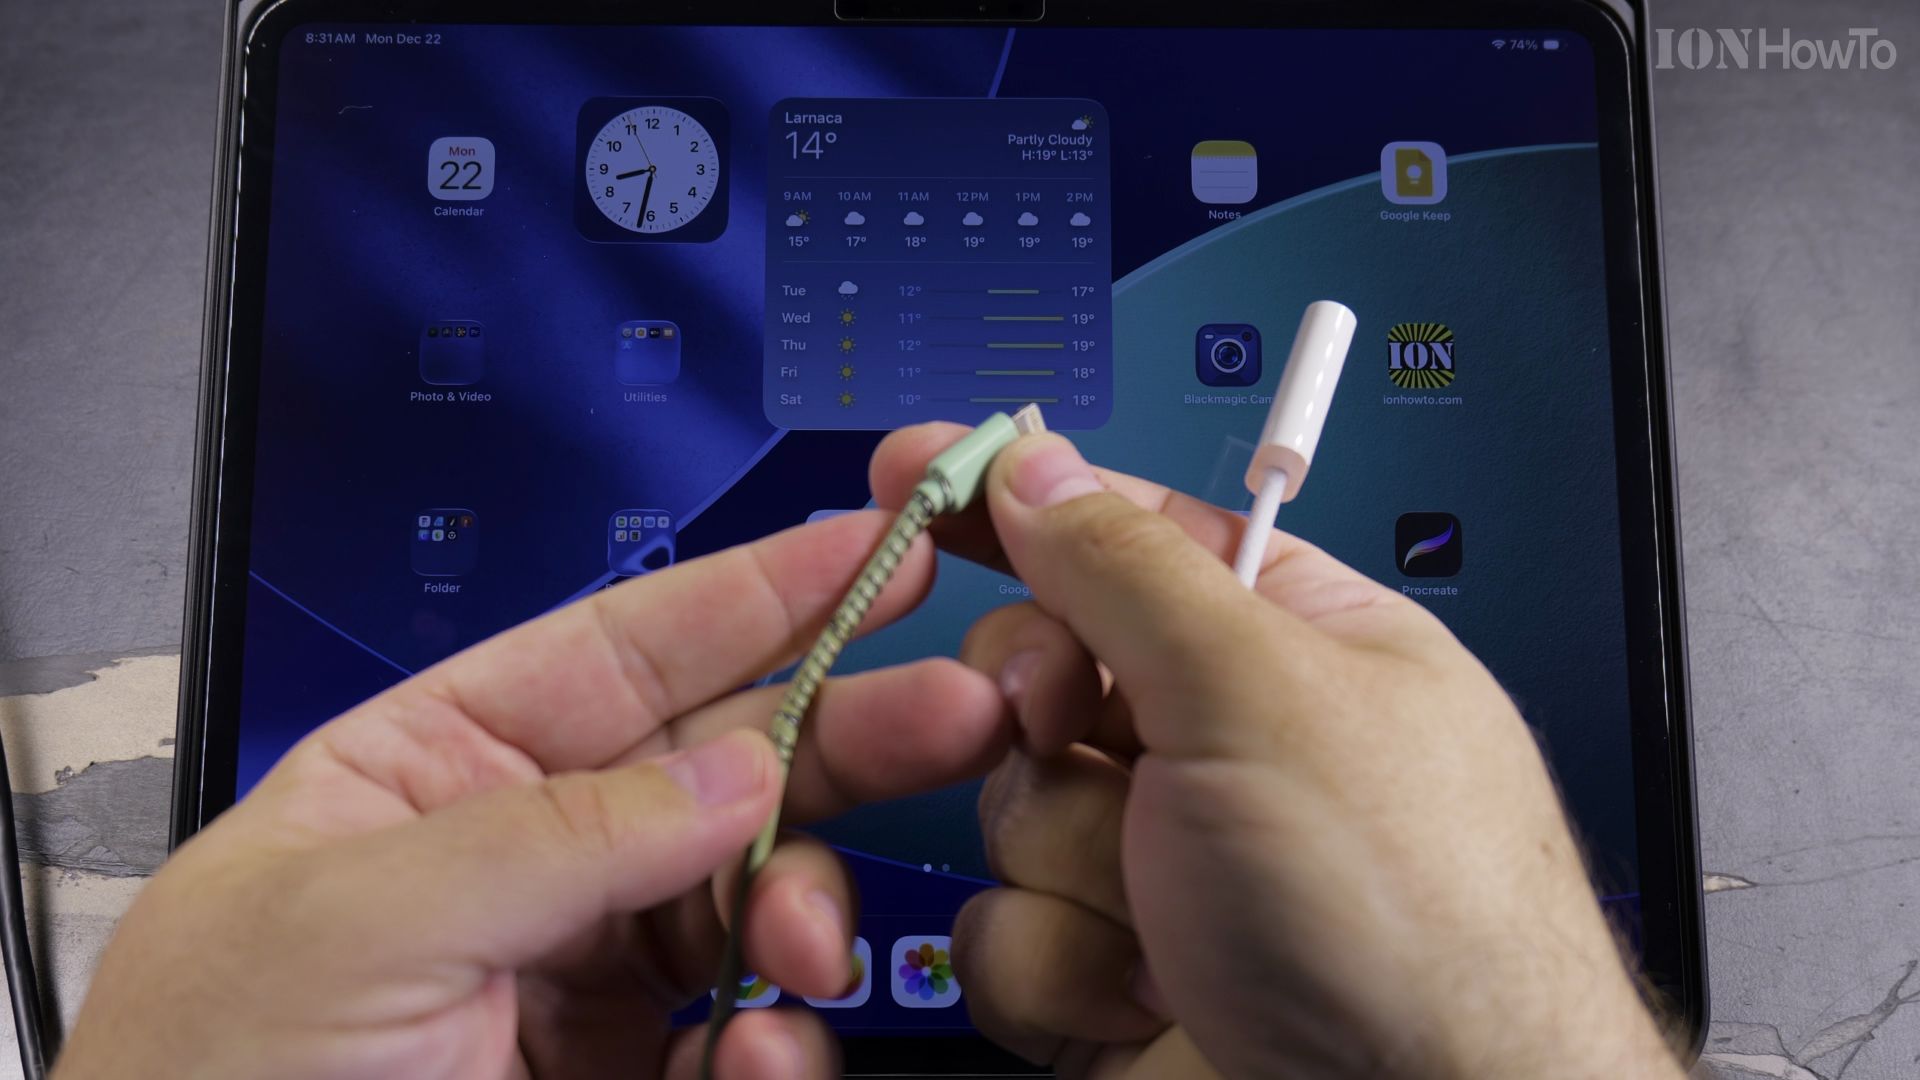
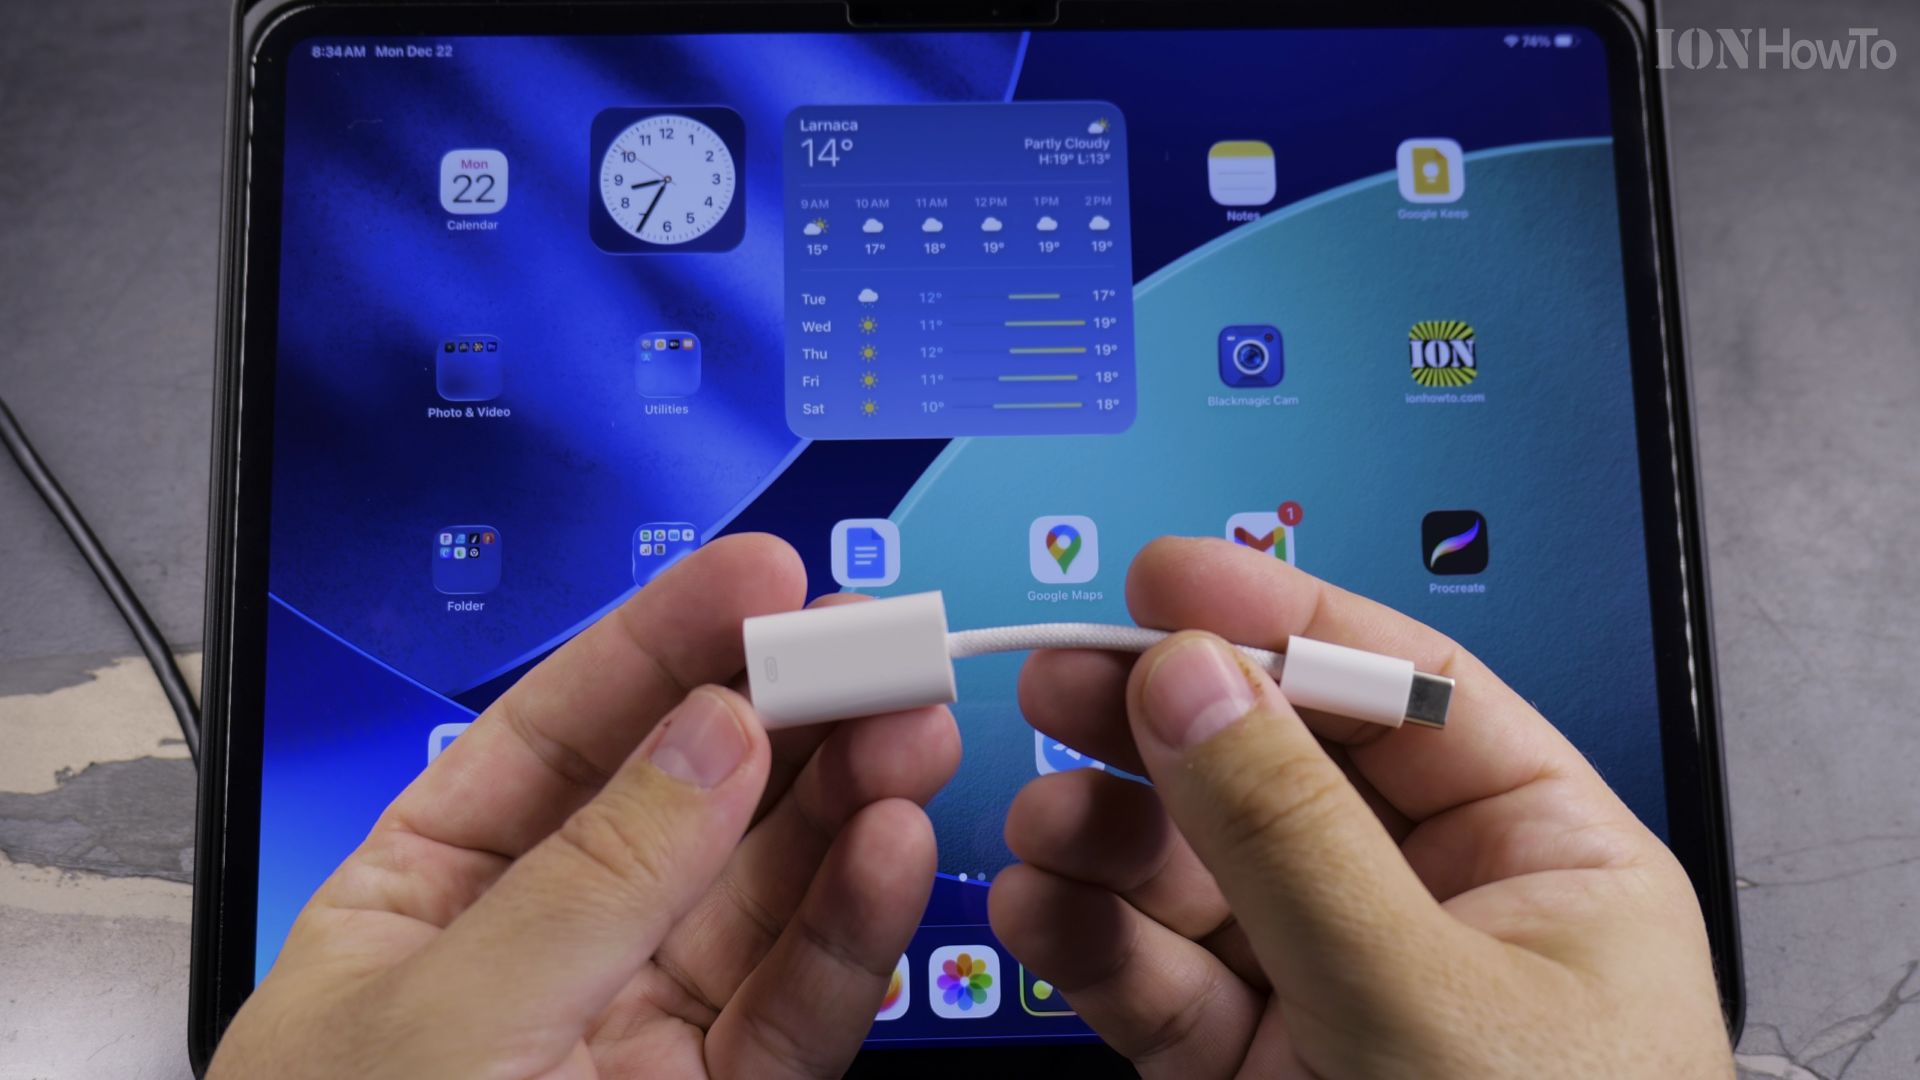
If you upgraded to a new iPhone or iPad with USB-C, you do not need to throw away your older Lightning cables. I’ll show you how a compact USB-C to Lightning adapter lets you charge, sync data, and listen to audio without buying new wires.
1. Pick the Right Adapter Type
Look for an adapter with a **male USB-C plug** on one end and a **female Lightning port** on the other. Ensure it supports both charging and audio.
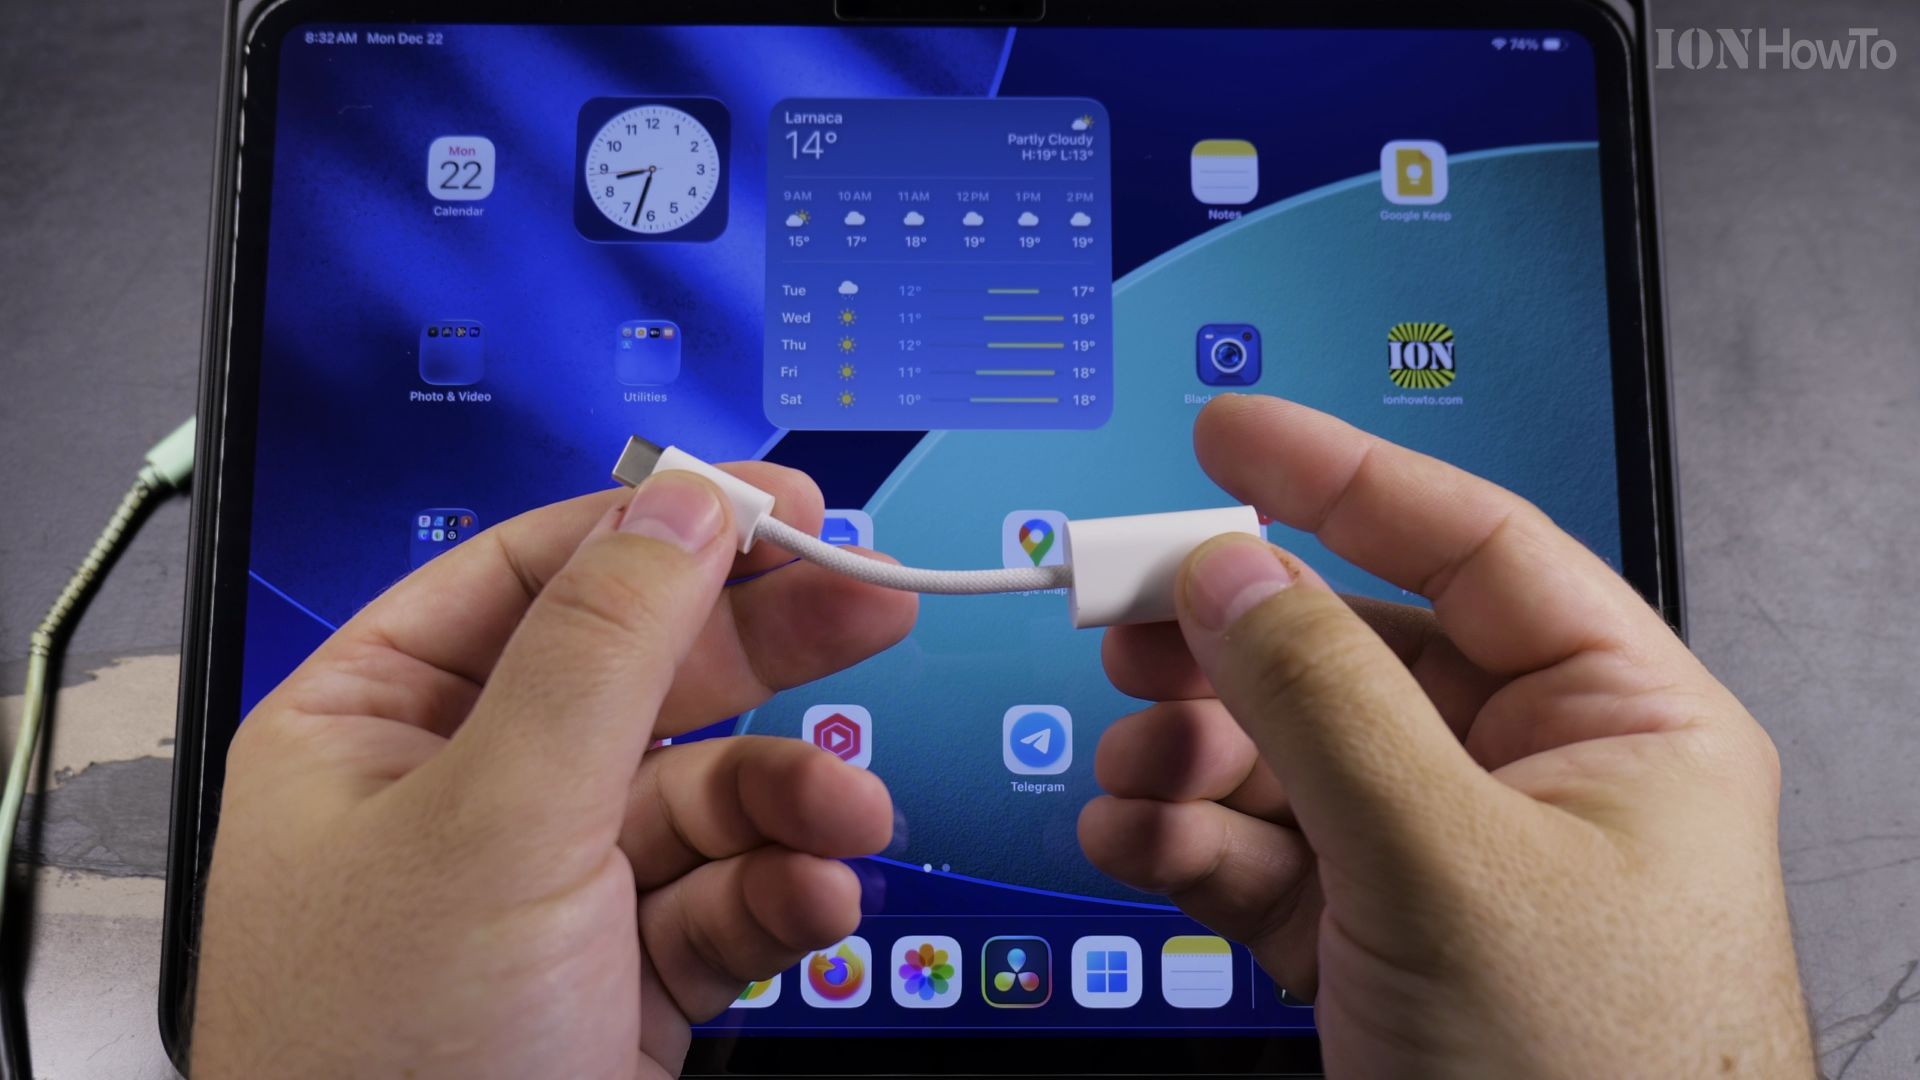
2. Insert the Adapter into Your iPhone
Take the USB-C end of the adapter and plug it firmly into the bottom port of your iPhone or iPad until it seats fully.
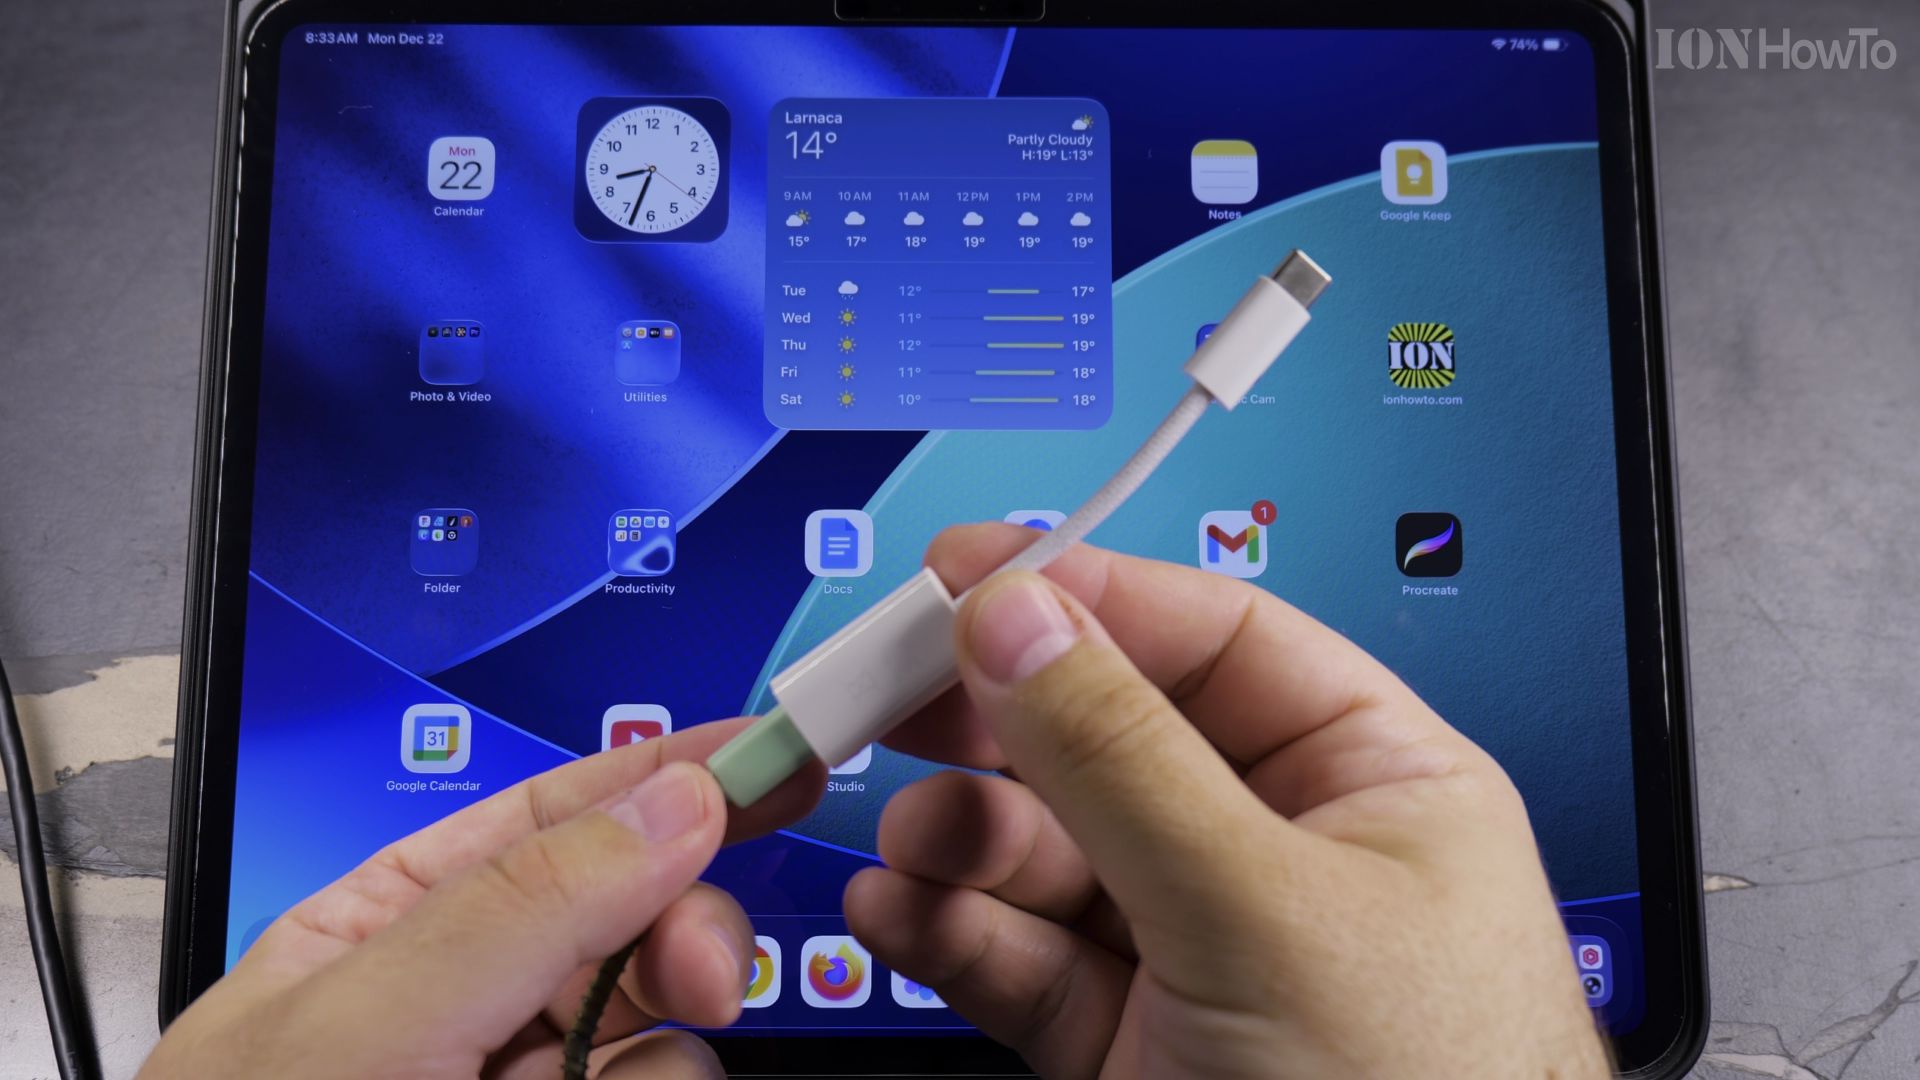
3. Connect Your Existing Lightning Cable
Take your older Lightning charging cable from your car or nightstand. Push the Lightning plug into the adapter socket.
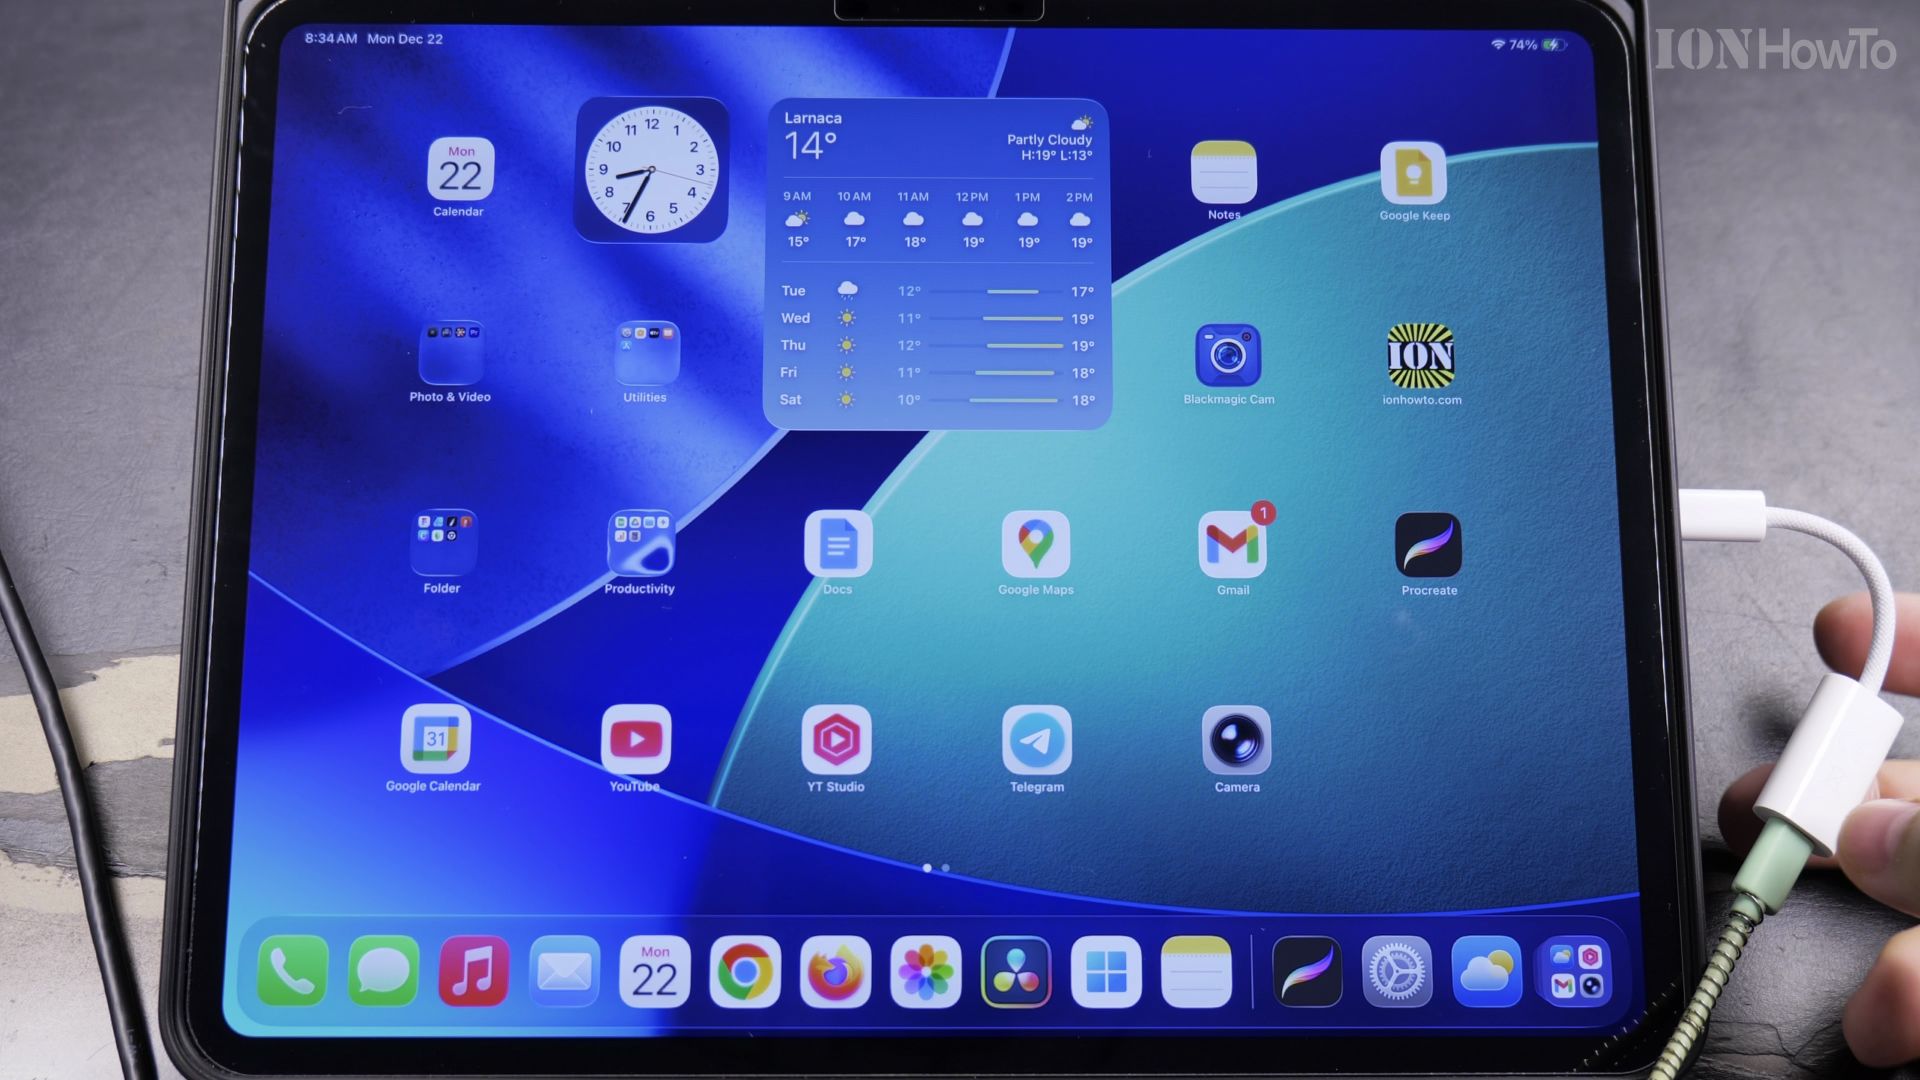
4. Verify Charging and Audio Output
Check your iPhone screen. A green battery symbol indicates active charging, and connected wired EarPods will play music with zero setup.
Helpful Tips
Make sure to choose an MFi-certified adapter so you avoid ‘Accessory Not Supported’ warnings when streaming high-res audio or connecting to CarPlay. For more adapter guides, explore our Cables & Adapters section or check out How to Spot Genuine vs Fake Apple Adapters.


Leave a Reply