

If you want to save a recipe, receipt, or funny photo shown on your iPad, taking and cropping a screenshot takes just a second. I’ll show you how to capture your iPad screen and draw notes on it using built-in Markup tools.
1. Press the Screenshot Buttons

Simultaneously press and quickly release the **Top Power button** and either **Volume button** (or swipe up diagonally from bottom-left corner with Apple Pencil).
2. Tap the Thumbnail Preview
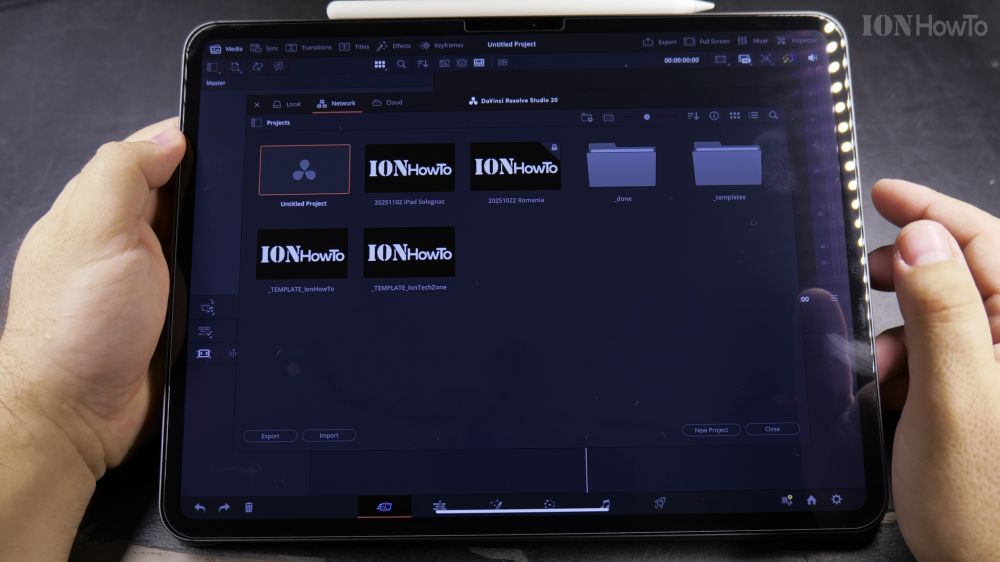
Tap the miniature thumbnail image that floats in the bottom-left corner before it disappears.
3. Crop and Annotate
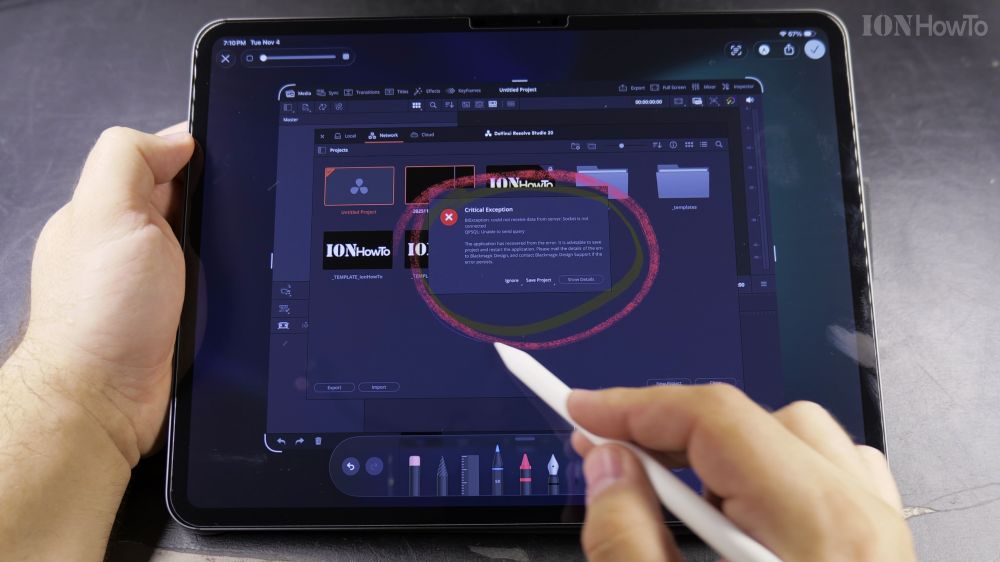
Drag the thick border handles to trim unwanted screen edges, and tap any pen or highlighter icon from the tool palette to draw notes.
4. Save to Photos
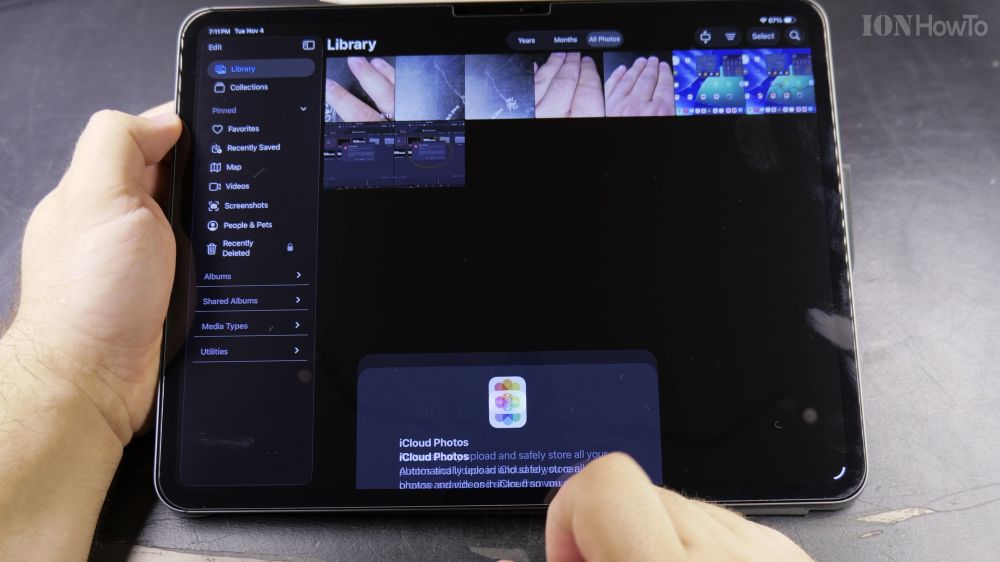
Tap **Done** in the top-left corner and choose **Save to Photos** to keep your cropped image.
Helpful Tips
If capturing an article in Safari, tap **Full Page** at the top of the markup screen to save the entire webpage as a scrollable PDF. For more iPad features, check out our Apple iPad hub.


Leave a Reply