
Master Your Ariston Hob Timer how to use.
Stuck wondering how to use the timer on your new Ariston or Hotpoint electric hob? That touch panel can be a bit confusing at first. The good news is, once you know the steps, it’s a really handy tool. I’ll show you exactly how to set it, so you can boil pasta or simmer a sauce without constantly watching the clock.
What You Need to Know First
Before you start using the timer, there are a couple of basics that will make everything easier.
- Power On & Unlock: Your hob needs to be on and unlocked. Tap the main power button, then press and hold the lock symbol to disable the safety lock.
- Two Timer Modes: Your hob’s timer can do two main jobs:
- Act as a standalone kitchen timer that just beeps when time’s up.
- Automatically turn off a cooking zone after it finishes counting down.
- Timer Range: You can set it for anywhere between 1 minute and 99 minutes.
How to Set a Kitchen Timer (Standalone Mode)
Use this when you just need a reminder, like for something baking in your oven.
- Make sure the hob is on but no cooking zones are active.
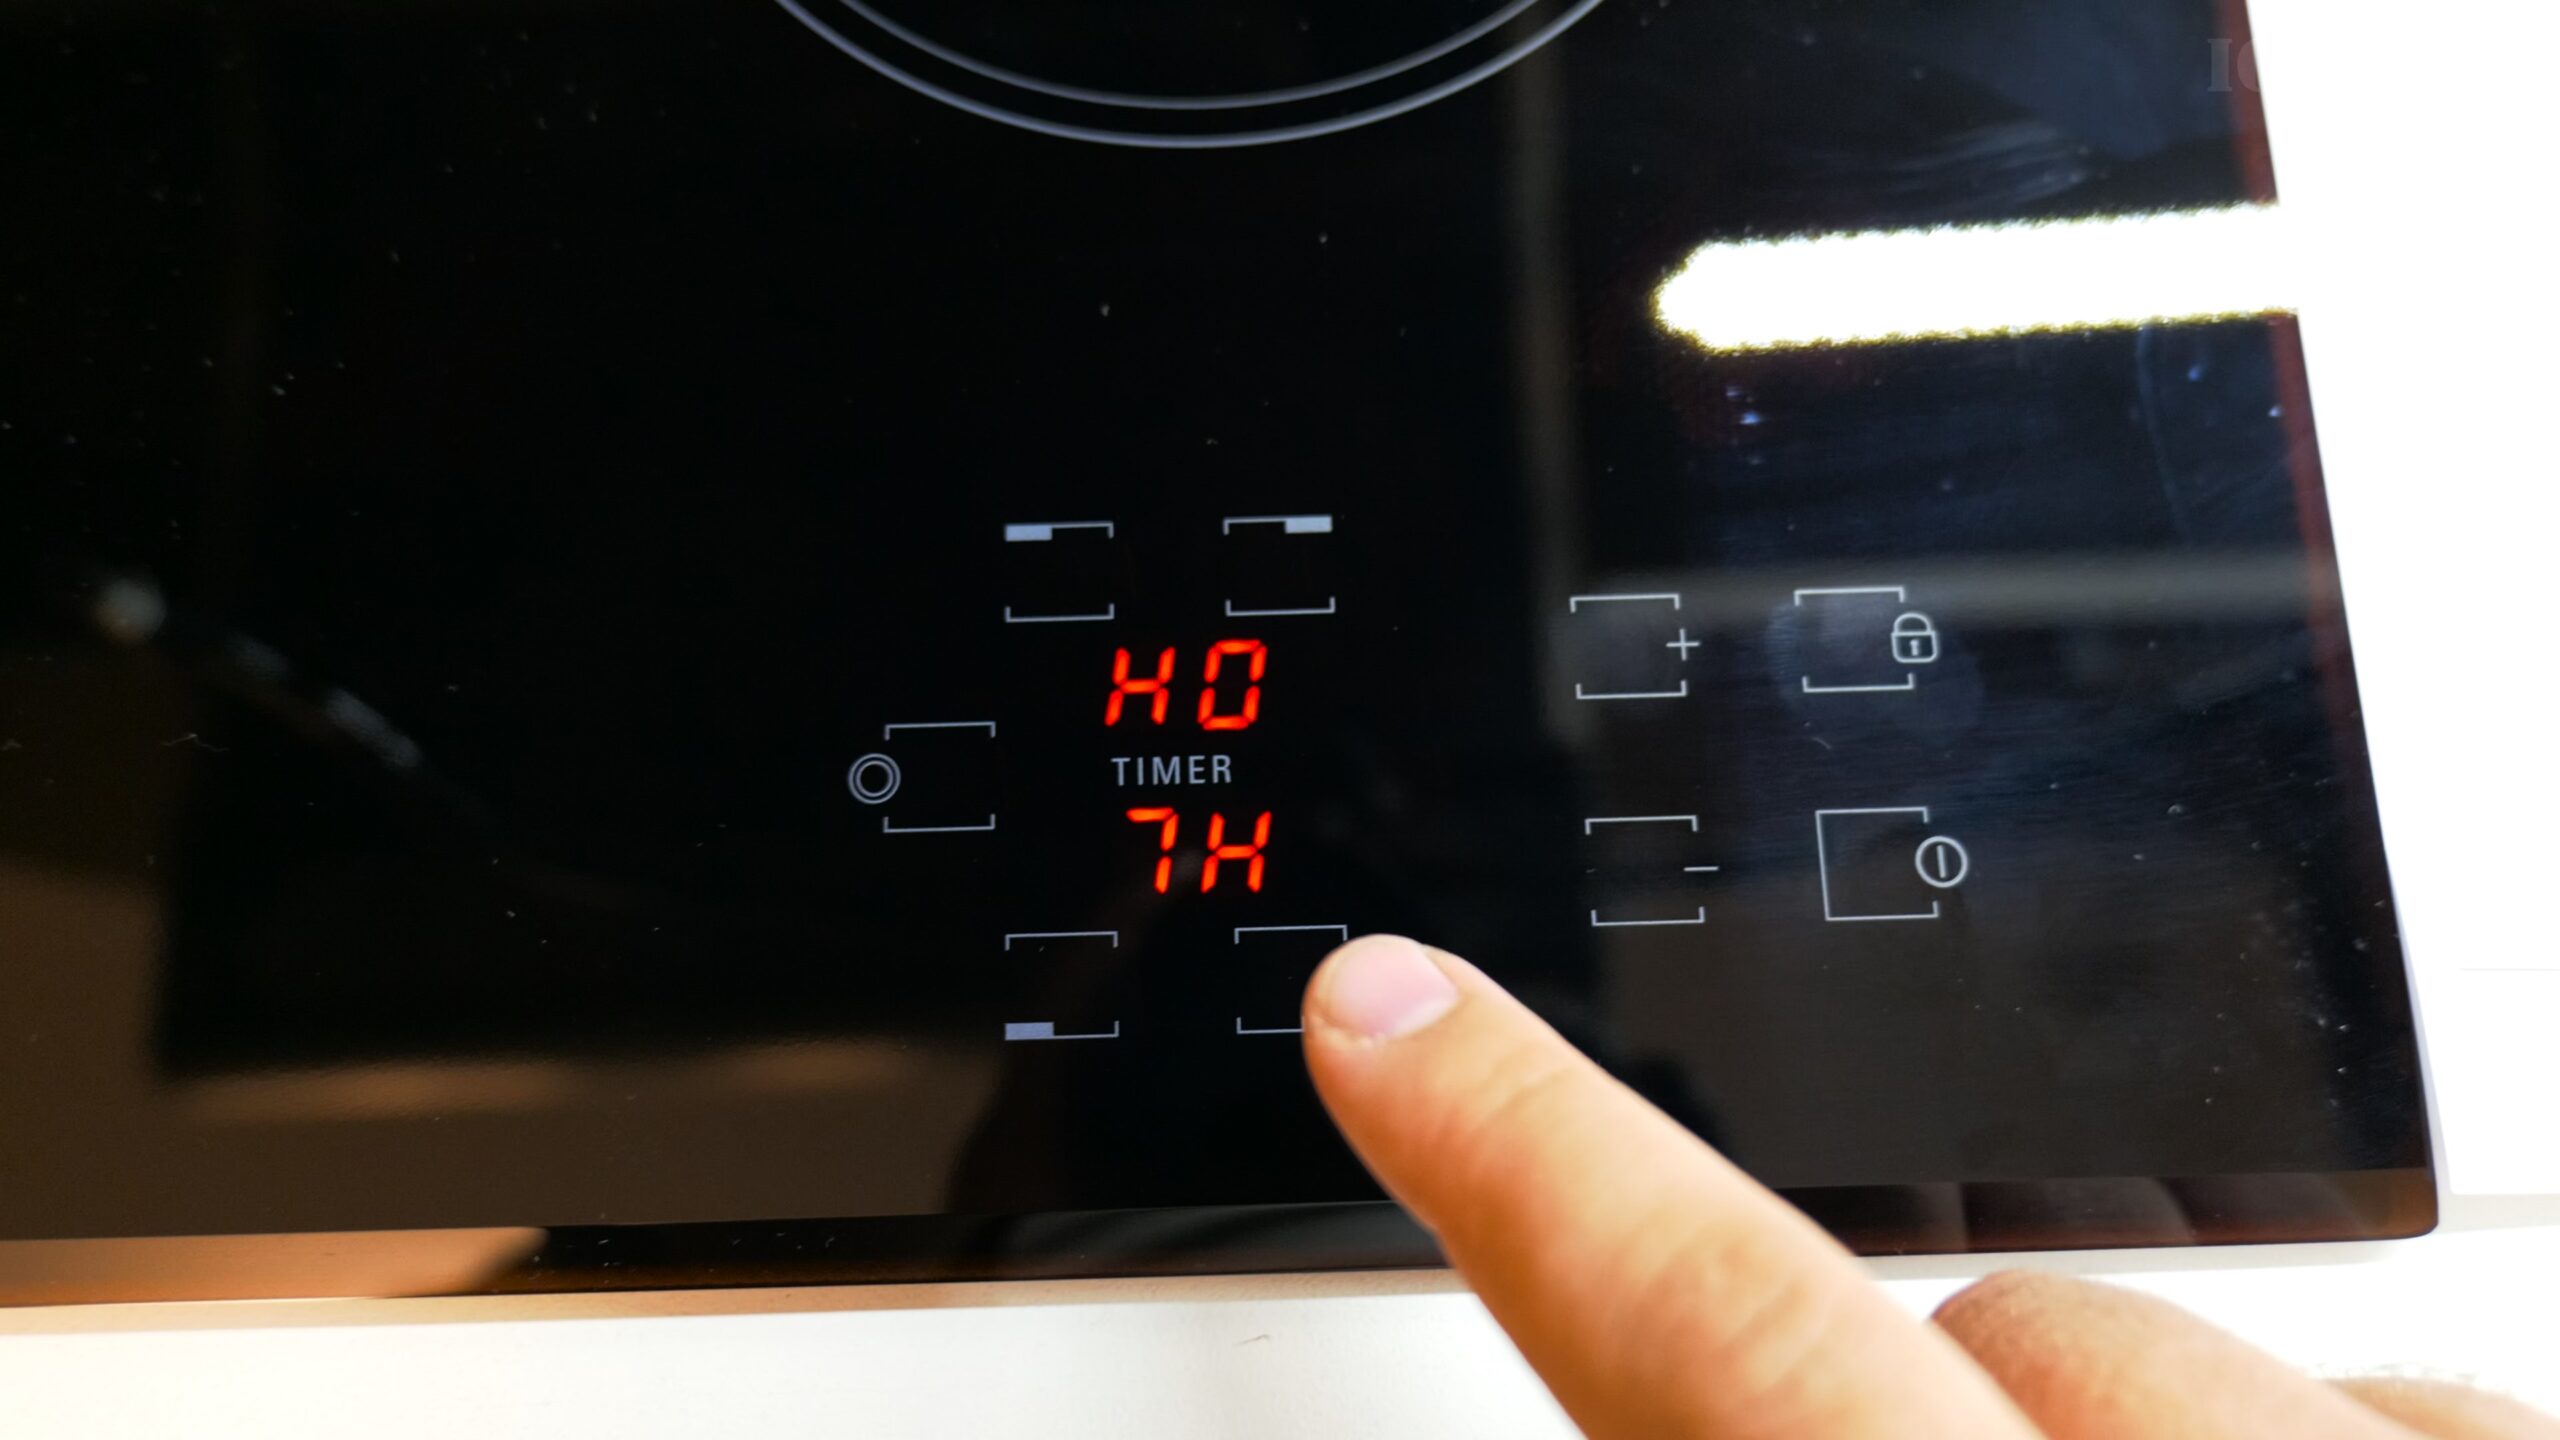
- Tap the timer button once. You should see the timer digits light up, usually showing “00”.
- Use the + (plus) and – (minus) touch buttons to set your desired time.
- Tap the timer button again to start the countdown. A timer symbol will usually flash.
- When the time runs out, you’ll hear an audible beep. You can tap any button to silence the alarm.
How to Set a Timer for a Cooking Zone (Auto Shut-Off)
This is the best feature. It will automatically switch a hot plate off for you.
- Select your cooking zone. Tap the power button for the zone you want to use (e.g., front left). It will start blinking.
- Set the power level. While the zone icon is blinking, use the + and – buttons to choose a heat level from 1 (low) to 9 (high).
- Activate the timer. Now, tap the timer button. The timer display will activate.
- Set the cook time. Use the + and – buttons to choose how long you want that zone to stay on (e.g., 10 minutes for simmering).
- Start cooking. The zone is now active. The timer will count down, and when it reaches zero, that specific cooking zone will turn off automatically.
Troubleshooting Common Timer Issues
- The timer won’t set? If you try to set a zone timer but the cooking zone isn’t first selected and set to a power level, it won’t work. Always do Step 1 and 2 above first.
- Is the timer beeping? A beep during cooking usually means your set time is up and the zone has turned off. A continuous beep after cooking is likely the “H” hot surface warning. Wait for the zone to cool.
- Need to cancel a timer? If you set a timer and change your mind, you can usually cancel it by tapping the timer button and then setting the time back to “00”.
Quick Tips for Using Your Hob Timer
- Start Simple: Try using the standalone timer mode first to get used to the buttons.
- Perfect for Simmering: The auto shut-off is ideal for dishes that need to cook at a low heat for a set time, like rice, soups, or stews.
- Safety First: Remember, the glass surface stays hot after cooking! The “H” indicator will remind you. Always let it cool completely before cleaning.
Once you’ve used it a couple of times, it will become second nature. Enjoy the convenience of walking away from the stove knowing it will handle the timing for you.


Leave a Reply