
How to Fix Volume Buttons on Your Xiaomi TV Box Remote Control
How to fix volume control issues on the XMRM-006 remote model, commonly used with Xiaomi Mi Box 4S and other Xiaomi TV boxes.
Quick Checks First
Before taking apart your remote, try these simple fixes:
- Check your audio output settings
- Go to your TV box settings
- Look for audio output options
- Make sure it’s not stuck on PCM digital format
- Test voice commands
- Try using voice controls to change volume
- If this works, it confirms the problem is in the remote buttons
Opening the Remote Control
If the quick fixes didn’t work, you might need to open your remote. Here’s how:
- Remove the battery cover
- Take out the batteries
- Look for small screws at the bottom
- Carefully open the remote using a small flat opening tool
- Keep track of all small parts and screws
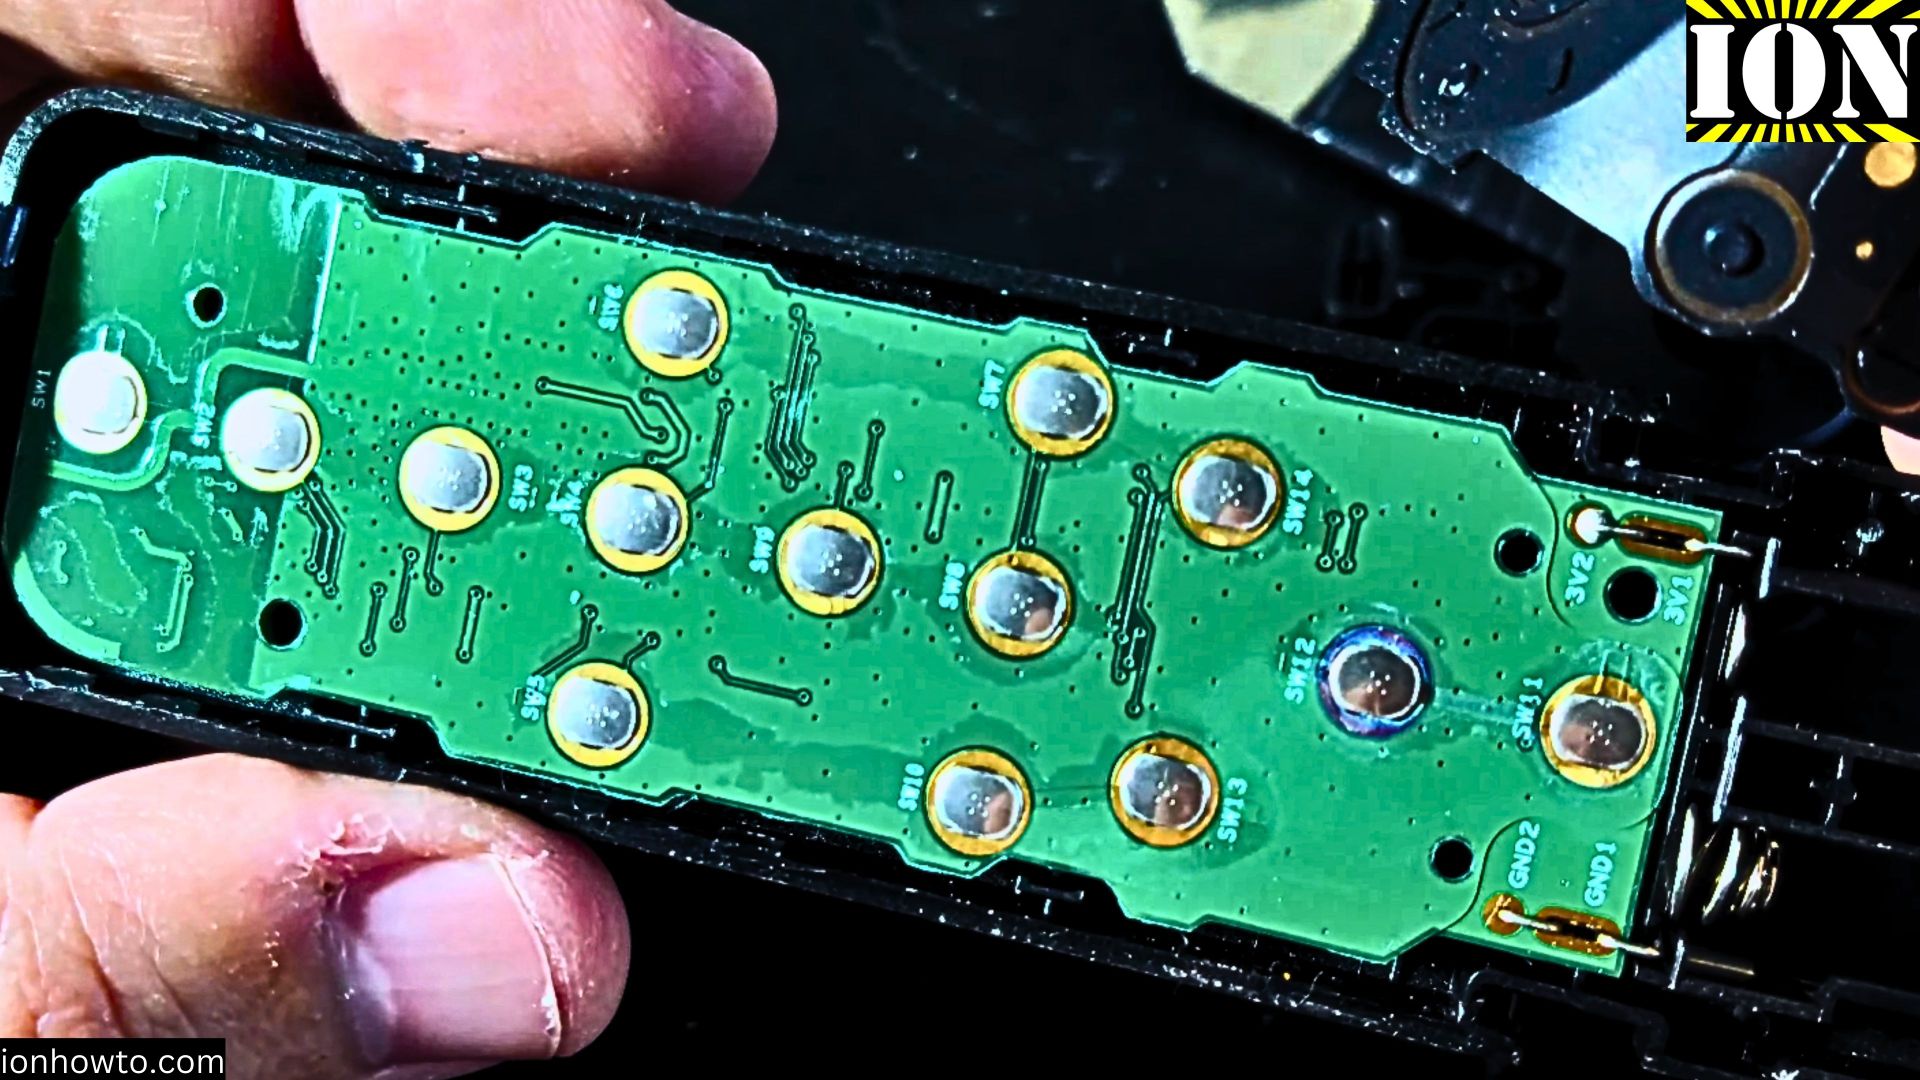
Common Issues and Fixes
The most frequent problem is water damage or oxidation on the button contacts. Here’s how to fix it:
- Once opened, locate the rubber button pad
- Check for any green or white residue on the contacts
- Clean the contacts using:
- Isopropyl alcohol
- Cotton swabs
- A soft cloth
- Let everything dry before reassembly
Testing and Reassembly
Before closing everything up:
- Temporarily connect the circuit board
- Put in the batteries
- Test all buttons
- If working, carefully reassemble in reverse order
- Make sure no wires are pinched
When to Replace the Remote
Consider replacement if:
- Cleaning doesn’t fix the issue
- You see severe water damage
- The circuit board is visibly damaged
Extra Tips
- Keep your remote away from moisture
- Remove batteries if not using for long periods
- Consider a backup remote just in case
Technical Details
Remote specifications:
- Model: XMRM-006
- Type: Bluetooth
- Compatible with: Xiaomi Mi Box 4S and other Xiaomi TV boxes
Remember, it might be safer to get a replacement remote. These fixes are meant for out-of-warranty devices and should be attempted at your own risk.
Need more help? Leave a comment below or check our detailed video guide showing these repairs step by step.


Leave a Reply