
IKEA Malm Bed Assembly Instructions King Size.
Learn how to build the IKEA Malm King Size Bed 180×200 step by step. If you just brought home this bed and are looking at all the parts and the manual, this post is for you. I’ll show you exactly how it’s done.
IKEA Malm Bed Frame Assembly Instructions video.
I put the whole thing together so you can see each step with details and close views. This works for any size Malm bed, but the parts will be different sizes. For a single bed (90×200) you only have one row of slats.
What You Need to Buy
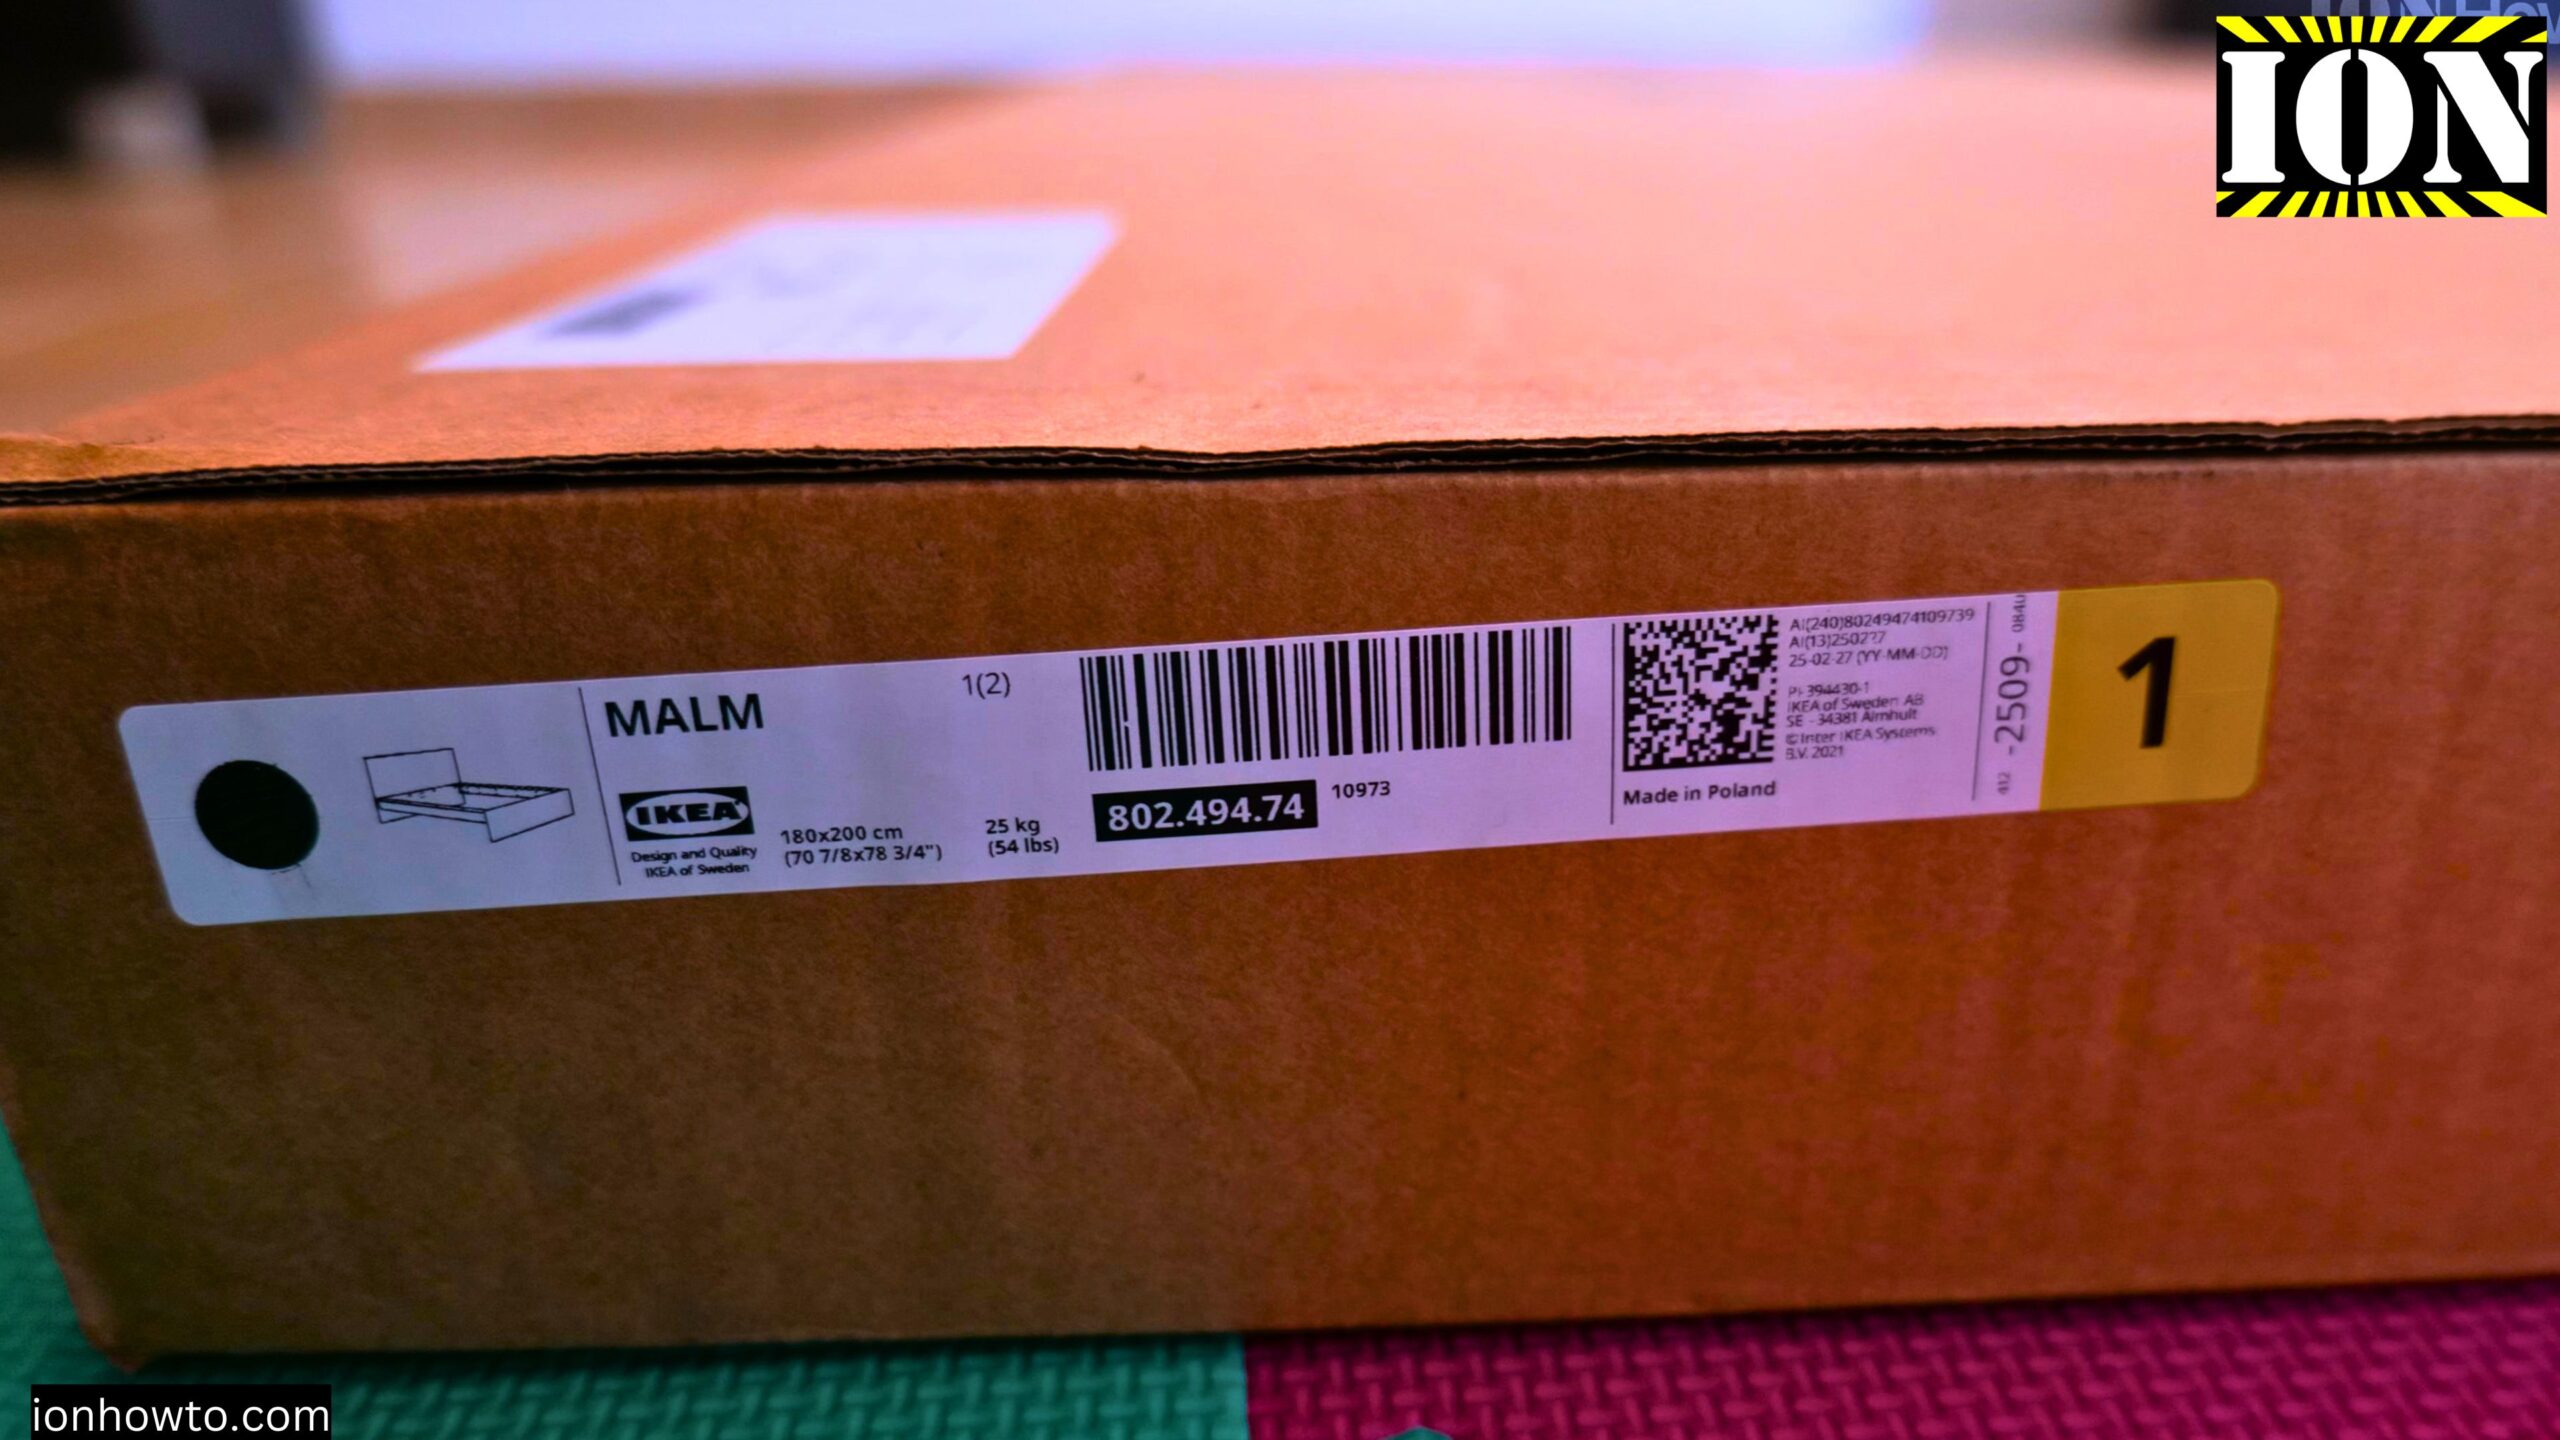
The IKEA Malm bed frame comes in 2 packages. When buying the frame, you need to take one pack marked 1 and one pack marked 2. Make sure you pick the color you want. At first I took the wood color instead of black-brown by mistake.
For the black-brown 180×200 Malm bed frame:
| Item | Details |
|---|---|
| Pack 1 of 2 | 802.494.74, 25kg, Made in Poland |
| Pack 2 of 2 | 802.494.74, 17kg, Made in Poland |
You also need to buy these separately:
| Part | Code | Details |
|---|---|---|
| Skorva (mid beam) | 901.245.34 | Made in Sweden |
| Luroy slats (2 sets) | 901.602.11 | 90×200 cm each, 6kg each, Made in Lithuania |
You can use other slats, but these are the cheapest and simplest slats to use from IKEA.
Total items you need: 5 boxes (2 for the bed frame, 1 mid beam, 2 sets of slats)
Before You Start
Open both packages and lay out all the parts. The paint on new IKEA furniture has a strong smell at first – that’s normal.
Make sure you have a screwdriver ready. A small screwdriver works best for tightening the screws at the end.
Step-by-Step Assembly
Step 1: Identify the headboard pieces
Find the piece that will be the headboard. Look for the hole placement. The hole should be on top.
Step 2: Attach the leg area
Find the leg piece and attach it to the headboard. Do the same on the other side.
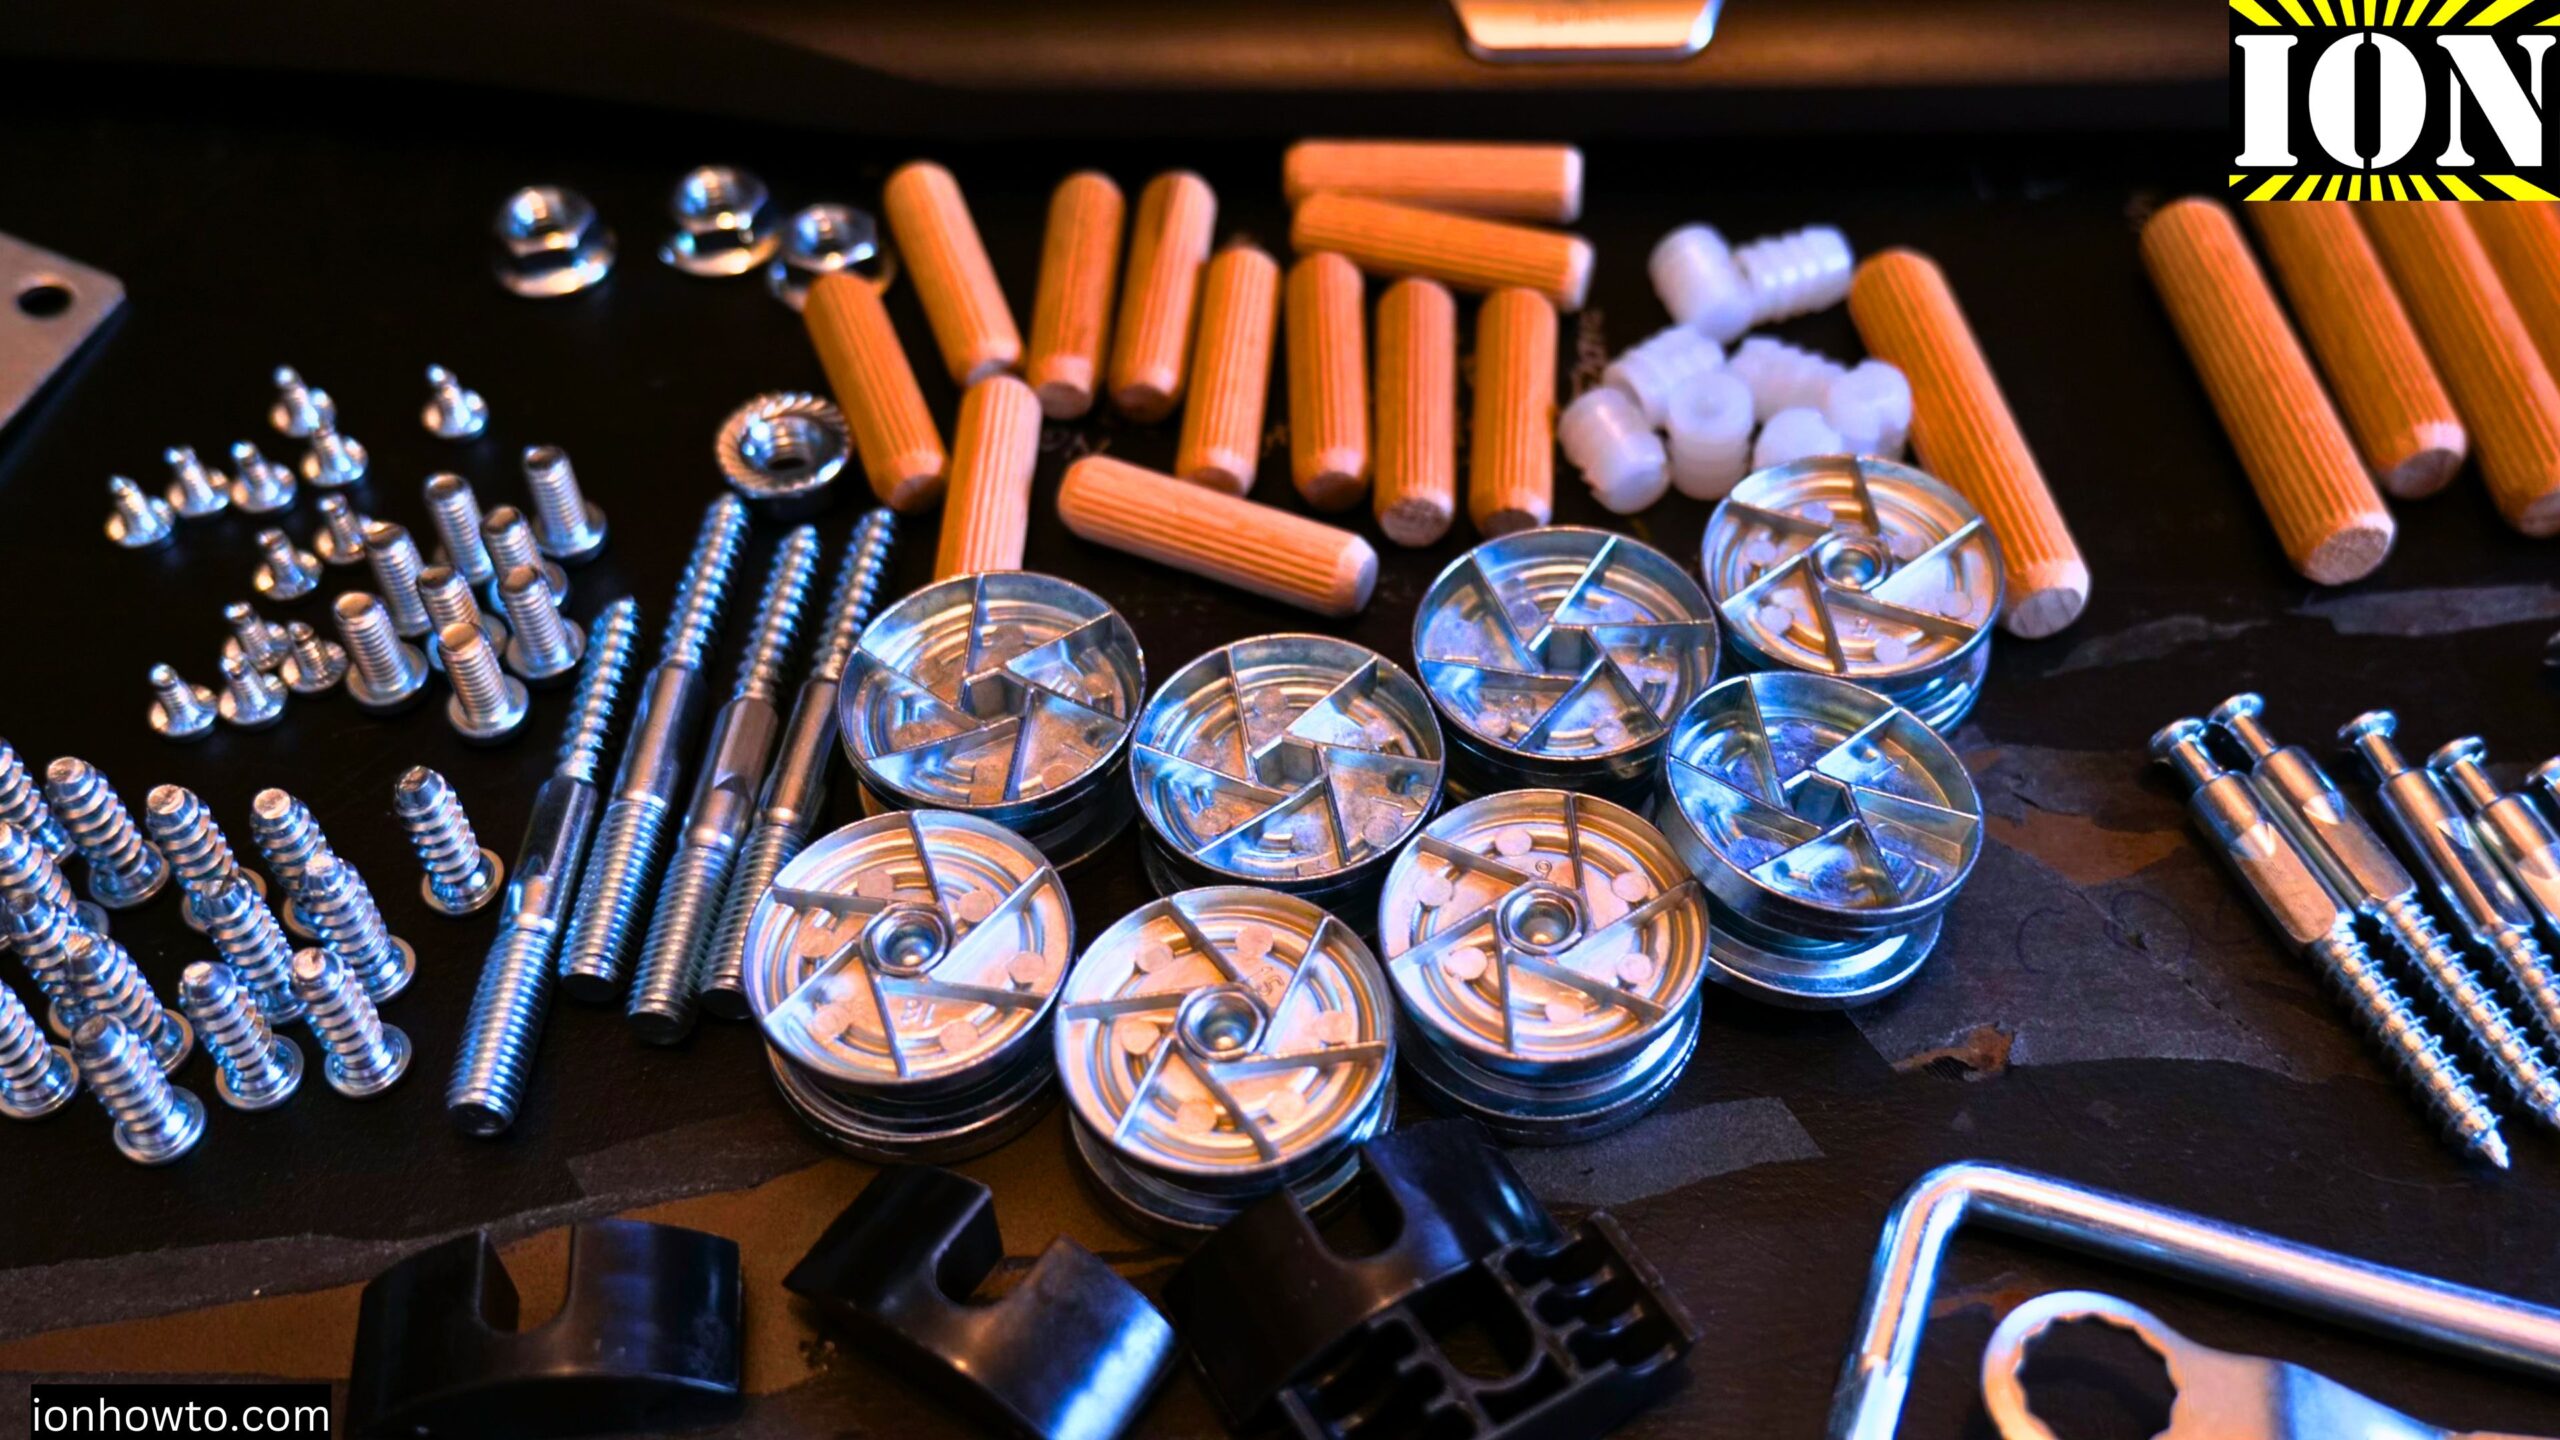
Step 3: Add the small hardware
Take the small screws or bolts (not the big ones) and put them in:
- The edge top holes
- The middle hole
Step 4: Attach the side rails
The two side rails are the same. There is no front or bottom difference – they are identical. Attach them to the headboard.
Look for the holes:
- One hole is for the wooden piece
- Another hole is for the metal hardware
Make sure everything sits flush (not too high, not too low).
Step 5: Adjust the bed height
You will see holes at different heights on the frame. These are for adjusting where the slats sit.
You can set the slats higher or lower depending on your preference. I prefer the higher setting. Set both sides to the same level.
Step 6: Install the Skorva mid beam
The mid beam goes in the middle of the frame. Placement depends on where you set your side rails (top or bottom setting). I put mine on the top setting.
Step 7: Attach the beam hardware
Go under the bed frame and attach the beam using the screws. All the screws go on the underside.
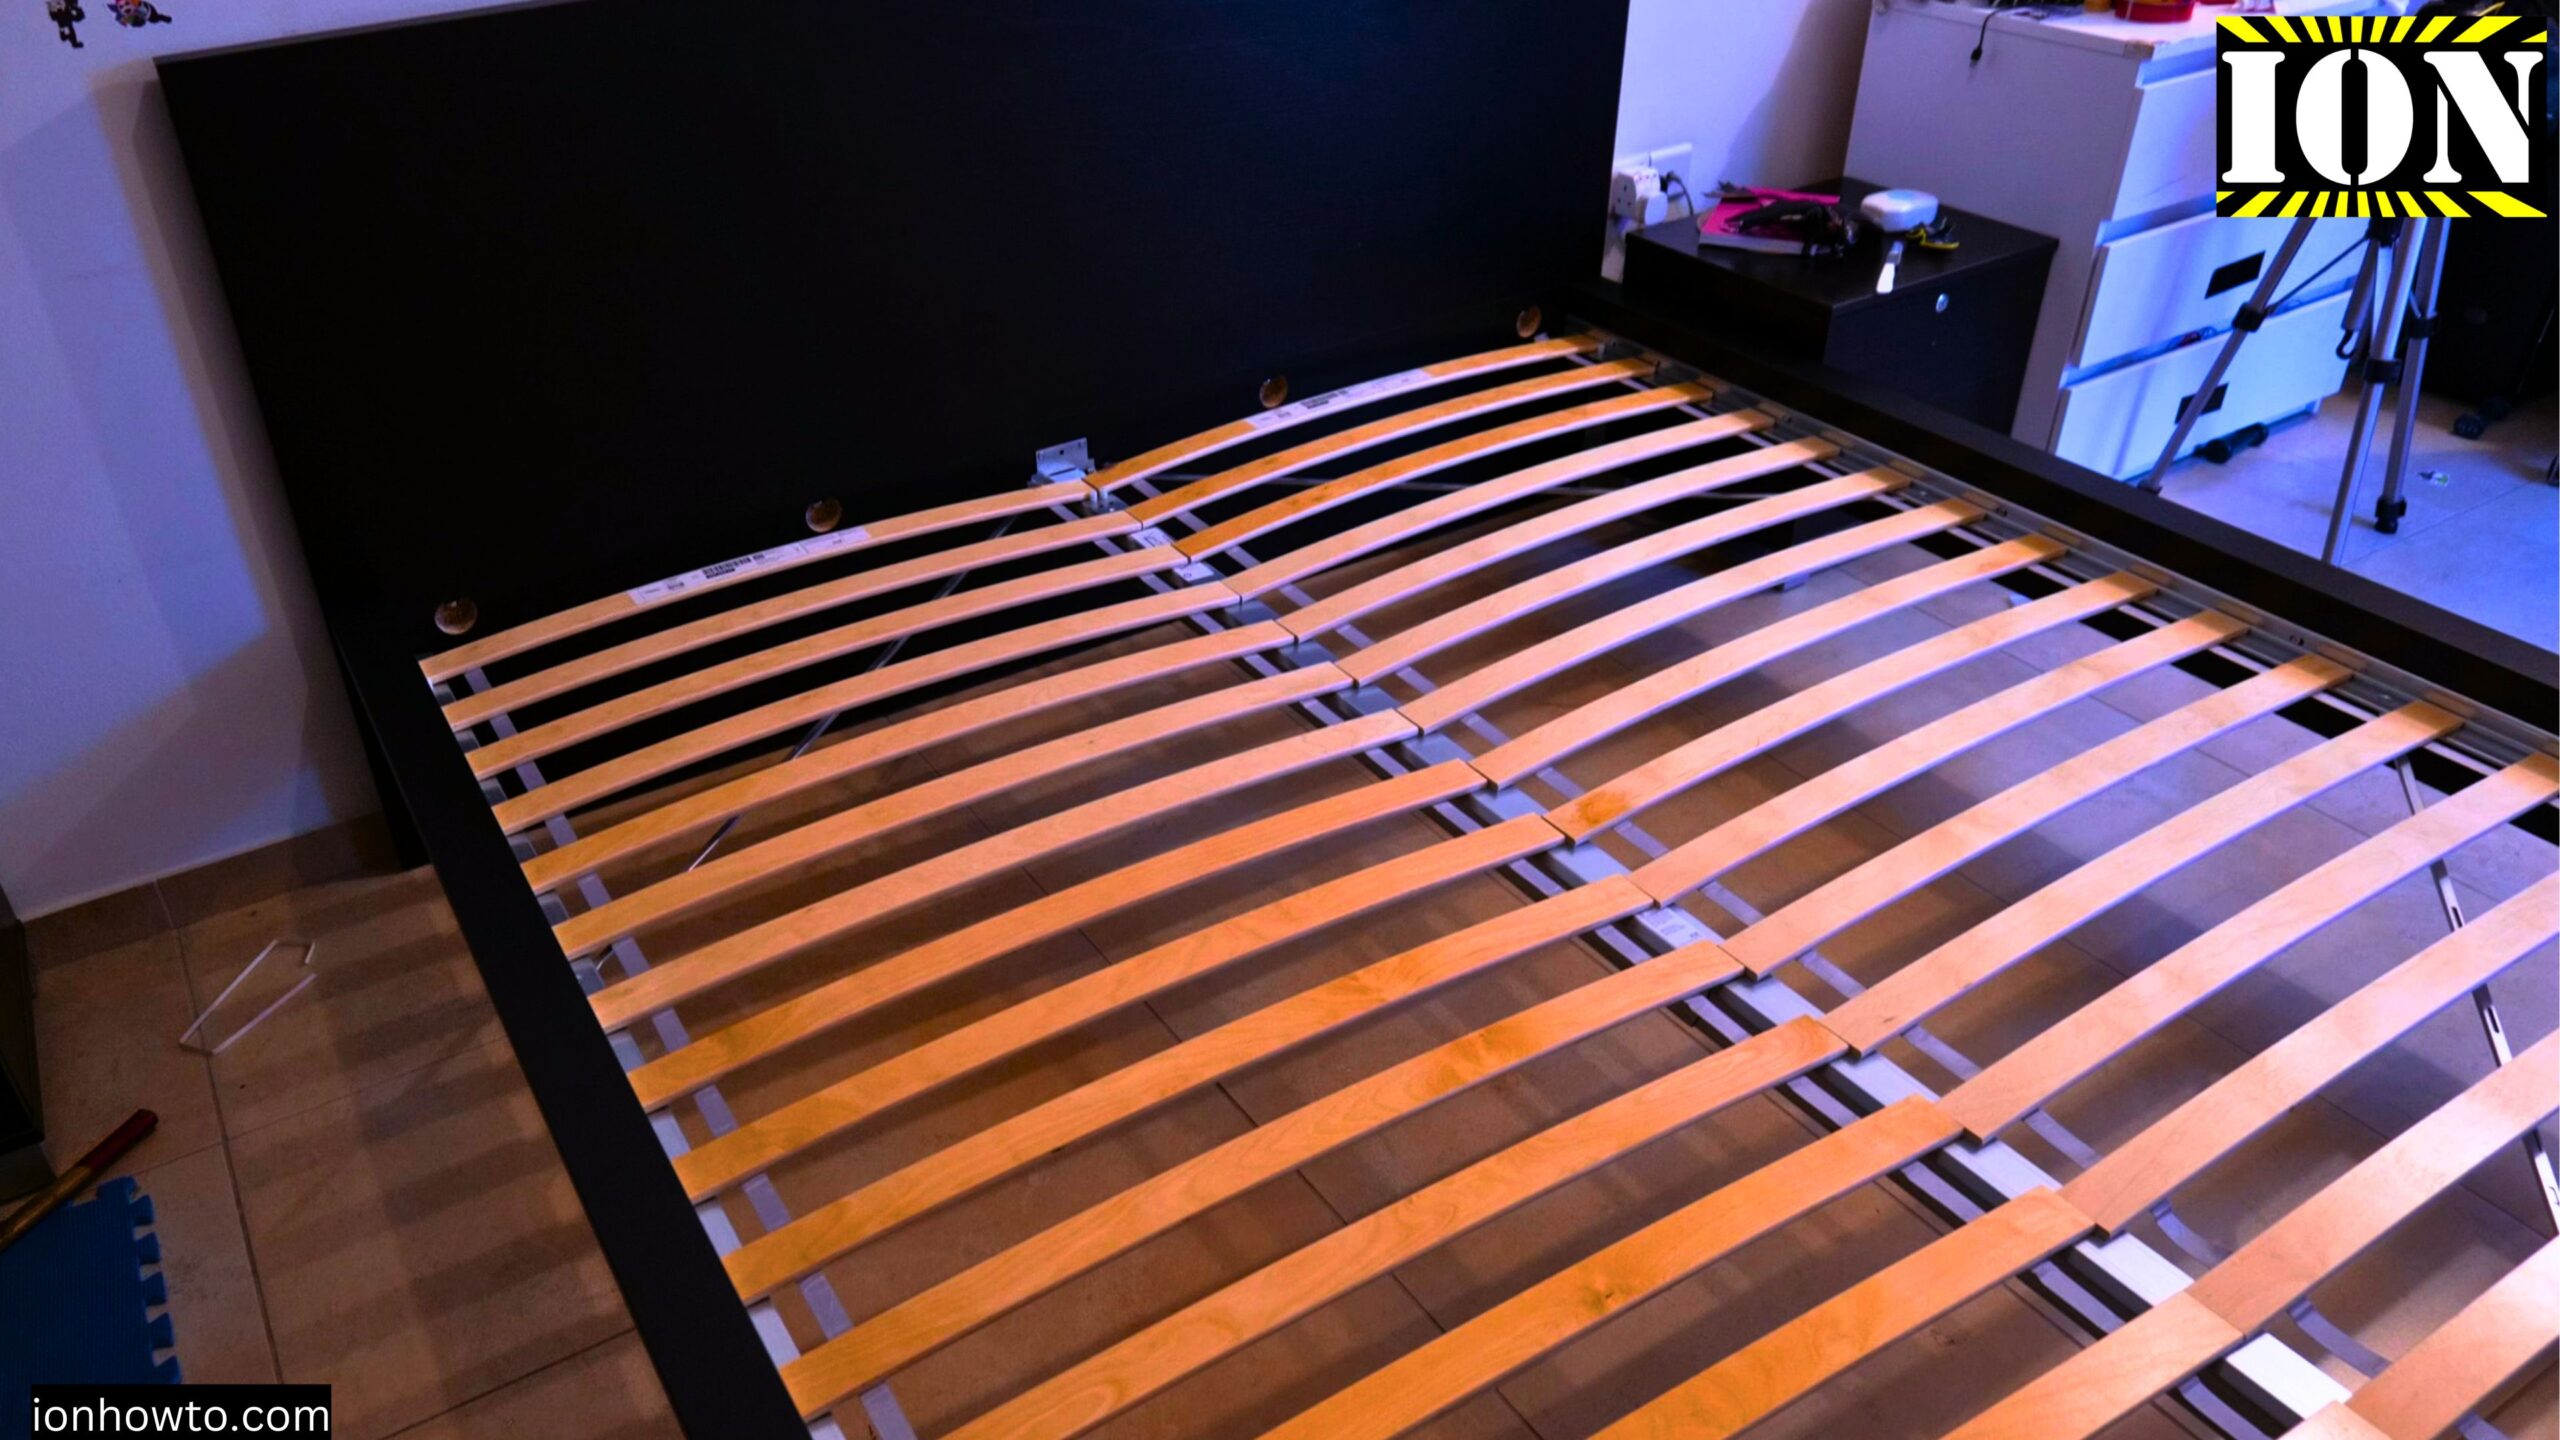
Step 8: Place the slats
Lay the Luroy slats across the frame. For a king size 180×200, you need two sets of 90×200 cm slats placed side by side.
Step 9: Tighten everything
Use a small screwdriver to tighten all the screws. Go through every single one. Do the same for all of them.
Step 10: Attach the footboard
Finish by attaching the footboard to complete the frame.
How to Stop an IKEA Bed from Squeaking
The main areas to check and tighten during assembly are:
- All screws connecting the side rails to the headboard and footboard
- The mid beam attachments
- The slat connections
Tighten everything well before you use the bed. This prevents noise later.
Tips for Assembling Alone vs. With Help
You can build the Malm bed by yourself, but having a second person definitely helps – especially when attaching the side rails and positioning the mid beam.
Common Mistakes to Avoid
| Mistake | Why It Matters |
|---|---|
| Mixing up small and big hardware | The small pieces belong on edge top holes and middle holes only |
| Not tightening screws enough | Leads to a shaky, wobbly bed frame |
| Tightening in the wrong order | Wait until the end to tighten everything fully |
| Wrong color selection | Double-check your color choice before leaving the store |
What Comes Later
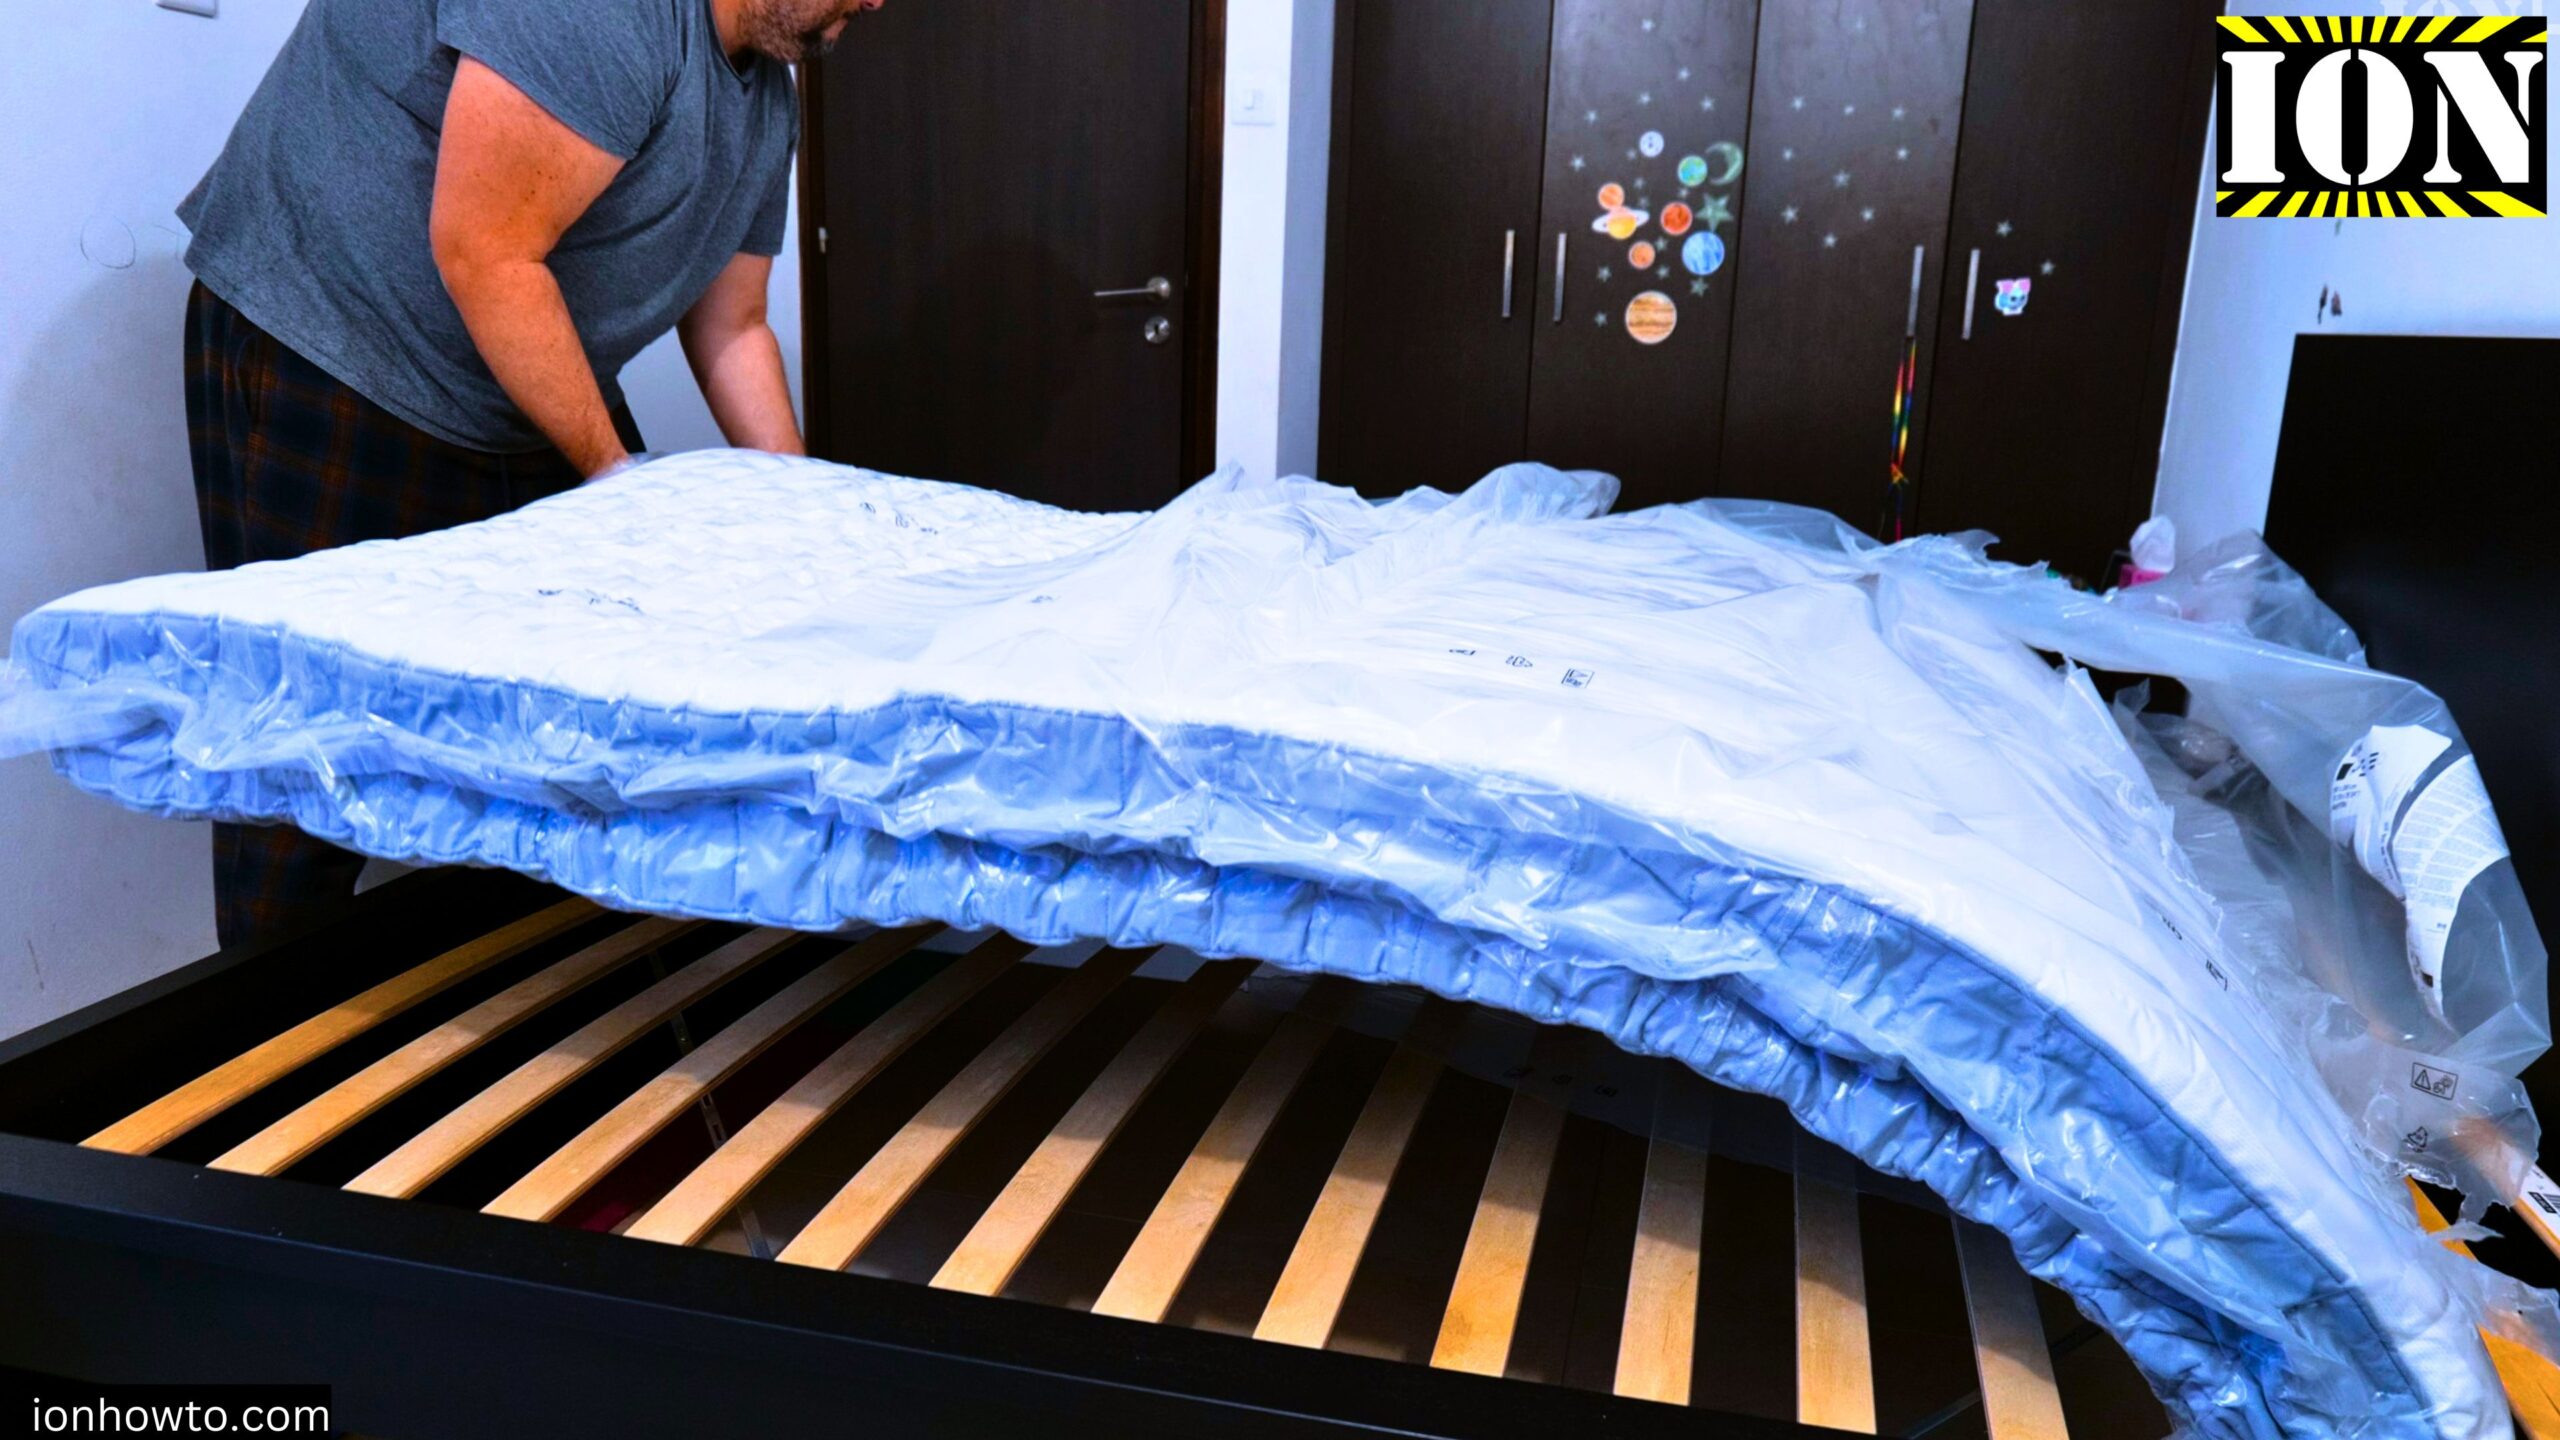
IKEA Valevag Rolled Mattress Installation in Malm Bed Video.
In this build I used the Luroy slats. Later I installed a Valevag 180×200 Extra Firm pocket sprung mattress.
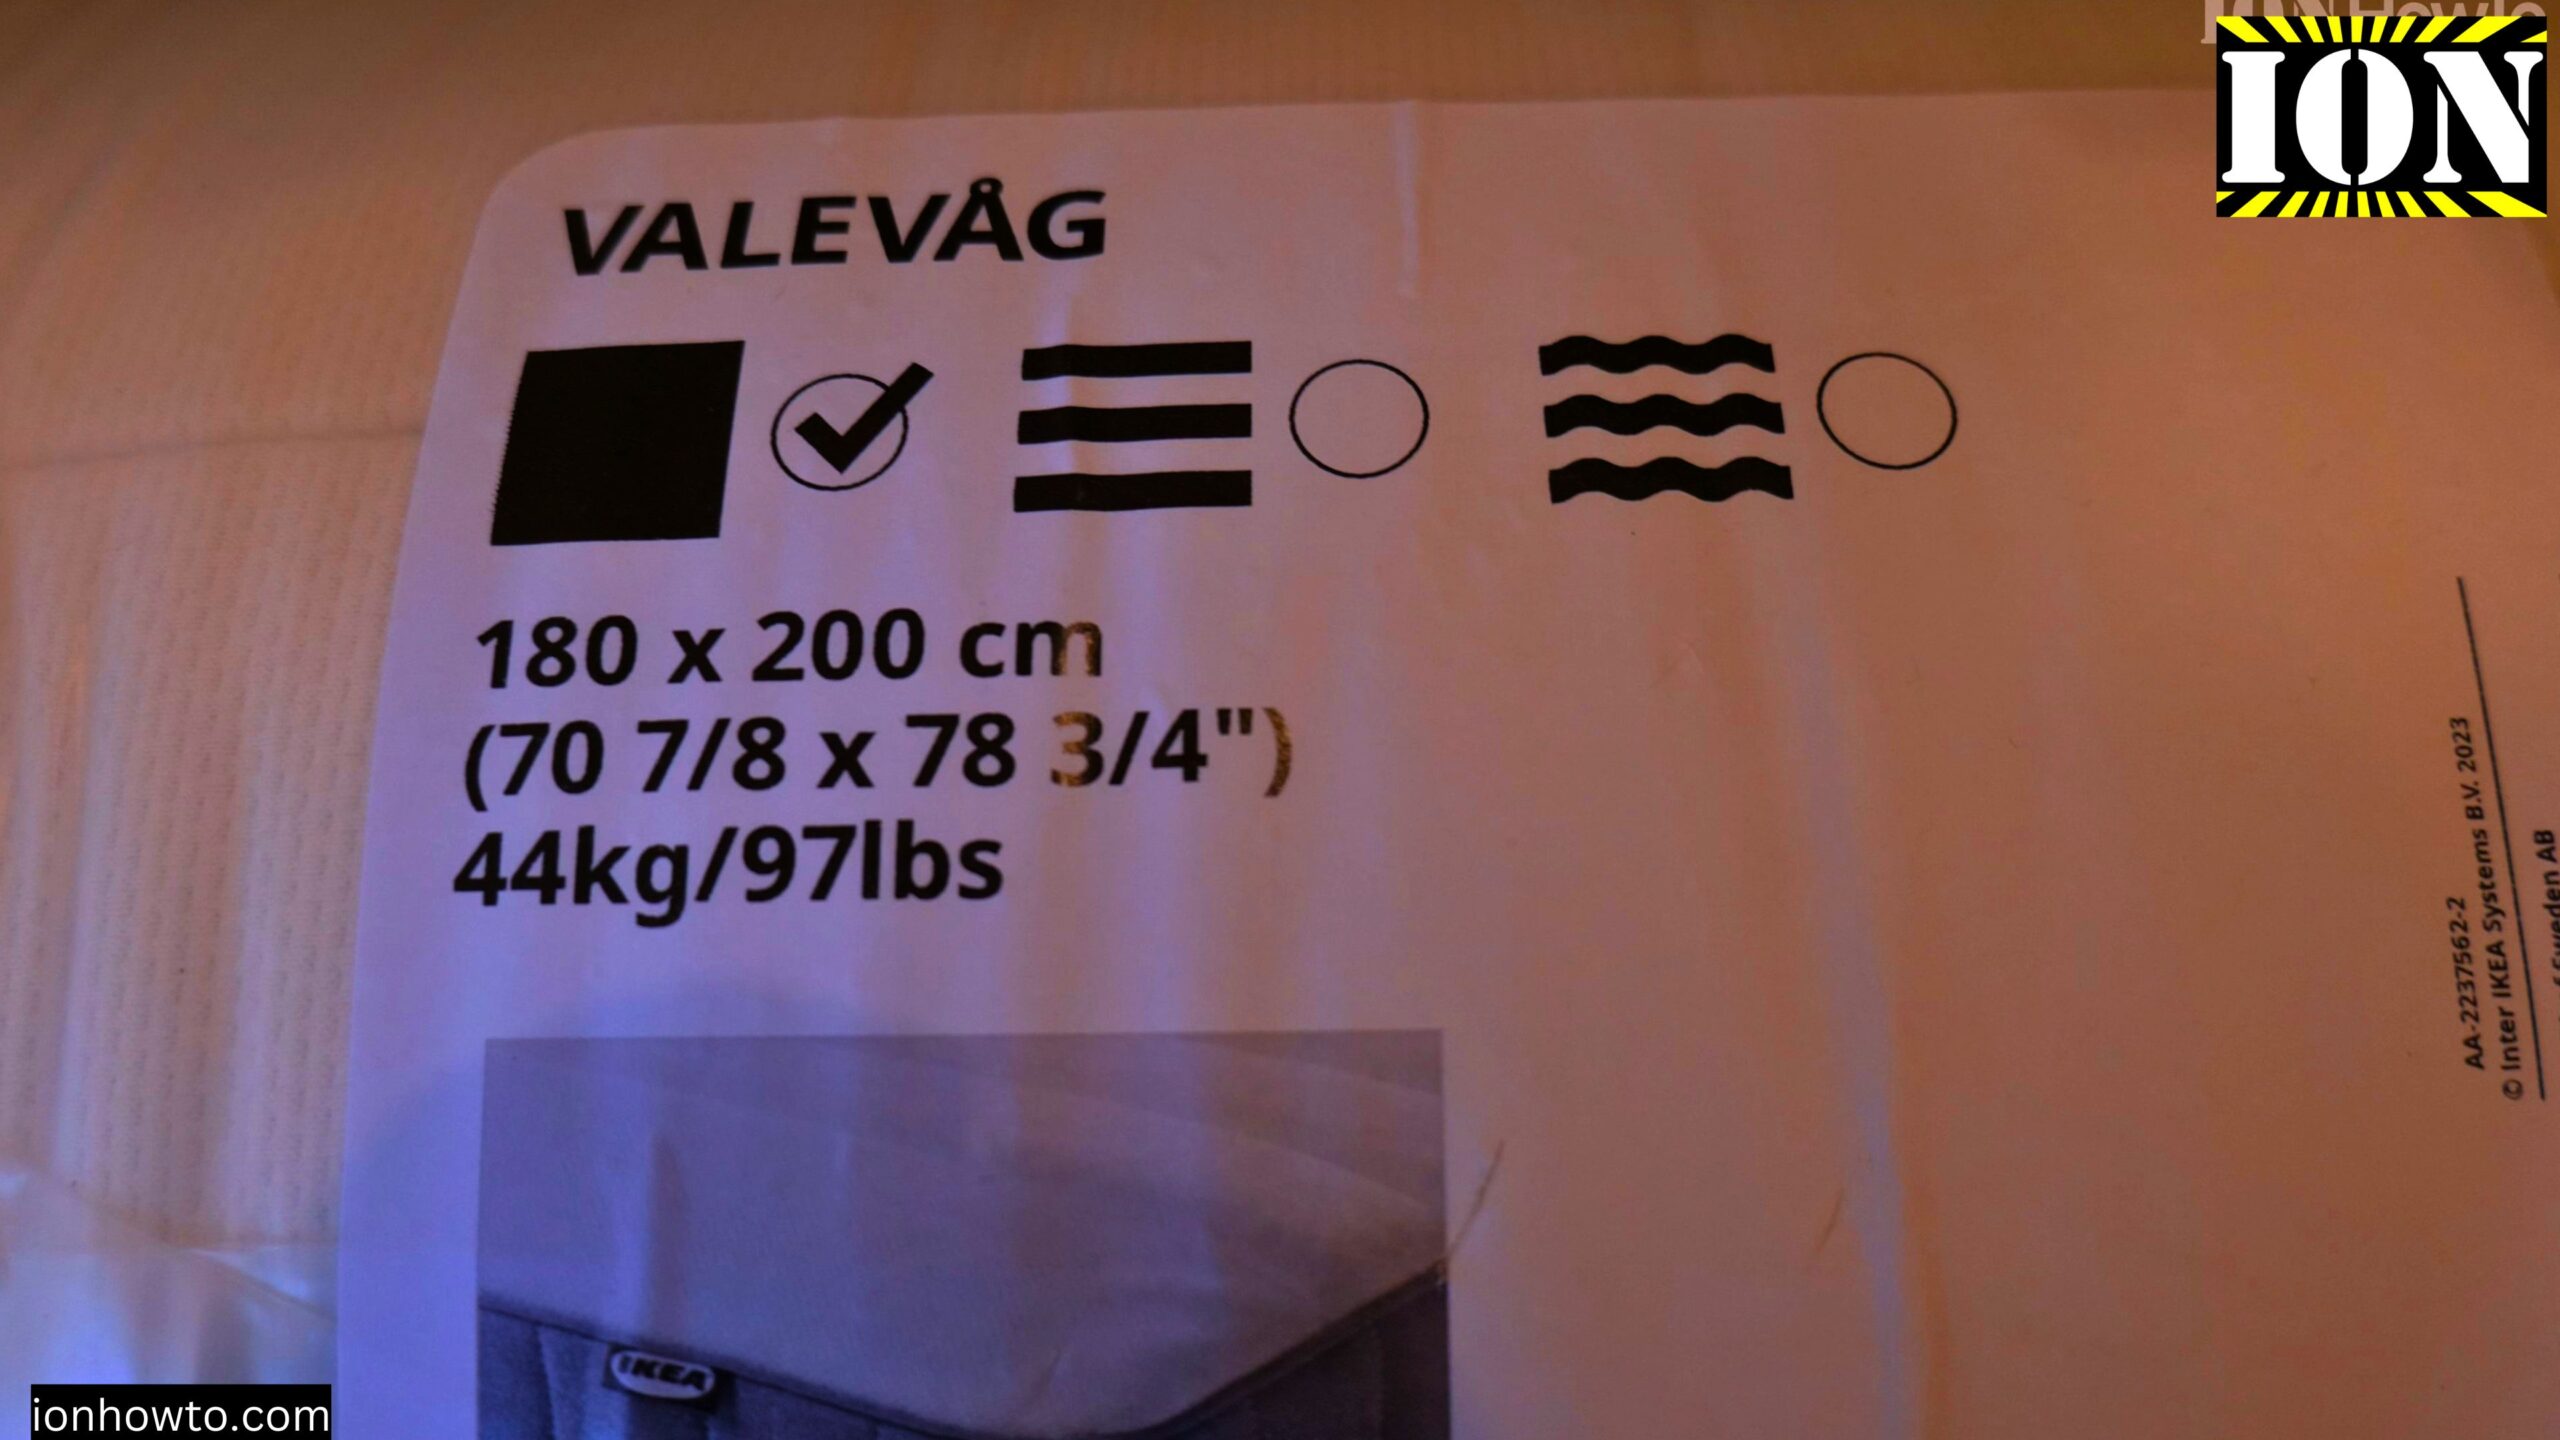
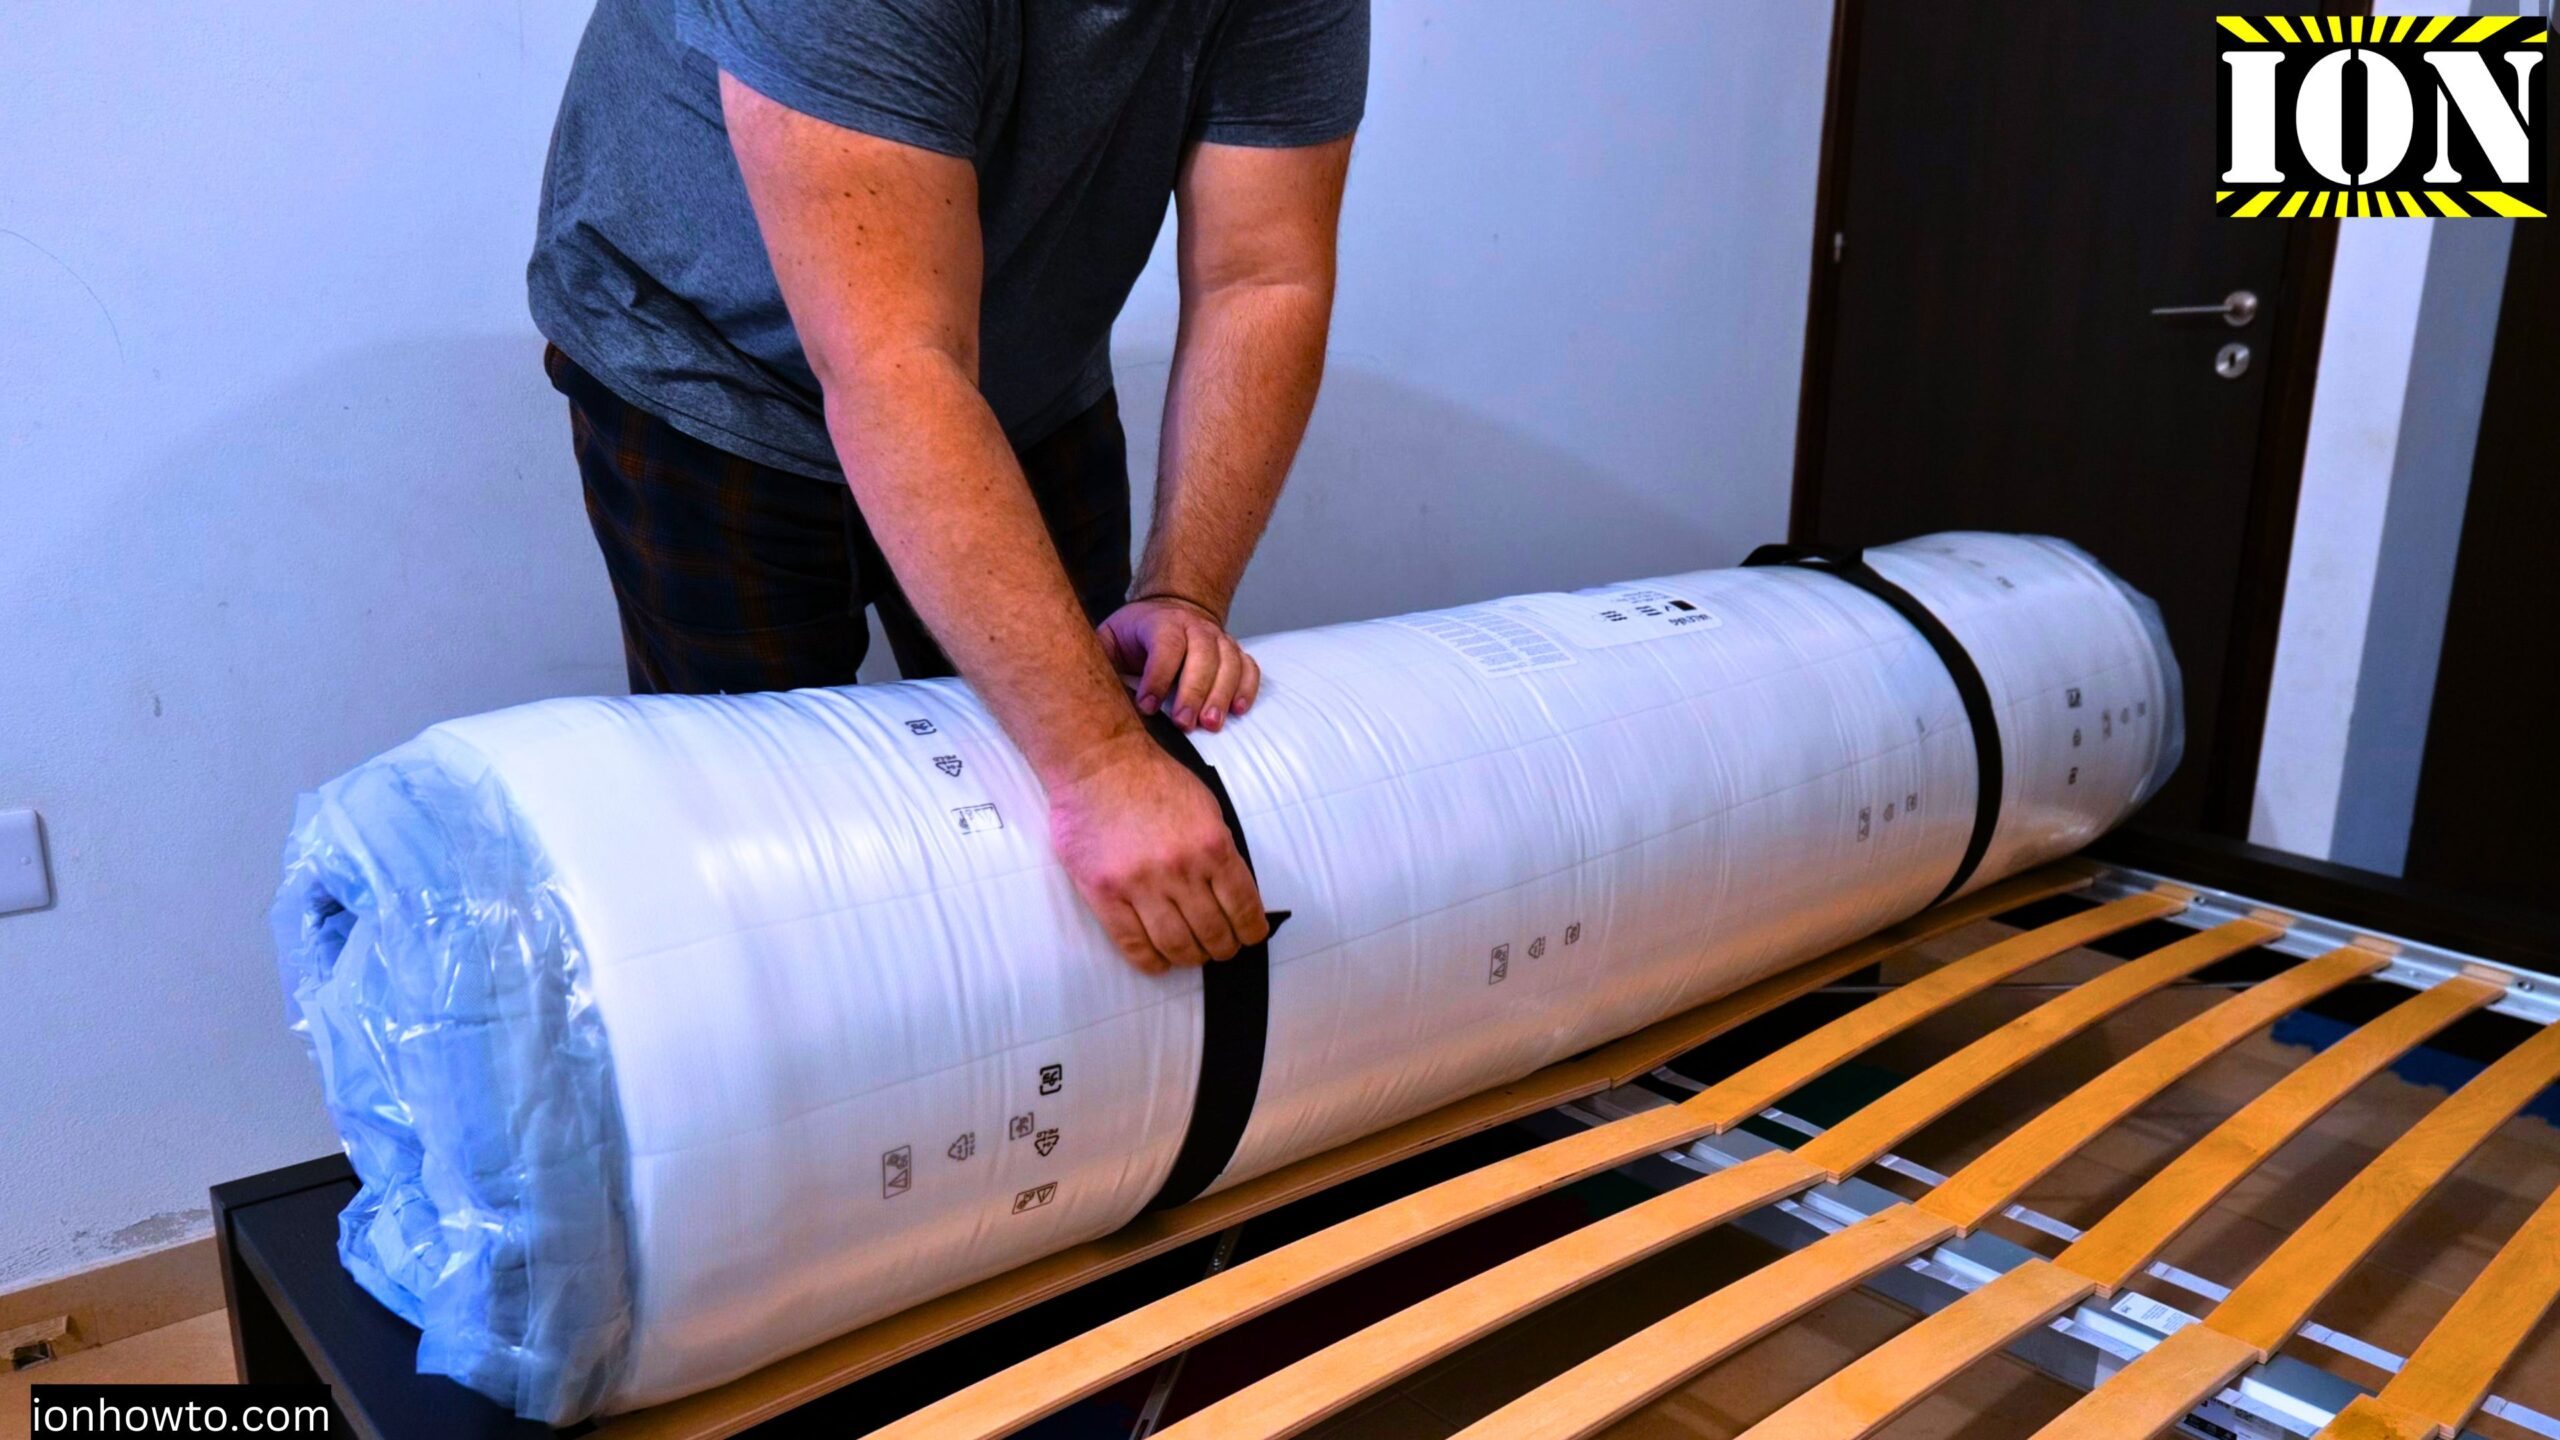
You can use any 180×200 mattress that fits your comfort preference.
Final Check
Once everything is tightened and the frame is complete:
- Make sure the frame doesn’t wobble
- Check that both sides are at the same height setting
- Confirm all screws are tight
That’s it. Your Malm king size bed is assembled and ready to use. Good luck with your build.


Leave a Reply