
Amazon links
As an Amazon Associate I earn from qualifying purchases:
- iPhone Accessories
- iPhone Charger
- iPhone Cases
- iPhone Screen protector
- iPhone Magsafe
- iPhone Wallet
- iPhone Usb c cable
Learn how to adjust your iPhone settings to keep the screen on longer. If your iPhone screen keeps turning off too quickly, I’ll show you the steps to change the auto-lock timer or disable it completely.
Quick Steps and Scenarios Overview
| What You Need to Do | Quick Jump |
|---|---|
| How to Change Auto-Lock Settings | Jump to Step 1 |
| Open Settings – Tap the Settings app | Jump to Step 1 |
| Go to Display & Brightness – Scroll | Jump to Step 2 |
| Tap Auto-Lock – You'll see this near | Jump to Step 3 |
| Choose your preferred time – Options range | Jump to Step 4 |
| Select Never if needed – This keeps | Jump to Step 5 |
Showing on iOS 18.5 with iPhone 16 Pro Max Titanium Black 256 GB version Global model A3296 – MYWV3ZD/A
The iPhone’s auto-lock feature helps save battery, but sometimes you need the screen to stay on. Learn how to extend the screen timeout when reading, cooking with recipes, or giving presentations. I’ll explain where to find these settings and how they work.
How to Change Auto-Lock Settings
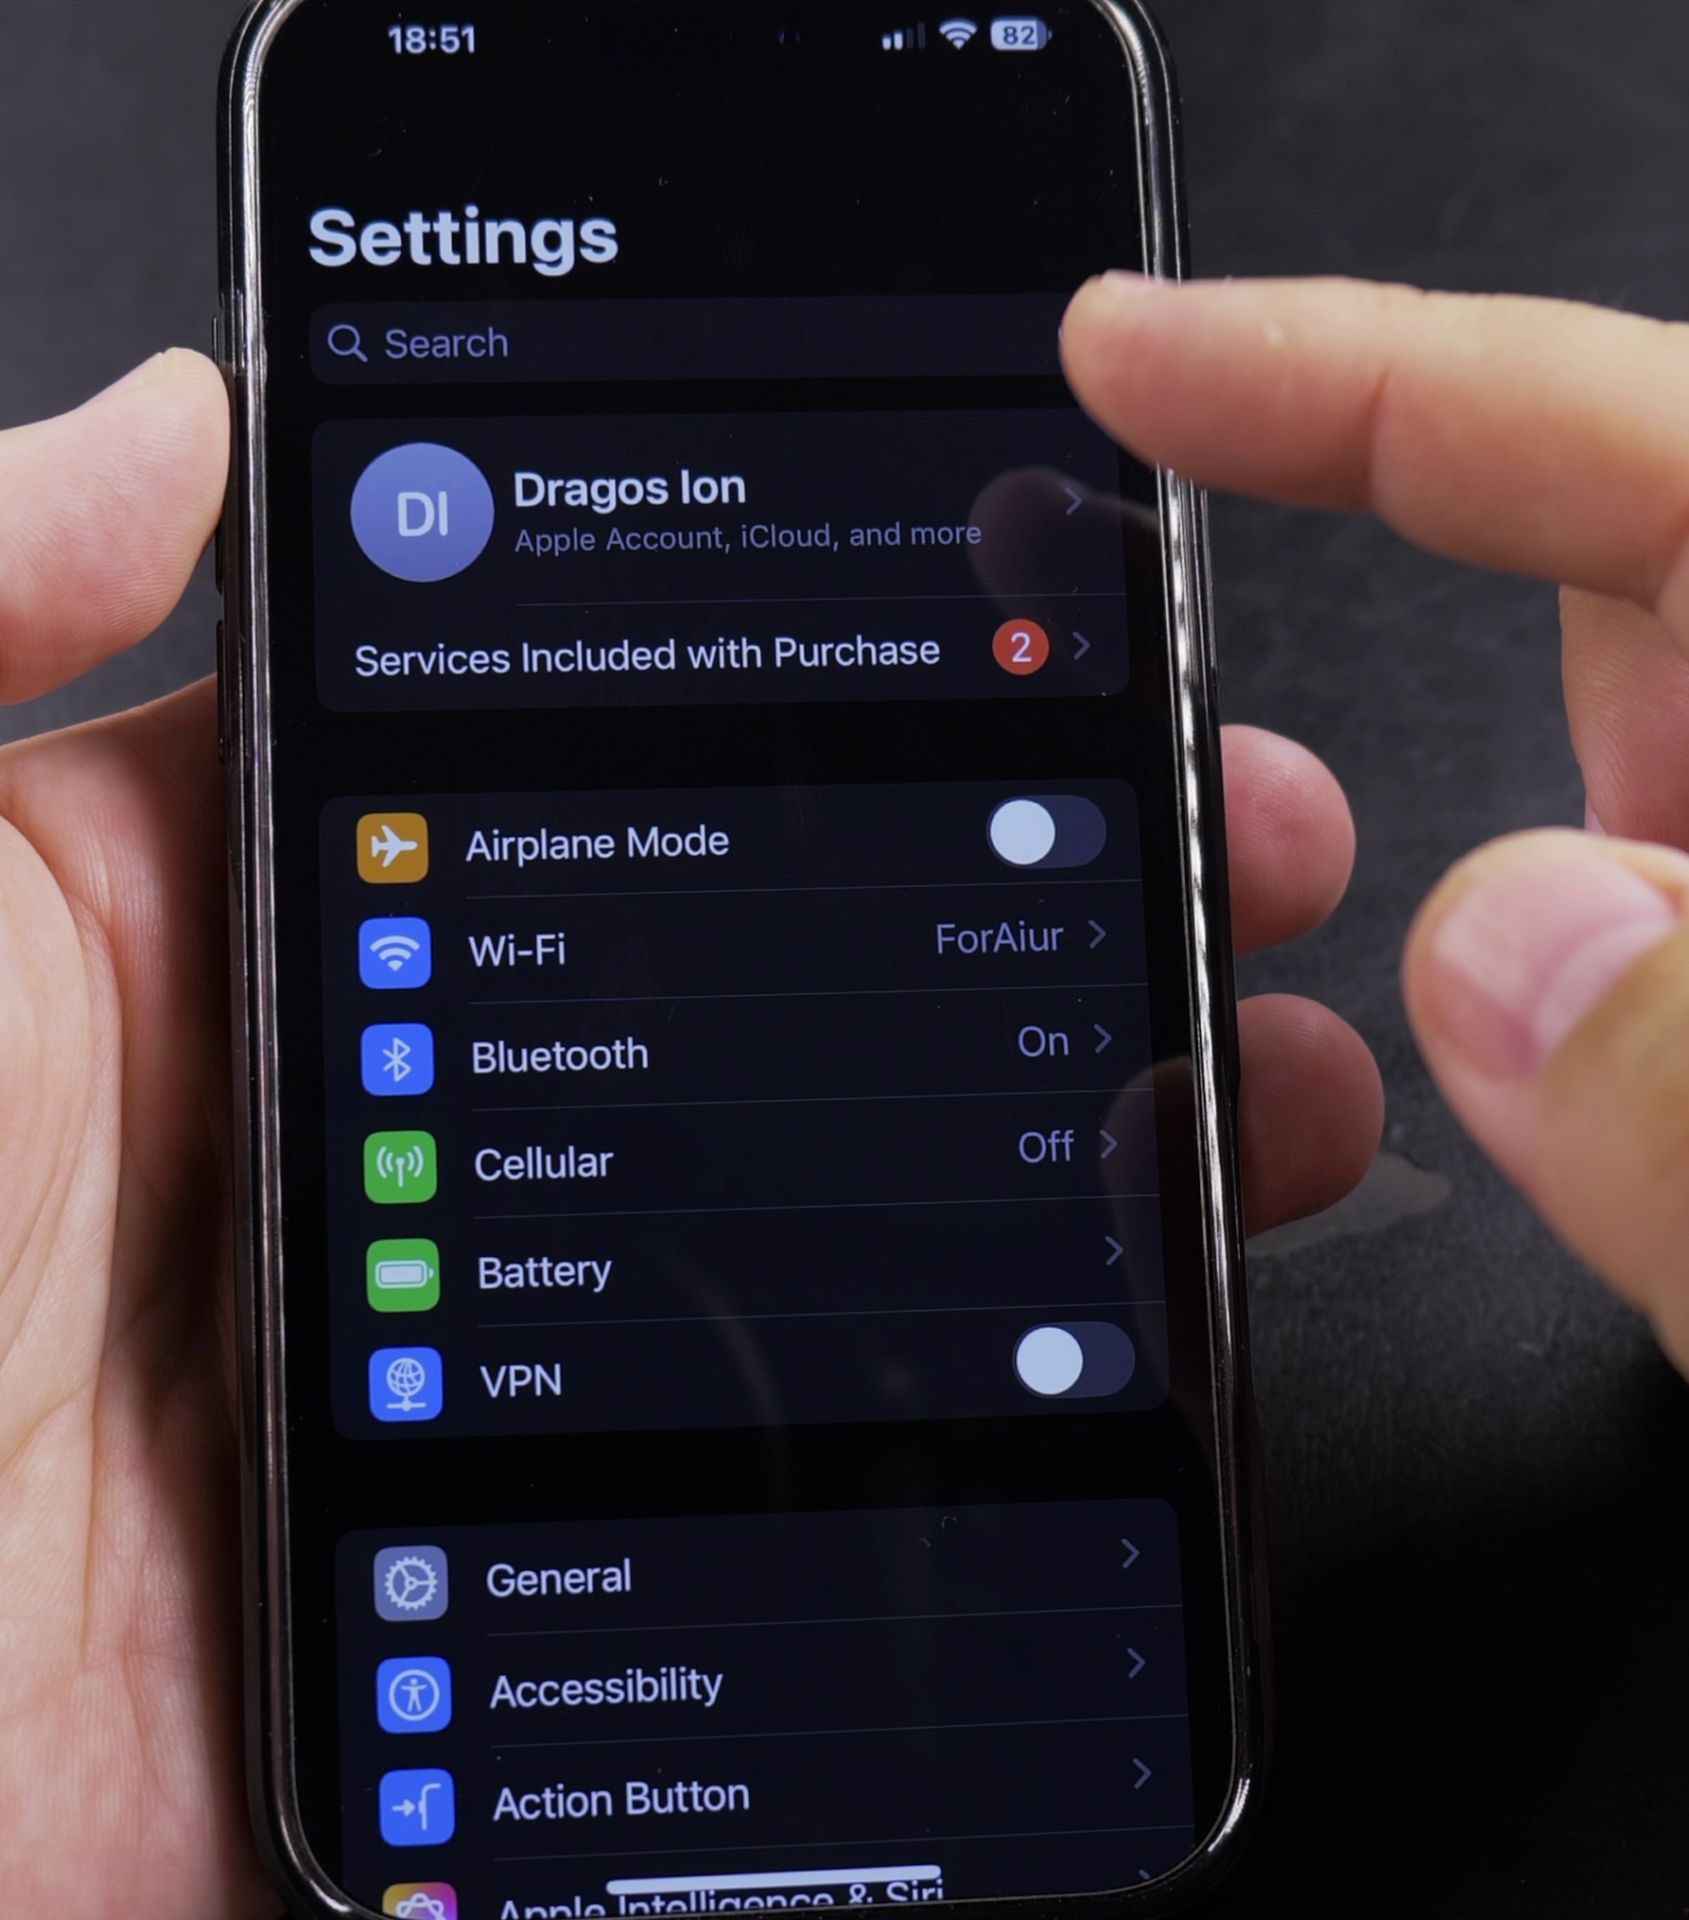
1. Open Settings – Tap the Settings app
Open Settings – Tap the Settings app on your home screen.
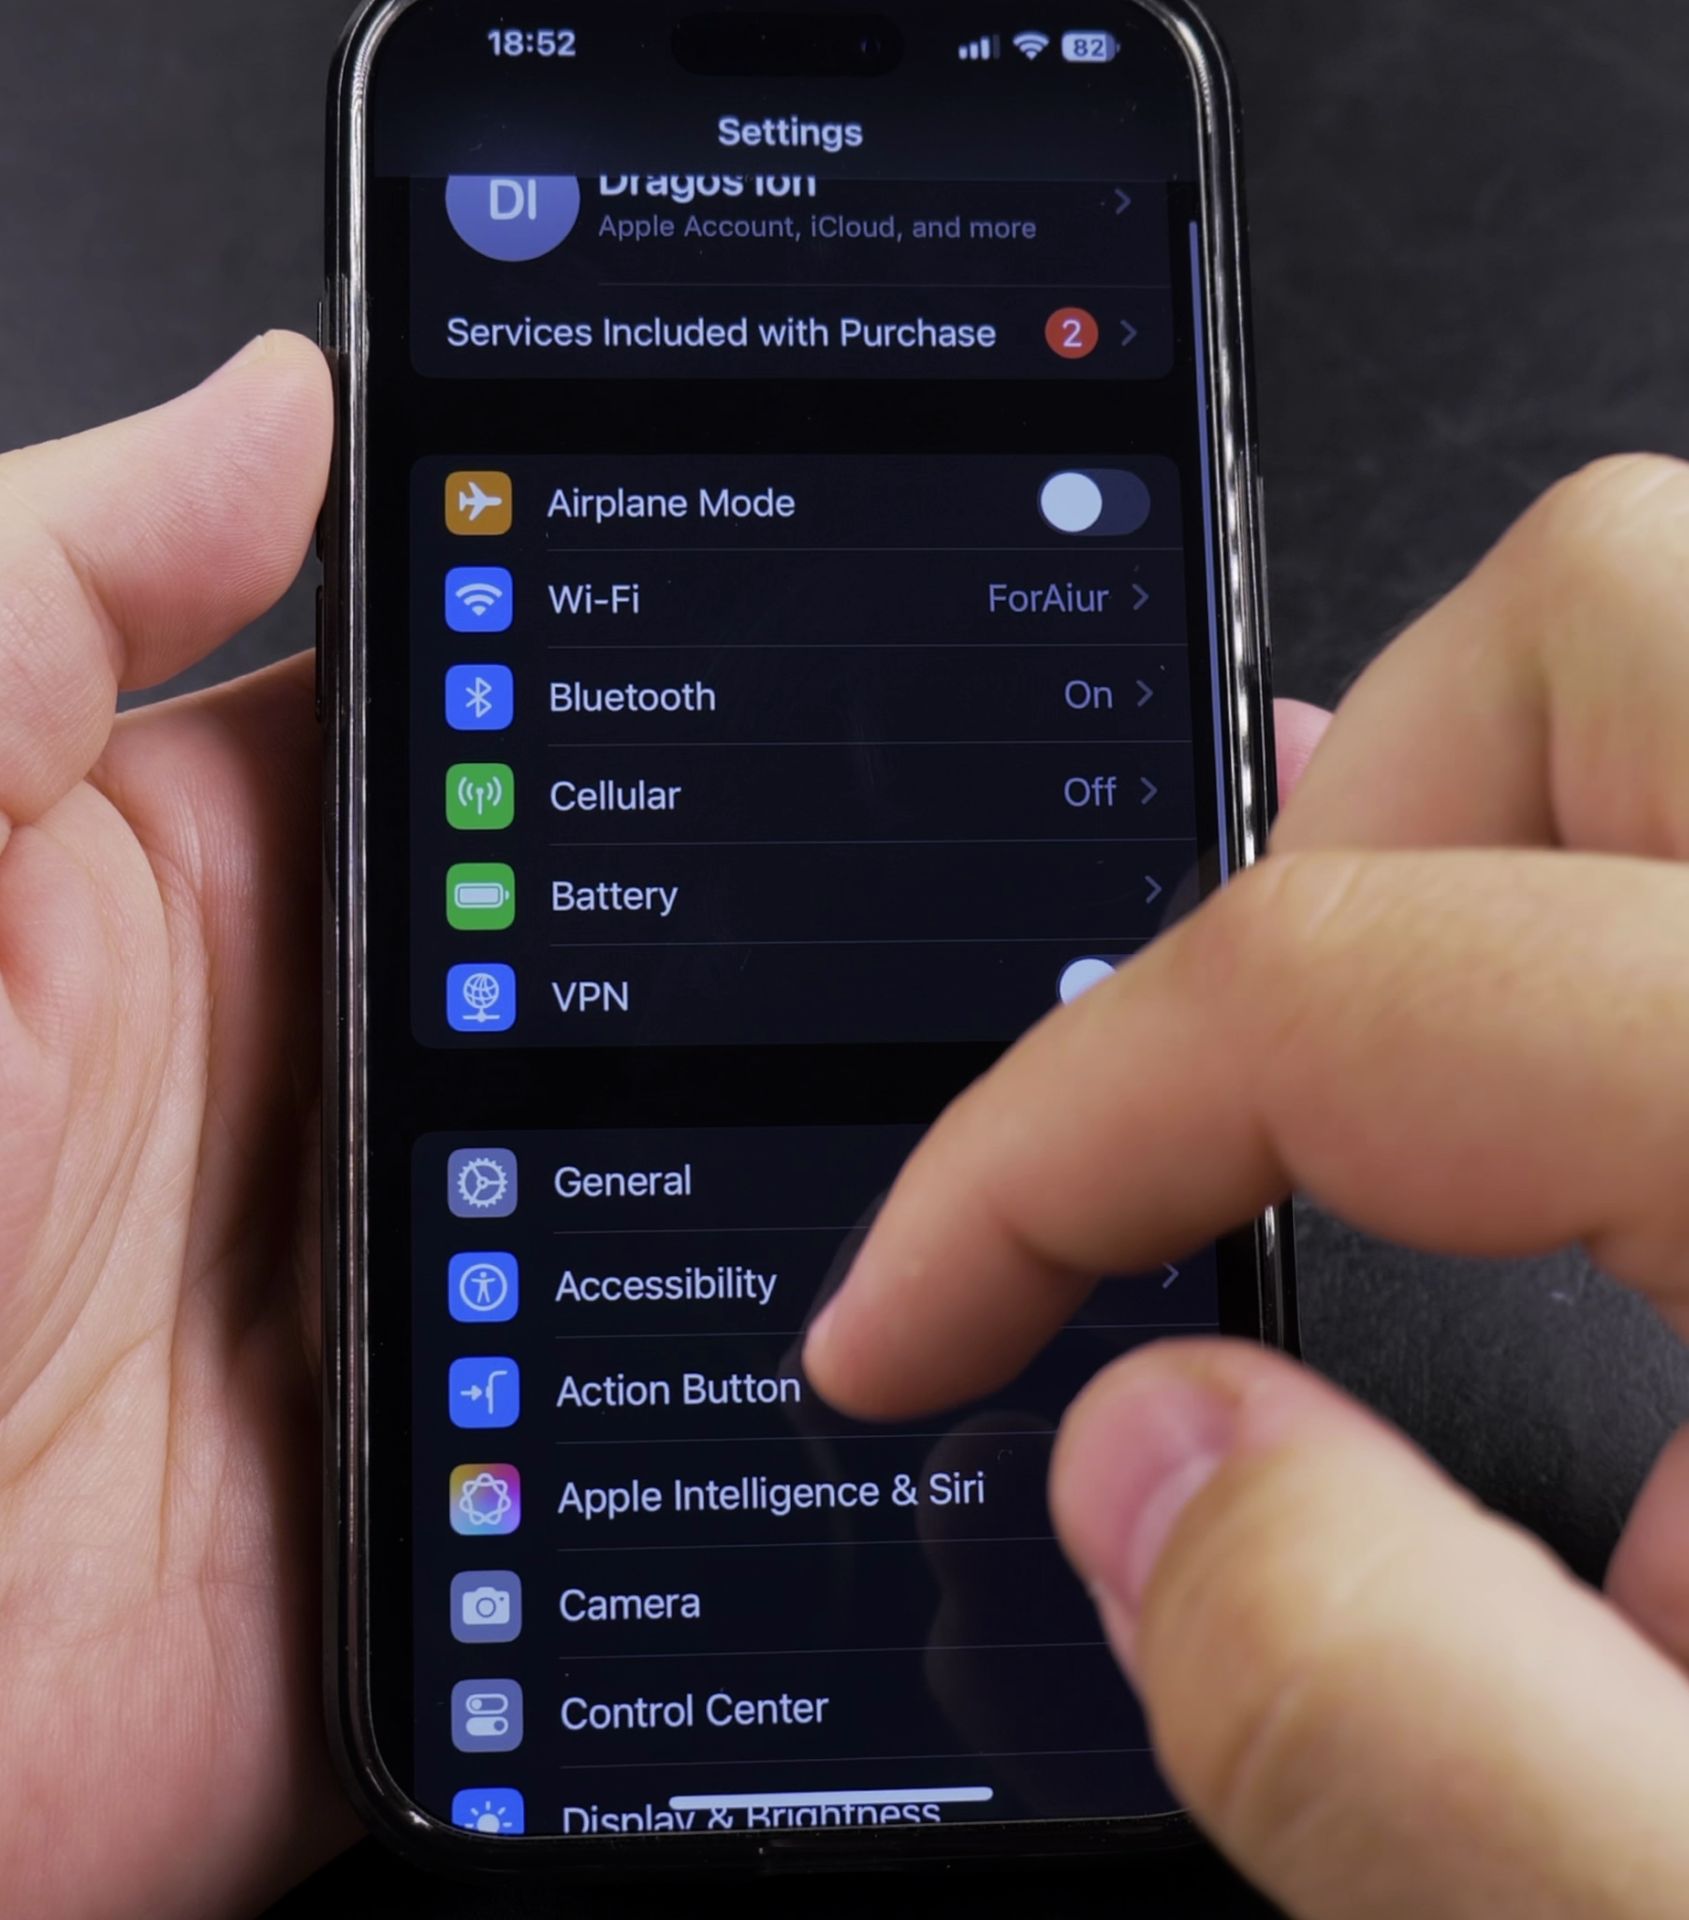
2. Go to Display & Brightness – Scroll
Go to Display & Brightness – Scroll down and select this option.
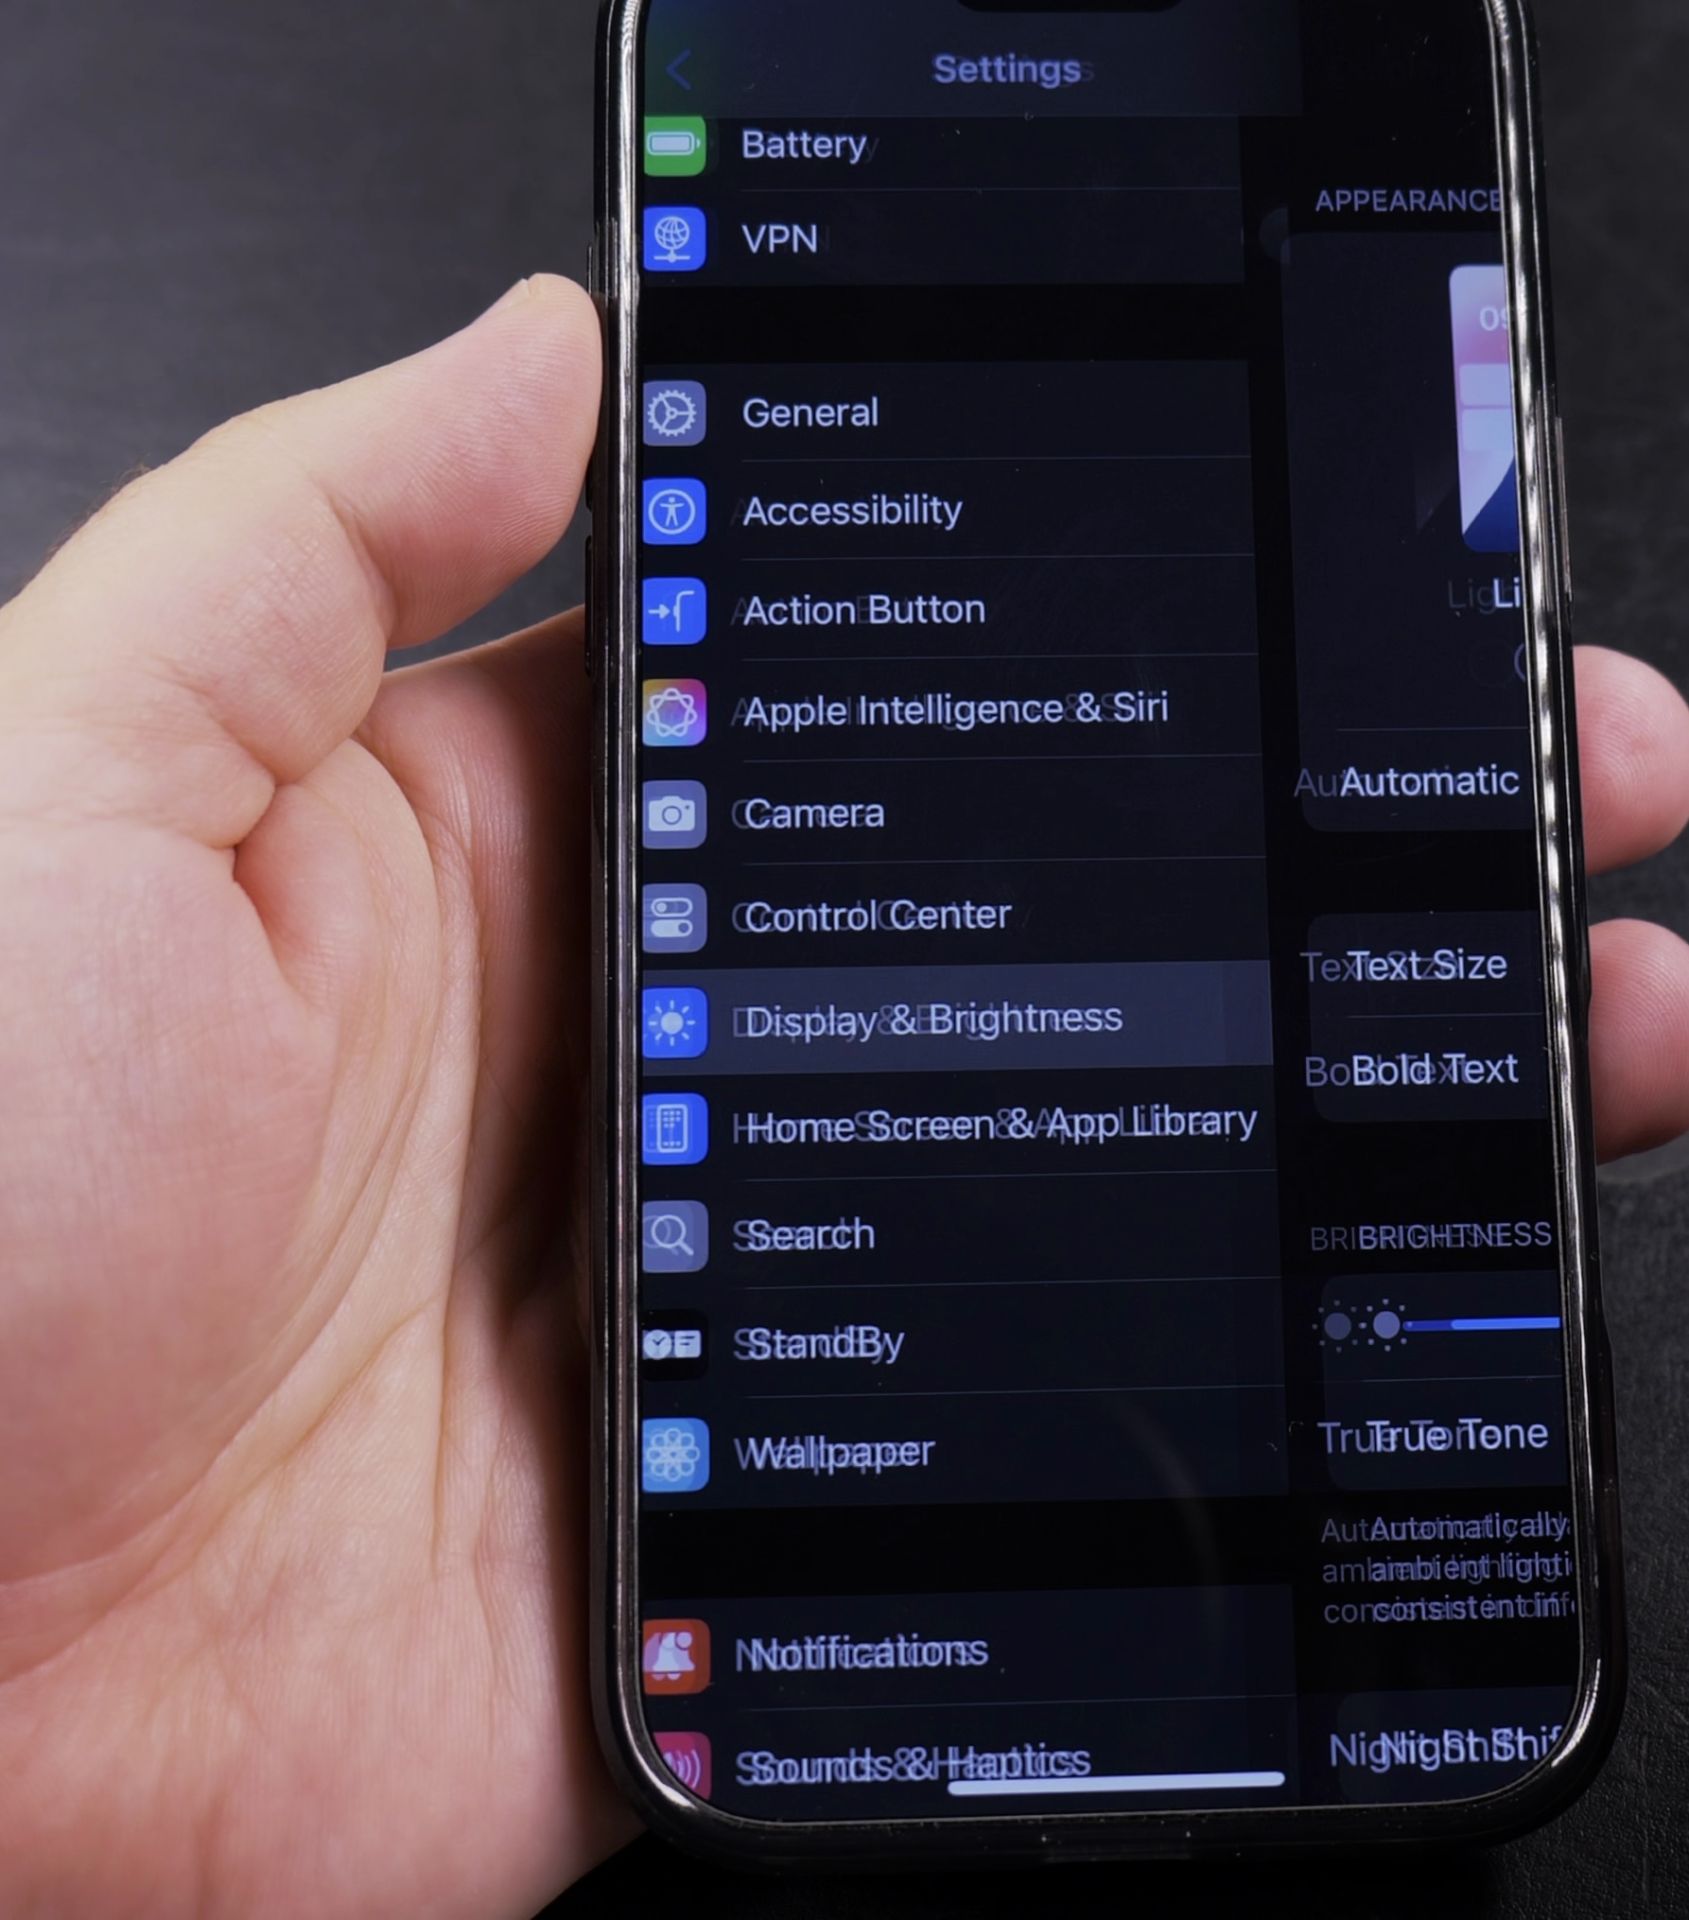
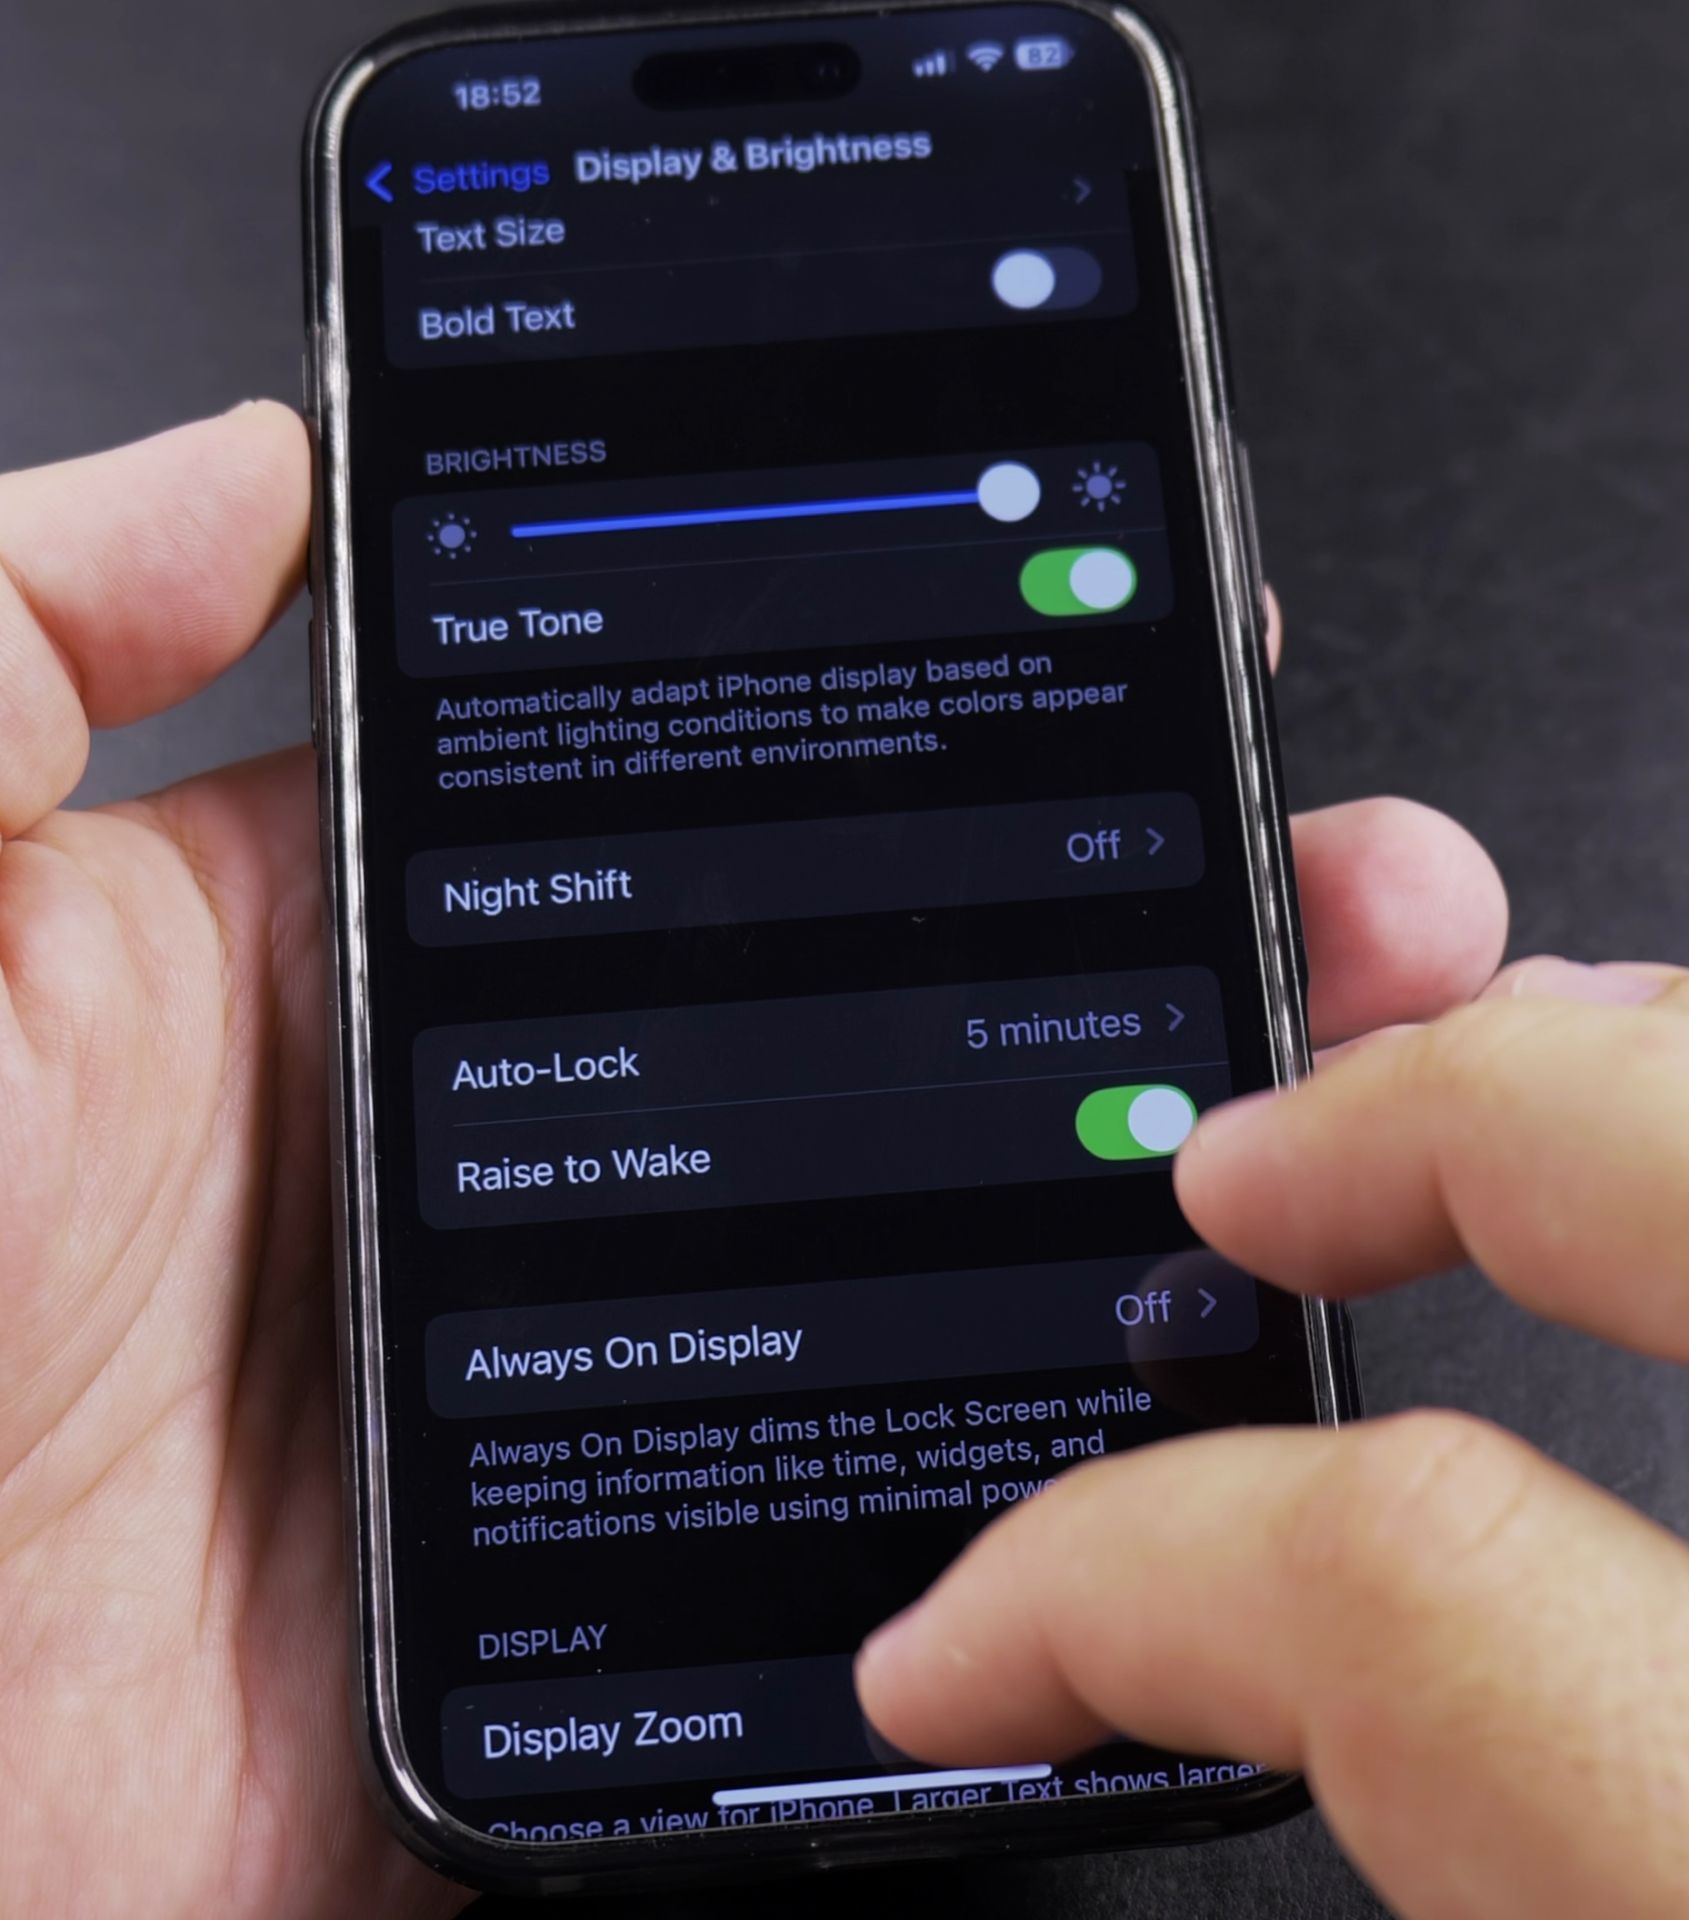
3. Tap Auto-Lock – You’ll see this near
Tap Auto-Lock – You’ll see this near the bottom of the menu.
4. Choose your preferred time – Options range
Choose your preferred time – Options range from 30 seconds to 5 minutes.
5. Select Never if needed – This keeps
Select Never if needed – This keeps the screen on until you manually lock it.
Important Notes About Screen Timeout
- Battery impact – Longer screen timeouts will use more battery
- Security reminder – Setting to “Never” means your phone won’t lock automatically
- Default setting – Most iPhones come set to auto-lock after 30 seconds or 1 minute
What to Do If Settings Don’t Work
If your screen still turns off too quickly:
- Check Low Power Mode – This forces 30-second auto-lock (turn it off in Settings > Battery)
- Look at Guided Access – This feature may override settings (check Settings > Accessibility)
- Restart your iPhone – Sometimes a simple reboot fixes settings issues
Best Times to Use Longer Screen Timeouts
- Following recipes – When cooking with your iPhone on the counter
- Reading long articles – To prevent constant screen reactivation
- Presentations – When using your iPhone to display information
- Navigation – While using maps in your car (with proper mounting)
Alternative Solutions
If you need the screen on temporarily:
- Tap the screen occasionally – Light touches reset the auto-lock timer
- Use a stand – Some stands have features to keep the screen awake
- Try specific apps – Some apps like navigation prevent auto-lock while active
Final Thoughts
Adjusting your iPhone’s auto-lock settings gives you more control over your screen. Just remember that longer timeouts will use more battery. Find the balance that works best for how you use your phone.
Need help with a specific situation? Ask in the comments below!
Helpful Tips
Take your time and check the screen carefully after each tap so you can confirm the setting changed as expected. If an option appears in a slightly different spot on your device, watch the embedded video above for a closer look.
Related Guides
- How to Add Flashlight Button to iPhone Lock Screen – If your iPhone lock screen is missing the flashlight button in the bottom corner, you can put it back in seconds.
- How to Add an App Icon Back to the Home Screen on iPhone – If an application icon disappeared from your iPhone Home Screen even though the app is still installed on your device, it is…
- How to Allow Siri on iPhone Lock Screen – How to Allow Siri and Apple Intelligence on iPhone Lock Screen.
- iPhone How-To Guides – Browse more tutorials and practical guides in this section.


Leave a Reply