
How to Replace Batteries in Your Remington PG-400 Hair Trimmer: DIY Guide
Why Replace Your Trimmer’s Battery?
When your Remington PG-400 starts losing power quickly or won’t hold a charge, you don’t need to buy a new trimmer. With some simple tools and the right batteries, you can bring it back to life and even upgrade its capacity.
What You Need
- 2x AAA Ni-MH rechargeable batteries
- Soldering iron and solder
- Multimeter
- Small electronics pry tools
- Phillips head screwdriver
Battery Options
You can use any of these high-quality rechargeable AAA batteries:
- IKEA Ladda (900 mAh)
- Panasonic Eneloop
- Amazon Basics rechargeable AAA
- Any quality Ni-MH AAA battery rated 700-1000 mAh
Original Battery Specs
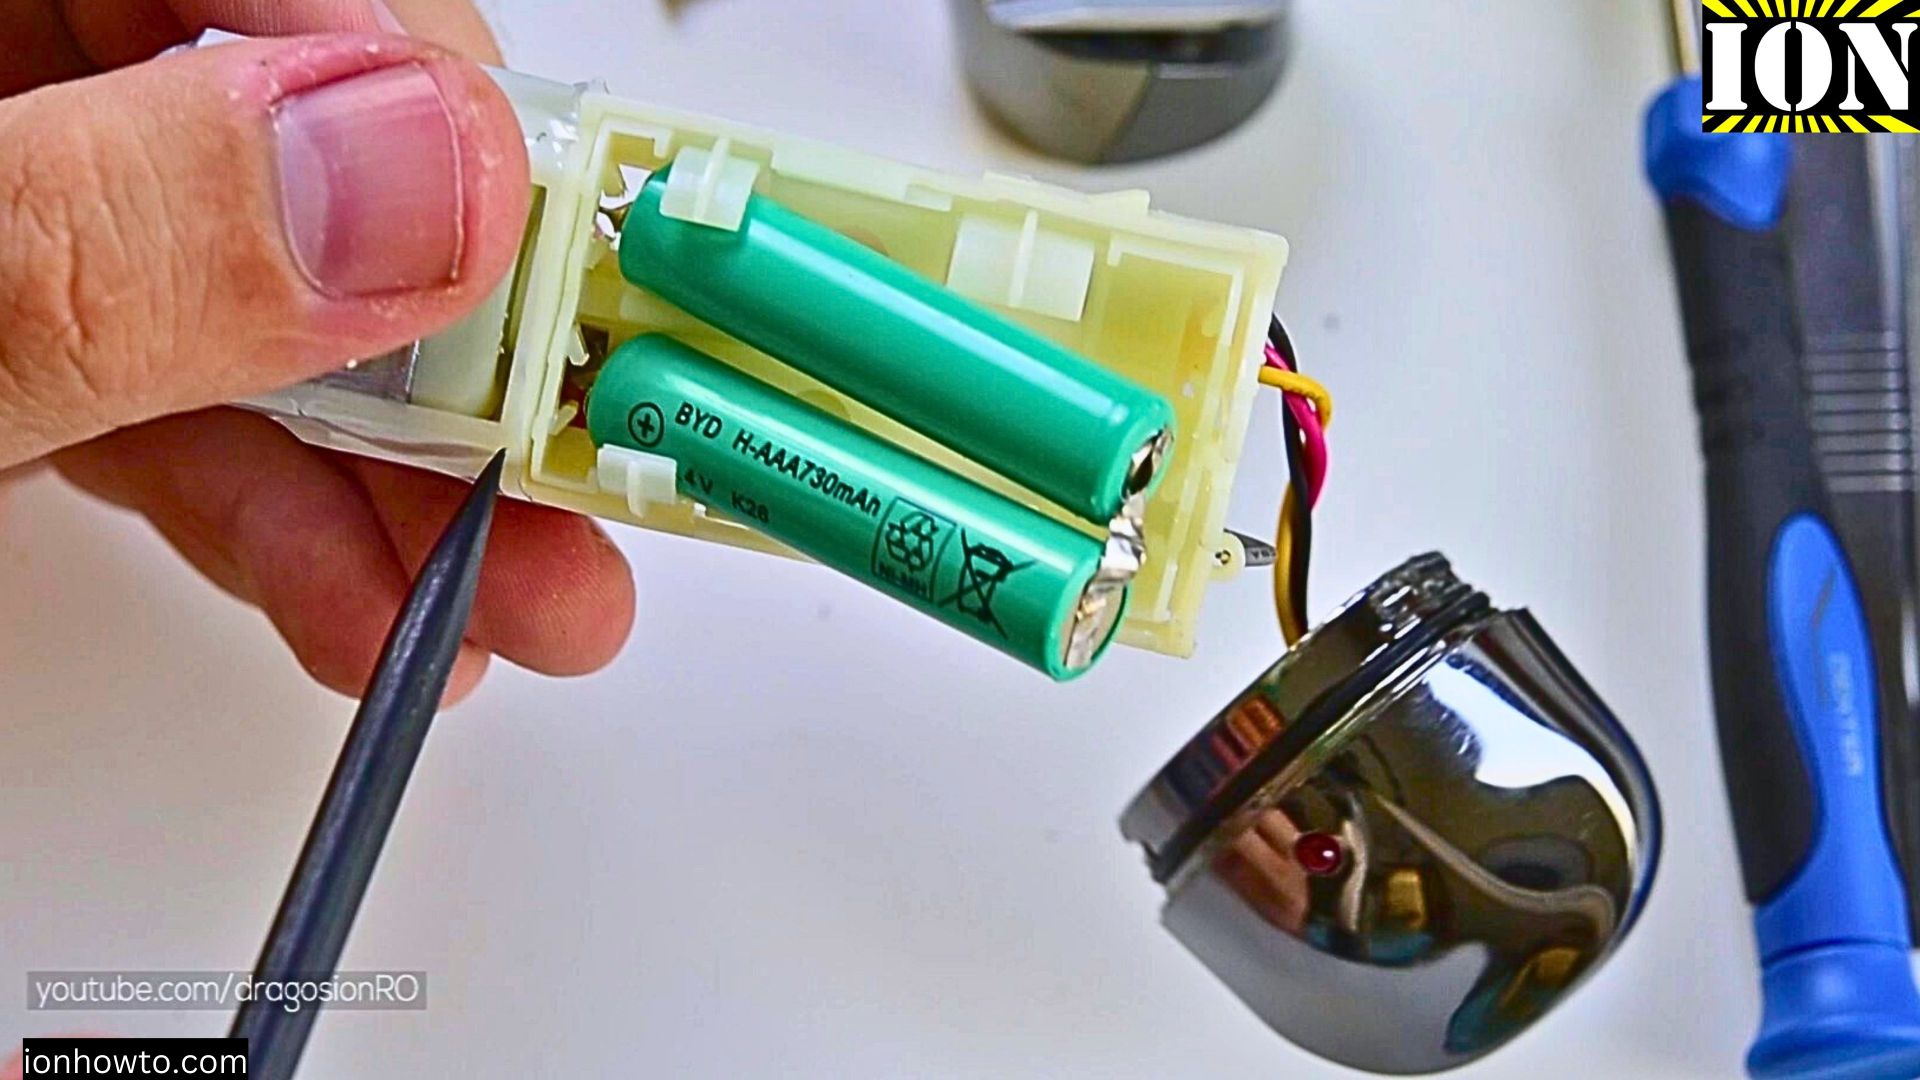
For reference, the original battery pack specs are:
- Type: Ni-MH rechargeable
- Configuration: 2x AAA in series
- Voltage: 2.4V (2x 1.2V)
- Capacity: 730mAh
- Original model: BYD H-AAA730mAh
Step-by-Step Replacement Guide
- Prepare Your Workspace:
- Clean, well-lit area
- Heat-resistant surface for soldering
- Good ventilation
- Open the Trimmer:
- Remove blade head
- Locate and remove visible screws
- Carefully pry open the housing
- Take photos as you go for reassembly reference
- Remove Old Battery:
- Note the battery orientation and connections
- Desolder or cut the old battery connections
- Remove the old battery pack
- Prepare New Batteries:
- Test each battery with multimeter (should read ~1.2V each)
- Connect batteries in series (positive to negative)
- Solder connecting tabs or wires
- Verify total voltage is ~2.4V with multimeter
- Install New Battery Pack:
- Place batteries in original position
- Solder to the device’s power connections
- Double-check polarity before soldering
- Secure batteries with original mounting method
- Reassemble and Test:
- Carefully route wires
- Close housing
- Replace all screws
- Charge fully before first use
Important Tips
- Always match voltage (2.4V total)
- Higher mAh rating is ok and will give longer runtime
- Don’t mix battery brands or capacities
- Ensure solid solder joints
- Keep wire routing neat to avoid pinching
Safety Precautions
- Unplug device before opening
- Wear eye protection when soldering
- Work in a ventilated area
- Be careful with hot soldering iron
- If unsure, seek professional help
Expected Results
After replacement, you should notice:
- Better battery life
- Stronger motor performance
- Longer runtime between charges
- Normal charging behavior
Maintenance Tips
- Fully charge before first use
- Regular cleaning and oiling
- Store in cool, dry place
- Use original charger only


Leave a Reply