
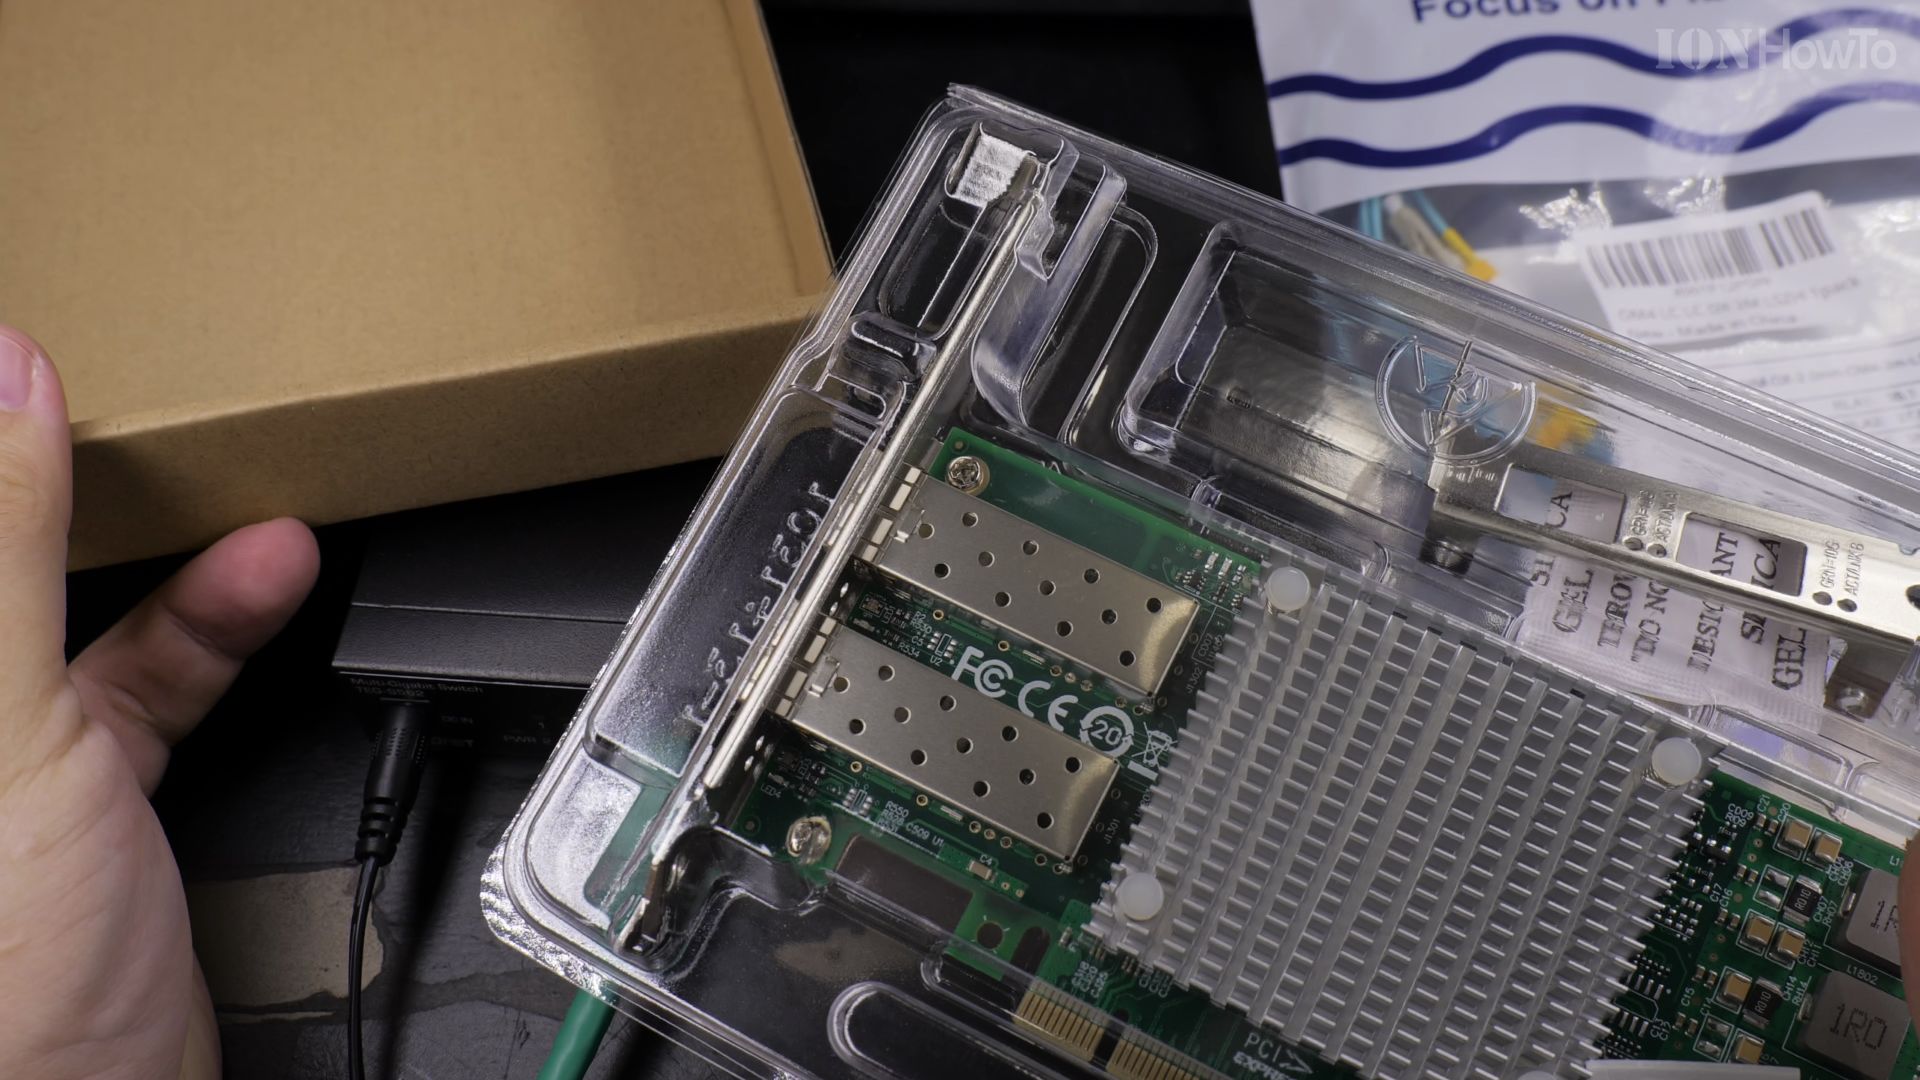
If standard gigabit ethernet creates bottlenecks when transferring large video files or backing up NAS drives, upgrading to 10-gigabit fiber solves the issue. I’ll show you how to install SFP+ transceivers, run fiber optic cabling, and configure a dual PCIe network card in your PC.
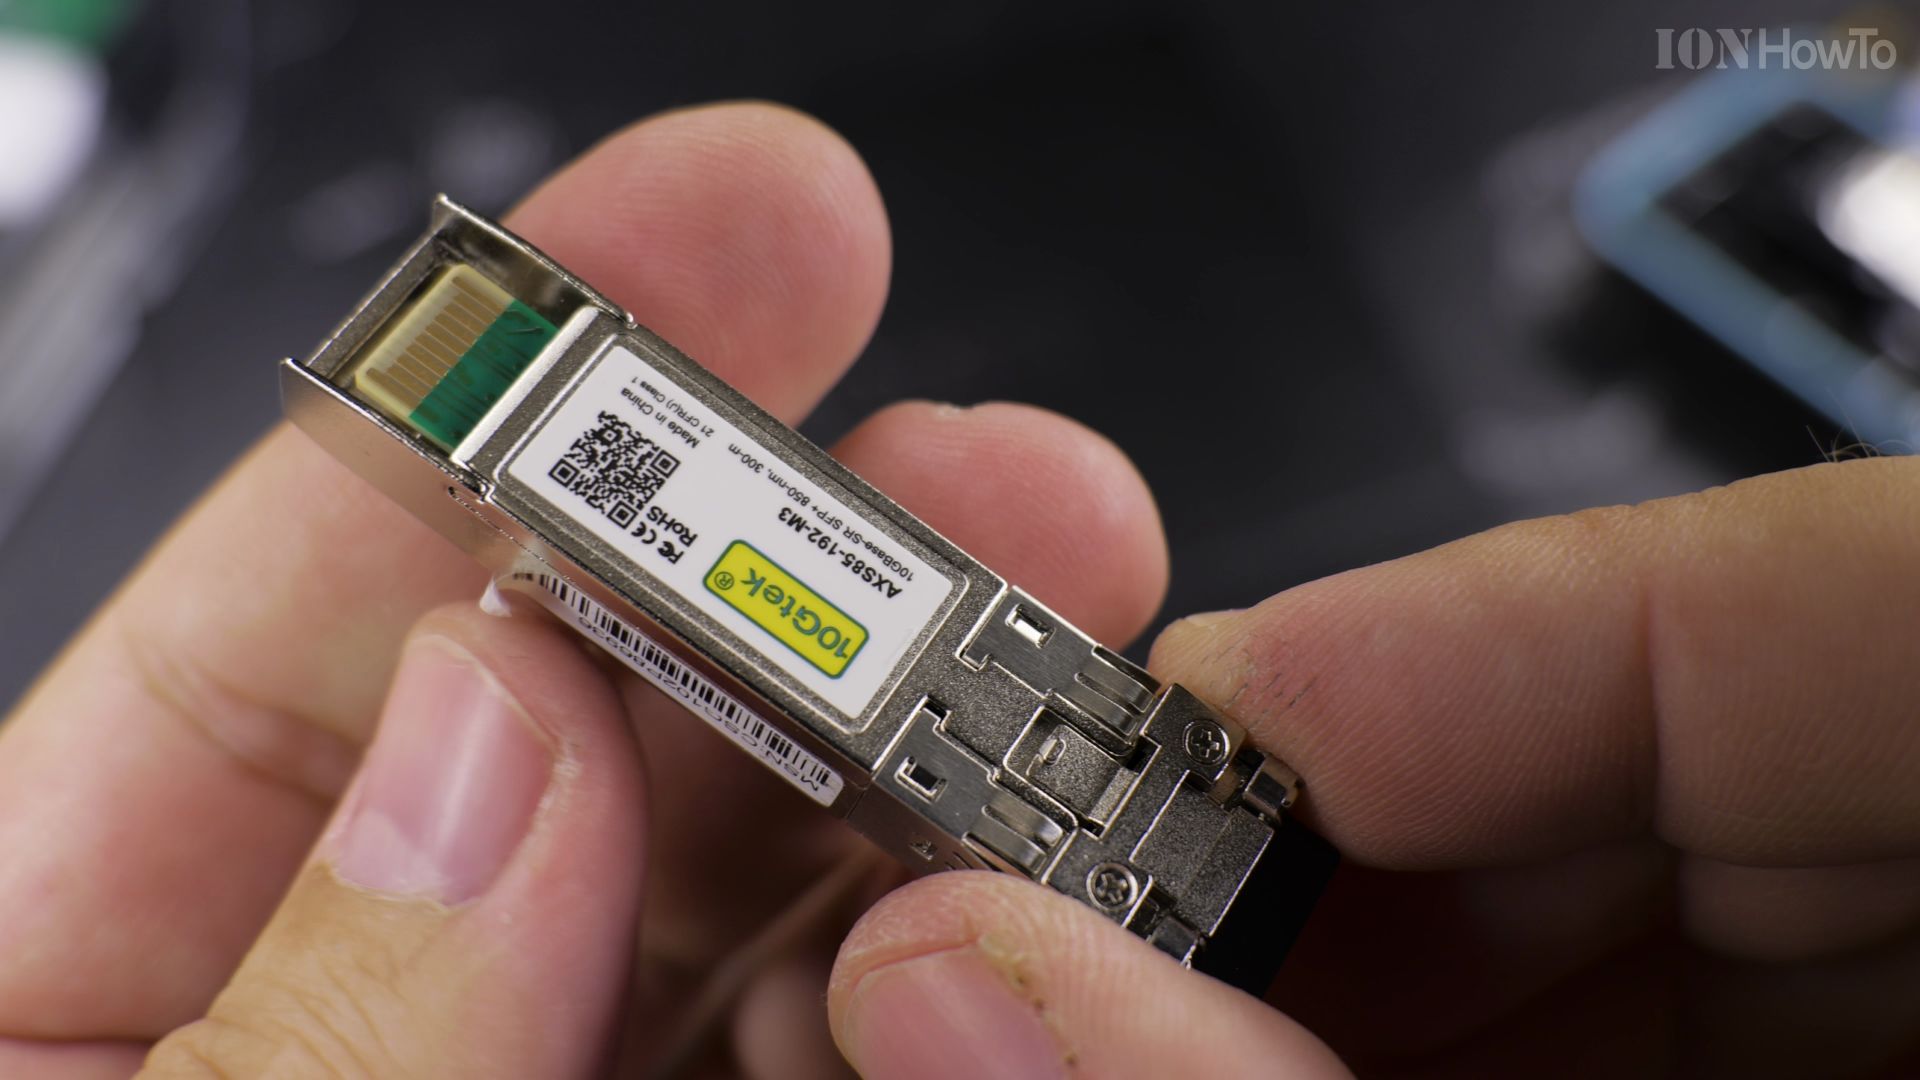
1. Install the SFP+ Optical Transceiver
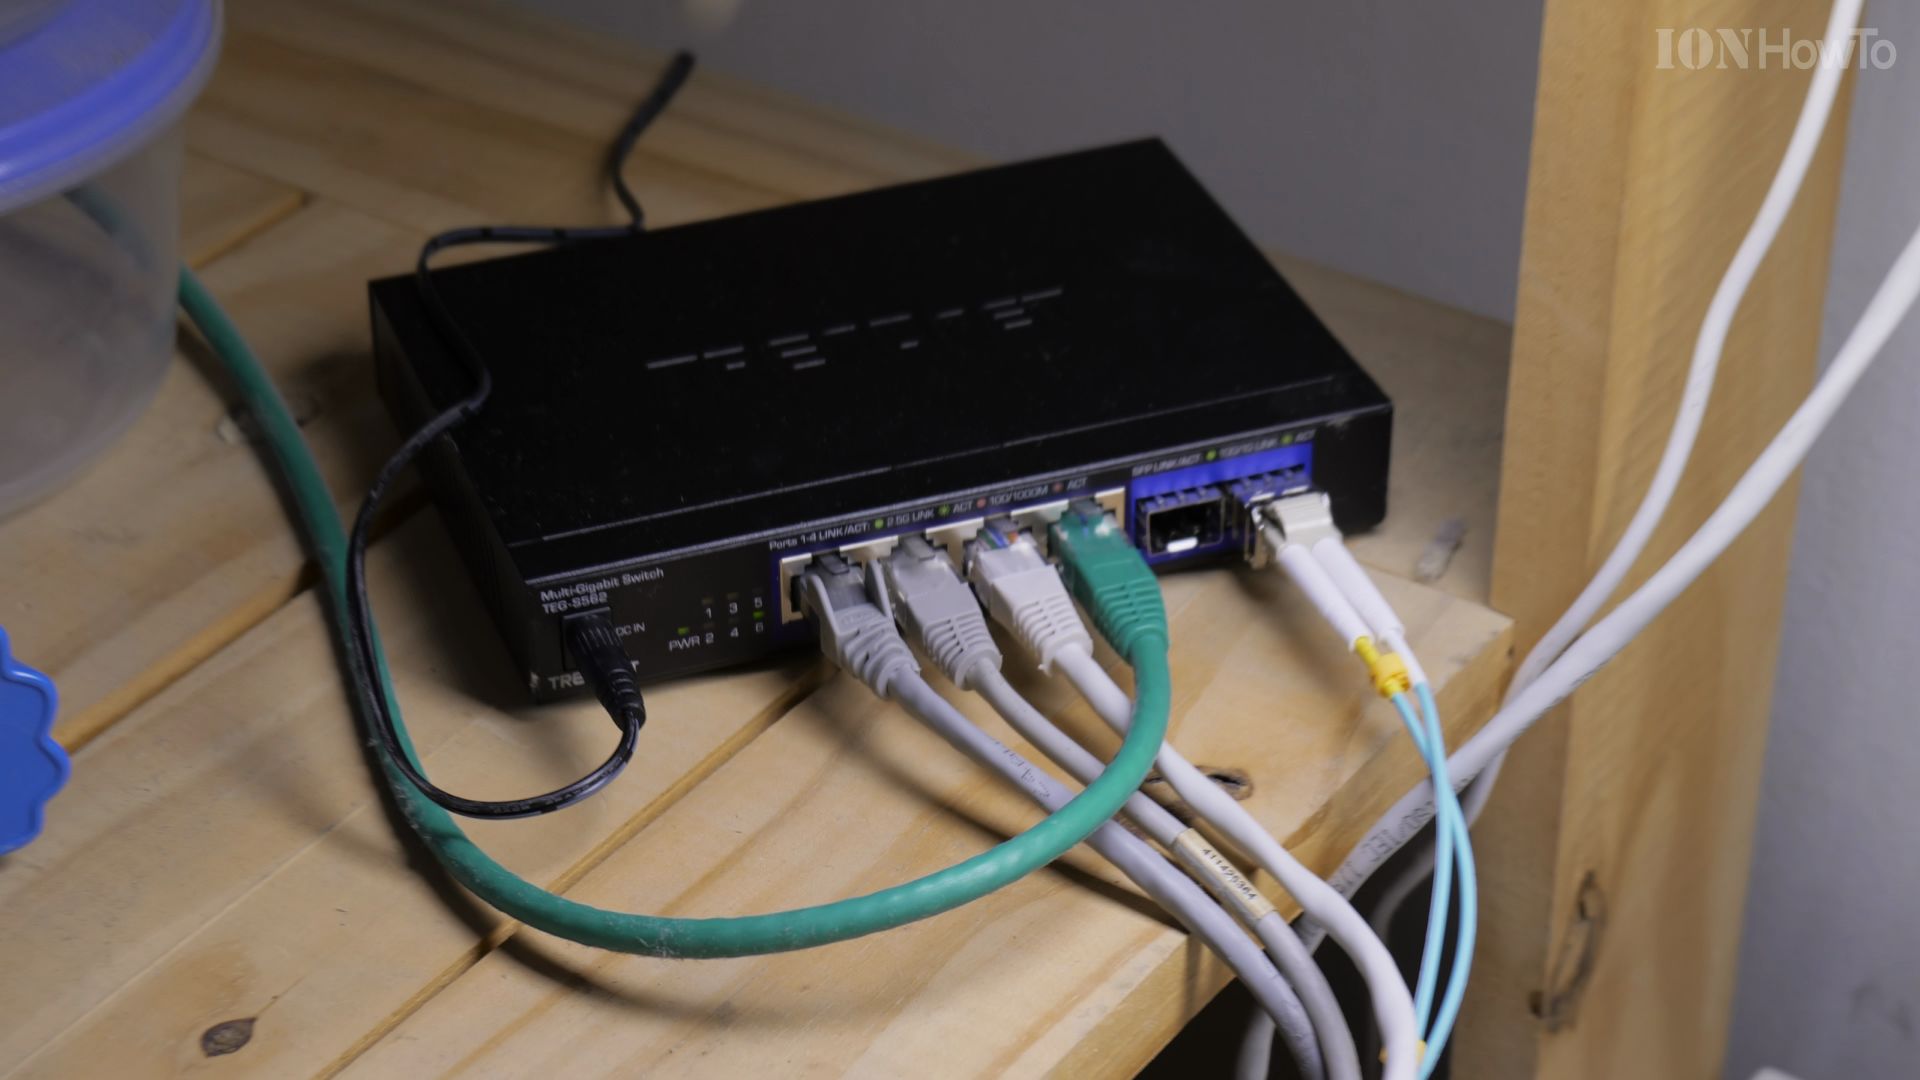
Take a 10Gtek SFP+ multimode optical module. Pull down the metal bail latch, slide it into the switch port until it locks, then flip the latch back up.
2. Seat the Dual PCIe Network Card
Power off your desktop computer and open the side panel. Insert the SFP+ network adapter card firmly into an available **PCIe x4 or x8 slot** and fasten the bracket screw.
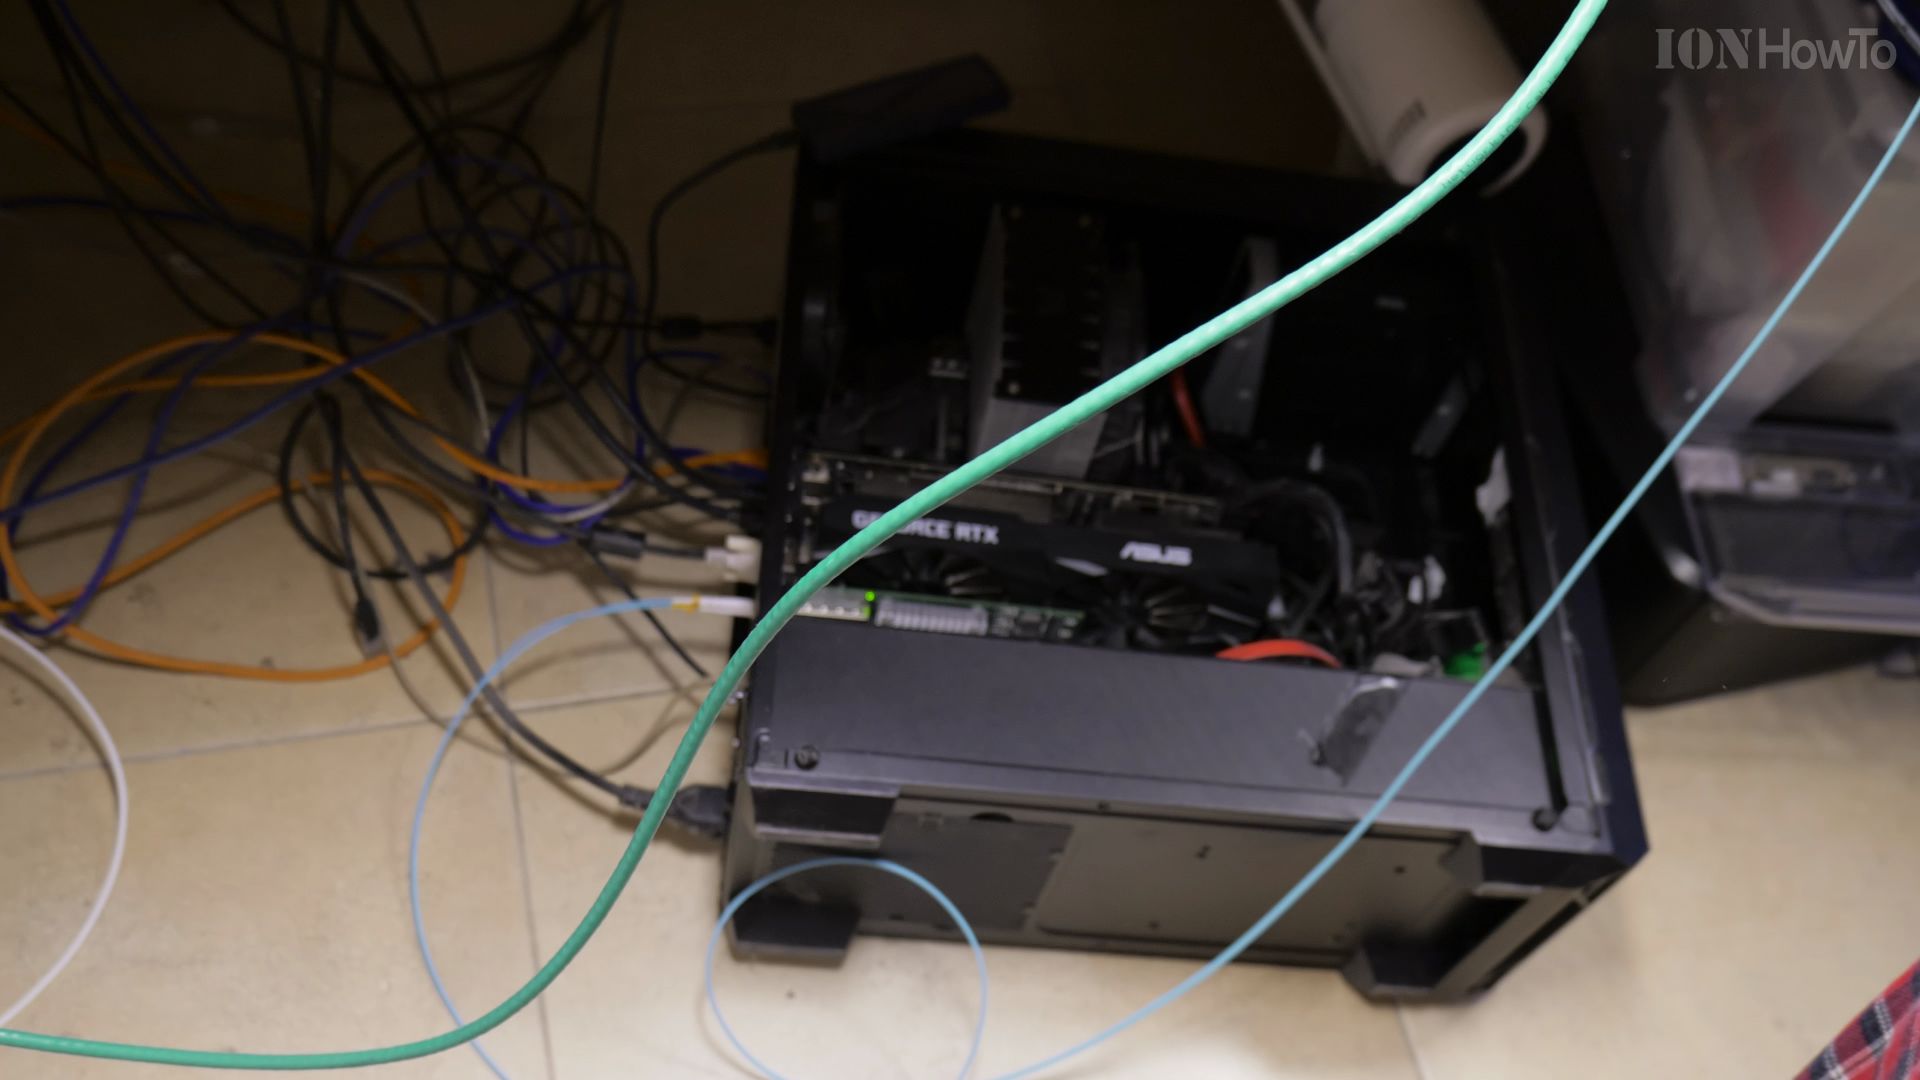
3. Plug in the LC-LC OM4 Fiber Cable
Remove the rubber dust caps from your OM4 duplex fiber cable. Insert the LC connectors into the transceiver on your PC and the matching port on your switch.
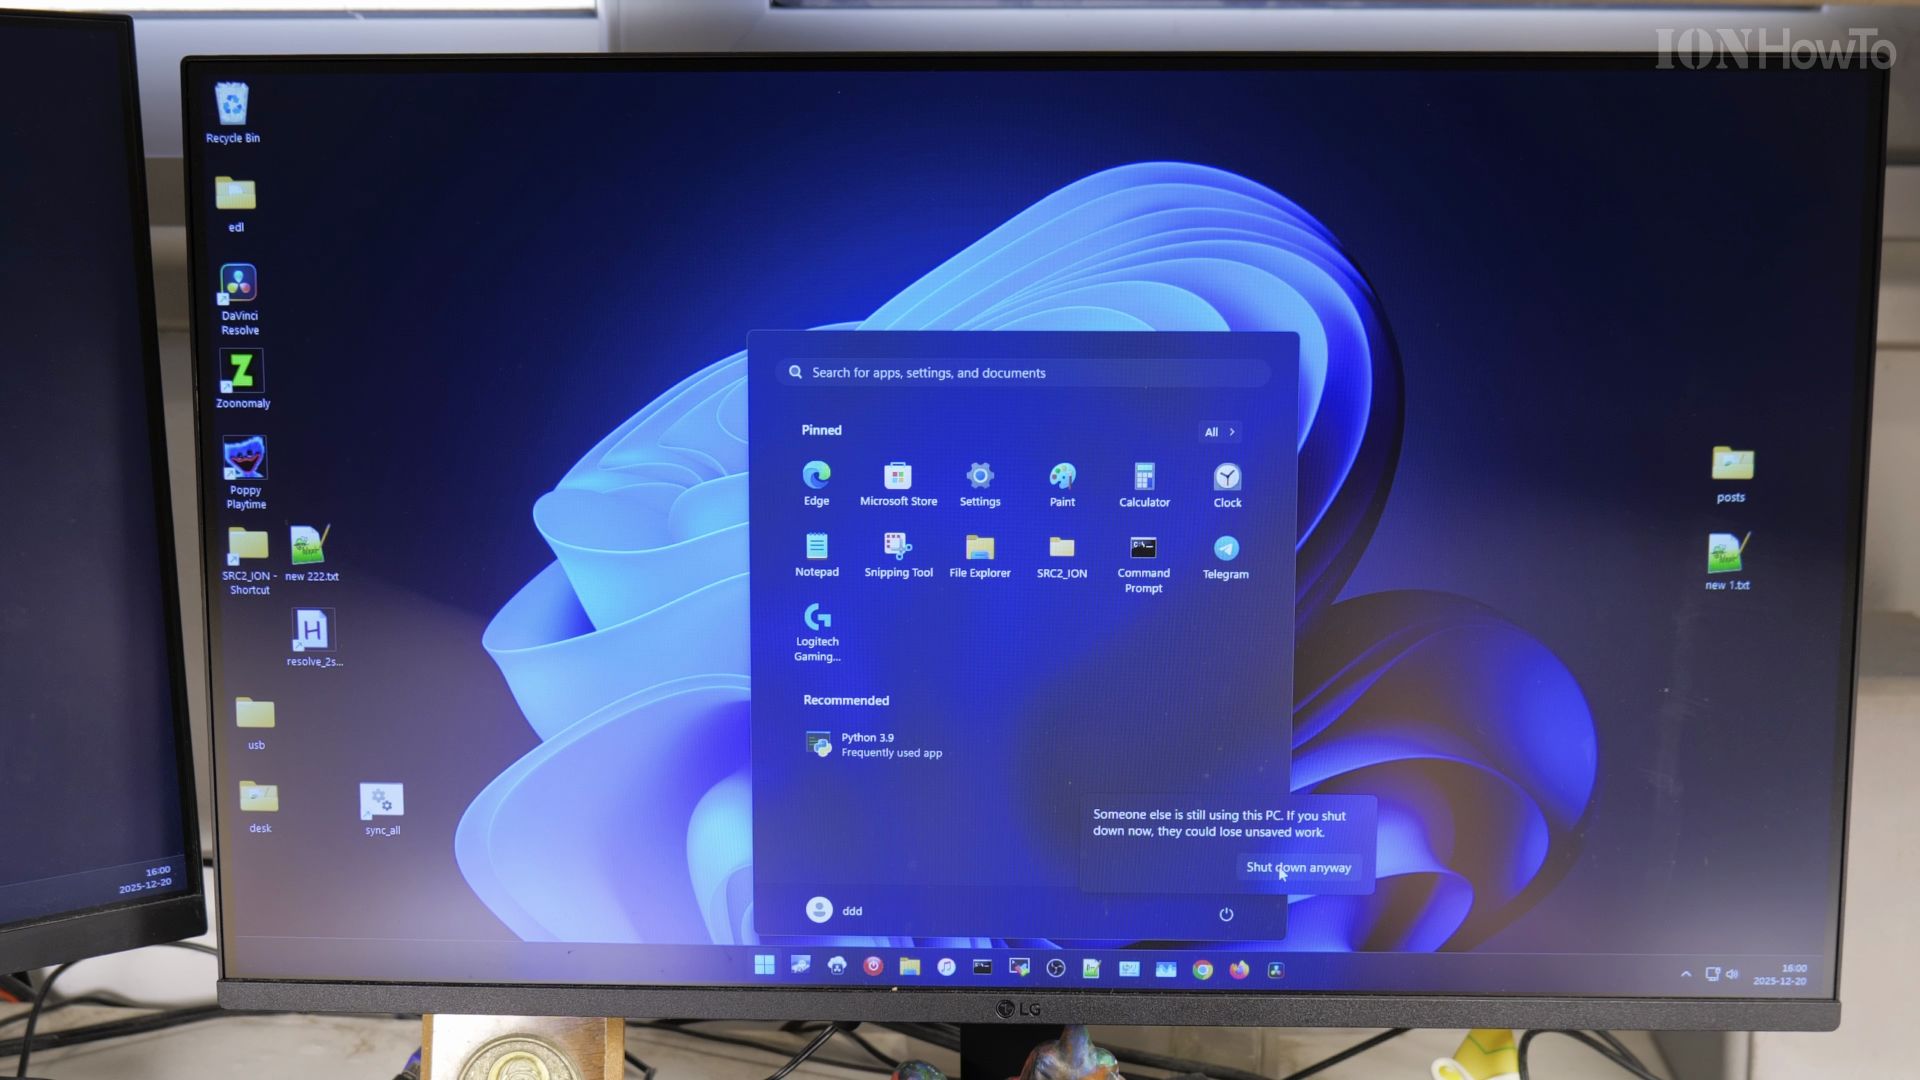
4. Verify the 10Gbps Link and Test Speeds
Boot your PC. Check Windows Network Connections to confirm your adapter negotiates at **10.0 Gbps**, then run an iperf3 or file copy test to enjoy blisteringly fast transfers.
Helpful Tips
Never bend fiber optic cables at sharp 90-degree angles, as excessive bending causes micro-fractures in the glass core that introduce signal loss. For more network hardware guides, explore our Tech Reviews hub or read our How-To tutorials.


Leave a Reply