
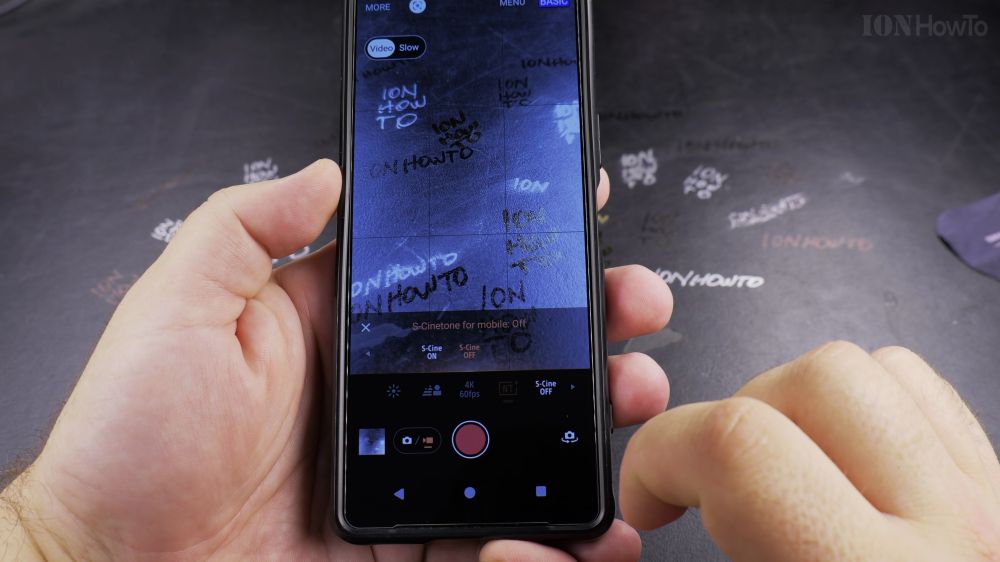
Recording home videos in crisp 4K makes family memories look incredible on modern televisions. I’ll show you how to change video resolution and frame rates directly inside your Android camera app.
1. Open Camera
Open the **Camera** app and switch to **Video** mode.
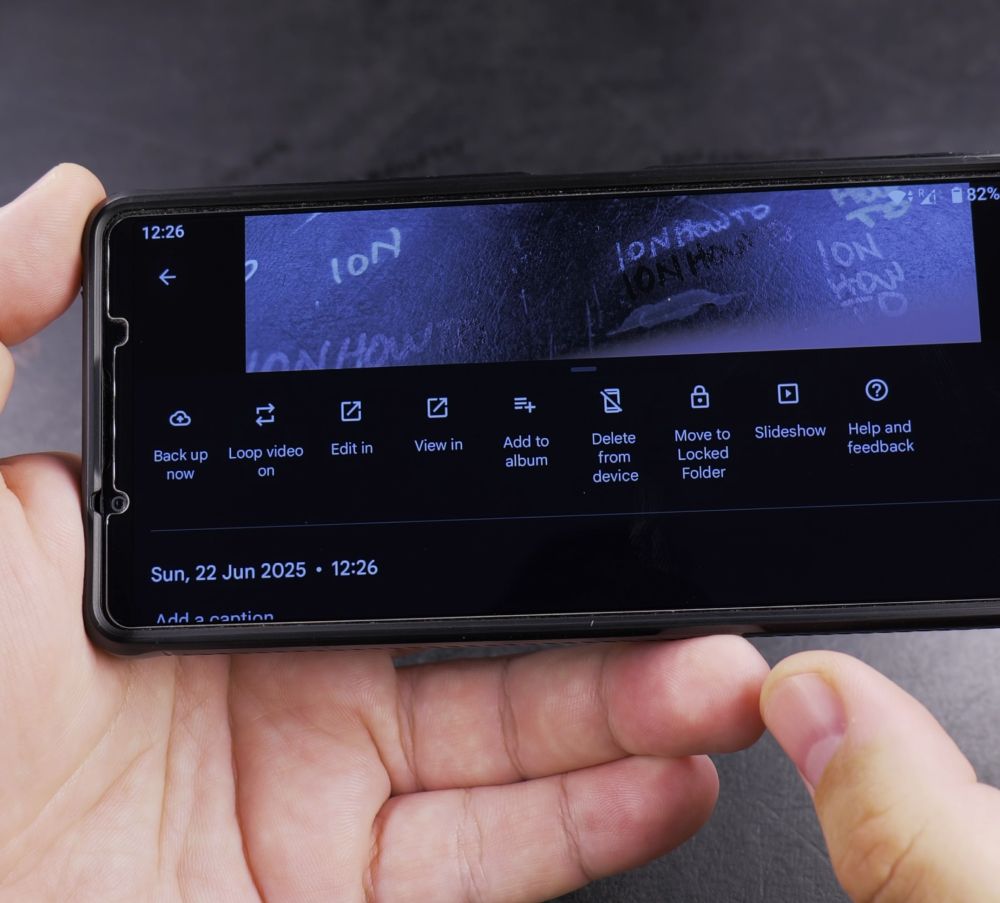
2. Check the Resolution Badge
Look at the top or corner of the viewfinder for the resolution badge (such as **FHD** or **4K**).
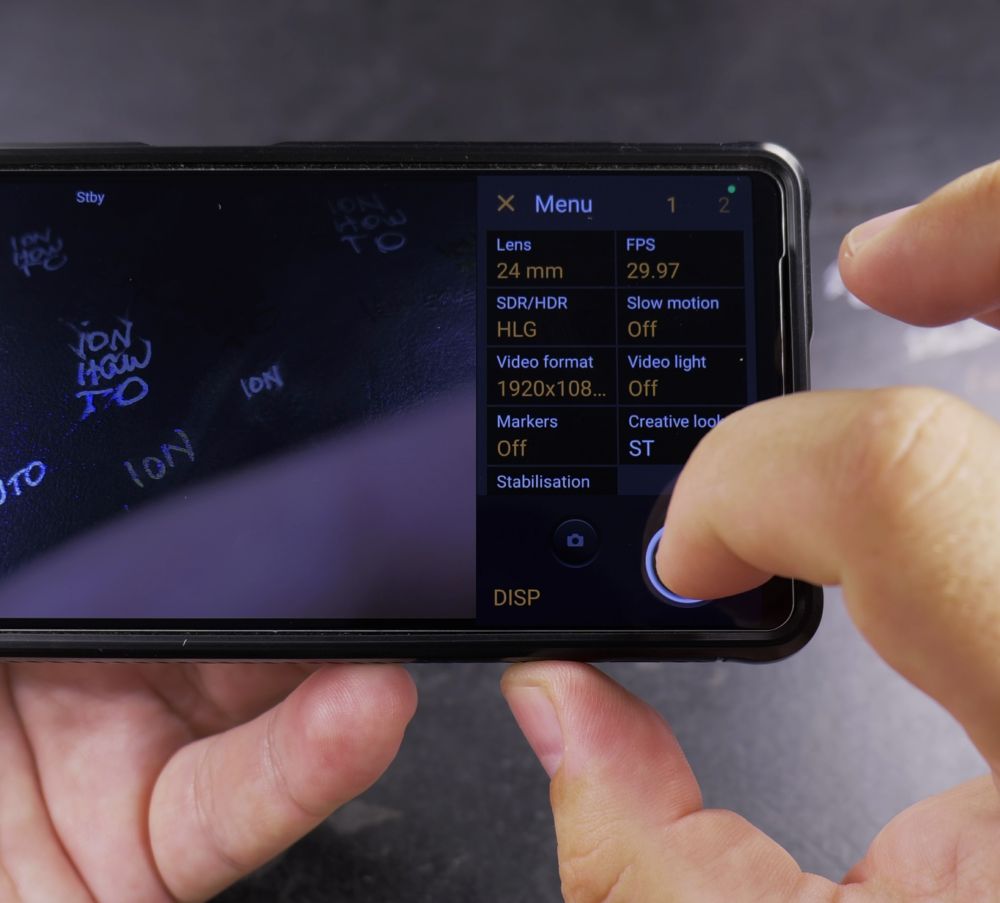
3. Tap to Change Resolution
Tap the badge to toggle between **FHD (1080p)** for smaller files and **4K (2160p)** for ultra-high definition.
4. Pick Frame Rate (FPS)
Tap the number next to resolution (like **30** or **60**) to choose between standard 30fps and smooth 60fps motion.
5. Configure Video Codec (Optional)
Tap the gear icon, open **Advanced video options**, and enable **High efficiency video (HEVC)** to cut video file sizes in half.
Helpful Tips
4K at 60fps produces large video files quickly. If you are recording long school recitals or presentations, 1080p at 30fps is the perfect balance. For more Android guides, explore our Android Guides hub.


Leave a Reply