
How to Transfer from Android to iPhone Using Move to iOS with USB-C Cable.
Switching from Android to iPhone doesn’t have to be stressful. With the Move to iOS app and a USB-C cable, you can transfer your photos, contacts, messages, and more in just a few steps. Here’s how to do it easily.
Amazon links
As an Amazon Associate I earn from qualifying purchases:
- iPhone Accessories
- iPhone Charger
- iPhone Cases
- iPhone Screen protector
- iPhone Magsafe
- iPhone Wallet
- iPhone Usb c cable
How to Transfer from Android to iPhone Using Move to iOS with USB-C Cable
Quick Steps and Scenarios Overview
| What You Need to Do | Quick Jump |
|---|---|
| How to Transfer from Android to iPhone Using Move to iOS with USB-C Cable | Jump to Step 1 |
| Prepare Your Android Phone | Jump to Step 1 |
| Set Up Your New iPhone | Jump to Step 2 |
| Use Move to iOS on Your Android Phone | Jump to Step 3 |
| Finish iPhone Setup | Jump to Step 4 |
| Extra Tip: Free Up Space Before Transferring | Jump to Step 2 |
What You’ll Need
- Your Android phone (Sony Xperia 1 V in this example, running Android 15).
- Your new iPhone (iPhone 16 Pro Max, iOS 18.3.2).
- A USB-C cable (or Wi-Fi if you prefer wireless transfer).
- The Move to iOS app (download from the Google Play Store).
1. Prepare Your Android Phone
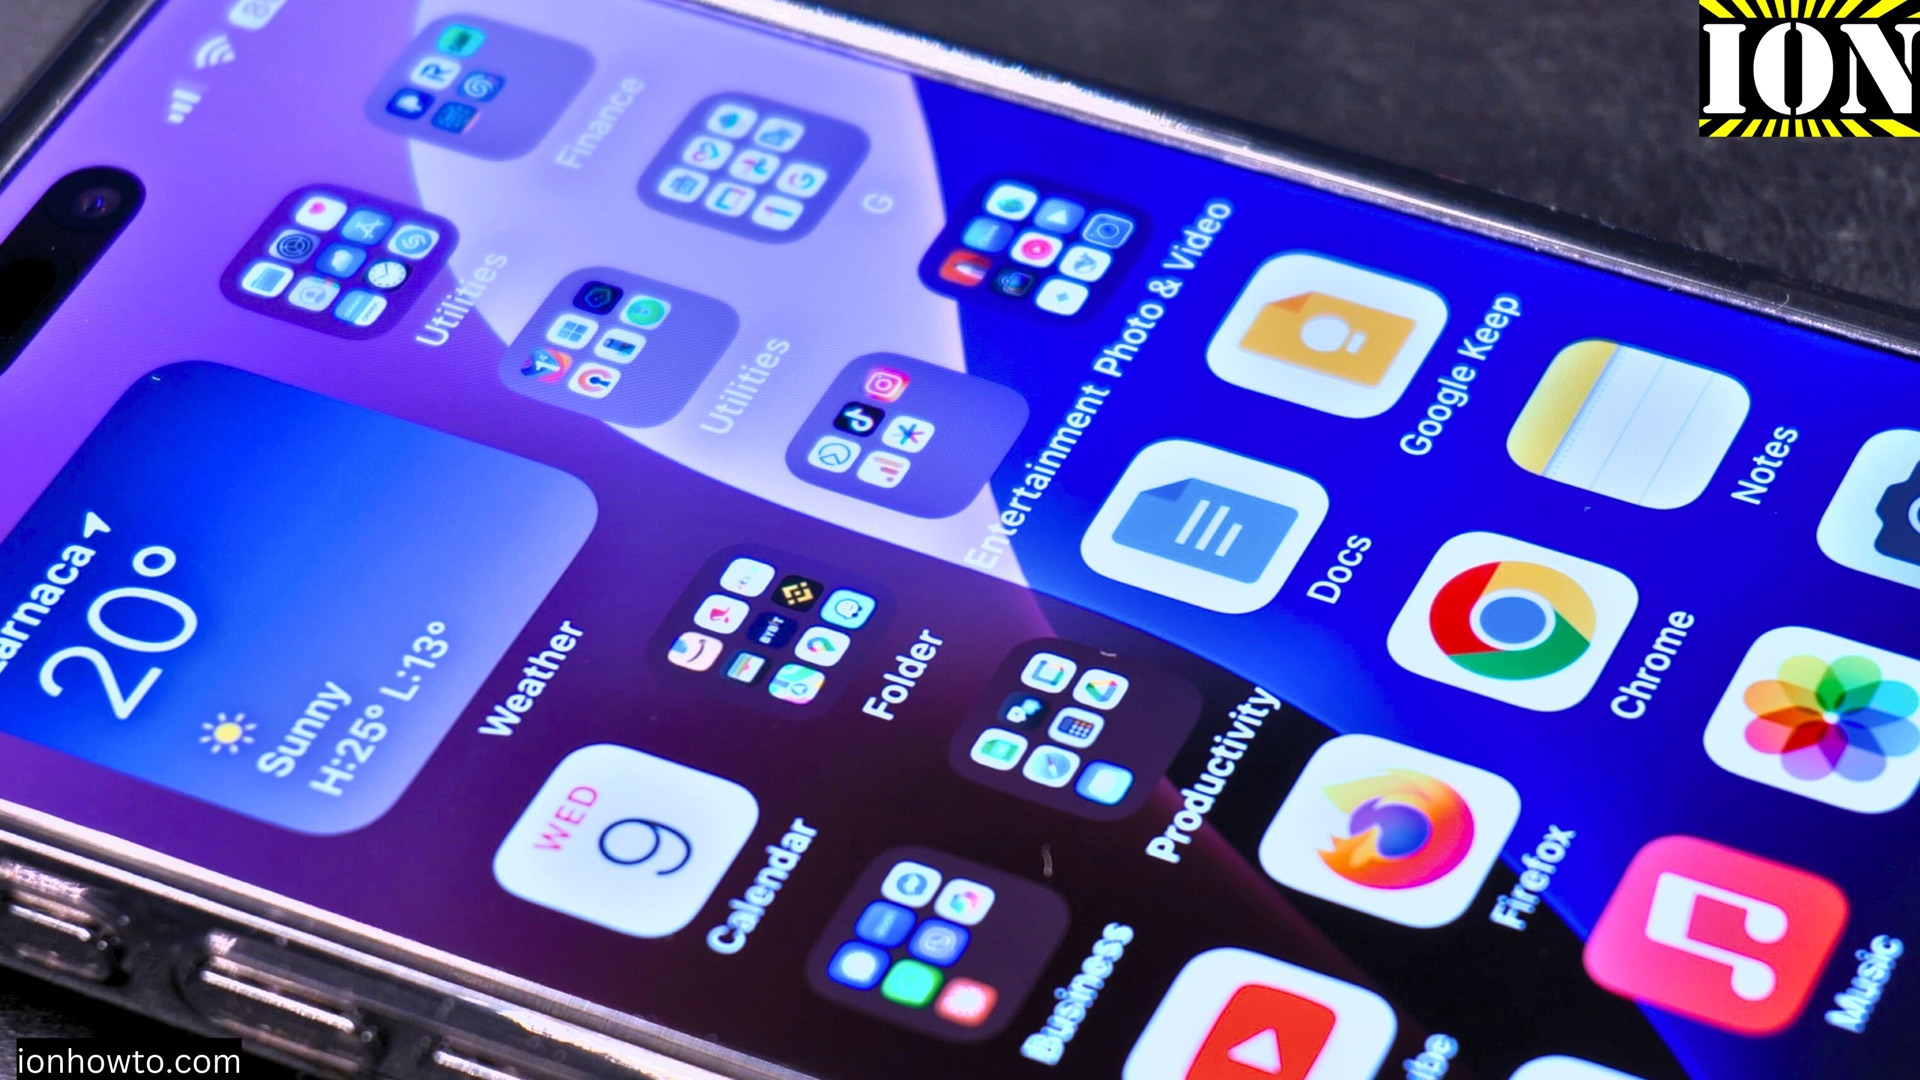
- Back up important files (just in case).
- Connect your Android to a computer and copy photos/videos.
- Or use Google Drive or an external hard drive for extra safety.
- Charge both phones to at least 50% to avoid interruptions.
- Disconnect from VPN or proxy (they can interfere with the transfer).
2. Set Up Your New iPhone
- Turn on your iPhone and follow the setup steps until you see “Apps & Data”.
- Select “Move Data from Android”.
- A code will appear and keep this screen open.
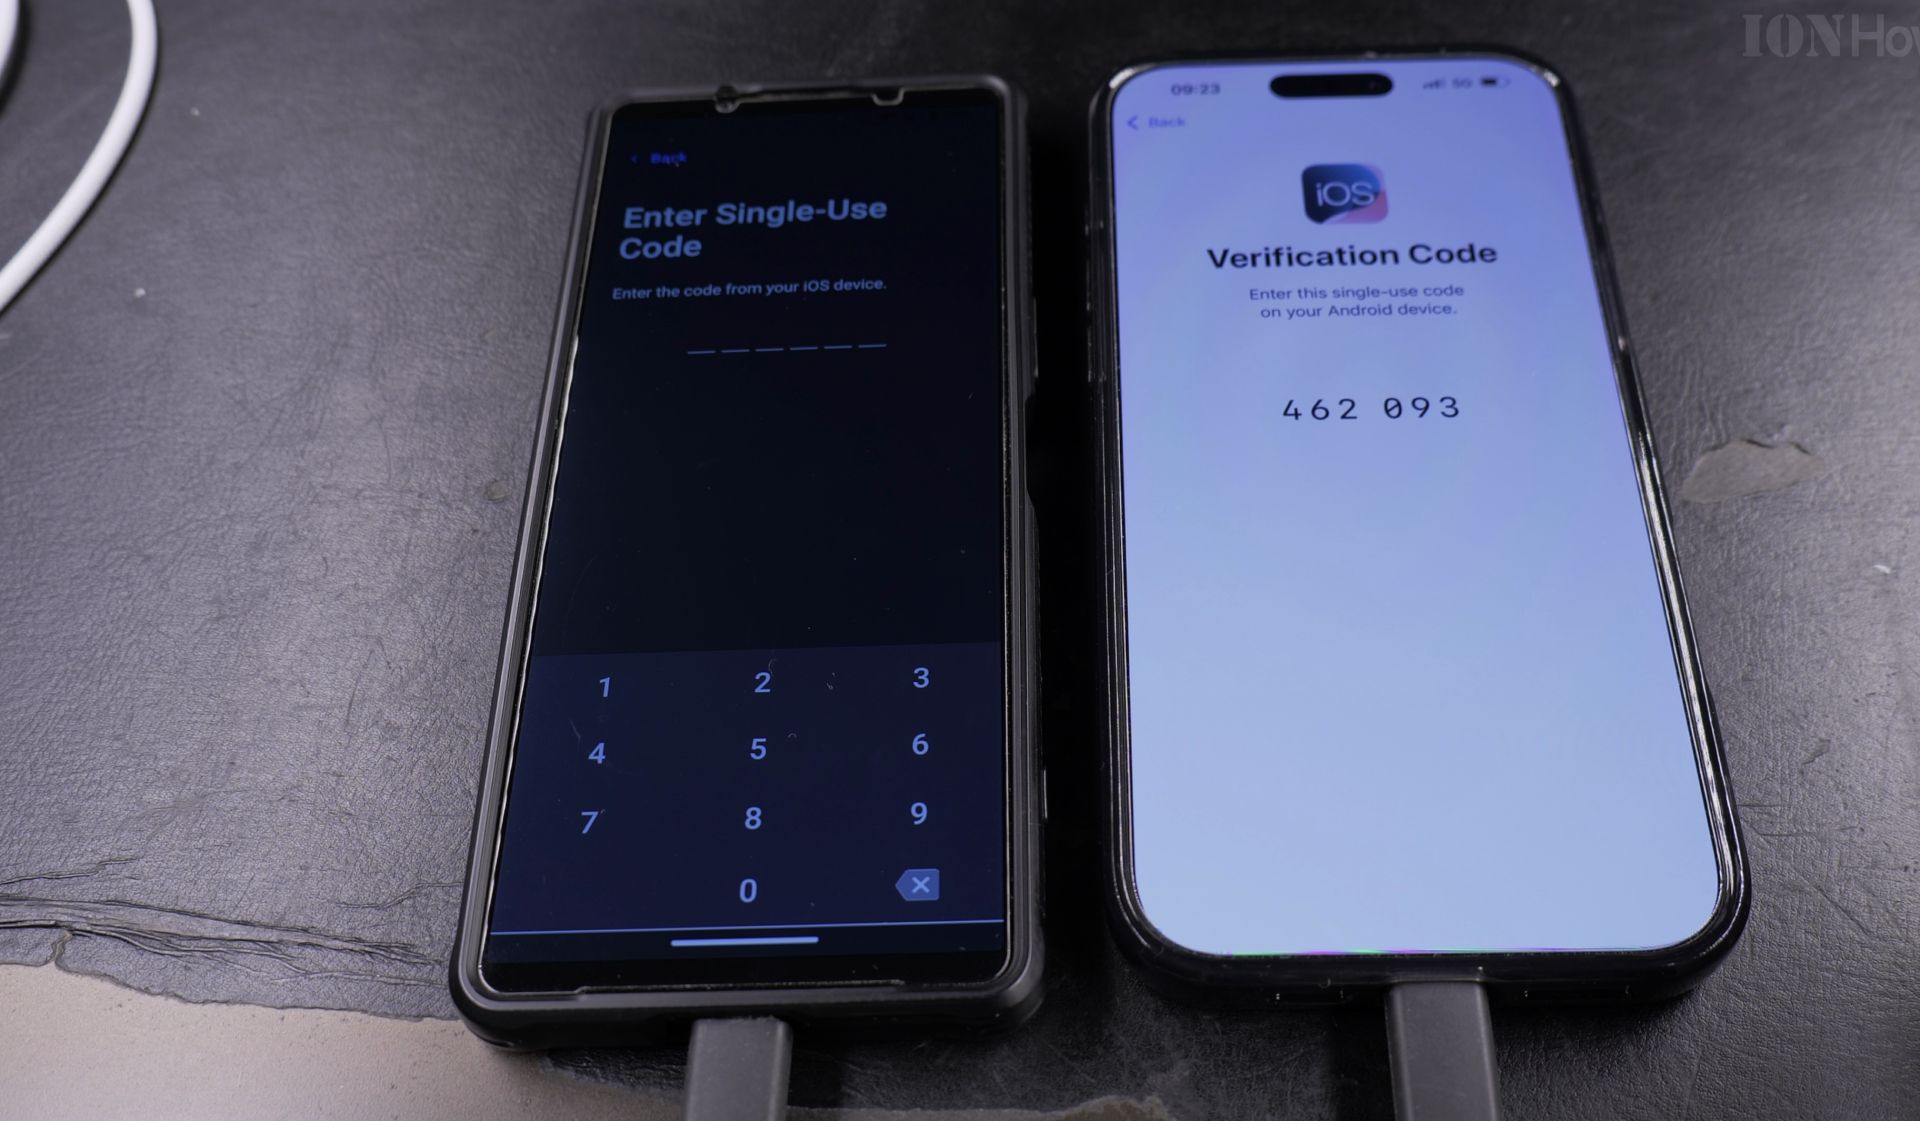
3. Use Move to iOS on Your Android Phone
- Open the Move to iOS app on your Android phone.
- Tap Continue, then Agree to the terms.
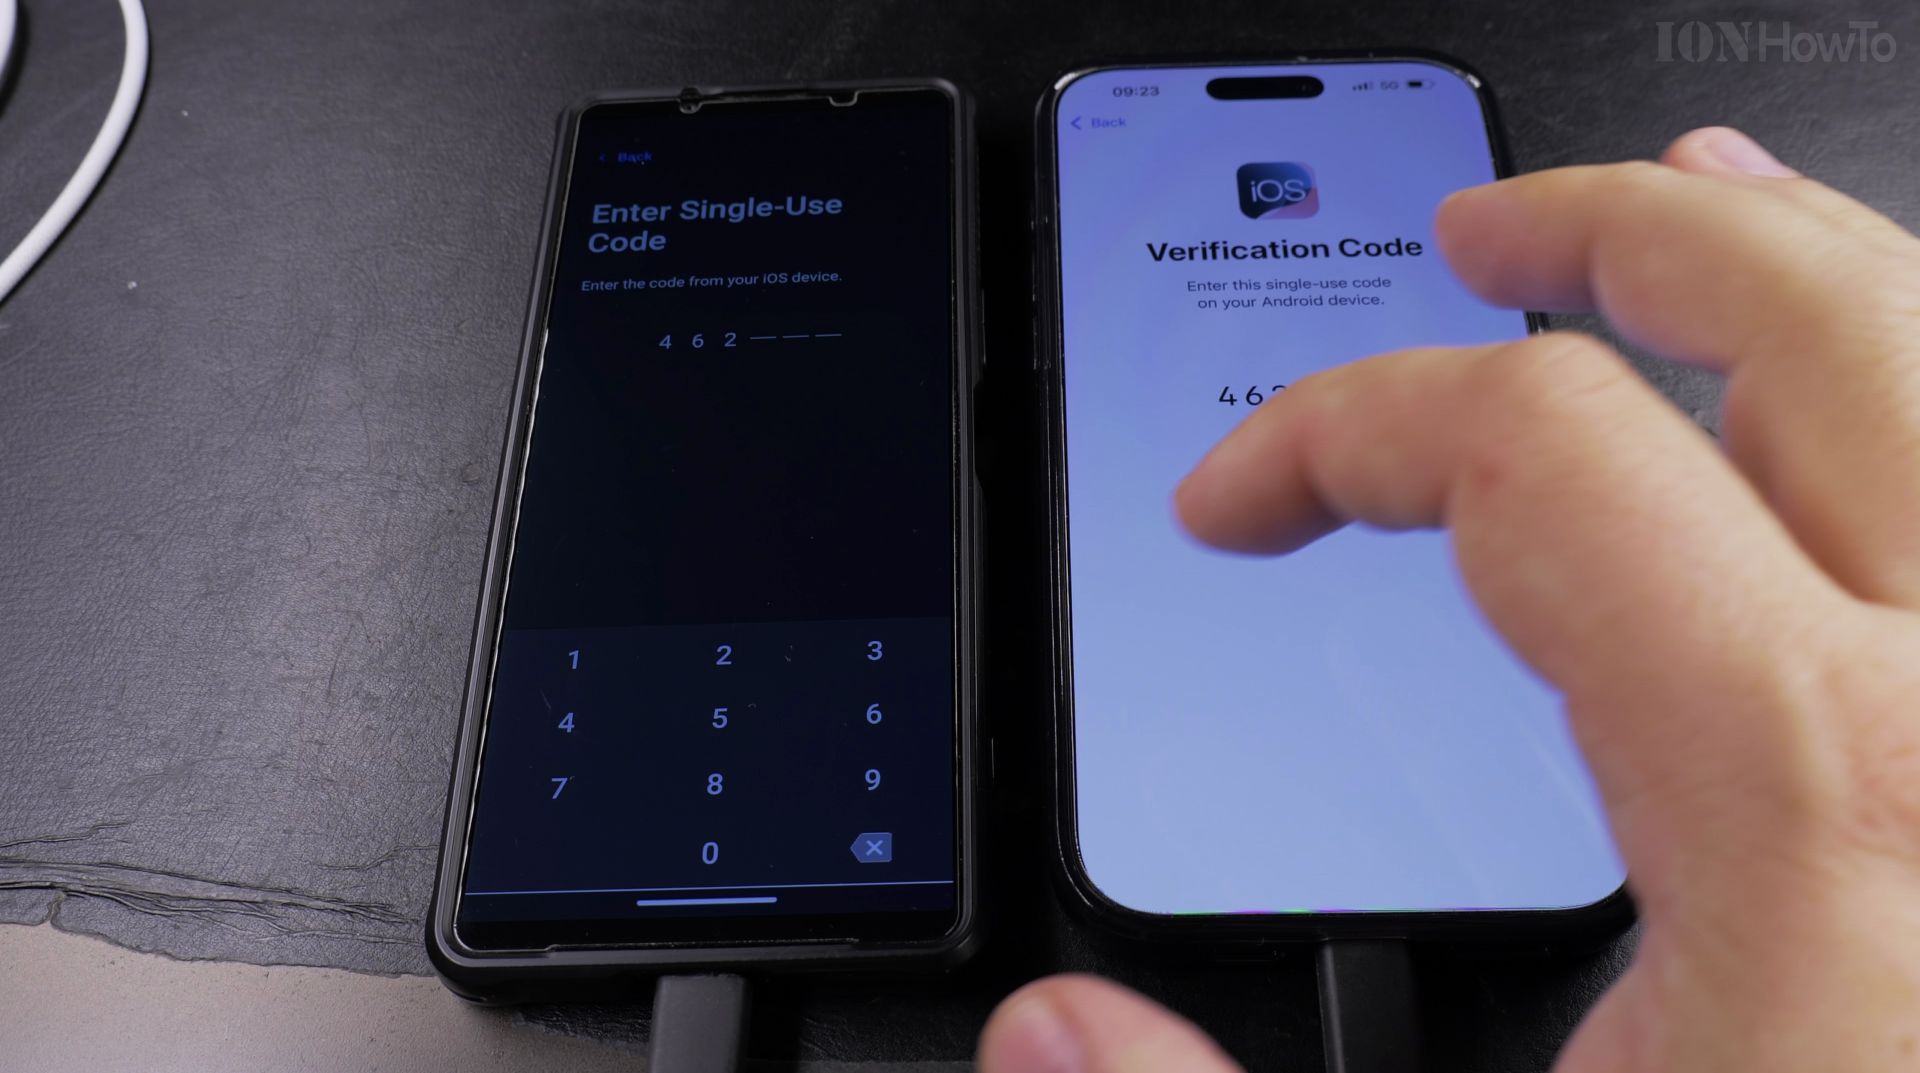
- Enter the code from your iPhone when prompted.
- Choose what you want to transfer:
- Contacts
- Messages
- Photos & Videos
- WhatsApp data (if supported)
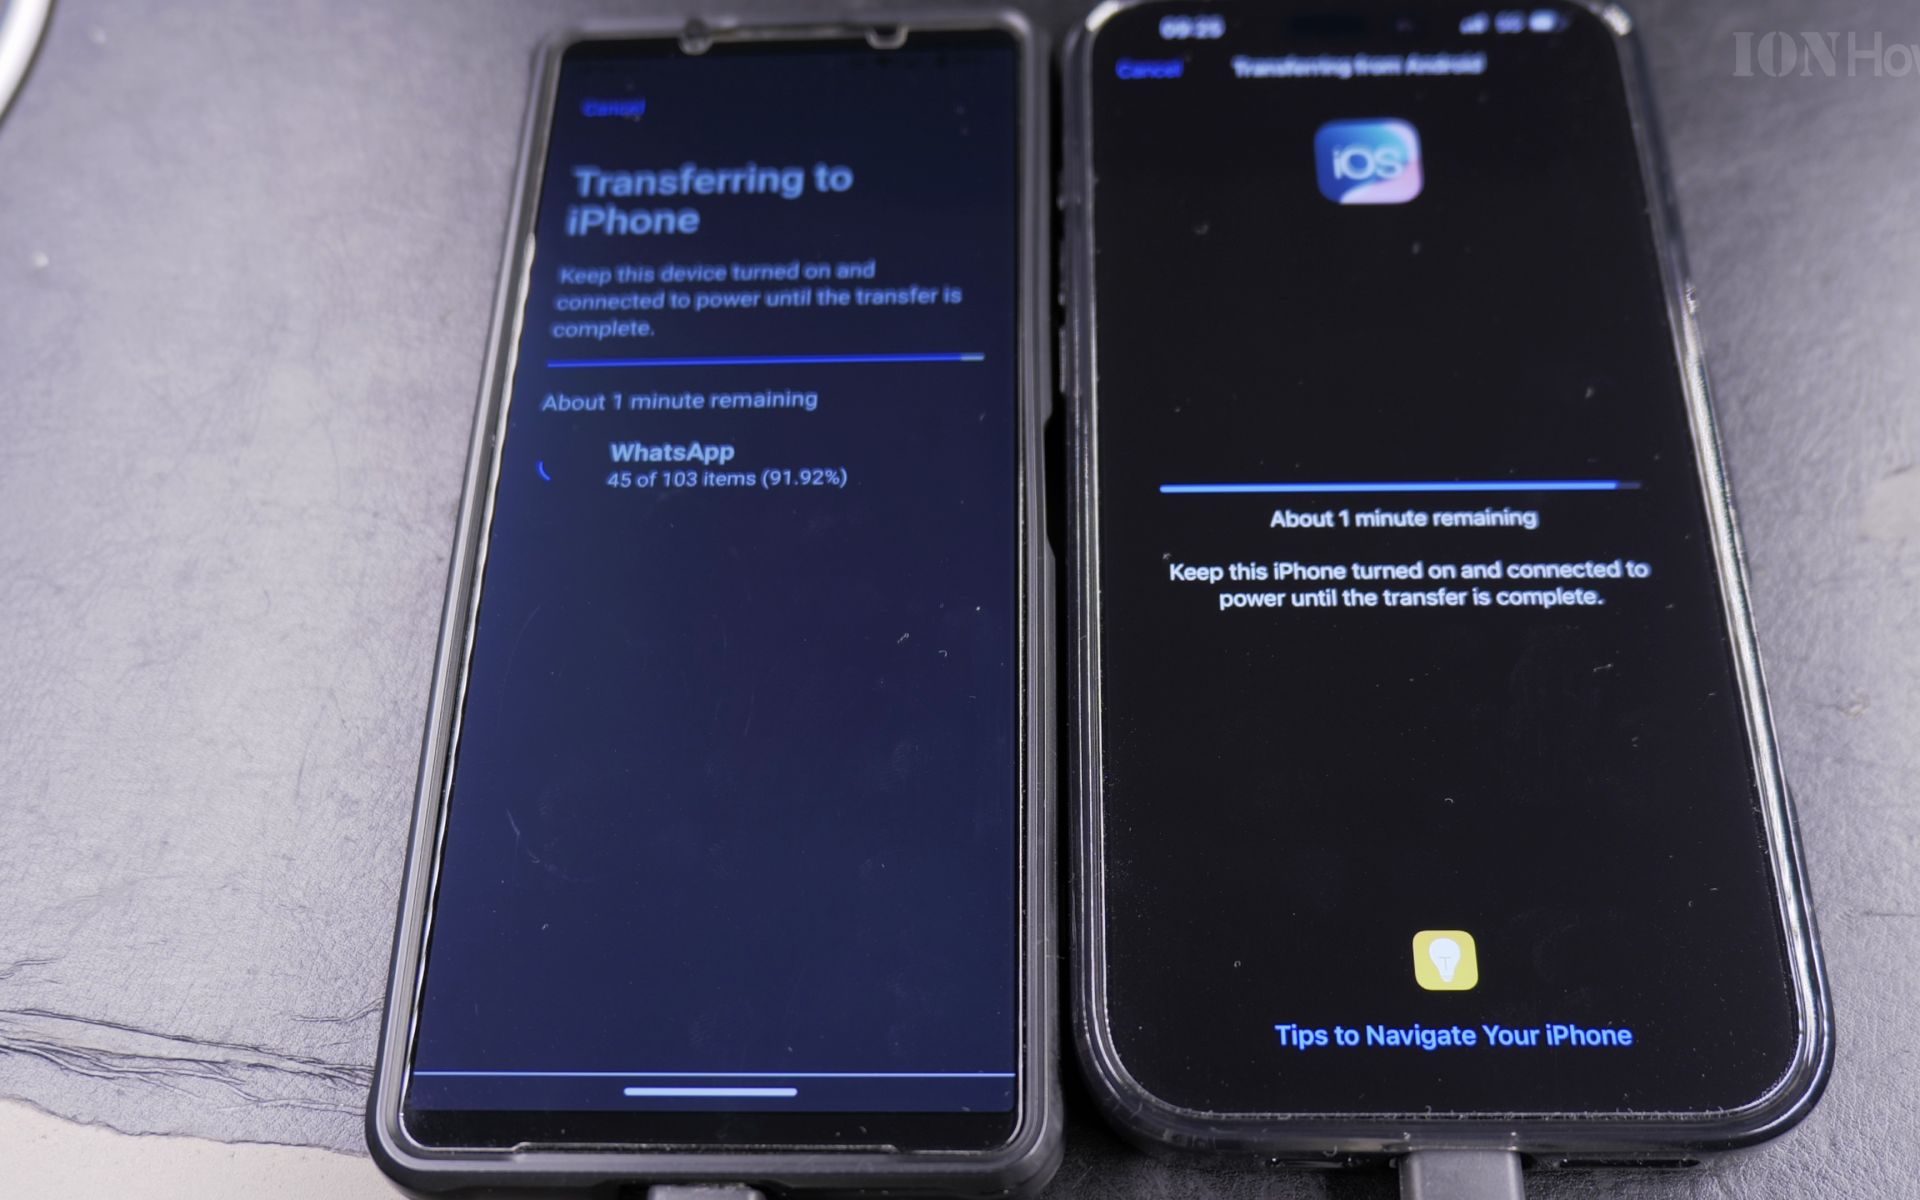
- Tap Next and wait for the transfer to complete.
4. Finish iPhone Setup
- Once the transfer is done, continue setting up your iPhone.
- Check that all your data (contacts, photos, etc.) has moved over correctly.
Extra Tip: Free Up Space Before Transferring
If your Android has too many photos and videos, move them to a computer or external drive first:
- Connect your Android to a PC or Mac via USB.
- Open File Explorer (Windows) or Finder (Mac).
- Copy your DCIM (photos) and other important folders to your computer.
- Delete unnecessary files from your Android to speed up the transfer.
Conclusion
Using Move to iOS with a USB-C cable makes switching to iPhone smooth and fast. If you have a lot of data, backing up to a computer first is a great way to avoid clutter.
Tested on:
- Android: Sony Xperia 1 V (Android 15)
- iPhone: iPhone 16 Pro Max Titanium Black (iOS 18.3.2, Model A3296 – MYWV3ZD/A)
Now enjoy your new iPhone with all your old data safely transferred!
Helpful Tips
Take your time and check the screen carefully after each tap so you can confirm the setting changed as expected. If an option appears in a slightly different spot on your device, watch the embedded video above for a closer look.
Related Guides
- How to Setup Google Pixel 11 Pro XL: Transfer Settings from iPhone or Android Guide – Setting up a new flagship phone is exciting, and Google modern transfer assistant makes moving from an iPhone or older…
- Move iPhone eSIM to Android – How to Move Your eSIM from iPhone to Android.
- Connect Lightning Cable to USB C iPhone and iPad with Adapter – If you upgraded to a new iPhone or iPad with USB-C, you do not need to throw away your older Lightning cables.
- Android & Mobile Guides – Browse more tutorials and practical guides in this section.


Leave a Reply