Category: Cameras

  • DaVinci Resolve Speed Editor Unboxing Setup First Use

    DaVinci Resolve Speed Editor Unboxing Setup First Use

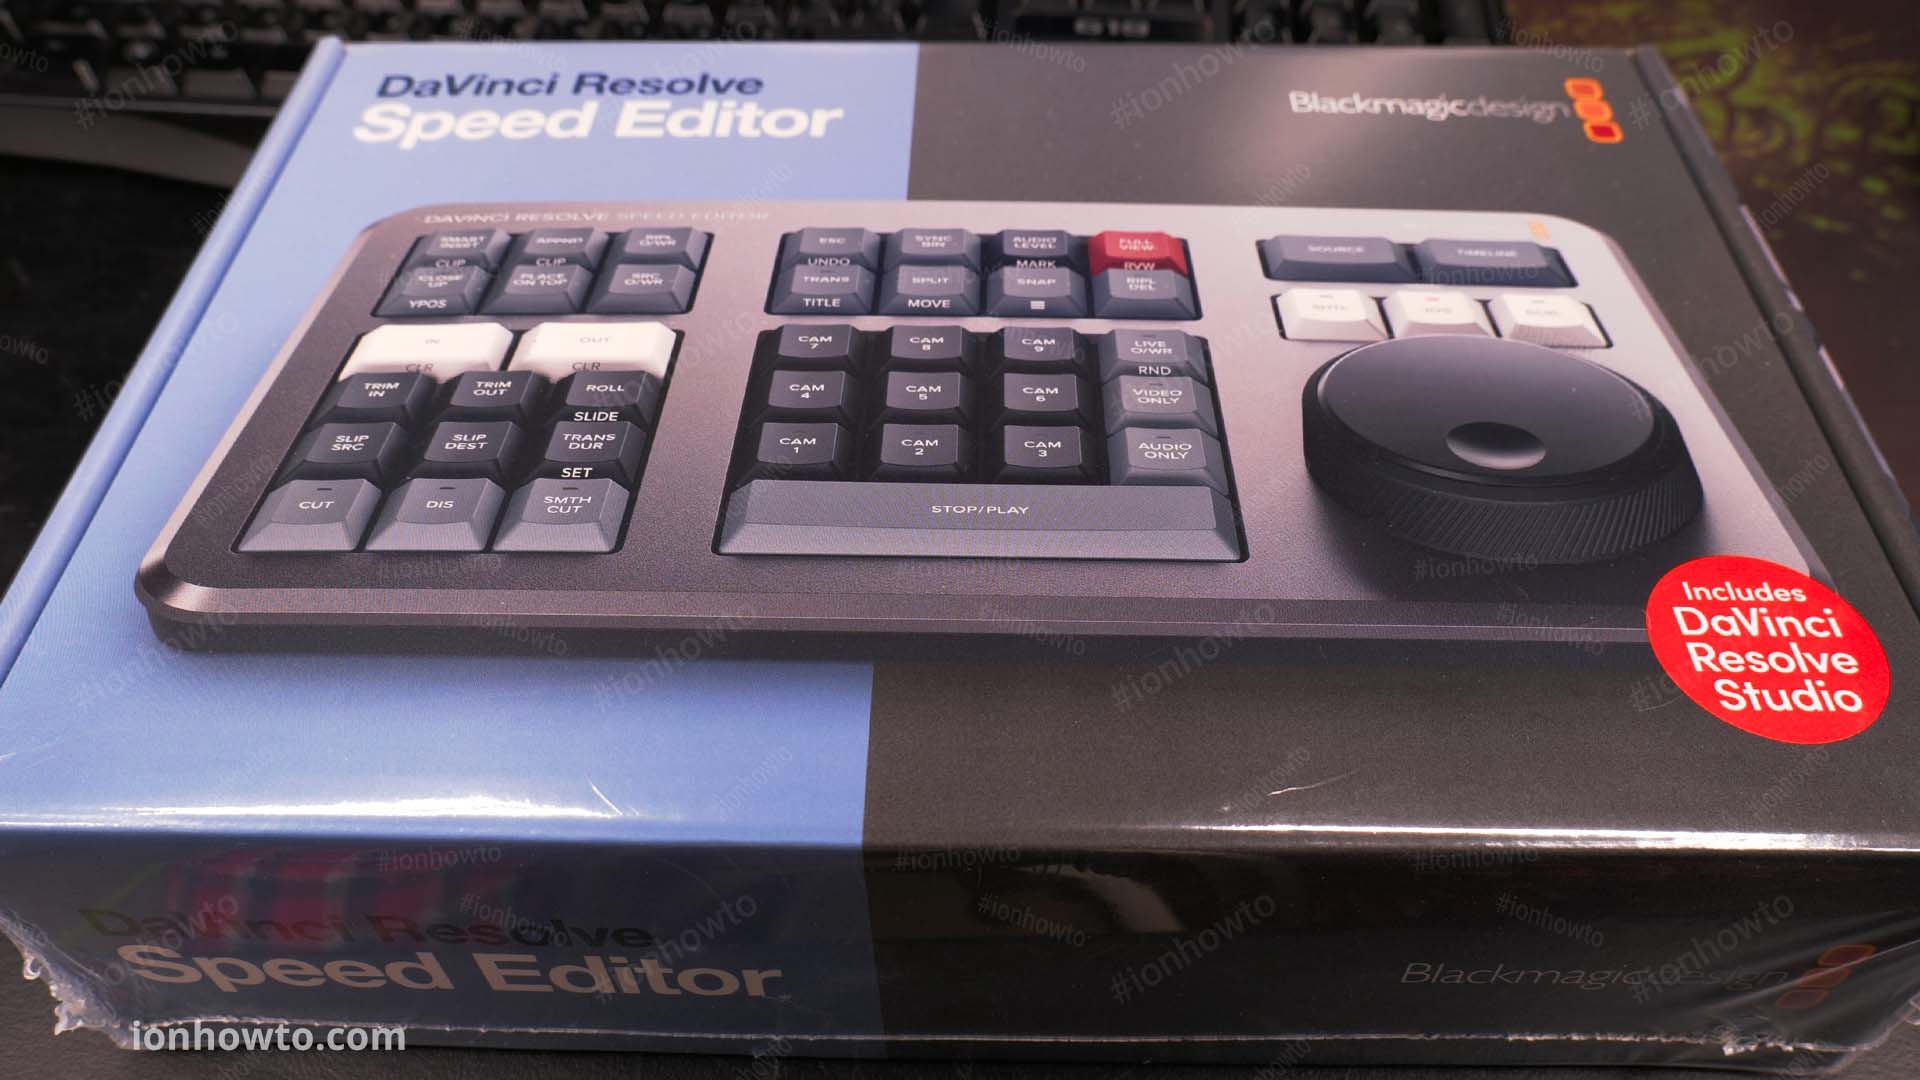
    DaVinci Resolve Speed Editor keyboard unboxing, setup and first use.
    Unboxing the Blackmagic Design DaVinci Resolve Speed Editor keyboard and trying the DVR speed editor for the first time ever.

    Check prices

    Must buy extras

    DaVinci Resolve Speed Editor Unboxing, Setup and First Use

    First Use

    Feel of the buttons is a bit stiff at first but got used to them. They feel very similar to my Logitech G19 PC keyboard and love them.

    DaVinci Resolve Speed Editor Keyboard
    DaVinci Resolve Speed Editor Keyboard

    The jog wheel of the speed editor feels really locked-in with the timeline or source monitor.

    Any small slight movement on the jog wheel reflects in real time on the screen timeline as if there was a physical belt connecting the speed editor jog wheel and DaVinci Resolve Studio.

    The rotating dial feels luxurious with solid weighty feel but very well balanced as seen in the video.

    DaVinci Resolve Speed Editor Jog Wheel
    DaVinci Resolve Speed Editor Jog Wheel

    Jog wheel can function as a shuttle wheel which I personally don’t like much and for fast scrolling thru the timeline. The scroll feels really effective at going thru a lot of footage fast finding what is needed.

    In the video you can also see my first edit with the speed editor and how easy it is to use to put a timeline together.

    DaVinci Resolve Speed Editor Keyboard First Use

    Good things about the DVR Speed Editor

    The DVR Speed Editor comes with a full DaVinci Resolve Studio 18 license (18.1 at the moment works great).
    Not only that but you can activate one license on 2 computers at the same time. In this way it’s like having 2 licenses.

    DaVinci Resolve Studio 18.1 License Speed Editor
    DaVinci Resolve Studio 18.1 License Speed Editor

    Was suspicious when saw the 1 activation left notice after activating it.
    Tried it and it works on 2 devices. After second activation it says no activation left.
    If you try to activate a third device with the same license, one of the previous activation will be deactivated automatically once connected to the internet for updates I guess.

    The rubber pads on the bottom of the DVR Speed Editor will keep it from sliding on your desk. Rubber feet just became rubber mattresses on this one.

    What’s bad about the DVR Speed Editor

    Shipped with low battery

    Shipped with very low battery – sitting on a shelf a long time I guess.

    Speed Editor had 0% – 2% battery and no reaction when plugged in. I thought it was a bad unit.

    Got the Blackmagic Design speed editor keyboard. Was worried it’s a brick for 15 min. – no reaction at all. Turns out the battery was 2% when DaVinci Resolve 18 finally sees it.

    Then asks to update immediately at 8% battery. I’m glad it has a chance to work still.

    Anyone getting their speed editor, let it charge on USB for a few hours.
    Charging can be slow and could take 3-4 hours even. Reached 43% unplugged for a few minutes then back in and showed 17% initially. Now it’s always plugged in because of the next bad thing about the speed editor.

    Bluetooth doesn’t work for me

    It is supposed to work via Bluetooth only but for me it does not.
    The Resolve Speed Editor connects to Bluetooth fine and the Bluetooth dongle I use blinks like it’s doing things.

    The Speed Editor has Snap and Jog buttons illuminated but not responding to any keys and can’t change Jog mode to Scroll or Shuttle. Nothing happens when pressing any buttons.

    Restarted DaVinci Resolve several times, using latest Resolve Studio 18.1 version and updated the Speed Editor Firmware as required via USB. Still not working thru Bluetooth.
    I suspect it might be the Bluetooth dongle I’m using so already ordered another dongle to try if the speed editor could work via Bluetooth.

    On a laptop it might work fine but because I use a desktop PC, I have to use a USB Bluetooth adapter dongle.

    Not all USB Bluetooth dongles will work with the Resolve Speed editor.

    Update after trying different Bluetooth dongles

    The DaVinci Resolve Speed Editor does work with a PC via Bluetooth but only if the PC has a compatible Bluetooth adapter dongle.

    I noticed the Bluetooth dongles that do work with the Speed Editor are the 5.0 LE versions. So Bluetooth 5.0 Low Energy profiles for your Bluetooth adapter is required.

    After pairing, you can use the speed editor from your bed or lounge without problems.

    The USB Cable

    The USB Type-C to Type-C cable provided is very bulky and difficult to manage on the desk.

    DaVinci Resolve Speed Editor first use
    DaVinci Resolve Speed Editor first use

    Also the length of the USB-C connectors on the provided cable are very long and will not make it easy to have the speed editor in front of you on the desk with the PC keyboard behind it as that for me feels like it really the best way to use it.
    I like to be able to use the keyboard with macro keys and mouse when needed. Not often on the cut page but on edit and color, you still need a full sized keyboard or use the full sized and more expensive DaVinci Resolve Editor Keyboard.

    Make the USB cable provided with a right-angle low profile connector to keep people from damaging the USB-C connector because of it sitting on the USB cable connector.

    I use a USB 2.0 Type-A to Type-C 480 MB cable from IKEA and it works fine and it’s less bulky than the cable provided from Blackmagic Design.

    No charge indicator

    No physical charge indicator on the device, you can only see the battery level in DaVinci Resolve – Control Surfaces or on Bluetooth devices list when connected thru Bluetooth.

    No Power button

    There is no way to turn off the speed editor but it does seem to enter a sleep mode if not connected to Bluetooth or USB for some time.

    Before First Use

    Before first use, plug in the USB cable to charge 2-3 hours minimum.

    Use the DaVinci Control Panels Setup utility found in DaVinci Resolve Studio – Help menu.

    Update the speed editor firmware when asked but only if the speed editor battery is more than 30%-50%.

    Conclusion

    I love it really love the solid feel of the wheel with rubbery edges.

    Used it on 3-4 videos already and feels like learning to assemble a timeline with the speed editor is much easier than I initially thought.

    Wish I’d purchased the speed editor earlier.

    Using a shoes dust cover to keep dust away from the Speed Editor surface. Even though the keyboard buttons are mechanical switches it feels like an old-school keyboard in a good way – solid metal and heavy for it’s size.
    I wish they had some battery indicator on the device and a dedicated power On/Off button on the device.

    The speed editor has many functions for quick transitions and cut options.
    The multi-cam features seem interesting but I have no idea what half of the buttons are for on this keyboard. Time to learn some more and be amazed how easy multi-cam is with this.

    One really interesting feature is the close-up feature to use a slightly zoomed-in version of the current clip for a quick close-up suspense builder wow.

    Update after 1 week of heavy daily use

    The DaVinci Resolve Speed Editor really does make editing faster.

    The cut page together with the speed editor will save you a lot of time. It already makes it easier for us.

    The Speed Editor connected via Bluetooth and a pair of Bluetooth headphones enables you to literally edit your video while laying in bed. Literally in bed editing looking at the PC screen in full-screen mode (red key on the speed editor) makes it very easy to edit videos.

    I suspect you can actually use an Android tablet with DaVinci Resolve and the Speed Editor by connecting to the PC with the remote desktop app and via Bluetooth with the Resolve Speed Editor and Bluetooth headphones.

    You would have to be within Bluetooth range for this to work but it’s still an amazing way to use the powerful editing workstation PC while sitting in a lounge or bed on the veranda.

    The next step up from this is to use DaVinci Resolve on a decent laptop with the Speed Editor Keyboard or the new iPad DaVinci Resolve app together with the DaVinci Resolve Speed Editor.

    If you don’t have it already, try to ask a friend who has it to borrow it or just get it and be amazed how fast you get used to it while still keeping your JkL editing muscle memory intact.

    Check prices

    Must buy extras

  • SanDisk Extreme Pro 200MBs vs 95MBs Speed Test

    SanDisk Extreme Pro 200MBs vs 95MBs Speed Test

    SanDisk Extreme Pro 200MBs in Kingston MobileLite Plus SD Card Reader speed test. Fastest third-party card reader speed tested. Reaches 150MB/s write speed and 185MB/s read speed.

    SanDisk Extreme Pro 200MBs in Kingston MobileLite Plus SD Card Reader Speed Test

    Sandisk extreme pro 200mb vs 95mb speed test in third-party reader. 

    SanDisk Extreme Pro 200MBs 256GB Speed Test
    SanDisk Extreme Pro 200MBs 256GB Speed Test

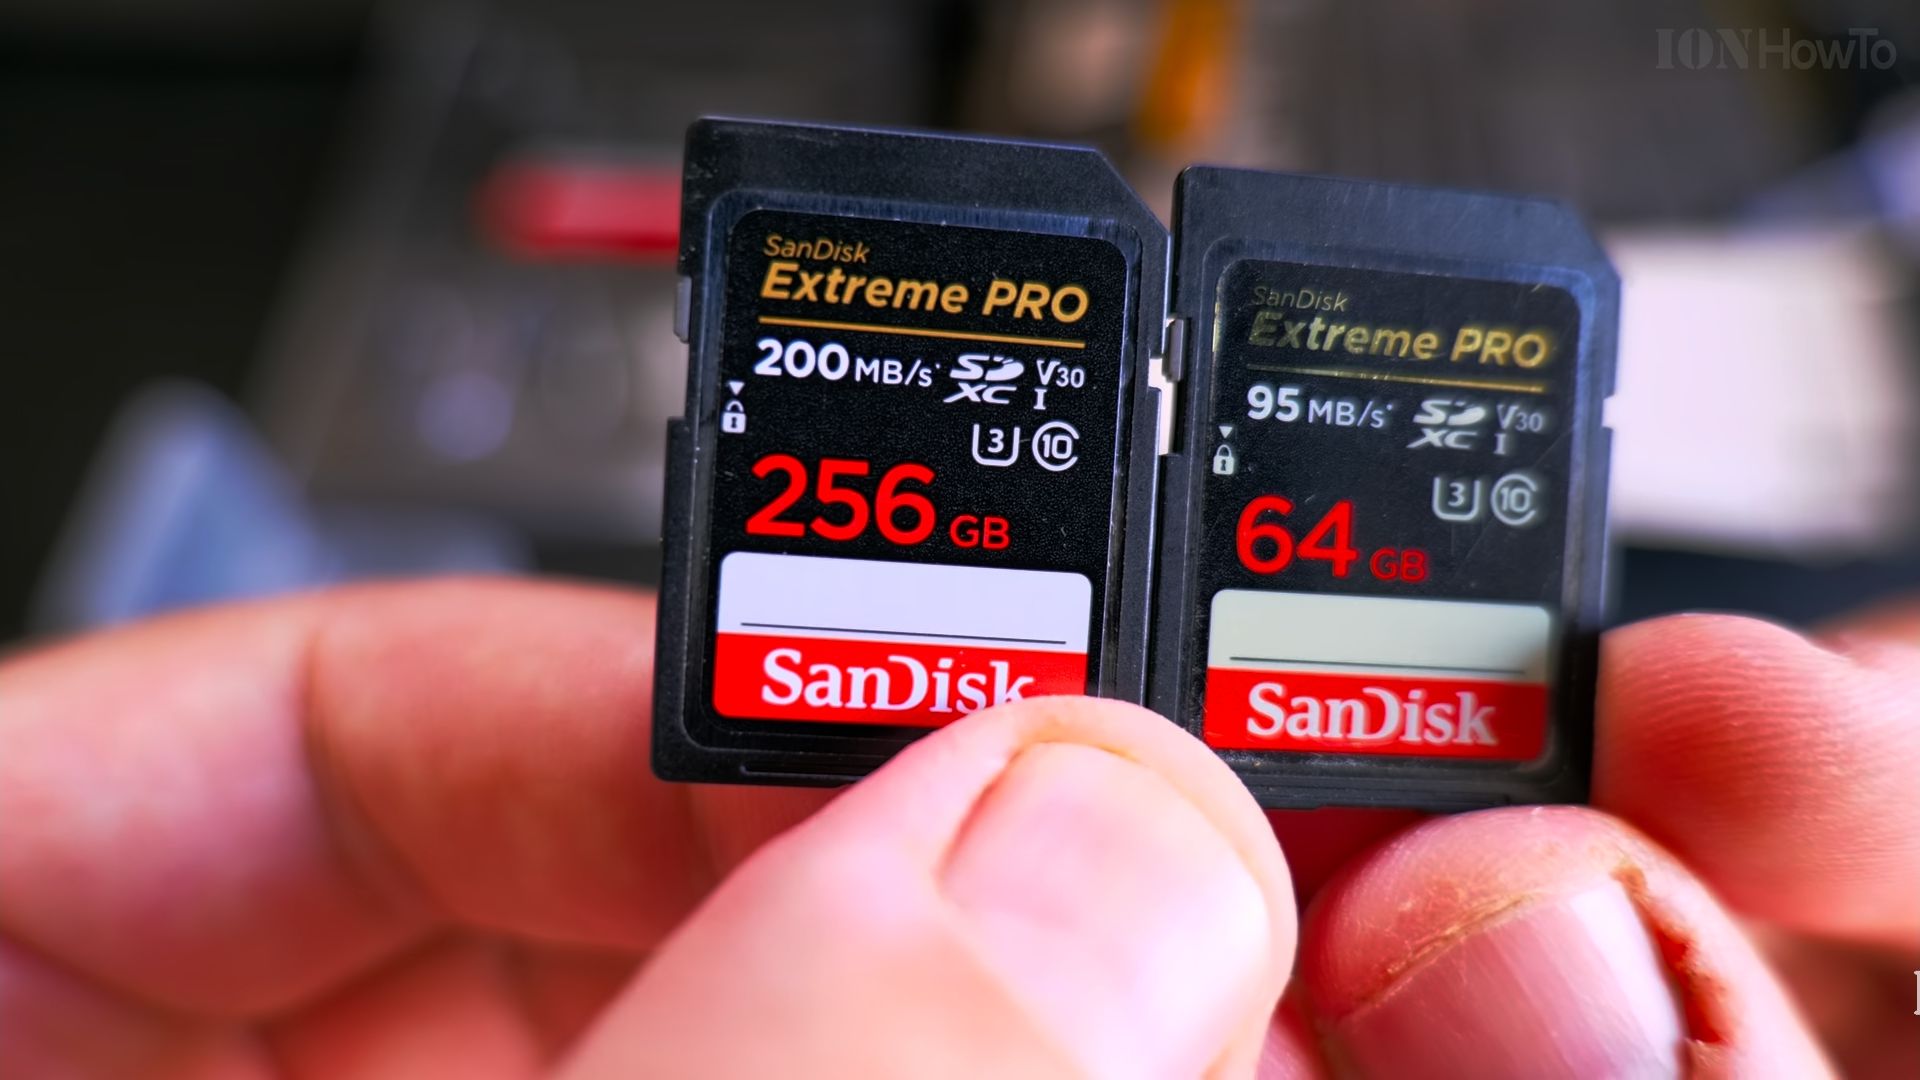
    Compare Sandisk Extreme Pro200MB/S with Extreme Pro 95MB/S SD card fake or original text printed on SD card looks fake but not sure.

    This is the unboxing of the SanDisk Extreme Pro 95MB/S

    Sandisk Extreme Pro 95MB/S Unboxing

    Unboxing of Sandisk Extreme Pro 200MB/S.

    Sandisk Extreme Pro 200MB/S unboxing

    Sandisk Extreme Pro 200MB/s vs 95MB/s speed test.

    Sandisk Extreme Pro 200MB/s vs 95MB/s

    The reader is Transcend and it does not reach anywhere near the 200mb/s speed.

    Speed tesf of Sandisk Extreme Pro 95MB/s SD card.

    SanDisk Extreme Pro 95MBs 64GB Speed Test
    SanDisk Extreme Pro 95MBs 64GB Speed Test

    Speed tesf of Sandisk Extreme Pro 200MB/s SD card.

    SanDisk Extreme Pro 200MBs 256GB Speed
    SanDisk Extreme Pro 200MBs 256GB Speed

    Sandisk Extreme Pro SD card speed of 200MB/S is achieved on the Sandisk Exteme Professional SD and MicroSD card reader.

    Third party card readers can reach 140MB/S and not sure in the camera what will be the writig speed but on Panasonic Lumix S5 I was able to use an old Extreme Ultra SD card without problems but I only use the 72MB/s bitrate codec HEVC 10 bit HLG2100.

    When filming with higher bitrate codecs, a faster card is needed.

    The cards tested in rhe video are Sandisk Extreme Pro UHS-I v30 SD cards.

    A Sandisk Extreme Pro 300MB/S would need a professional SD card reader.

    The Lumix S5 has 2 SD card slots and slot 1 sulports UHS-I and UHS-II SD cards while slot 2 only supports UHS-1 cards.

    With Panasonic Lumix S5 you don’t need to use an expensive Uhs-ii card.

    A Sandisk Extreme Pro 170MB/S or Sandisk Extreme Pro 200MB/S will work great!

    You can even use Sandisk Extreme.Pro 95MB/S.

  • Do it Yourself headphones holder stand

    Do it Yourself headphones holder stand

    Do it Yourself headphones holder stand.
    Keep headphones organized on your desk at home or at work.

    Headphones holder stand

    You can make a DIY headphone stand for $1 or even for free if you have a DIY clamp sitting around unused.

    This life hack trick is very simple, use a  DIY clamp to hold the headphones.

    Attach rhe DIY clamp to your desk or to a shelf near your desk. you can mount it horizontally or vertically rhen place your headphones on the clamp using a clamp as a headphone holder.

    You can easily move it around or remove it if needed.

    Any type of clamp can work but the best type of clamp to use is as seen in rhe viseo. This clamp is easy to fit to multiple surfaces and the holding power is more than enough to hold a few pairs of headphones at the same time.

    If you prefer sometimg that looks nicer you can use wooden or decorative items that have a headphone stand function aswell.

    The clamp is a quick and cheap alternative.

  • What’s in my bag YouTuber essential gear

    What’s in my bag YouTuber essential gear

    What’s in my bag YouTuber essential gear for making videos on YouTube.

    What’s in my bag YouTuber essential gear

    As an important note, you can use your phone for everything except audio. In some cases even your phone is great to record sound.

    We used our phones for a long time to record many of the videos on our channels.

    The most popular video on this channel was recorded with an old pocket Canon Ixus camera and a tripod acting as a stabilizer.
    Some videos were recorded with the Nikon D810 but 1080p was the limit for that.

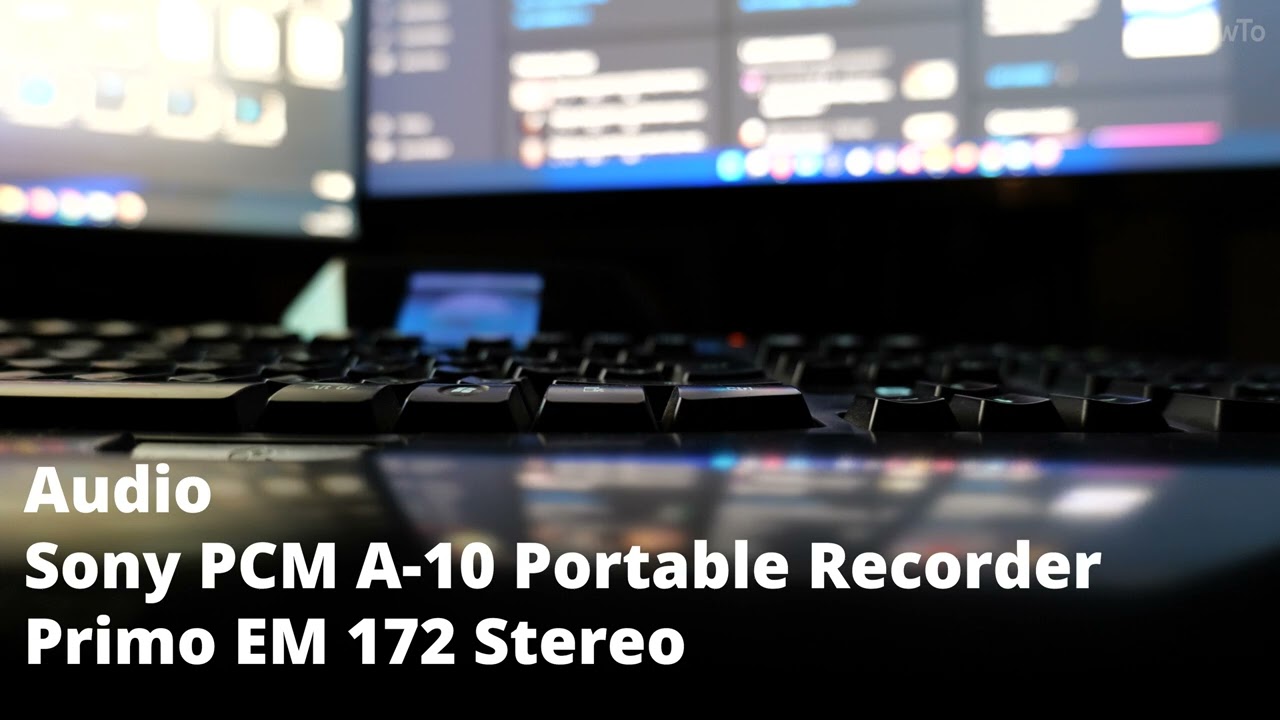
    Since we started uploading in 4K we used phones exclusively and a digital recorder, Sony PCM-A10 paired with a diy Primo em172 or another set made with Primo em258 microphone electret capsules.

    Now we use the Panasonic Lumix S5 with the 20-60 kit lens or the 50mm f1.8 for low light outdoors.
    Microphone is a diy Primo em172 stereo mounted on diy stereo arms with wind protection.
    The microphone plugs in directly into the Lumix S5 camera.

    Voiceovers were recorded a long time with the cheap chinese BM-800 and a phantom power box going strainght into the PC sound card.

    Now voiceovers are recorded exclusively with the Rode NT1 microphone and the Rode Ai-1 audio interface.

    Software for editing color and audio: Davinci Resolve but you can use any editing software you have. Even movie maker works fine!

  • Panasonic Lumix S5 Autofocus Tests

    Panasonic Lumix S5 Autofocus Tests

    Panasonic Lumix S5 Autofocus tests using object area AF area and people autofocus.

    Tests bellow were performed using the Lumix S5 camera and with the kit lens S 20-60 f3.5-5.6.

    Autofocus set to AFC continuous.

    Autofocus with object area autofocus.

    Object detection autofocus and vlogging

    Testing Lumix S5 autofocus object area AF.

    Lumix S5 autofocus test object detection

    Face and body autofocus with area af

    Testing Lumix S5 person autofocus on faces using area af.

    Panasonic Lumix S5 face autofocus using focus area AF

    Lumix S5 Autofocus in Low Light

    Panasonic Lumix S5 autofocus test in low light conditions.
    Recorded in AFC autofocus mode with 1 area autofocus setting covering a 1:1 large square in the center of the image frame.

    Fishing boats in the evening in Larnaca, Cyprus.

    Recorded in HLG2100 HDR processing to HLG HDR 4K video. Color graded Lumix S5 HLG in Davinci Resolve Studio 18.

    Lumix S5 low light autofocus test video

    Autofocus performance on Lumix S5

    I’ve noticed, the Lumix S5 autofocus problems show in some specific situations.

    Using the Panasonic autofocusing requires some getting used to but it can work really well when used with the right settings for the situation.

    The Lumix S5 Best Autofocus Settings

    The Panasonic Lumix S5 as does GH5, GH5s, GH6, GG5ii, S1H, S1, all have adjustable autofocus settings.

    Autofocus settings can be adjusted by autofocus speed and autofocus sensitivity.

    These settings both work well in some situations but in other situations they must be changed.
    Default autofocus settings are af speed 0 and af sensitivity 0.

    If you prever a snappier response you can increase the autofocus speed up to +5.

    Sensitivity can go up to +3 to change if objects that aquire focus are stickyer or new opbjects coming into the focusing area will be prioritized.

    The focus area can be increased with touch to focus and the scroll wheel.

    My favorite autofocus settings

    My favorite autofocus settings are speed 0 and sensitivity +3 in general situations but for focusing on bigger differences from foreground to background I like the speed +5 and sensitivity +3 setting.
    What is your preffered settings?

    Face detection autofocus

    Face detection autofocus is a great option of you will have people facing the camera and can be enabled and disabled by pressing the af mode button.

    My preference is to use area autofocus mode when recording videos with fixing things or making some delicious soup.

    When people or animals will be in the picture / video then area af autofocus with people or people + animals is the best option in my opinion.

    The video bellow, is a real world Lumix S5 autofocus test in nigh lights and moonlight. The video is HDR HLG2100.

    Used Area + people detection and lens is the Lumix S 50mm f1.8. Hardest areas with dark low contrast images and the autofocus worked great in my opinion. Skater was a random encounter but focus followed him accurately. The moonlight scene too.

    Panasonic Lumix S5 Autofocus Test at Night in Moonlight Darkness S 50 f1.8 hdr hlg

    To enable combined modes, press up arrow when in area autofocus and it will tell you area + people face detection or area + people and animals.

    For family videos I will use autofocus area + people to make sure it focuses on faces when they are in the frame.

    The Panasonic Lumix S5 and S series autofocus is much better in reality than people would like to make you believe.

    It seems to me, there is a new form of clickbait videos on YouTube. ‘Watch this before you buy” head in palm in disappointment… Oh not again. Is it any good? Now it’s enough to write Lumix Autofocus and put a head in palms epic failure or disappointed face as thumbnail.

    These tests are here to show you how it really is. Not perfect, there are moments when the camera focuses on the wrong thing but once you learn to use pinpoint autofocus if the point is critical for you, it gets better. I use area autofocus because I prefer to have a few focusing transitions while moving without always focusing in one point.

    It just works, at least most of the time haha.

    Conclusion

    It’s much better than tech review channels made me believe.

    It needs more time sometimes to focus and it’s not perfect at all but the image quality and colors are so good straight out of camera and af is good enough for me.

    For family videos af speed 5 is great!

    It can do human and animal detection in afc.
    I only used af area to see the afc problems. Normally I use afc area and make the af area bigger. For family home videos combined afc area + people detection mode seems to work best.

    If near perfect autofocus is important and you can’t wait 2-3 seconds sometimes for it to aquire focus, check Canon or Sony otherwise enjoy the amazing image quality on the S5.

  • Panasonic Lumix S5 codecs compared  zoomed in

    Panasonic Lumix S5 codecs compared zoomed in

    Panasonic Lumix S5 codecs compared zoomed in for details and color.

    Recording in all 30fps or 30p and 24p or 24fps. Recording in 60p NTSC frame rate 59.94.

    All recordings done indoor in a home environment with natural sunlight.

    All recordings made in NTSC formats 59.94 for 60p, 29.97 for 30p and 23.98 for 24p.

    Panasonic S5 is a great camera once you learn to avoid the DFD Contrast detection focusing problems on Panasonic cameras in general are well known for.

    There are 2 separate videos one for 30p and a separate video uploaded in 4K 60p for the 60p codecs in the Lumix S5 camera.

    Video uploaded to YouTube at 70 – 100Mbps variable bitrate and expecting the bitrate will eventually will be much lower when you play the video.

    This is the video nobody posted and I wish I could see so here it is for you. All codecs 30p and 24p compared zoomed in to see color detail and resolving capability of each codec.

    Please note that the 150-200Mbps codecs can generate very large files very fast. Even the 100Mbps can create very large files and then there may be more problems with file storage.

    I’m really happy we chose the Lumix S5 instead of the GH6 as we originally planned.

    The extra codecs in GH6 would have even higher bitrate when, for family photos and videos + YouTube uploads the Lumix S5 seems like a great deal to me.

    Also please notice how the Lumix S5 autofocus problems that many talk about are not happening or at least I don’t notice them.

    Once in a while the focus will go away from the subject but it returns gracefully and most important smoothly back.

    Did not experience any autofocus pulsing on the Lumix S5.

    Hope this helps someone.
    Going on a trip where you might want to make videos but would take photos is the main reason we will use this camera and to make great looking YouTube videos.

    The colors out of the Lumix S5 are really really amazing!

    Tested video codecs

    Panasonic Lumix S5 codecs compared mov vs mp4
    • 00:00 [C4K] 29.97p, 150Mbps (4:2:2 10-bit LongGOP) MOV (H.264/MPEG-4 AVC, LPCM)
    • 00:37 [C4K] 29.97p, 100Mbps (4:2:0 8-bit LongGOP) MOV (H.264/MPEG-4 AVC, LPCM)
    • 01:11 [C4K] 23.98p, 150Mbps (4:2:2 10-bit LongGOP) MOV (H.264/MPEG-4 AVC, LPCM)
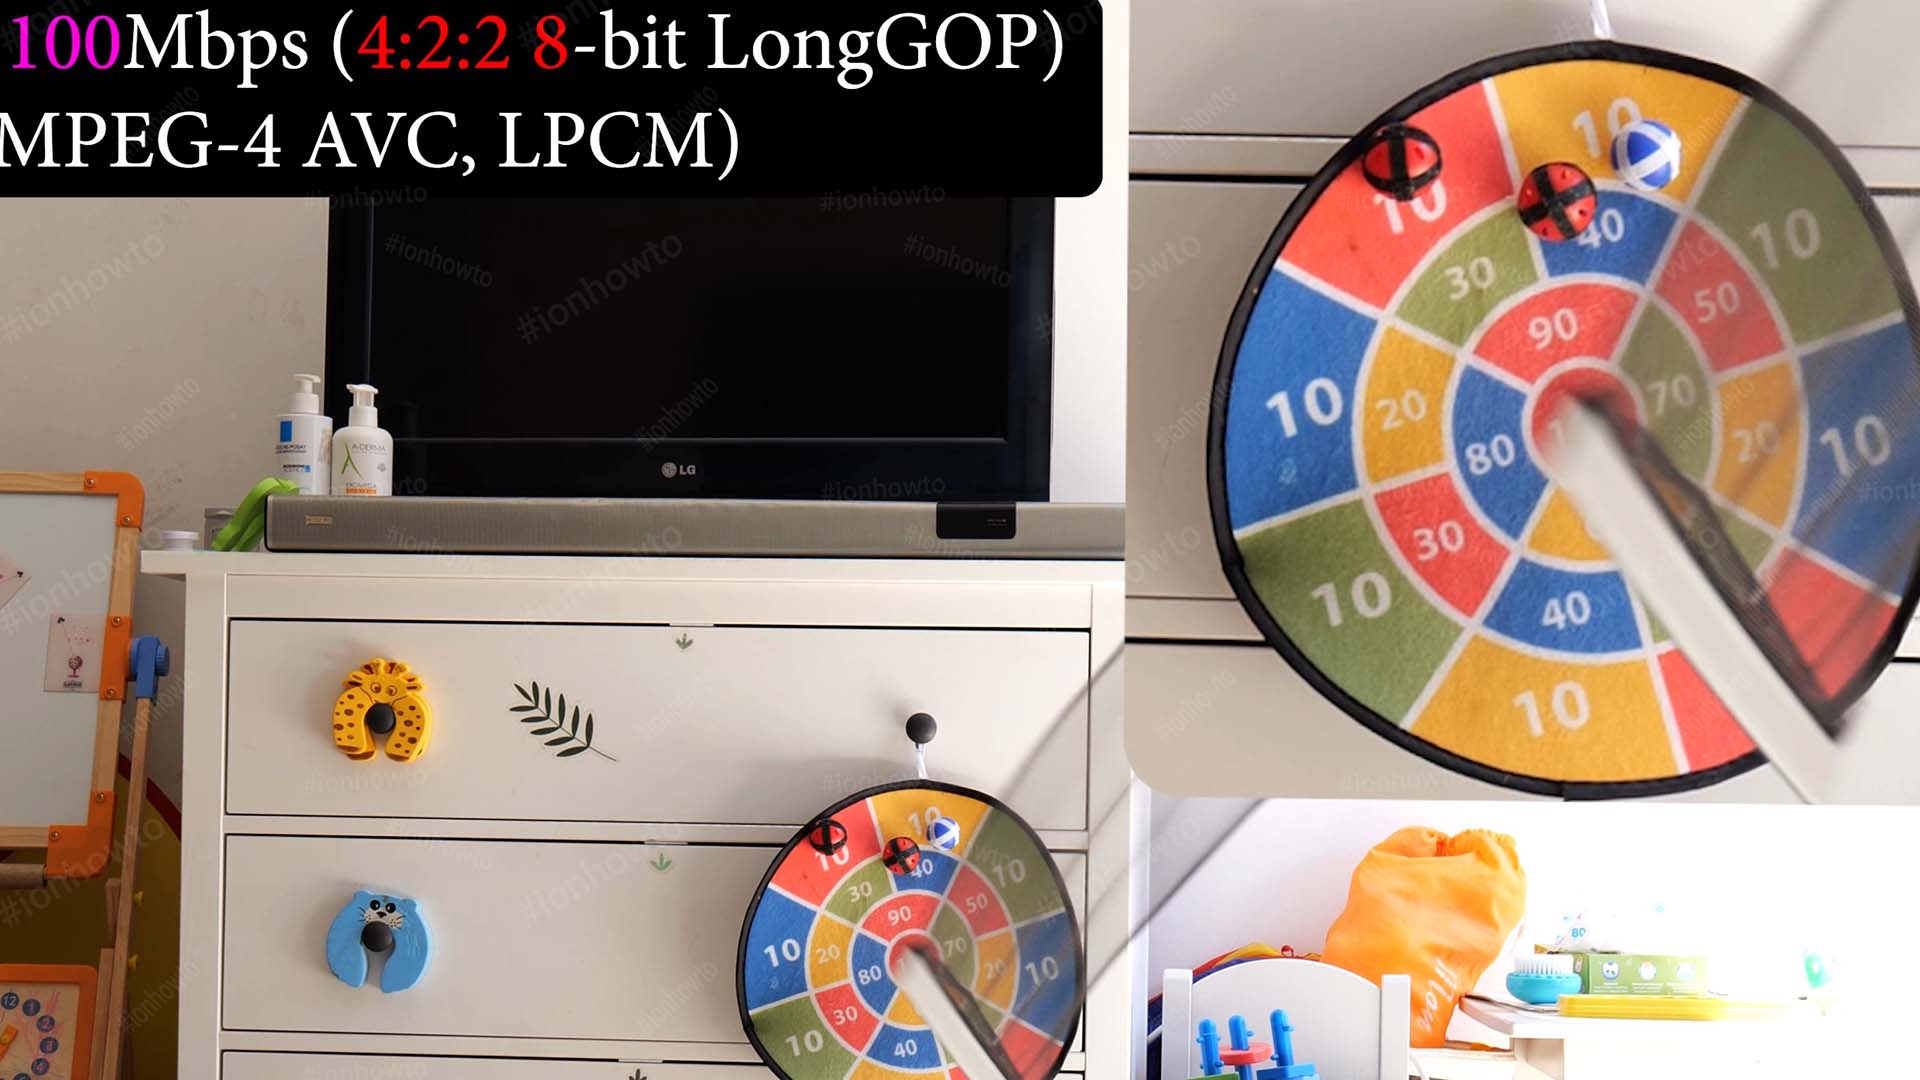
    • 01:47 [C4K] 23.98p, 100Mbps (4:2:2 8-bit LongGOP) MOV (H.264/MPEG-4 AVC, LPCM)
    • 02:24 [4K] 29.97p, 150Mbps (4:2:2 10-bit LongGOP) MOV (H.264/MPEG-4 AVC, LPCM)
    • 02:56 [4K] 29.97p, 100Mbps (4:2:0 8-bit LongGOP) MOV (H.264/MPEG-4 AVC, LPCM)
    • 03:31 [4K] 23.98p, 150Mbps (4:2:2 10-bit LongGOP) MOV (H.264/MPEG-4 AVC, LPCM)
    • 04:11 [4K] 23.98p, 100Mbps (4:2:0 8-bit LongGOP) MOV (H.264/MPEG-4 AVC, LPCM)
    • 04:47 [4K] 29.97p, 100Mbps (4:2:0 8-bit LongGOP) MP4 (H.264/MPEG-4 AVC, AAC)
    • 05:22 [4K] 29.97p, 72Mbps (4:2:0 10-bit LongGOP) MP4 (H.265/HEVC, AAC)
    • 05:58 [4K] 23.98p, 100Mbps (4:2:0 8-bit LongGOP) MP4 (H.264/MPEG-4 AVC, AAC)
    • 06:34 [4K] 23.98p, 72Mbps (4:2:0 10-bit LongGOP) MP4 (H.265/HEVC, AAC)
    • 07:10 [FHD] 29.97p, 20Mbps (4:2:0 8-bit LongGOP) MP4 (H.264/MPEG-4 AVC, AAC)
    • 07:46 [FHD] 23.98p, 24Mbps (4:2:0 8-bit LongGOP) MP4 (H.264/MPEG-4 AVC, AAC)
    • 08:26 My favorite codec so far MP4 4k 30p HEVC
    • 08:55 [FHD] 29.97p, 100Mbps (4:2:2 10-bit LongGOP) MOV (H.264/MPEG-4 AVC, LPCM)
    • 09:33 [FHD] 29.97p, 100Mbps (4:2:0 8-bit LongGOP) MOV (H.264/MPEG-4 AVC, LPCM)
    • 10:09 [FHD] 23.98p, 100Mbps (4:2:2 10-bit LongGOP) MOV (H.264/MPEG-4 AVC, LPCM)
    • 10:45 [FHD] 23.98p, 100Mbps (4:2:0 8-bit LongGOP) MOV (H.264/MPEG-4 AVC, LPCM)
    • 11:23 Lumix S5 codecs compare all 24p and 30p fomats

    Lumix S5 4K 60p codecs tests

    Lumix S5 4K 60fps test codecs
    Chapters in the Lumix s5 Codecs tested video
    • 0:00 [4K] 59.94p, 100Mbps (4:2:0 10-bit LongGOP) MP4 (H.265/HEVC, AAC)
    • 0:35 [FHD] 59.94p, 28Mbps (4:2:0 8-bit LongGOP) MP4 (H.264/MPEG-4 AVC, AAC)
    • 1:11 [C4K] 59.94p, 150Mbps (4:2:0 8-bit LongGOP) MOV (H.264/MPEG-4 AVC, LPCM)
    • 1:47 [4K] 59.94p, 200Mbps (4:2:0 10-bit LongGOP) MOV (H.265/HEVC, LPCM)
    • 2:22 [4K] 59.94p, 150Mbps (4:2:0 8-bit LongGOP) MOV (H.264/MPEG-4 AVC, LPCM)
    • 2:58 [FHD] 59.94p, 100Mbps (4:2:2 10-bit LongGOP) MOV (H.264/MPEG-4 AVC, LPCM)
    • 3:35 [FHD] 59.94p, 100Mbps (4:2:0 8-bit LongGOP) MOV (H.264/MPEG-4 AVC, LPCM)
    • 4:12 All 60p codecs on Lumix S5 compared
    • 5:12 My favorite recording format codec and conclusion
  • Panasonic Lumix S5 External Stereo Microphone Test Primo EM172

    Panasonic Lumix S5 External Stereo Microphone Test Primo EM172

    Panasonic Lumix S5 test external stereo microphone Primo EM172 / Lom Usi / Clippy stereo.

    Tests done in the video bellow, use headphones.

    Lumix S5 stereo external microphone Primo EM172

    Testing and comparing the Panasonic Lumix S5 camera built-in stereo microphone.

    Testing Lumix S5 external microphone diy Primo EM172 / Primo EM272 – plug-in power active.
    Comparing the sound of the same Primo EM172 / EM272 when plugged into the Lumix S5 and a portable digital recorder Sony PCM A-10.

    To me the sound from the camera sounds a bit too bright but sounds good from the dedicated recorder Sony PCM A-10.

    What do you think sounds better?

  • Panasonic Lumix S5 20-60 f3.5 50 f1.8 kit

    Panasonic Lumix S5 20-60 f3.5 50 f1.8 kit

    Just finally received the S5 and tested it’s autofocus and formats.

    Autofocus is much better than the 99% of people would make you believe.
    For me best settings so far: speed 0 and sensitivity +3.

    Have both the 50mm 1.8 and 20-60 3.5 both are really good lenses but the 50mm f1.8 is much better for low light and portraits photos or videos.

    For YouTube the 20-60 is the best for us.

    For home photos and family videos the 50mm 1.8 is the one!

    Unboxing

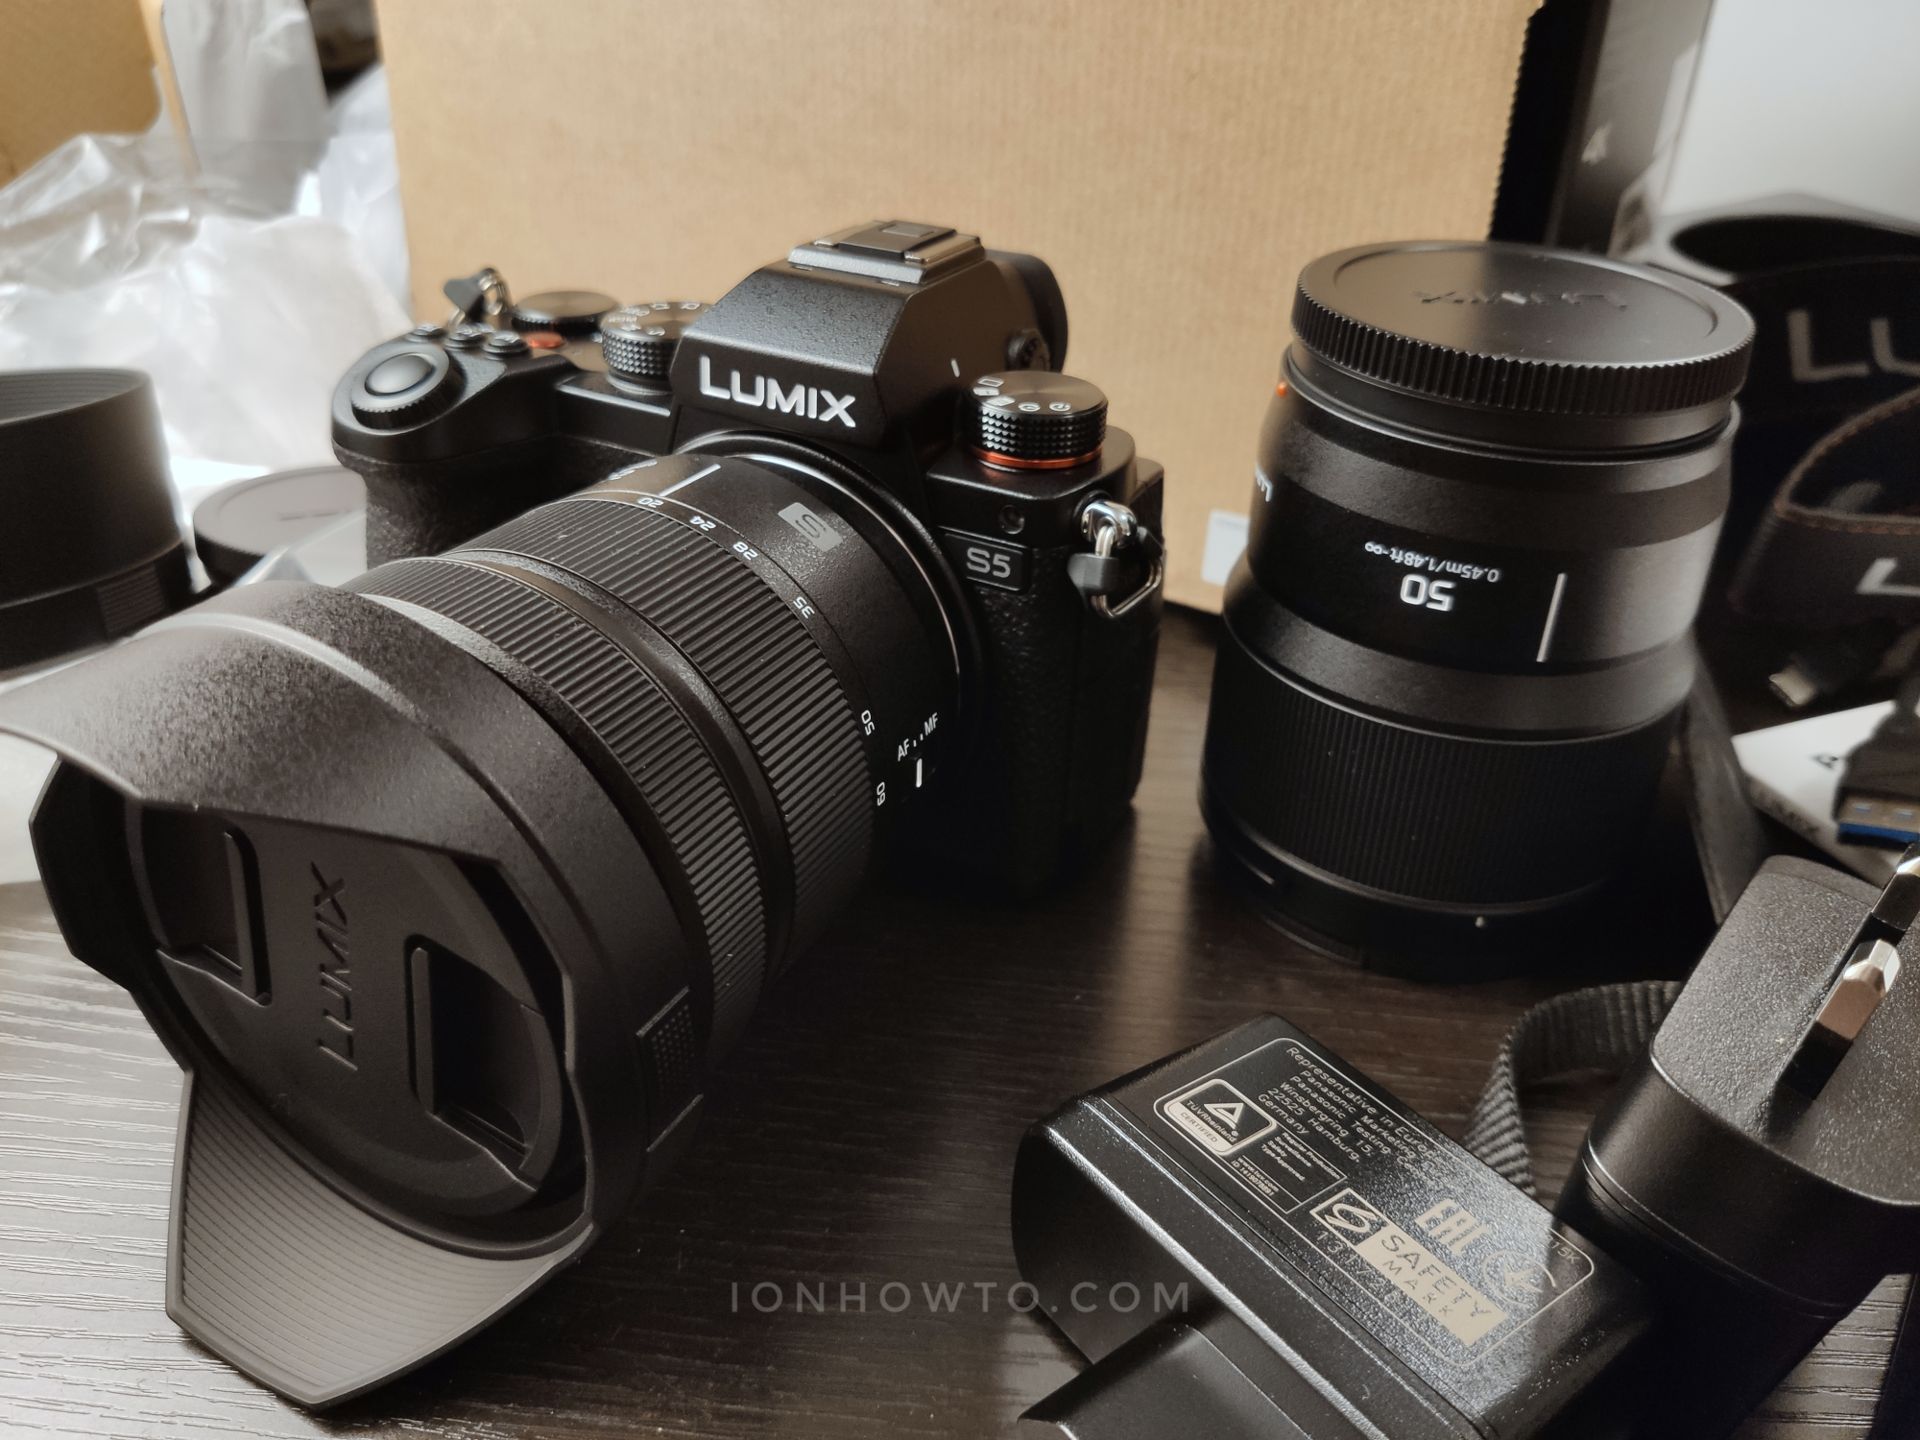
    Panasonic Lumix S5 unboxing 20-60 f3.5 50 f1.8 kit lens with extra 50mm f 1.8 S series lens that was made for Panasonic it has no lens O.I.S. built into the lens but has it’s all automatic focusing smooth focus.

    Video unboxing

    Lumix S5 kit with 2 lenses unboxing

    this Panasonic Lumix S5 kit comes with the camera and two lenses.

    First lens is the 22-60mm 3.5-5.6 kit lens.

    The second lens is the 50mm f-18, a very good lens for low light when the 20 to 60 mm lens doesn’t have enough light to to work.

    The 50mm prime lens doesn’t have any zoon so that might be a problem but when you need zoom you can use the 20-60mm lens.

    Unboxed the camera + 2 lenses kit and charged the battery. Tried the Panasonic 20-60 lens today and it works pretty good evening low light conditions.

    Attach shoulder strap

    Follow the steps in the video to attach the camera shoulder strap to the Lumix S5 camera anchor points.

    Attach camera shoulder strap to Lumix S5