
DIY Brake Fluid Flush and Brake Service for VW Polo 9N Mk4: A One-Person Guide
Maintaining your car’s braking system can be done easily by one person. No need for a second person pumping the brake pedal.
Amazon links
As an Amazon Associate I earn from qualifying purchases:
I show you how to bleed your brake lines and change brake fluid on a VW Polo 9N using a few simple household items to make a brakes gravity bleeder diy kit. No special tools or extra person required!
What You Need
- Empty plastic bottle
- New DOT 4 brake fluid (check your car’s requirements)
- 5mm flexible clear tube
- 7mm wrench
- Patience and a bit of mechanical confidence
Before You Begin
First things first – always check your car’s specific brake fluid requirements. The easiest way to do this? Look at the brake fluid expansion reservoir. While DOT 4 is common, some vehicles might need DOT 5 or another type.
Safety First
1. Park on a Flat Surface
- Ensure your car is on level ground
- Engage the parking brake
- Let the car cool down if you’ve been driving
2. Gather Your Materials
Double-check you have everything:
- Your empty plastic bottle
- Clear flexible tube
- Wrench
- New brake fluid
- Some old rags or paper towels to clean spills
The Brake Bleeding Process
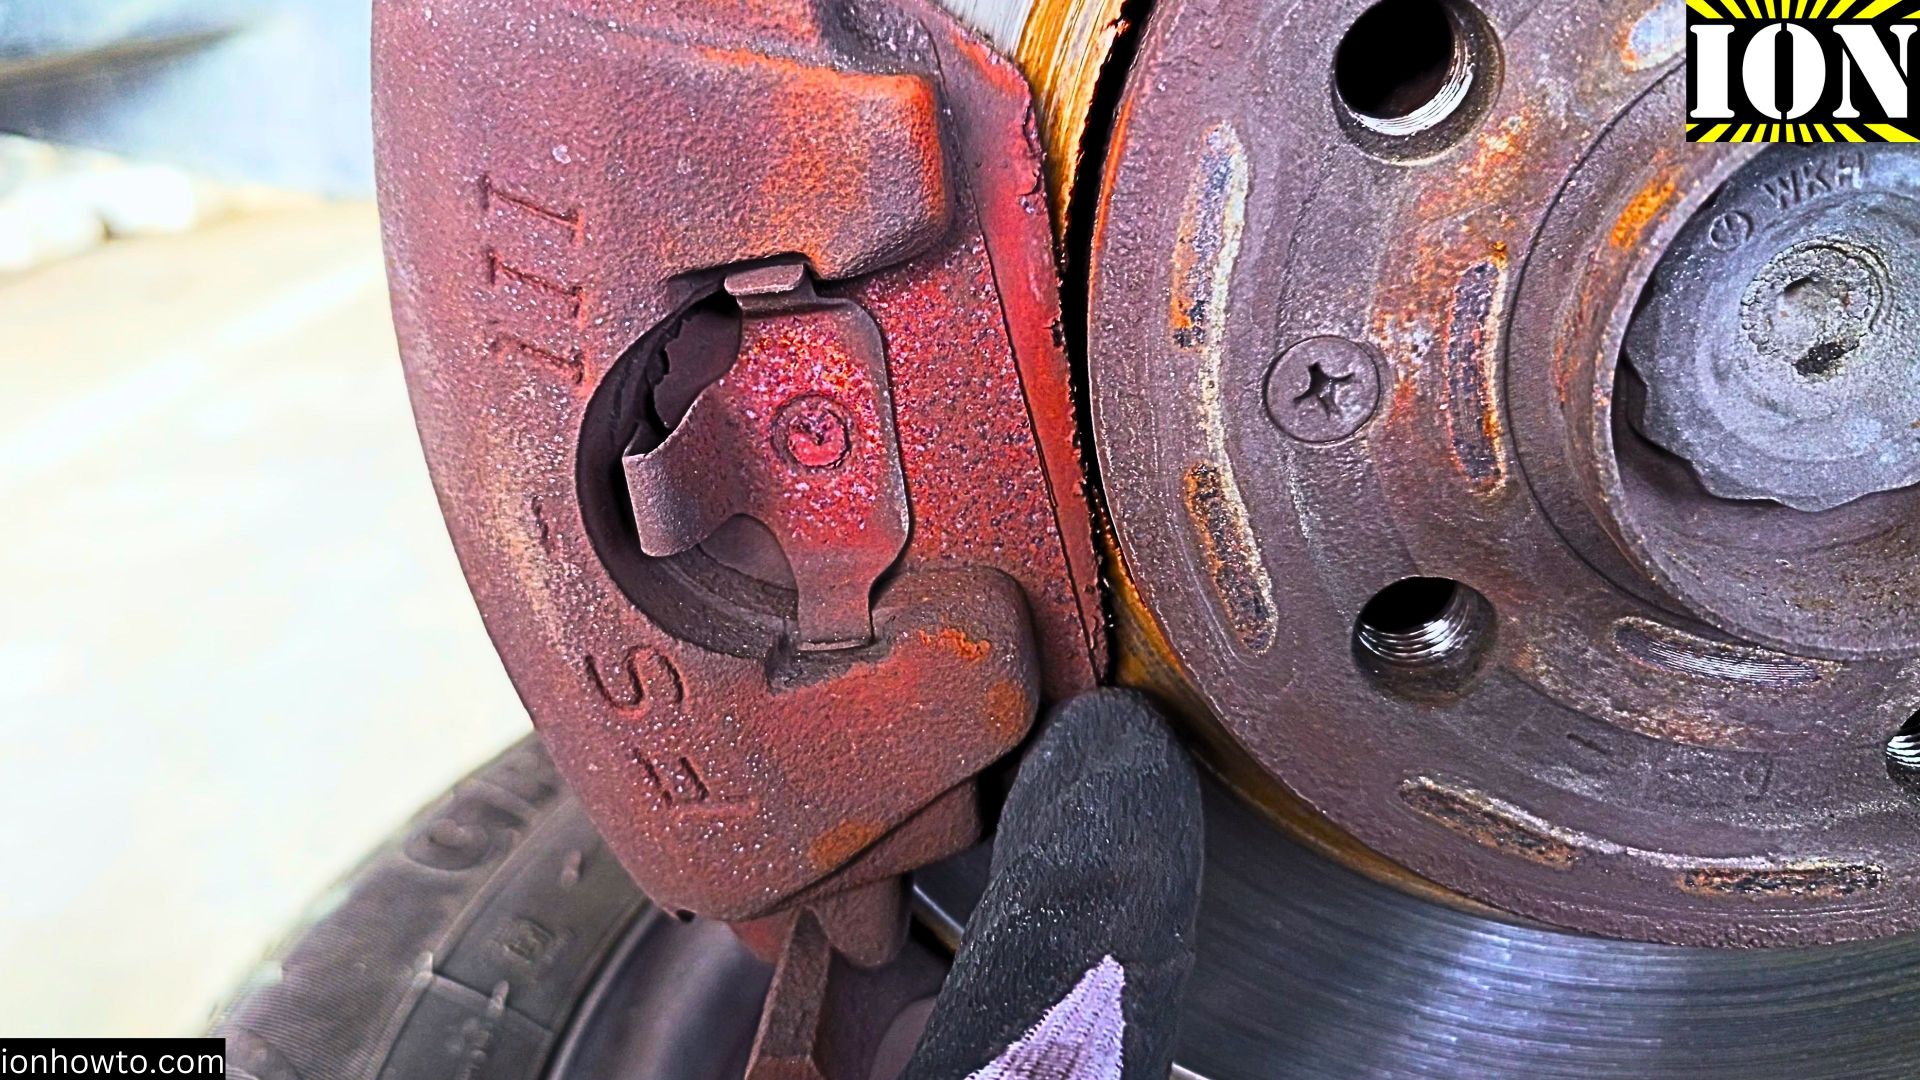
Step 1: Access the Brake Bleeders
- Locate the brake bleeder valves on each wheel
- These are small nipple-like connections on the brake calipers
- You’ll need your 7mm wrench to work with these
Step 2: Set Up a Gravity Bleeding System
- Attach the clear flexible tube to the brake bleeder valve
- Run the other end of the tube into your empty plastic bottle
- Position the bottle slightly lower than the brake caliper to use gravity
Step 3: Open the Bleeder Valve
- Carefully loosen the bleeder valve
- Old, dirty brake fluid will start to flow out
- Watch the fluid in the tube and bottle
- You’ll see the fluid change from dark and murky to clean and clear
Step 4: Prevent Air Bubbles from Entering Brake Lines
- Keep the brake fluid reservoir topped up during the process
- This prevents air from entering the brake lines
- Air in brake lines can cause serious braking issues and reduce brake power
Step 5: Repeat for All Wheels
- Work systematically
- Typically, start with the wheel furthest from the master cylinder
- Standard order is: Right Rear, Left Rear, Right Front, Left Front but I did them in the order I changed brake pads.
- Bleeding brakes is necessary when changing brake pads and brake drums
Brake replacement videos
VW Polo 9N Rear Brakes Replacement Parts
VW Polo 9N Brake Shoes Brake Drums Rear Replacement
Long version
Extended Step-by-Step Video
VW Polo 9N Front Brake Pads Replacement
VW Polo 9N Textar Brake Pads and Textar Brake Discs Rotors
VW Polo 9N MK4 Front Brake Pads Replacement
VW Polo 9N Brake Pads and Brake Rotors Change Without Special Tools Step-by-step
Tips
- Never let the brake fluid reservoir run completely empty
- Use fresh, sealed brake fluid
- Wear gloves and protect your car’s paint (brake fluid can damage paint)
- Dispose of old brake fluid properly – it’s toxic!
When to Seek Professional Help
While this guide is straightforward, brake systems are critical for safety. If you:
- Feel uncomfortable at any point
- Notice anything unusual
- Are unsure about any step
It’s always best to consult a professional mechanic.
Conclusion
Changing your brake fluid is an important maintenance task that can extend the life of your braking system. By doing it yourself, you save money and gain valuable mechanical knowledge.
Take your time and prioritize safety. Your brakes are what keep you safe on the road!
Warnings
- Brake fluid is corrosive
- Protect your skin and eyes
- Work in a well-ventilated area
- Keep brake fluid away from painted surfaces
Disclaimer: This guide is for informational purposes. Always consult your vehicle’s manual and a professional if you’re unsure about any mechanical procedure.


Leave a Reply