
Amazon links
As an Amazon Associate I earn from qualifying purchases:
- iPhone Accessories
- iPhone Charger
- iPhone Cases
- iPhone Screen protector
- iPhone Magsafe
- iPhone Wallet
- iPhone Usb c cable
If you have the latest iPhone 16 or an older model, it’s easy once you know the right button combo. Here’s a simple guide for every iPhone.
How to Screenshot on iPhone (With or Without Home Button)
The method changes slightly depending on your iPhone model:
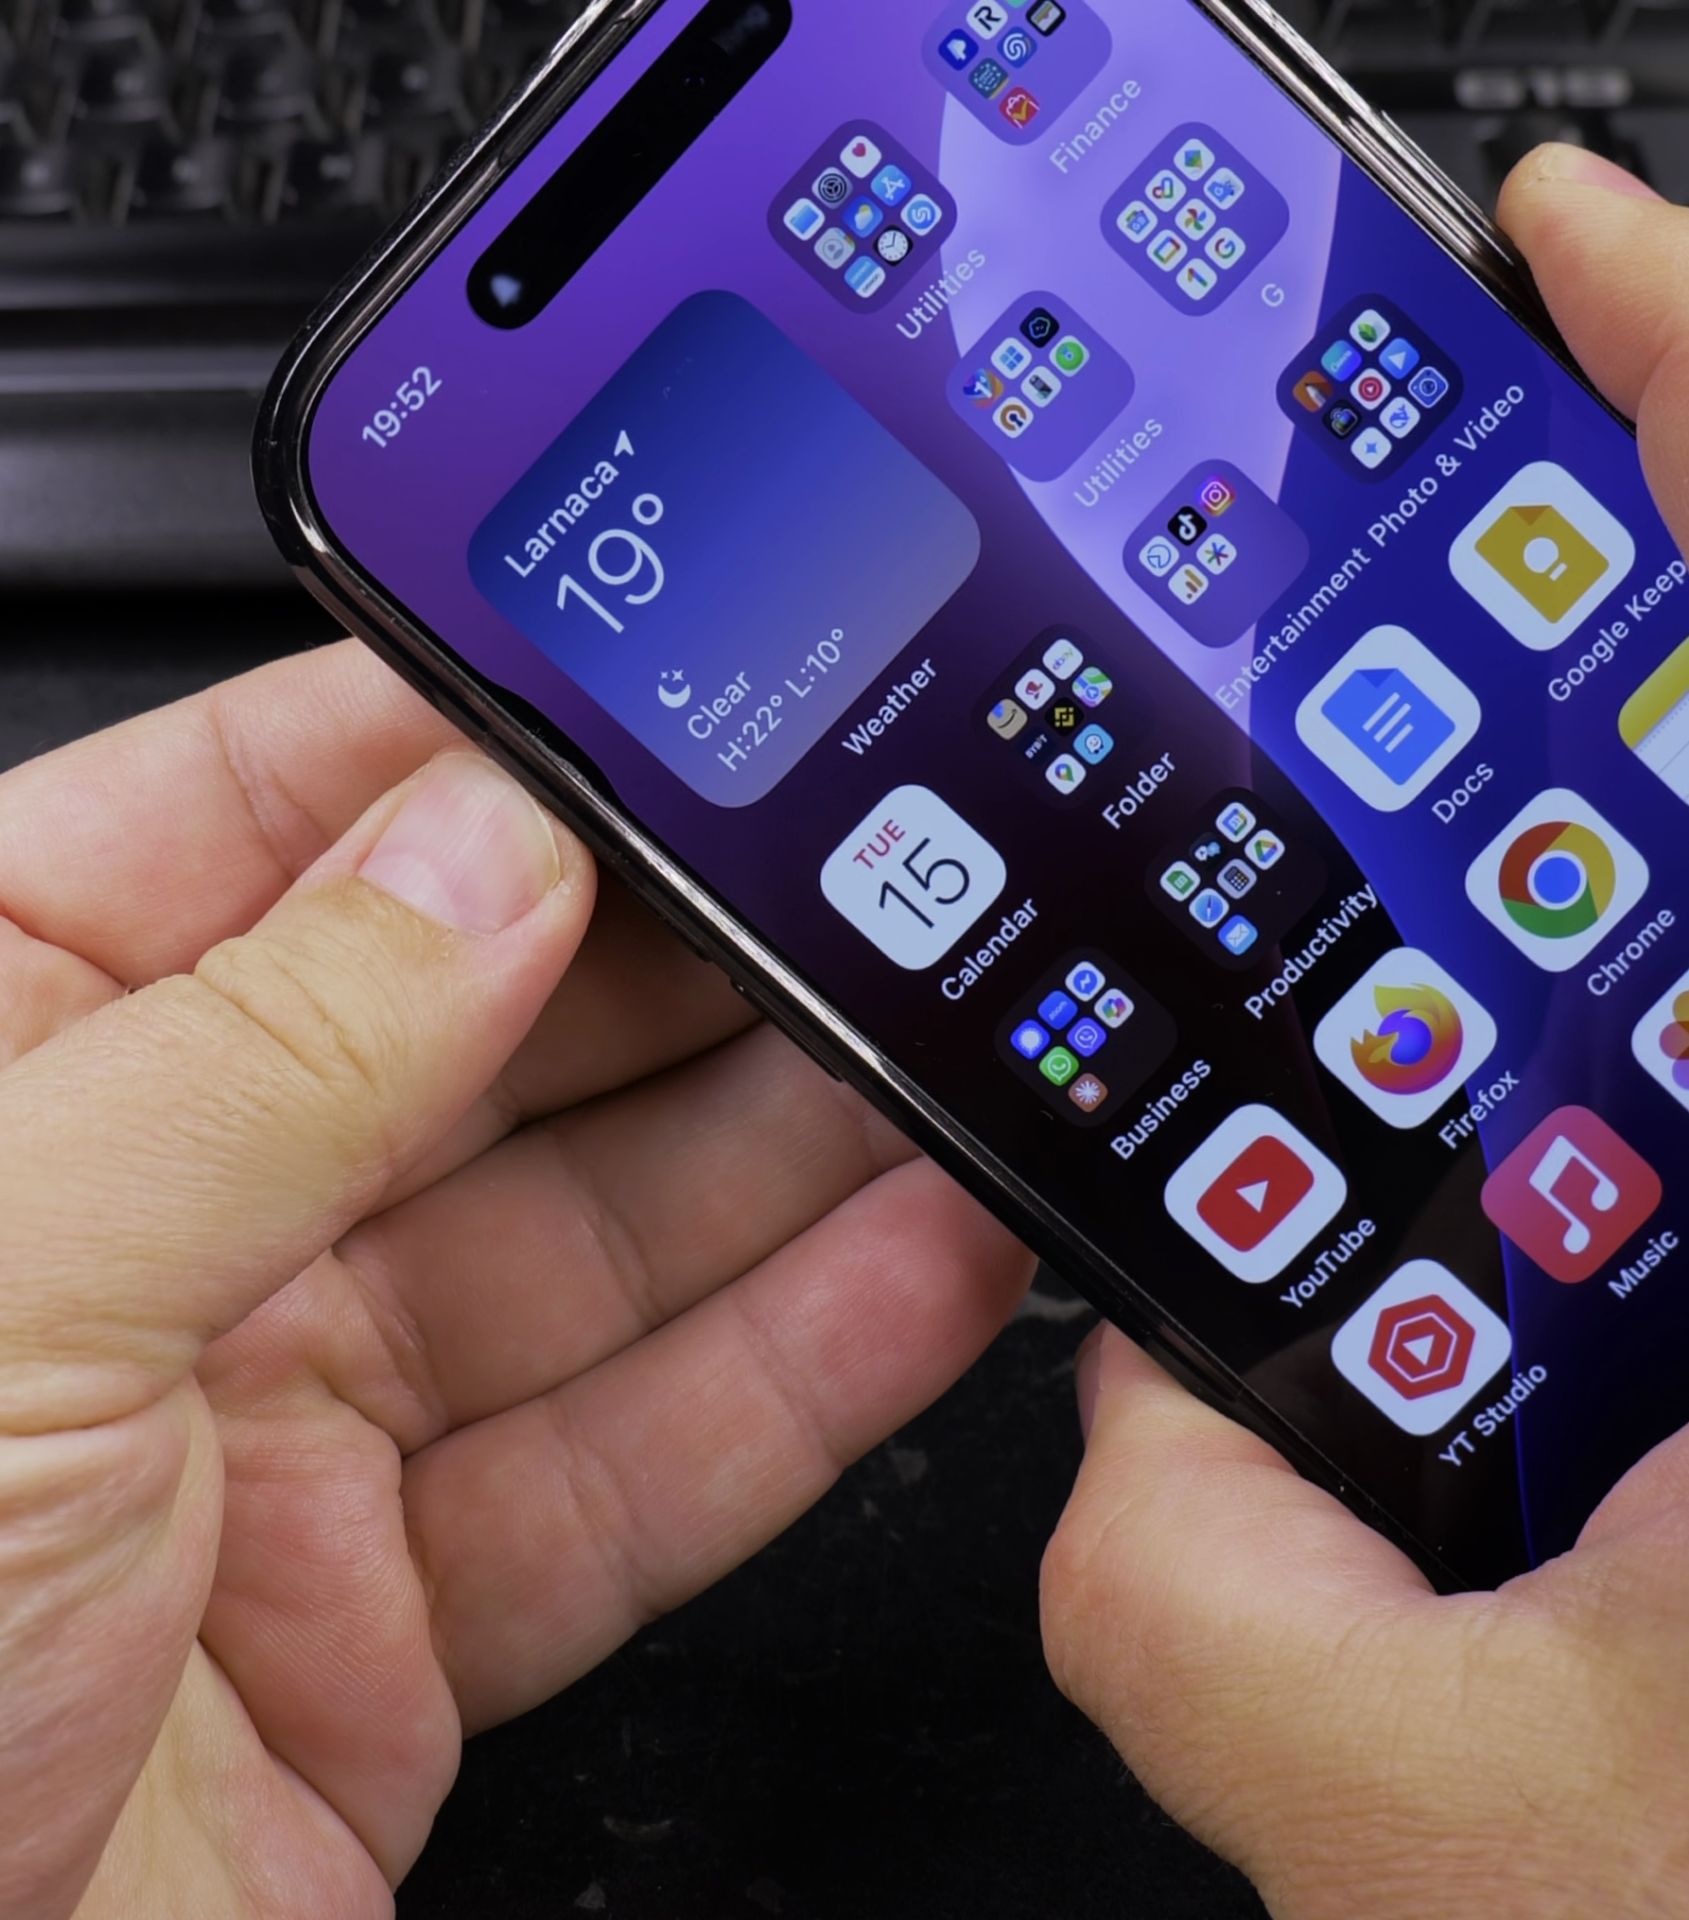
**For iPhones WITHOUT a Home
How to Take a Screenshot on iPhone.
Quick Steps and Scenarios Overview
| What You Need to Do | Quick Jump |
|---|---|
| How to Screenshot on iPhone (With or Without Home Button) | Jump to Step 1 |
| Where Do Screenshots Go on iPhone? | Jump to Step 2 |
| Editing or Saving Screenshots | Jump to Step 3 |
| Fastest Way to Take iPhone Screenshots | Jump to Step 4 |
| Tested on iPhone 16 Pro Max (iOS 18.4) | Jump to Step 5 |
| Need Scrolling Screenshots? | Jump to Step 6 |
Button (iPhone X & newer, including iPhone 16)**
- Press the Side button (on the right) and the Volume Up button at the same time.
- Quickly release both buttons.
- You’ll see a thumbnail preview in the corner – your screenshot is saved!
For iPhones WITH a Home Button (iPhone 8, SE, & older)
- Press the Side button (or Top button on older models) and the Home button together.
- Release both buttons.
- The screen will flash, and your screenshot is captured.
Where Do Screenshots Go on iPhone?
After taking a screenshot:
- A small preview pops up in the bottom-left corner. Tap it to edit, mark up, or share right away.
- If you ignore it, the screenshot automatically saves to your Photos app > Albums > Screenshots.
Editing or Saving Screenshots
Want to edit before saving? Here’s how:
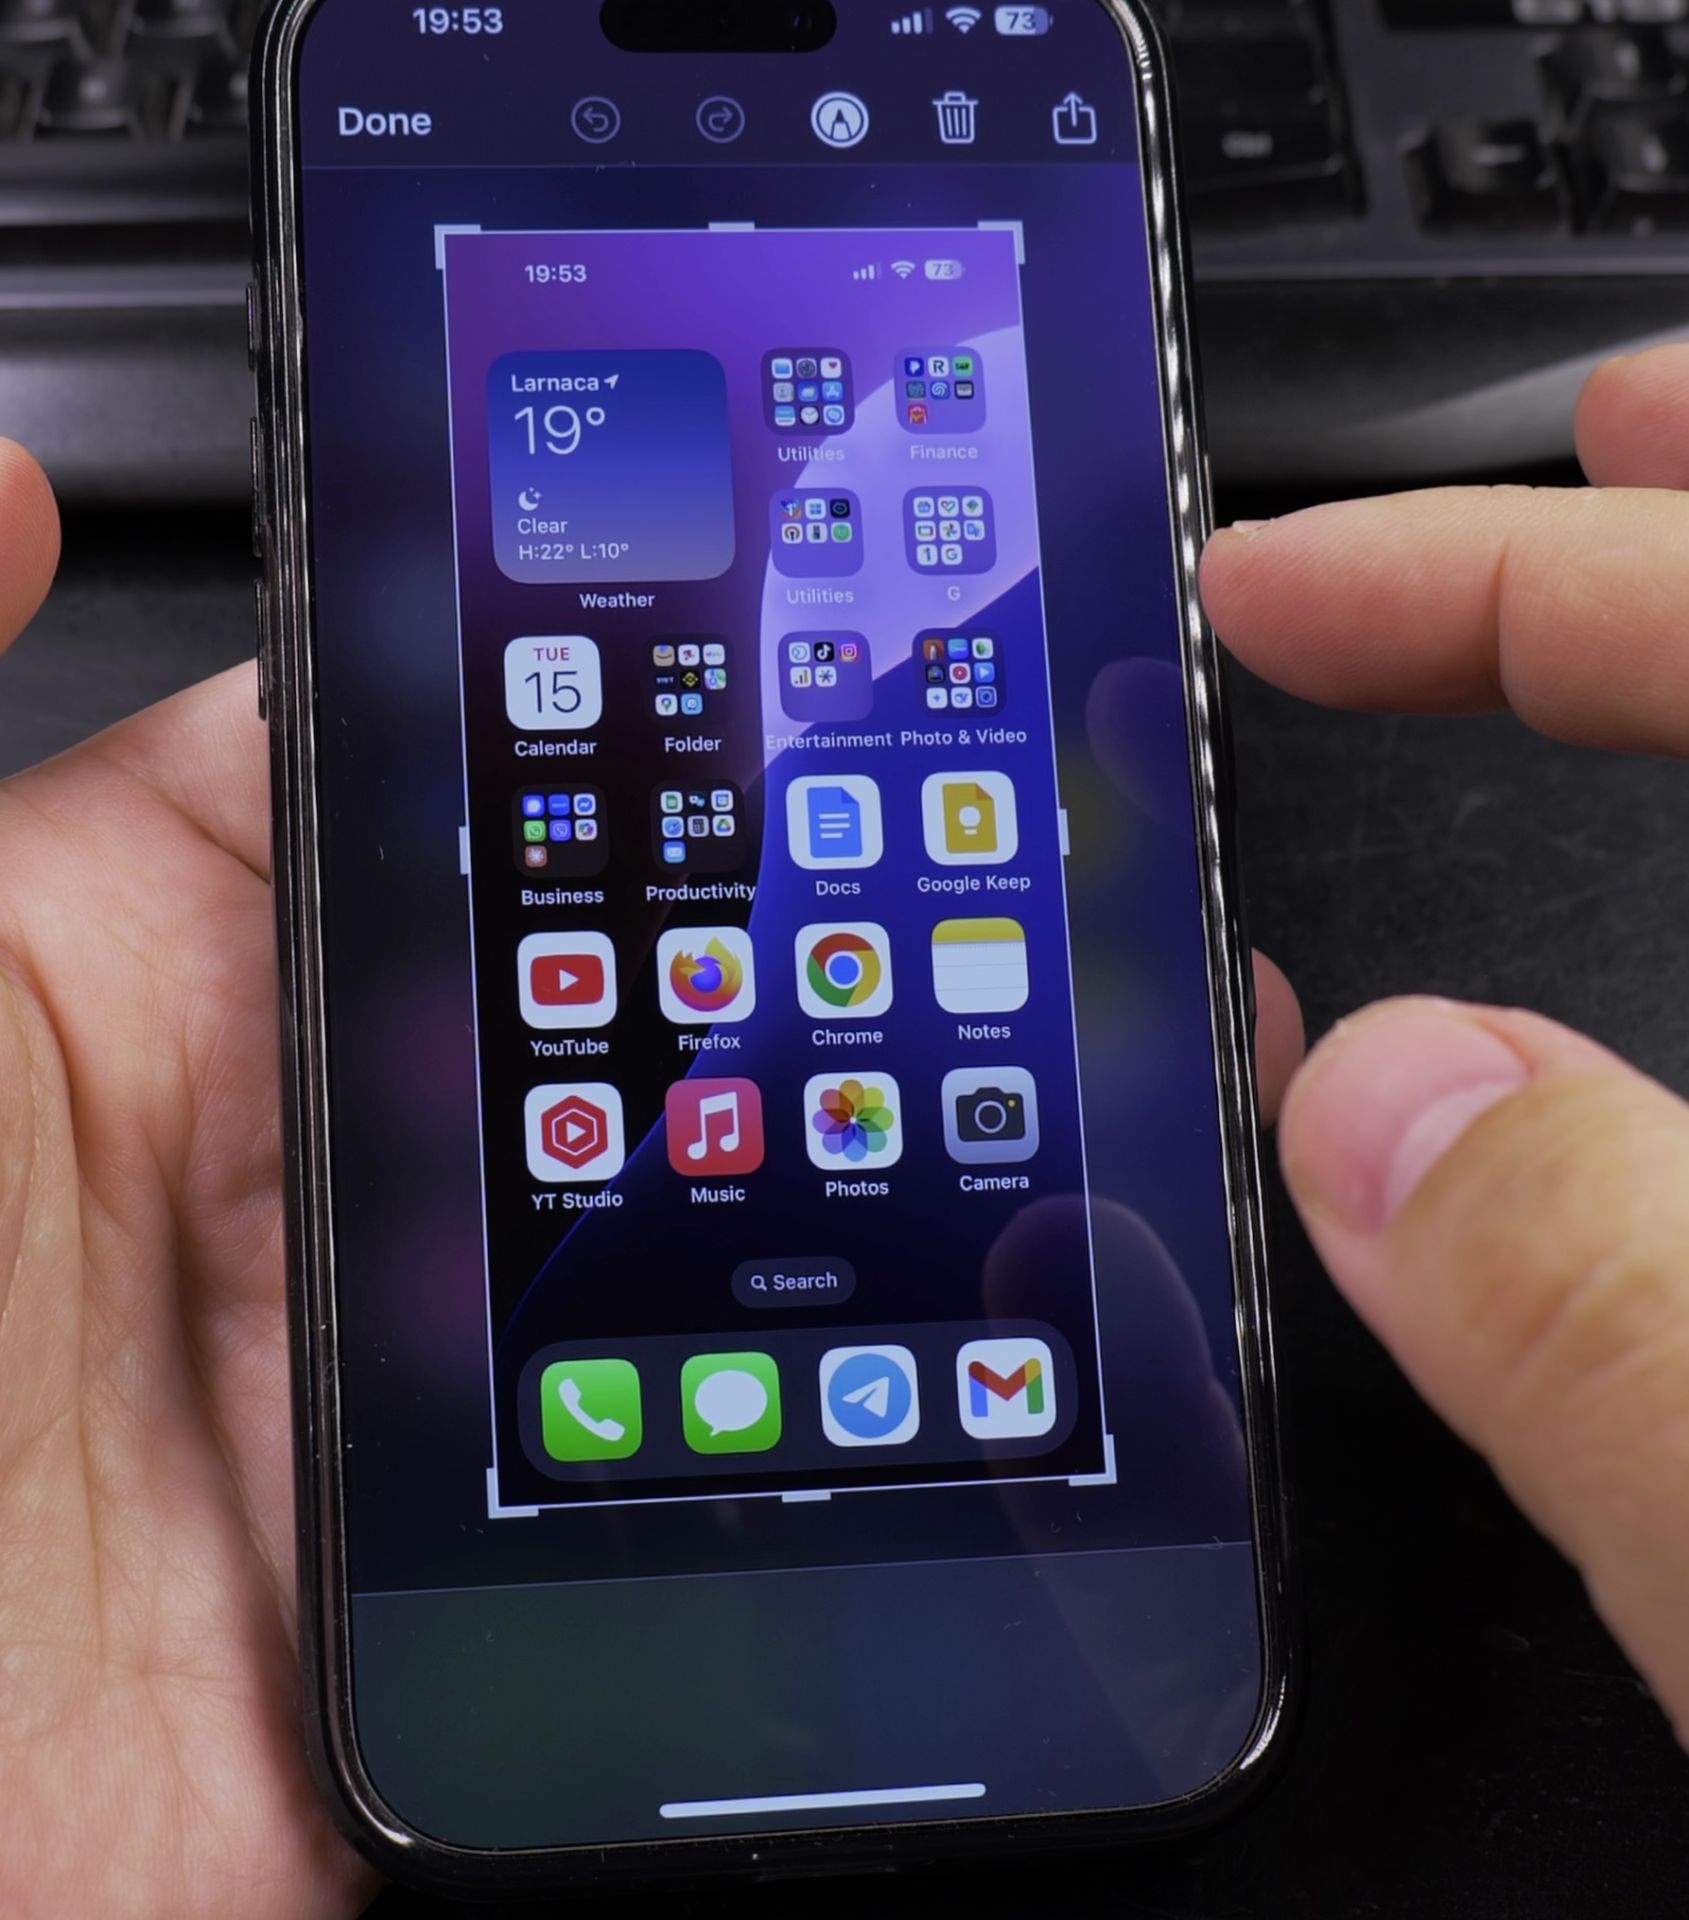
- Tap the thumbnail preview after taking the screenshot.
- Use the markup tools to draw, crop, or add text.
- Tap Done to save or delete.
Don’t need edits? Just ignore the preview and your screenshot saves instantly.
Fastest Way to Take iPhone Screenshots
The button combos above are the quickest method, but you can also use:
- Back Tap (iOS 14+): Set a double or triple tap on the back of your iPhone to take a screenshot (go to Settings > Accessibility > Touch > Back Tap).
- AssistiveTouch: Enable a virtual button for screenshots under Settings > Accessibility > Touch > AssistiveTouch.
Tested on iPhone 16 Pro Max (iOS 18.4)
This guide works on all iPhones, including the latest iPhone 16 Pro Max (Global model A3296) running iOS 18.4.
Need Scrolling Screenshots?
For full-page screenshots (like long webpages), check out my other tutorial, it’s a bit different!
How to Take a Full-Page Screenshot on iPhone Long Screenshot.
Still stuck? Drop a comment below, and I’ll help out. If this made screenshotting easier, consider subscribing for more simple tech tips!
(Note: Button names may vary slightly by model, but the steps remain the same.)
Helpful Tips
Take your time and check the screen carefully after each tap so you can confirm the setting changed as expected. If an option appears in a slightly different spot on your device, watch the embedded video above for a closer look.
Related Guides
- iPhone How to Show App Labels Customize Home Screen – If the names beneath your iPhone app icons disappeared after updating, your icons were switched to the large view.
- How to Add an App Icon Back to the Home Screen on iPhone – If an application icon disappeared from your iPhone Home Screen even though the app is still installed on your device, it is…
- Customize iPhone Home Screen Widgets Apps Folders – How to Customize iPhone 16 Pro Max Home Screen Widgets, Apps, Folders & More.
- iPhone How-To Guides – Browse more tutorials and practical guides in this section.


Leave a Reply