
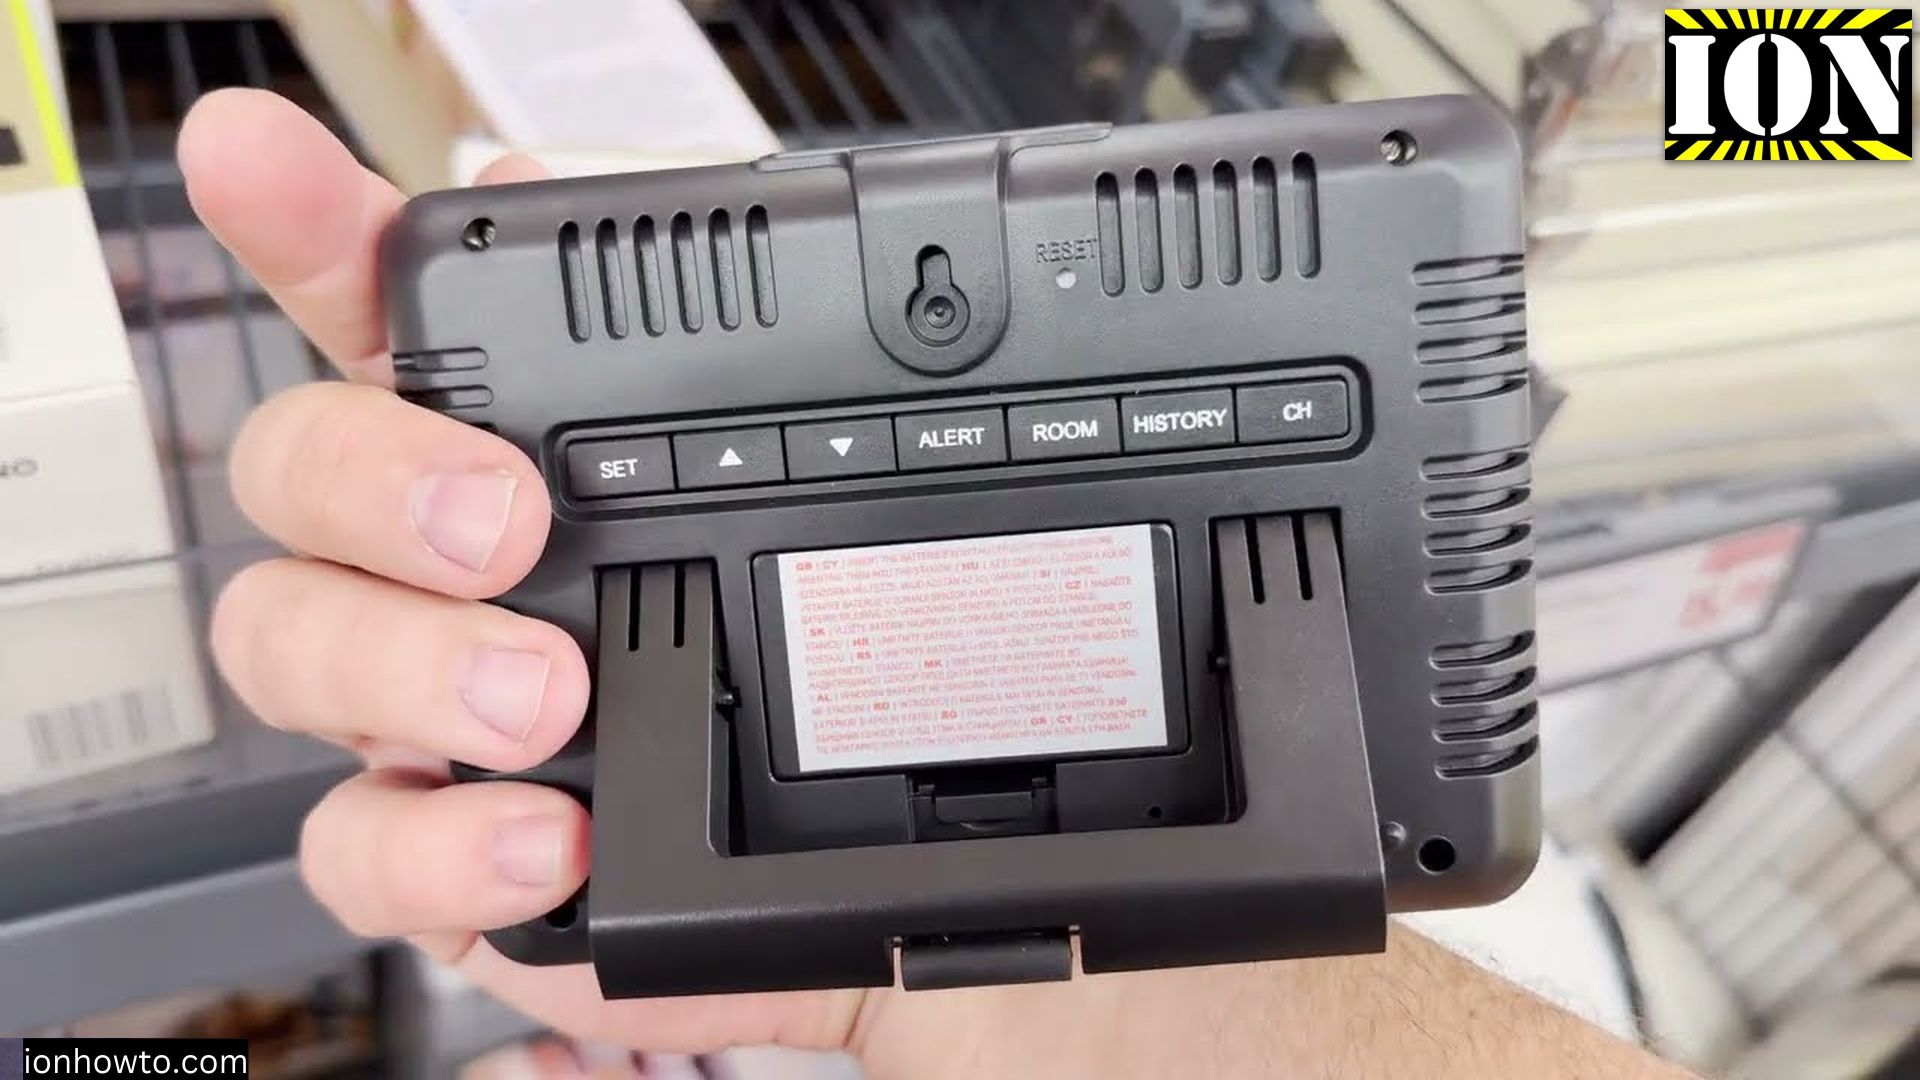
Setting up the Lidl Livarno Home wireless weather station takes just a couple of minutes once you insert fresh batteries in the right order. I will show you how to pair the 100-meter outdoor sensor probe, read the radio-controlled DCF77 clock, and use every back-panel button.
Key takeaways: Insert batteries into the wireless outdoor sensor first or press TX inside its compartment after powering the base screen, keep both units apart for a minute while pairing on 433 MHz, and set your time zone offset if you live outside Central European Time.
Quick Step-by-Step Guide
- Check Packaging Specs and 100-Meter Sensor Range
- Unbox the Display Screen and Fold Out the Stand
- Check Indoor Temperature, Humidity, and Forecast Display
- Use the Rear Control Buttons to Pair Sensor and Alerts
Helpful Tools and Supplies
As an Amazon Associate I earn from qualifying purchases at no extra cost to you:
1. Check Packaging Specs and 100-Meter Sensor Range
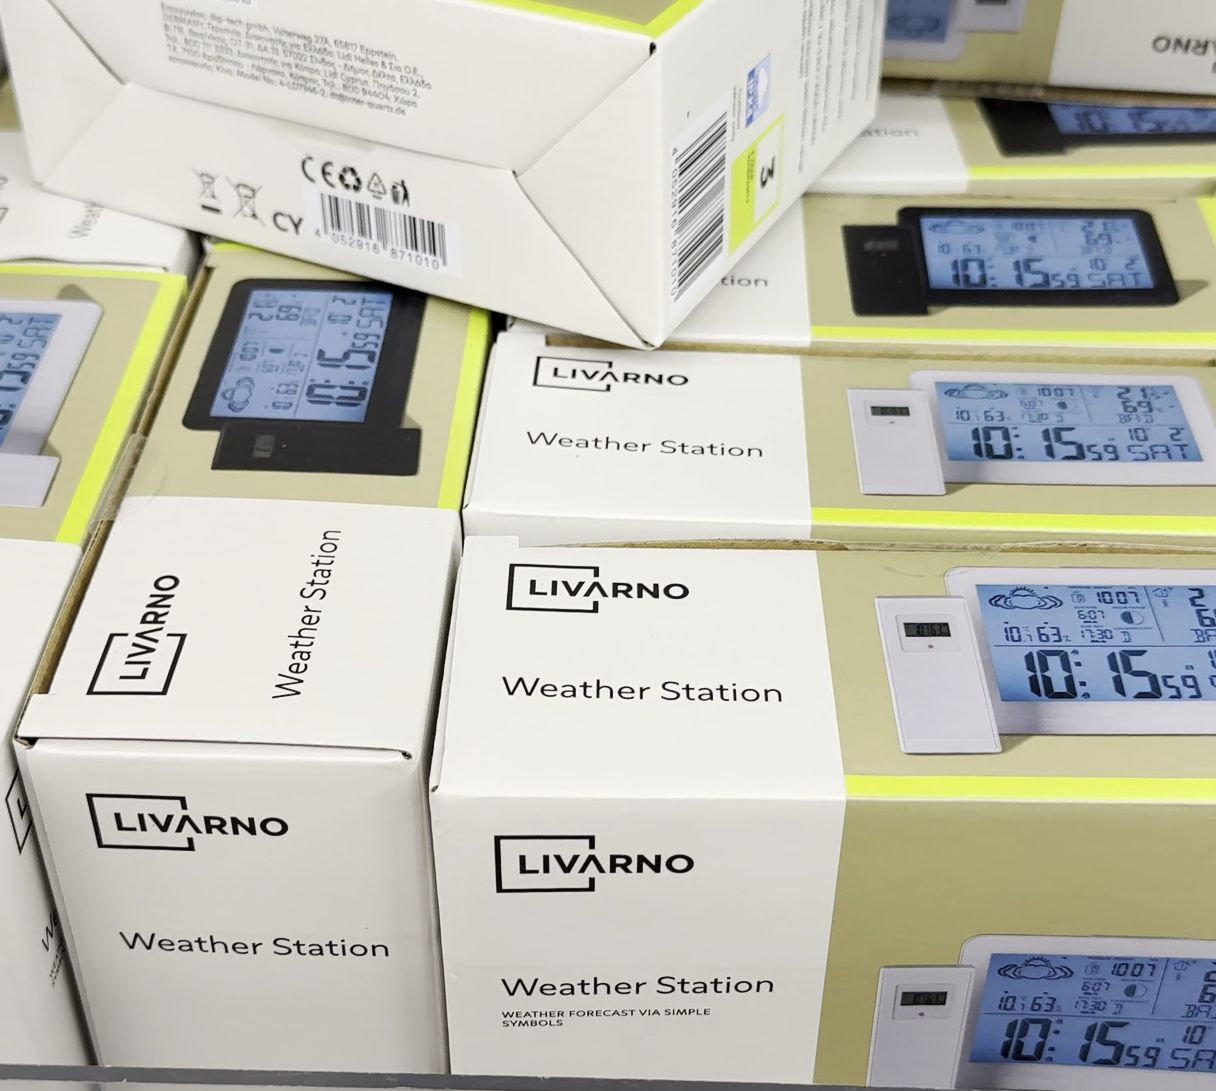
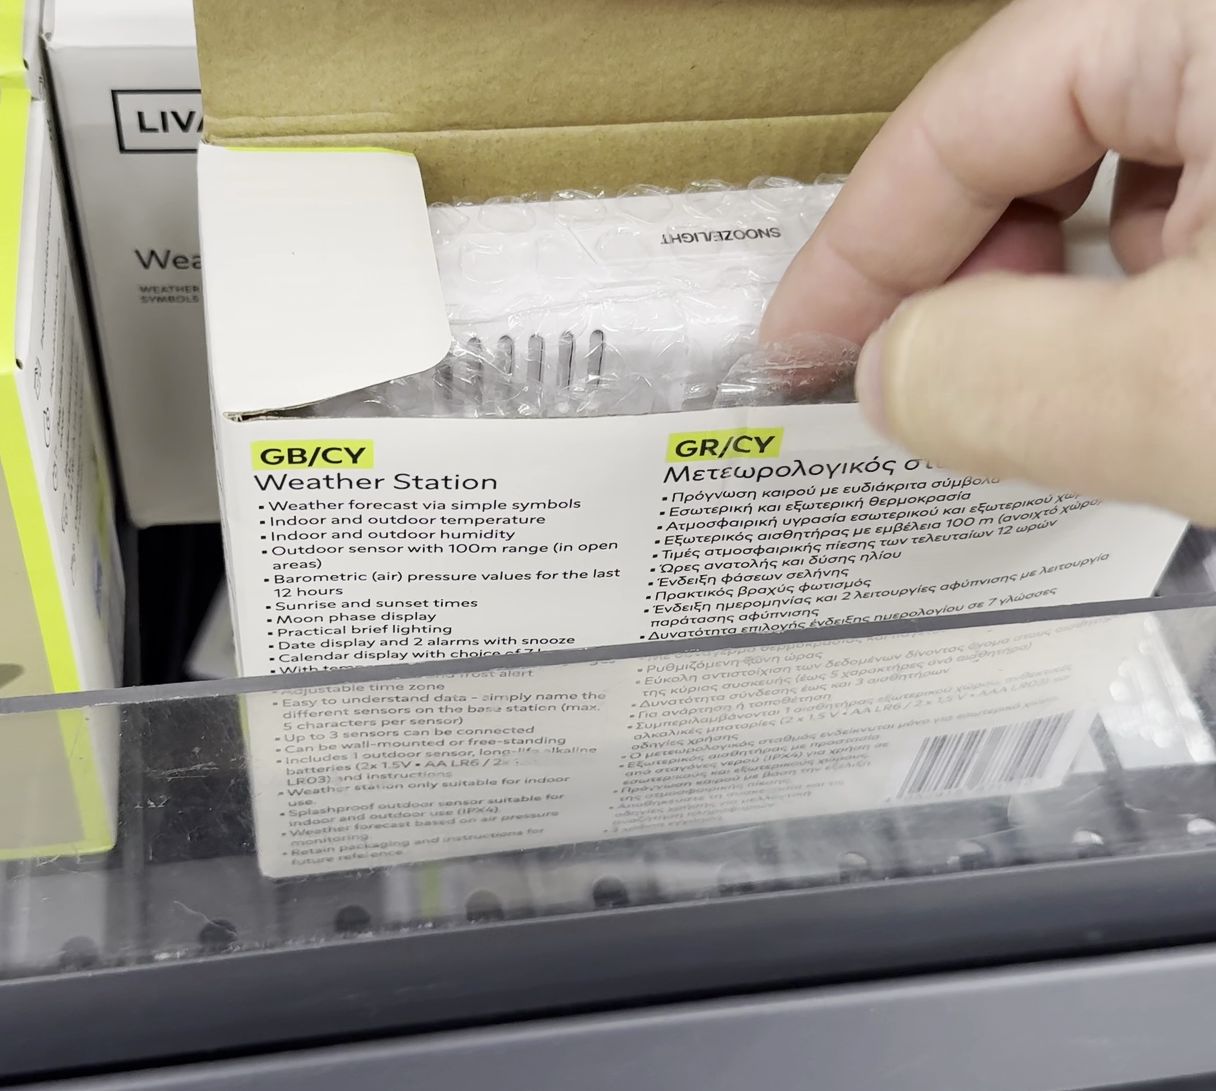
Before opening the box, confirm the HG14585 model includes both the indoor display base and the 433 MHz outdoor sensor probe. Place both units next to each other on a clear table away from Wi-Fi routers during initial pairing.
2. Unbox the Display Screen and Fold Out the Stand
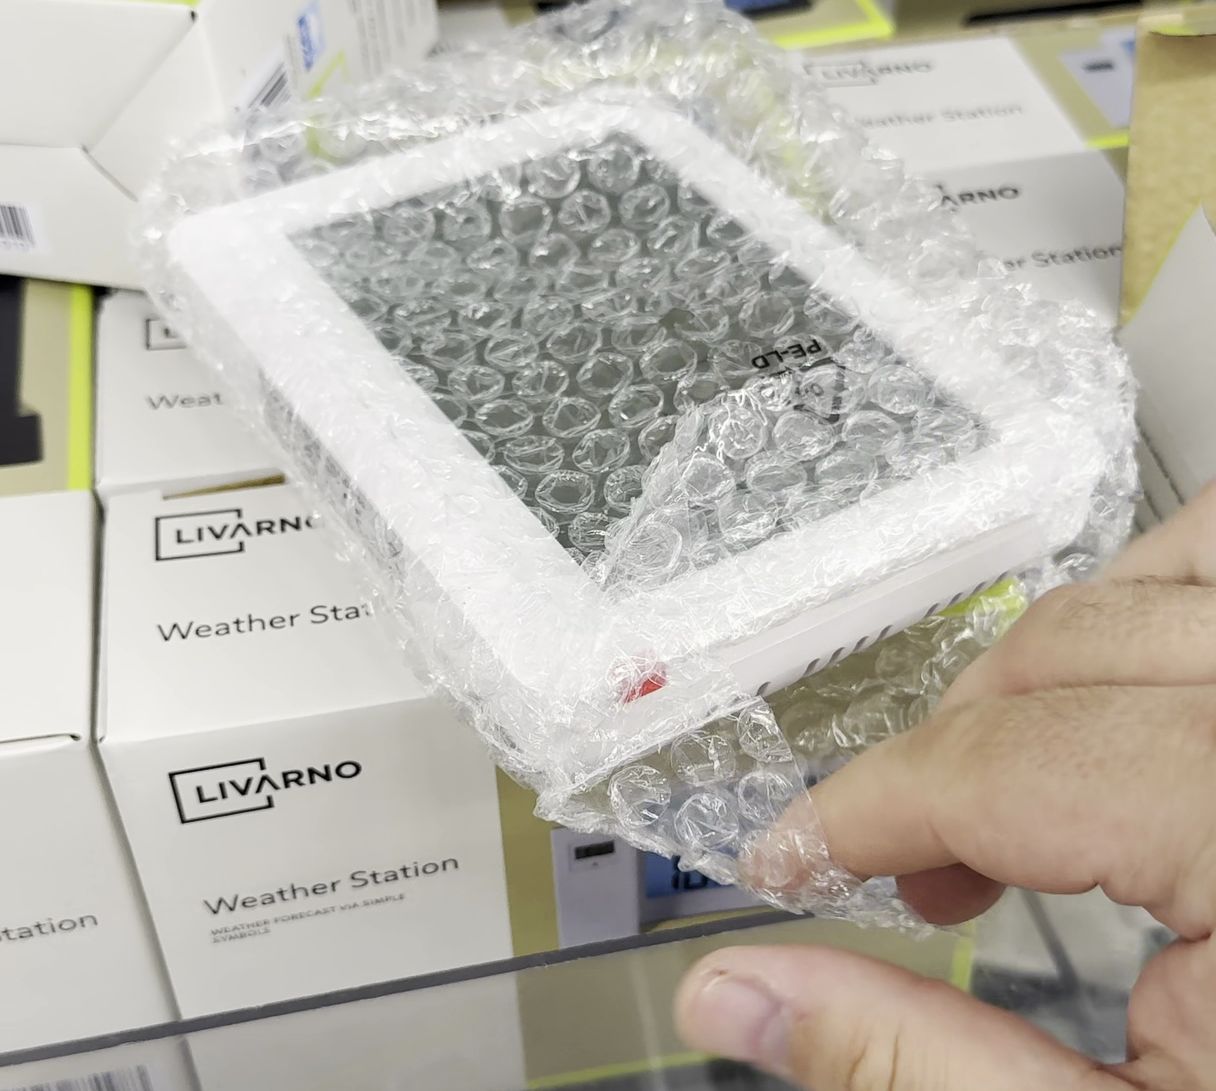
Lift out the white indoor base unit and flip down its integrated back stand so it sits upright on a desk, or Find the keyhole slot for wall mounting. Remove any clear plastic screen protector so numbers stay crisp.
3. Check Indoor Temperature, Humidity, and Forecast Display
Once powered on, the high-contrast LCD screen displays indoor room temperature, percentage humidity, barometric pressure graphics, moon phase, and sun or cloud forecast icons. Wait up to a few minutes for the radio-controlled DCF77 time signal icon to lock on automatically.
4. Use the Rear Control Buttons to Pair Sensor and Alerts
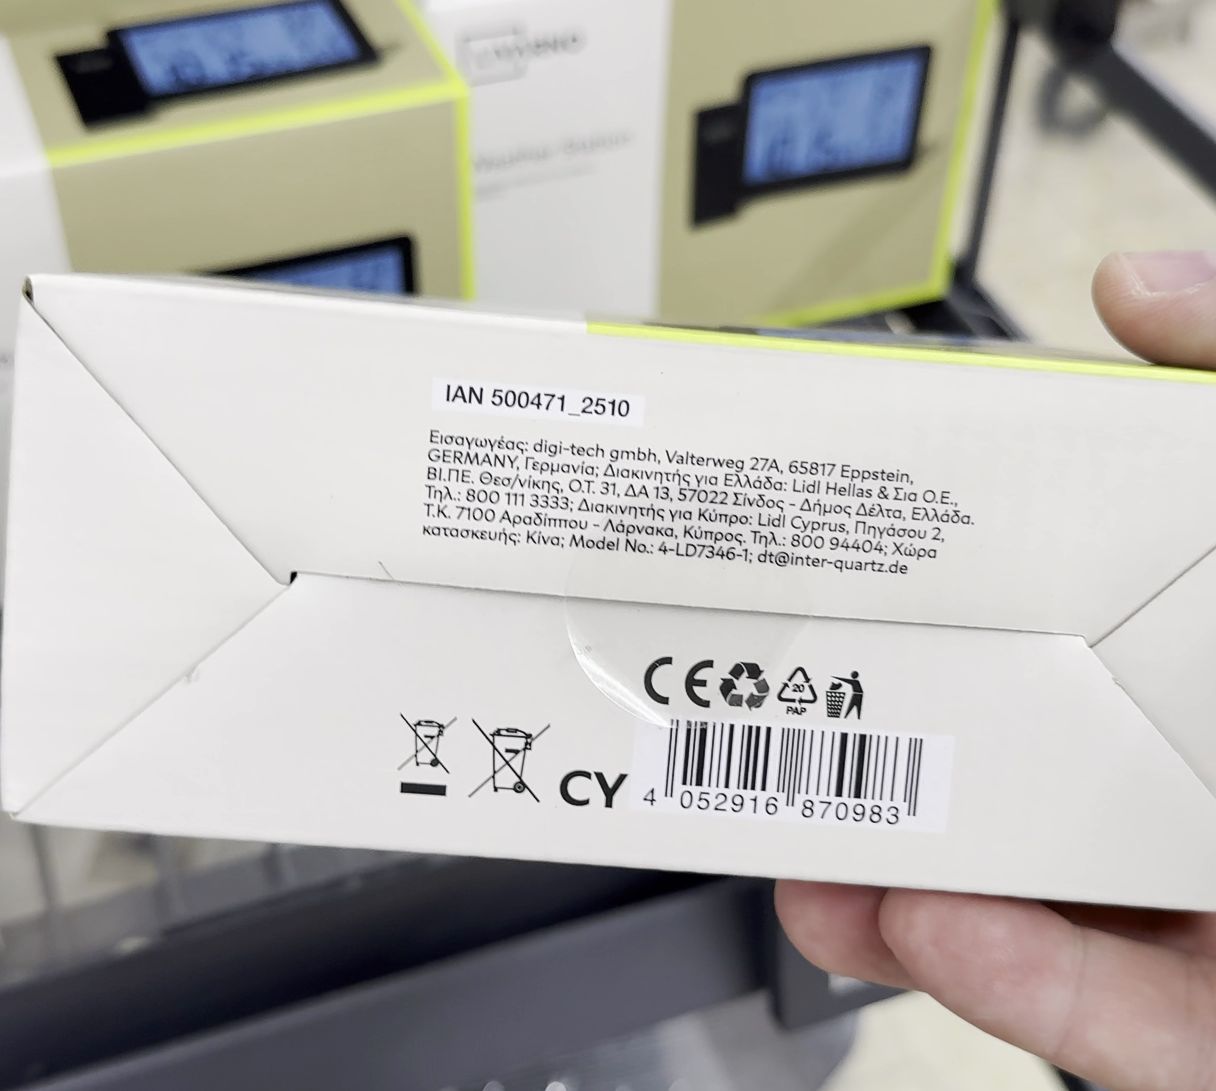
Flip the station over to access the five rear buttons: CH switches between up to three outdoor channels, HISTORY checks past pressure readings, ROOM edits room labels, ALERT sets high/low freeze alarms, and SET adjusts time zones or manual clock settings.
Helpful Tips
- Mount the outdoor sensor under an eave or shaded north-facing wall out of direct sunlight so afternoon sun never spikes your outdoor temperature reading.
- Remember the 100-meter wireless range applies in open air; thick concrete walls reduce indoor signal range, so avoid placing metal appliances directly between base and sensor.
Related Guides
- Remove Weather Widget from Samsung Home Screen – How to Remove the Weather Widget from Your Samsung Home Screen.
- How to Add Weather Widget on Samsung Home Screen – How to Add a Weather Widget to Your Samsung Home Screen.
- iPhone How to Show App Labels Customize Home Screen – If the names beneath your iPhone app icons disappeared after updating, your icons were switched to the large view.
- 10GB Fiber Home Network – Browse more tutorials and practical guides in this section.


Leave a Reply